Yosemite is a landscape photographer’s dream. It was here that Ansel Adams took so many of his iconic images, and where countless photographers since then have come to try and capture a little of the wonder of this place.
It’s no surprise therefore that when I was based in California that it was very high on my list of places to visit, and we finally set aside some time to do just that. I was super excited to visit, to try out some of my Vanguard VEO gear, and also more than aware I was walking in the footsteps of giants!
I’d never visited Yosemite before, and, suffice to say, my first trip blew me away. It’s just unbelievable. I hiked up past waterfalls, took in stunning vistas, watched fiery sunsets… the list goes on.
In this post I’m going to share with you some of the locations I particularly enjoyed photographing, that if you are visiting Yosemite, you should definitely add to your list. Then, at the end of this post, I’ve provided some additional resources to help you plan your trip and get the best photos when you’re there!
Important – As of 2022, Yosemite has introduced a reservation system for park entry. If you are visiting between late May and the end of September and planning on driving into or through the park between 6am and 4pm you will need to have a reservation. You can find out more and make your reservations online here.
Enough of all that. Let’s crack on with:
My Favourite Photography Spots in Yosemite.
1. Nevada and Vernal Falls
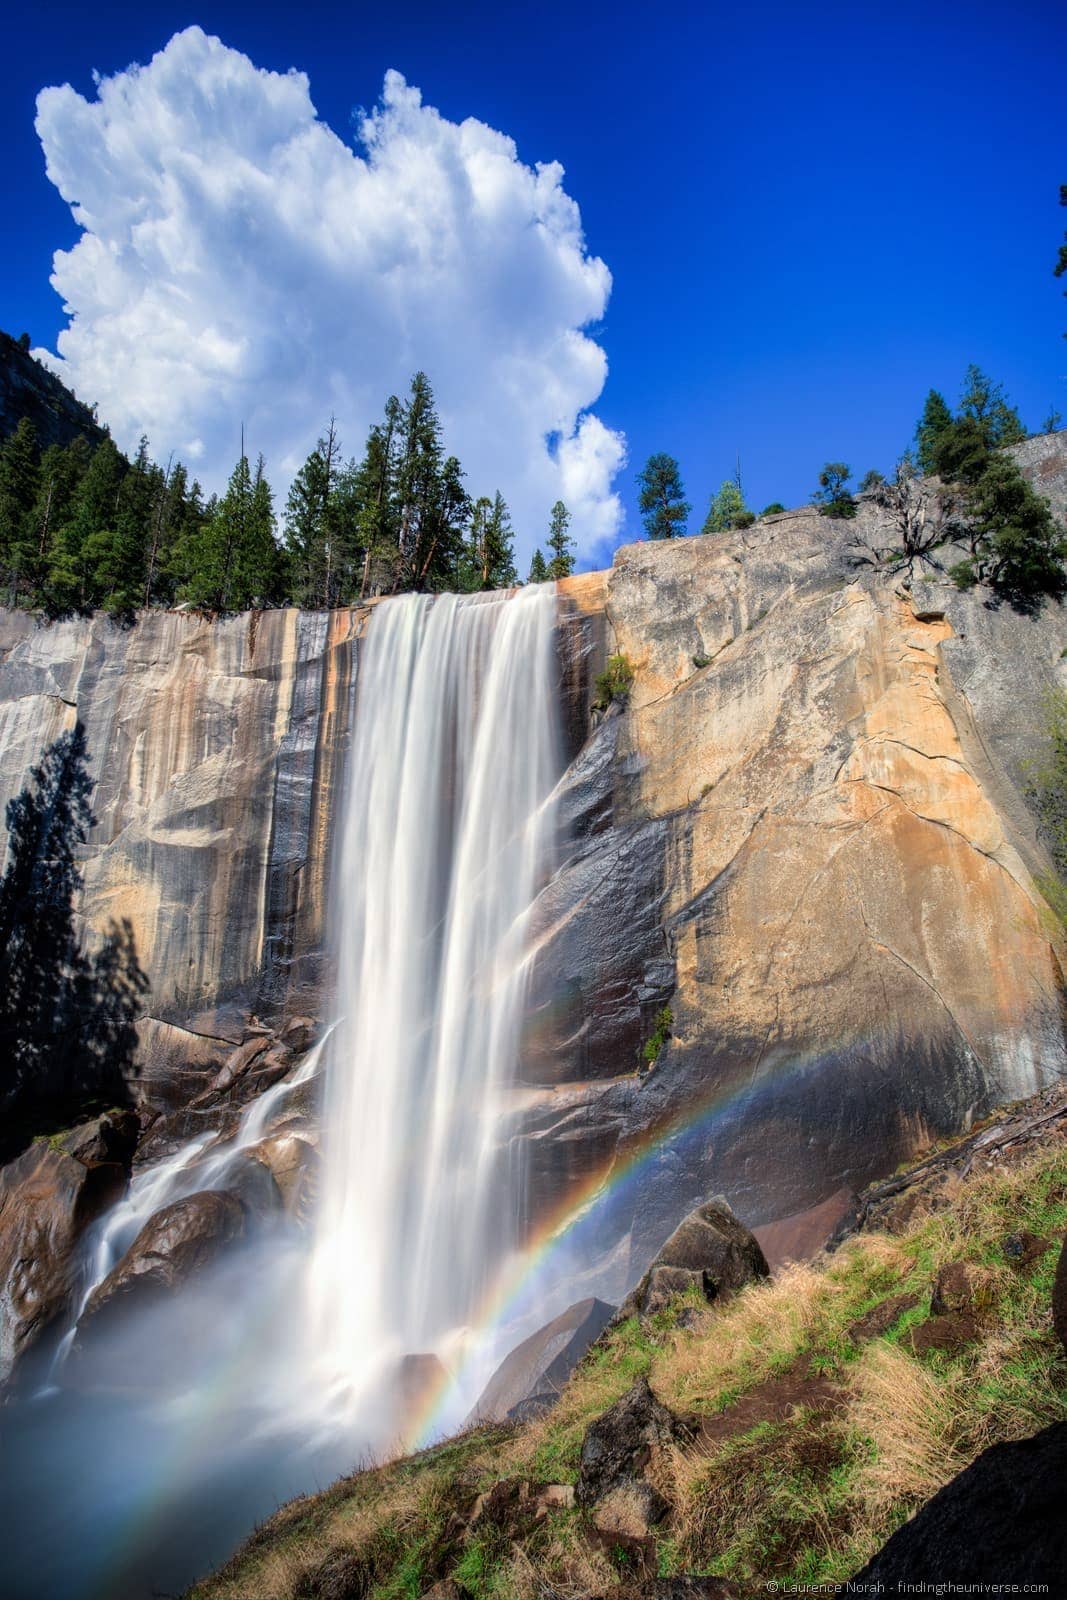
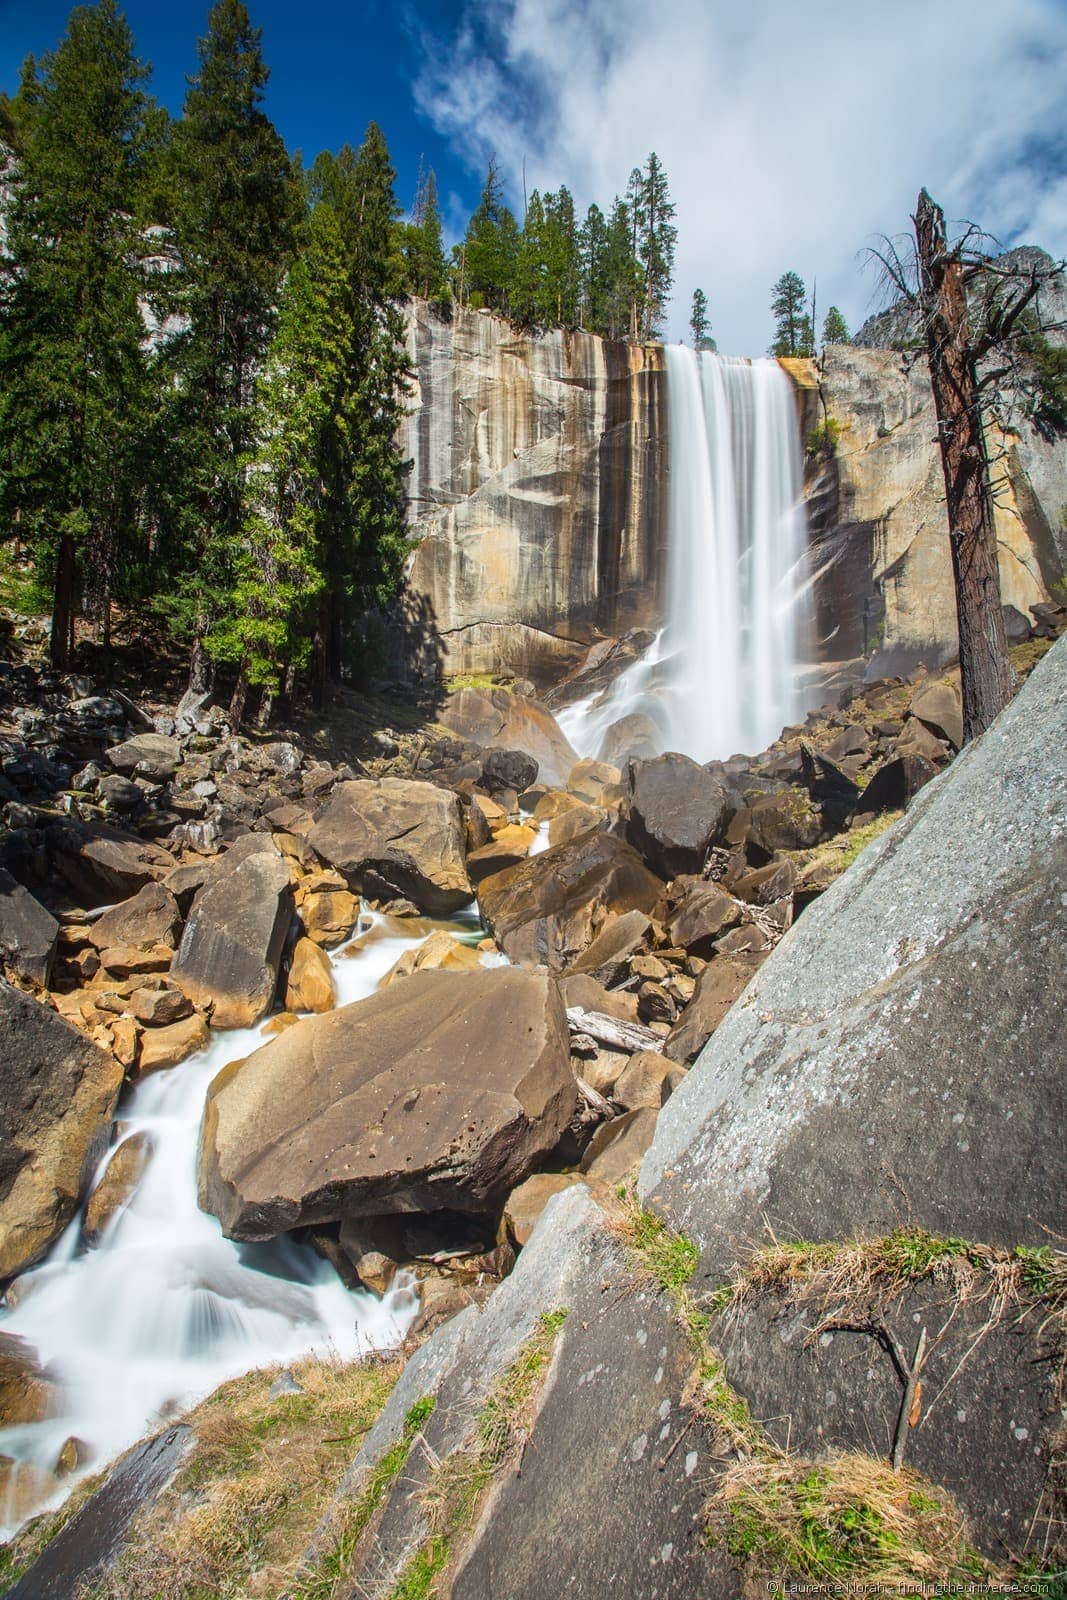
The hike up to Vernal and Nevada Falls was without doubt the highlight of my time in Yosemite. Vernal Falls in particular were magnificently photogenic, and the hike was incredibly rewarding.
It’s a busy trail, especially on the way up to Vernal Falls, but I think you’ll agree that it’s worth it. The best shots are to be grabbed by getting slightly off the path so as to avoid the people – just take care as the area is usually wet and slippery – it’s not called the mist trail for nothing!
Speaking of mist, whilst all that water does create beautiful rainbows, it’ll also get all your gear wonderfully wet. You’ll want to bring plenty of wipes to dry your lens off. I also find that a sun hood can help prevent getting a lot of moisture on your lens. Timing-wise, the afternoon is when the light seemed to be best, and you’re going to want to bring along some ND filters on this trip to get those gorgeous fluffy waterfall shots.
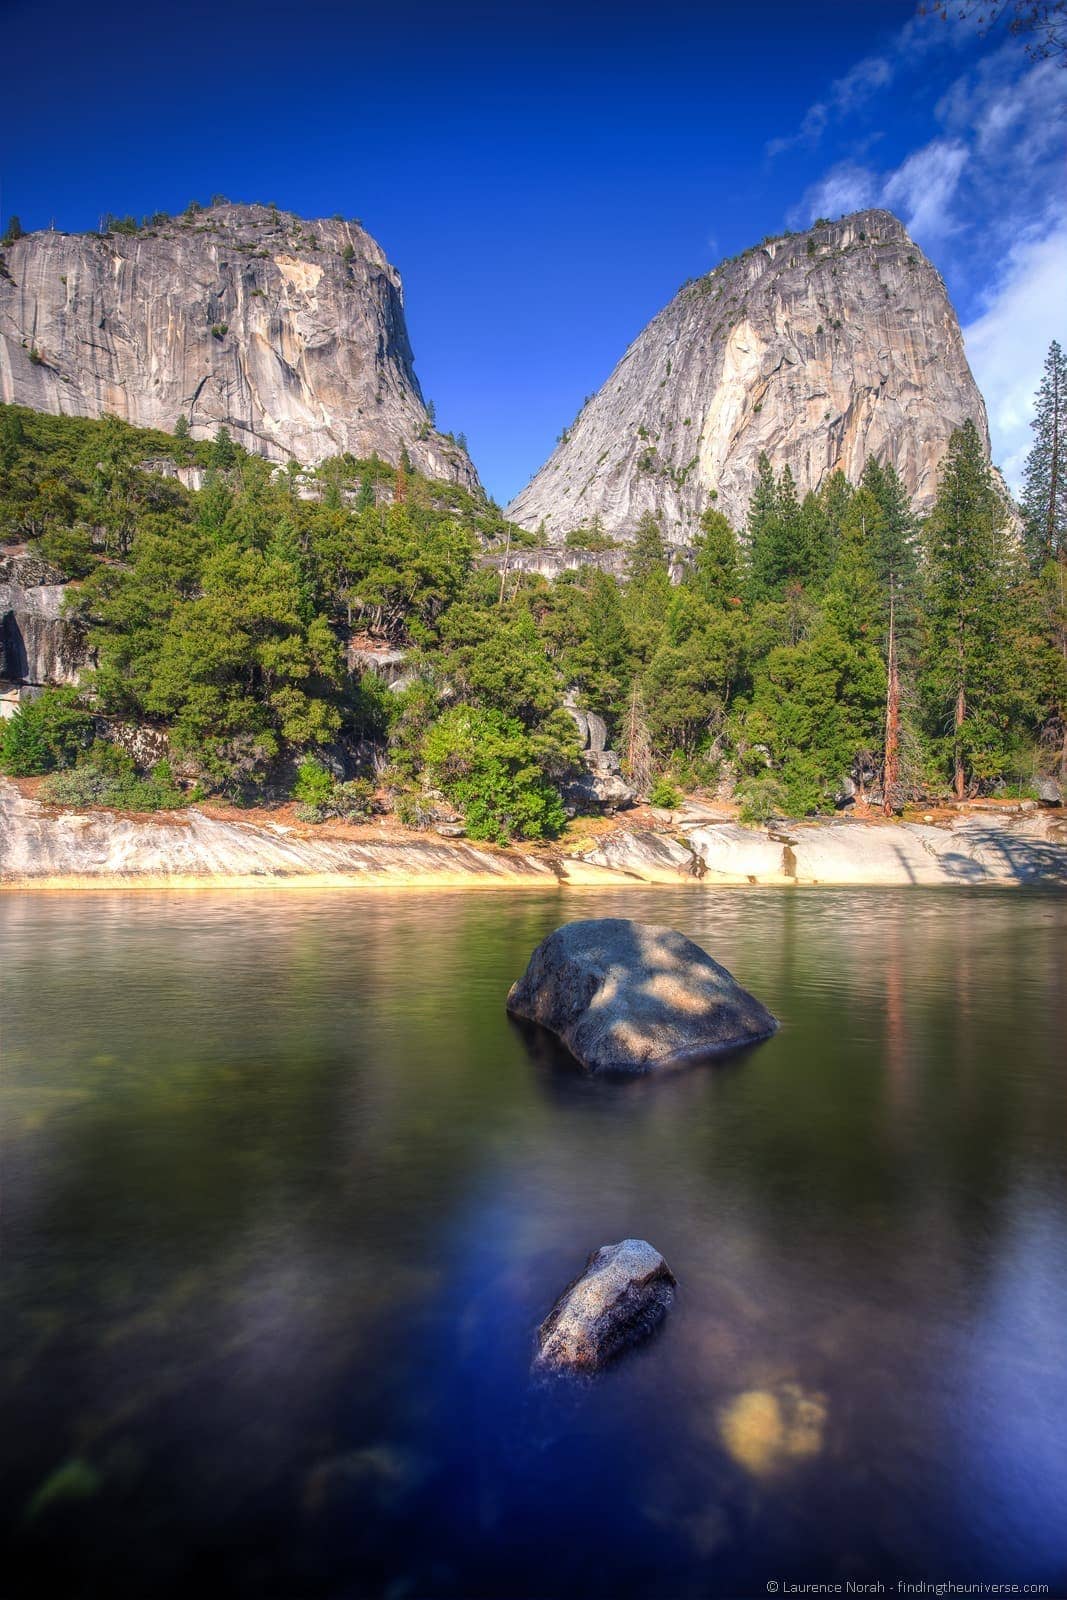
At the top of Vernal Falls is this giant lake, known as the Emerald Pool, which offers lovely views and further photography opportunities.
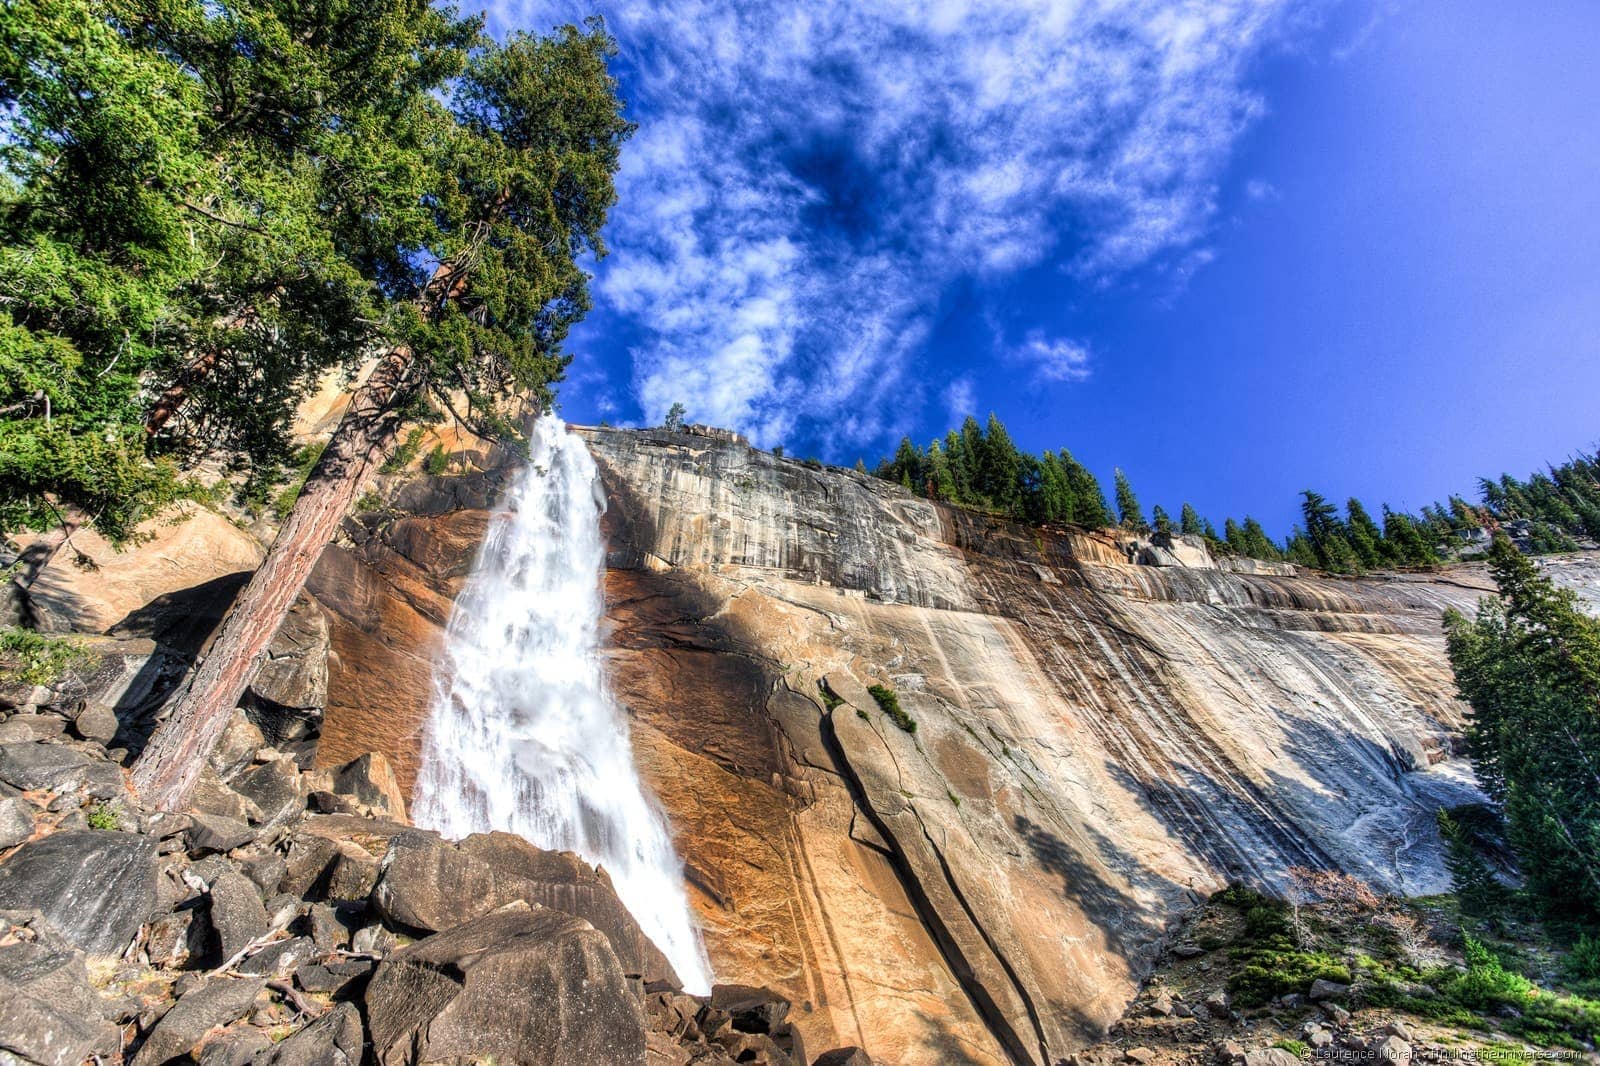
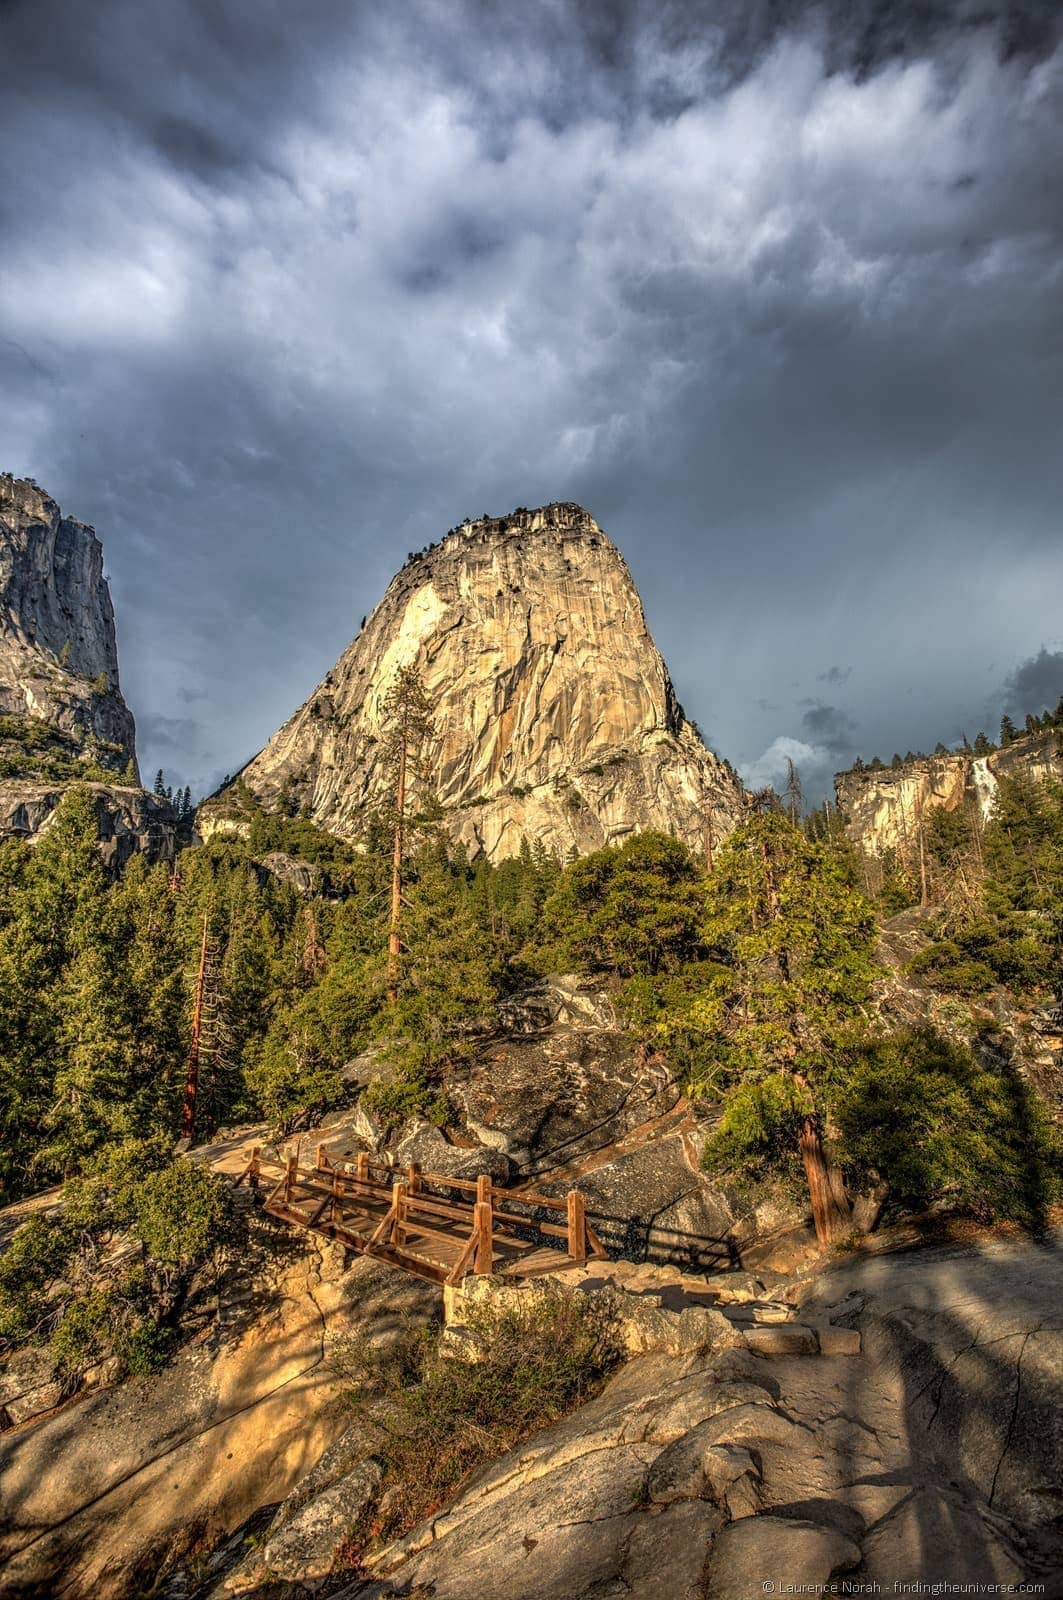
If you still have the energy, you can keep on going past Vernal Falls and hike another mile or two to Nevada Falls. This trail offers stunning views of the surroundings, as seen below from my hike back, but getting a shot of Nevada Falls themselves is a little tricky.
For a direct view of the falls themselves, as seen above, you’ll have to leave the trail and head down over the rocks. This is a bit tricky, so be careful!
And one last shot of Vernal Falls. Just unbelievable.
2. Tunnel View
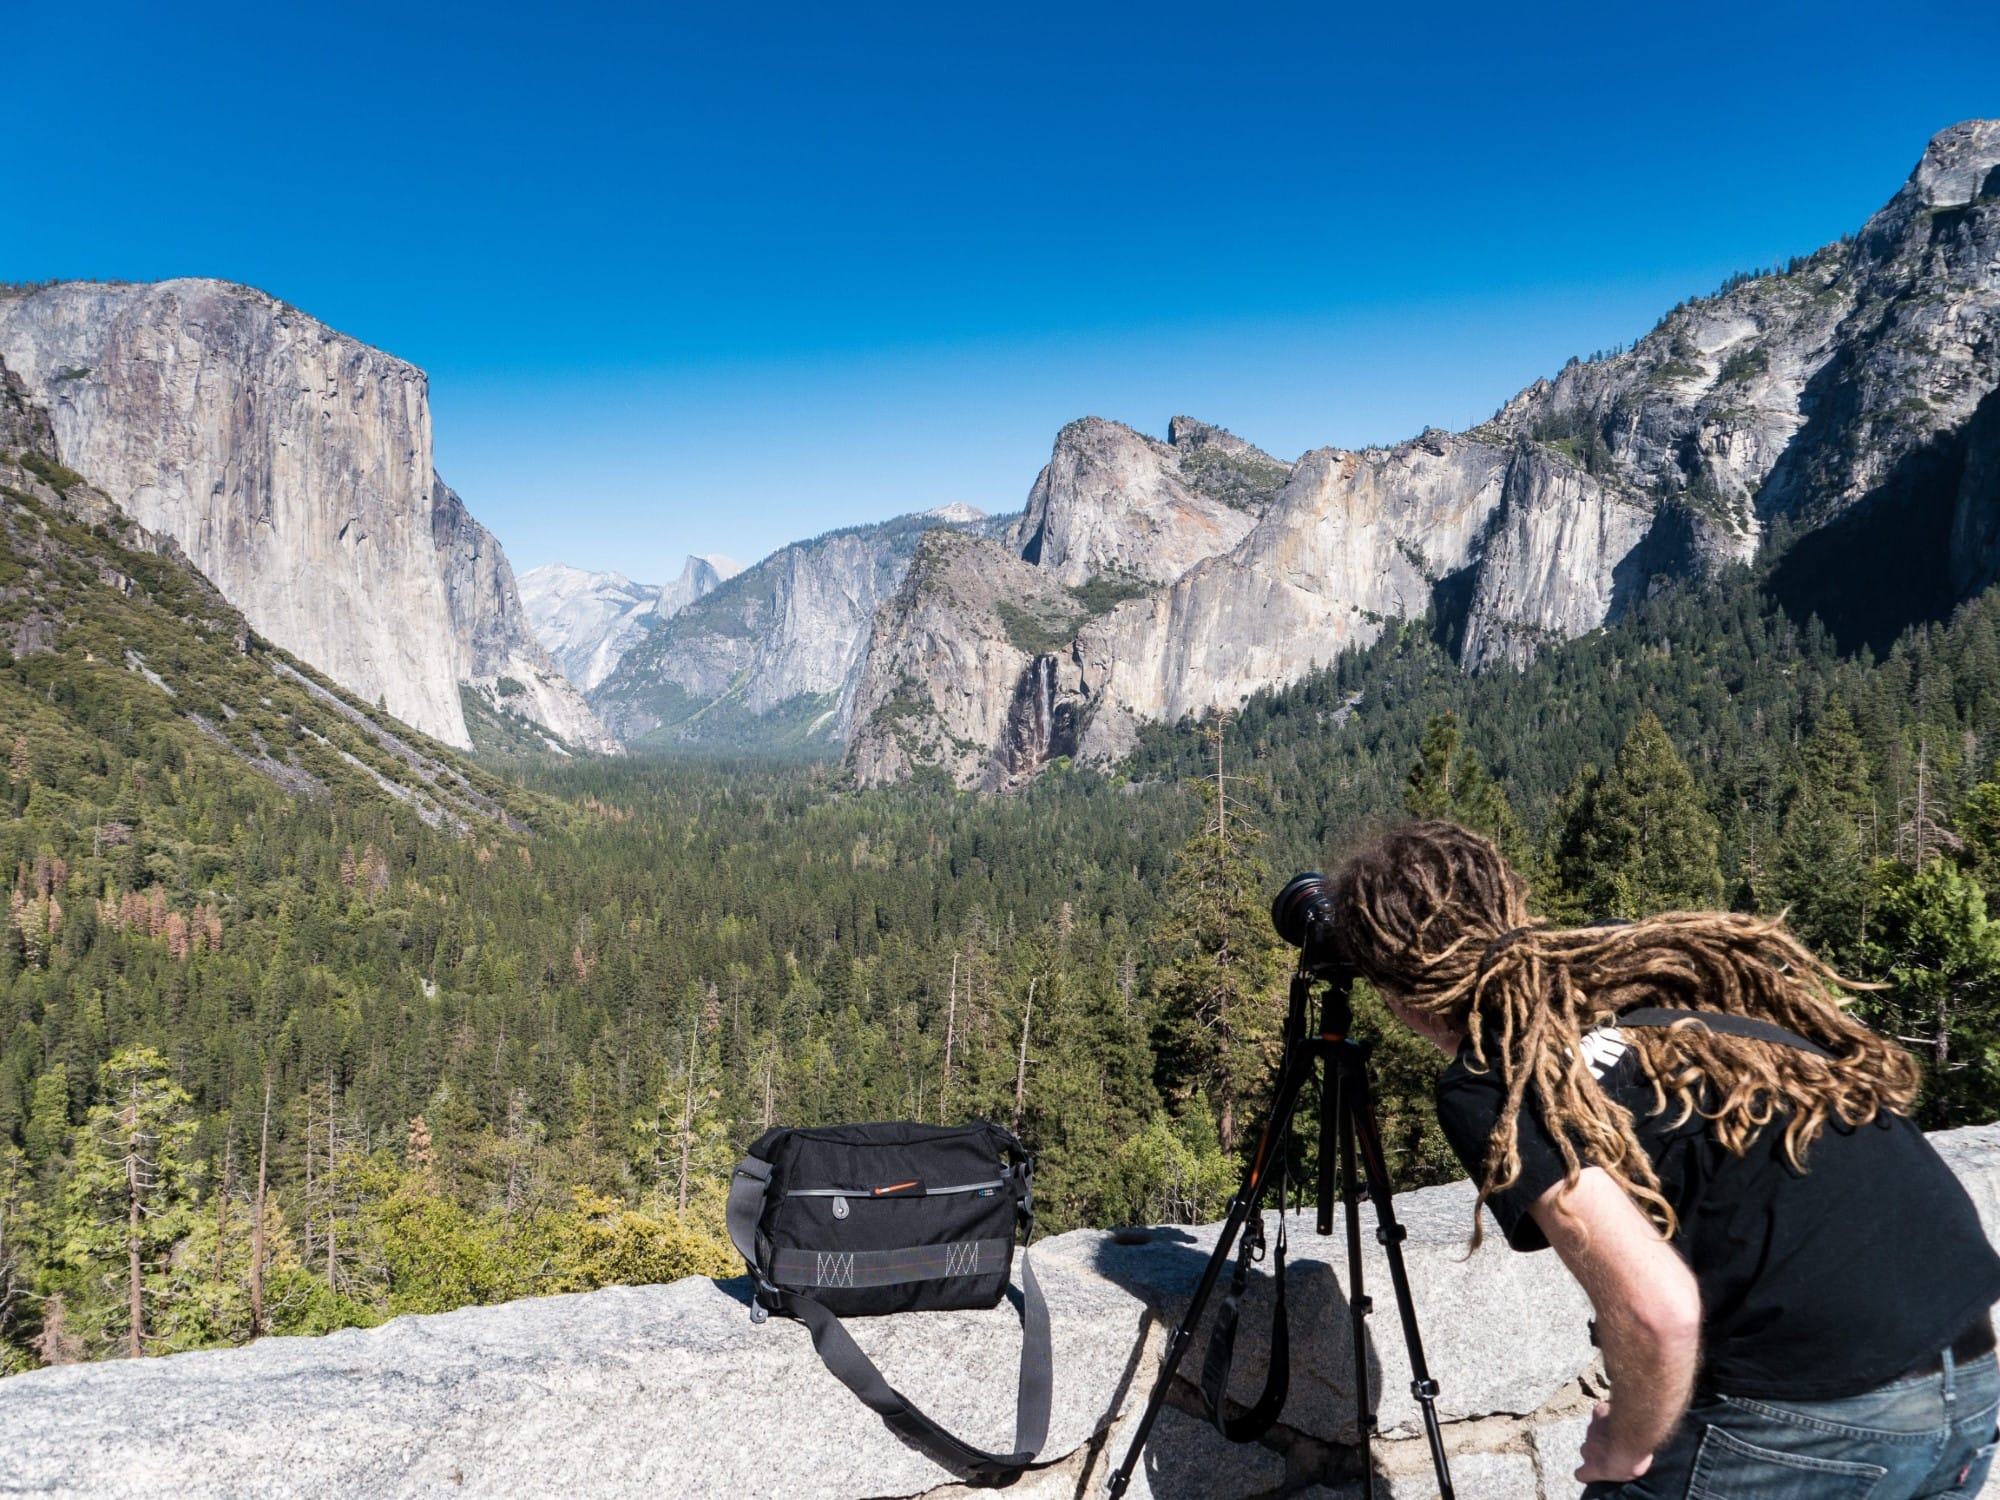
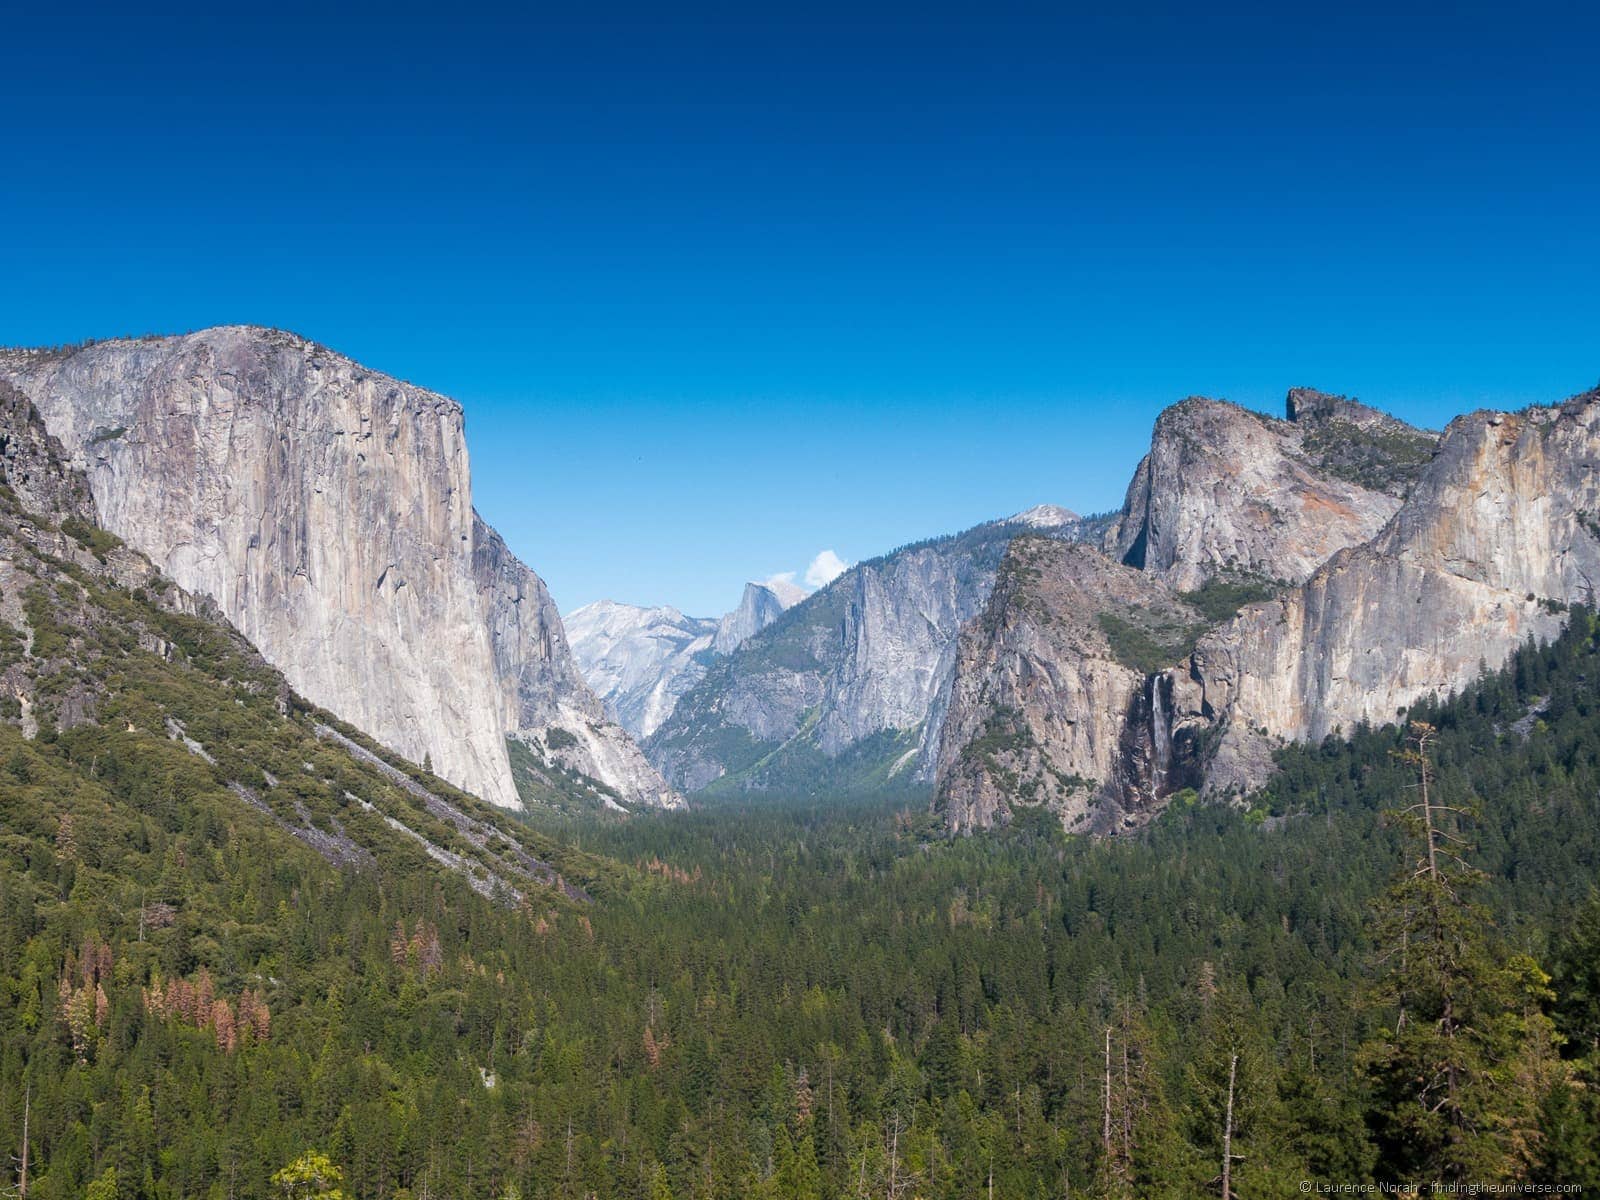
Tunnel view is a wonderful place to get oriented as to the layout of the valley, with views of El Capitan, Half Dome and Bridal Veil Falls. In fact, it’s one of the better places to get shots of Bridal Veil Falls, which you can see to the right of the shot below.
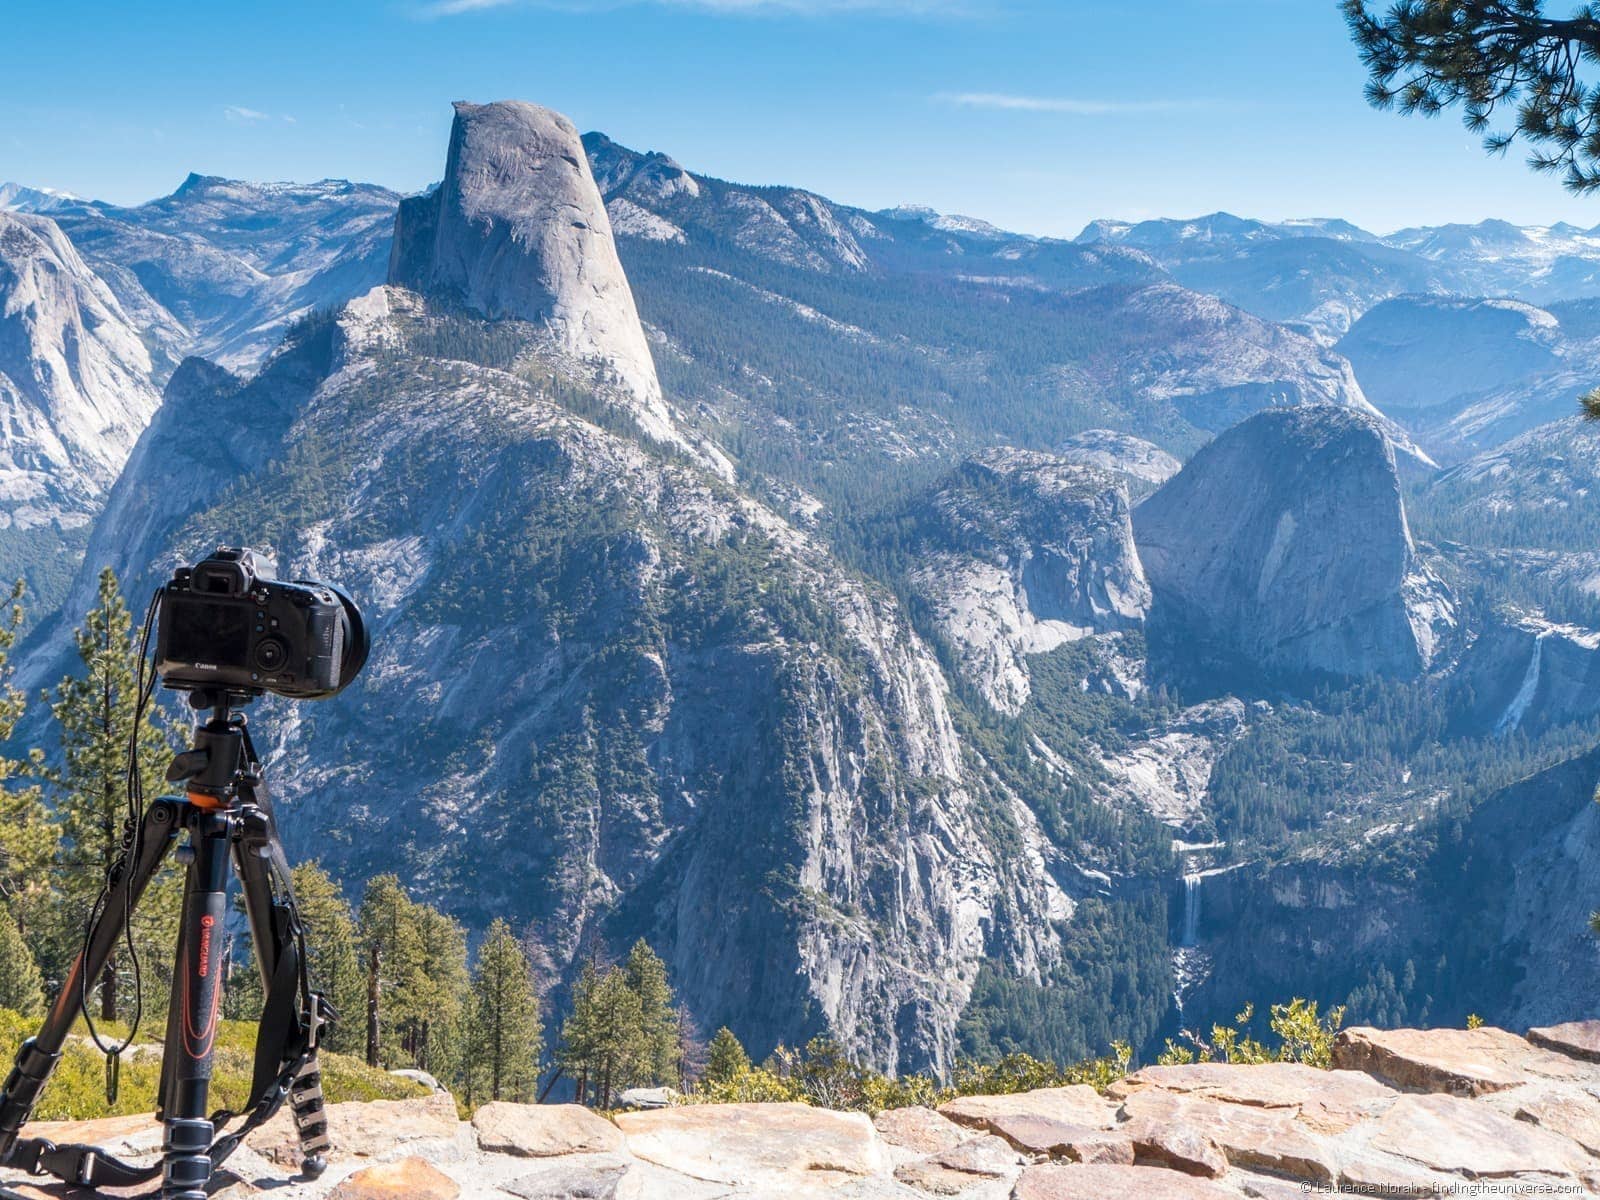
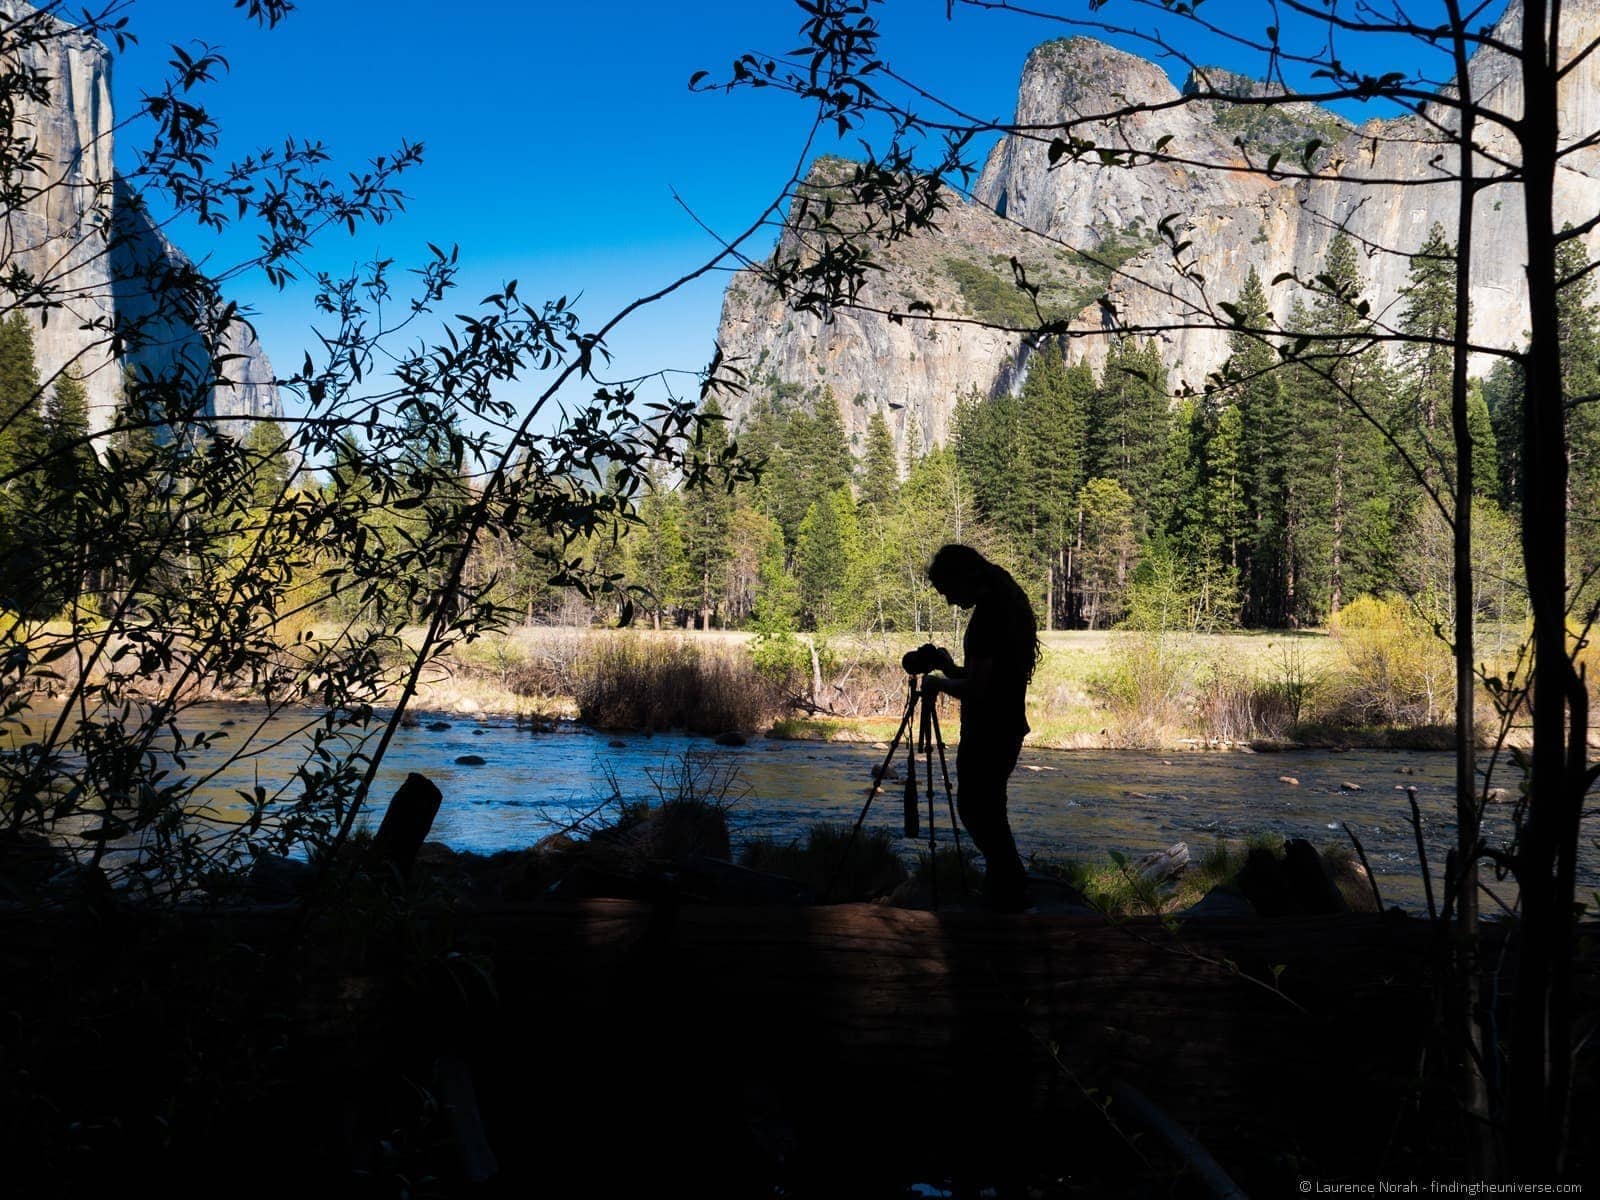
It’s a very busy location, but there’s a large car park and plenty of space for everyone. I thought it would make an excellent location for astrophotography, although it was unfortunately cloudy on the evenings we were there, so I wasn’t able to test out that theory. Here’s the behind the scenes shot of me taking the above:
3. Glacier Point
The majority of the locations in this post are easily accessible from inside the valley, either with your own vehicle or by using the free shuttle bus that pootles around the valley floor.
Glacier point requires a bit more effort, as it’s a 30 mile drive up from the valley floor, which you can either drive yourself, or pay for the bus. Alternatively, if you’re feeling especially fit, it’s a five mile hike up from the valley, with a 3,200ft elevation gain.
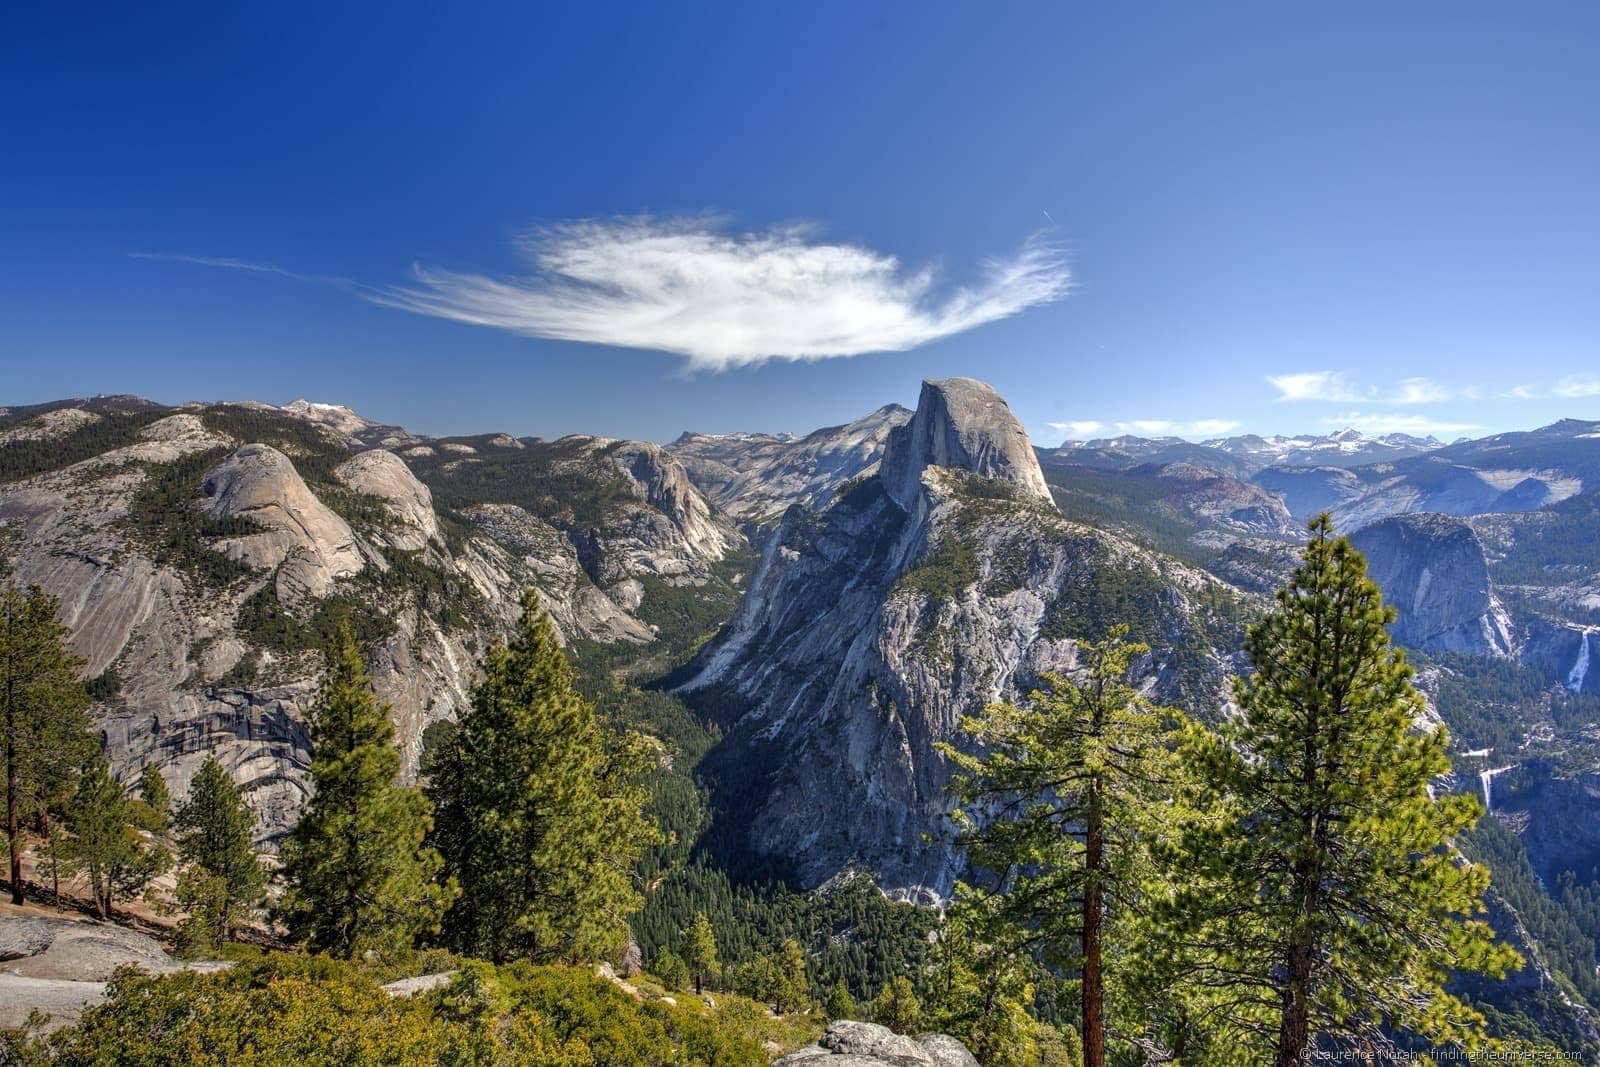
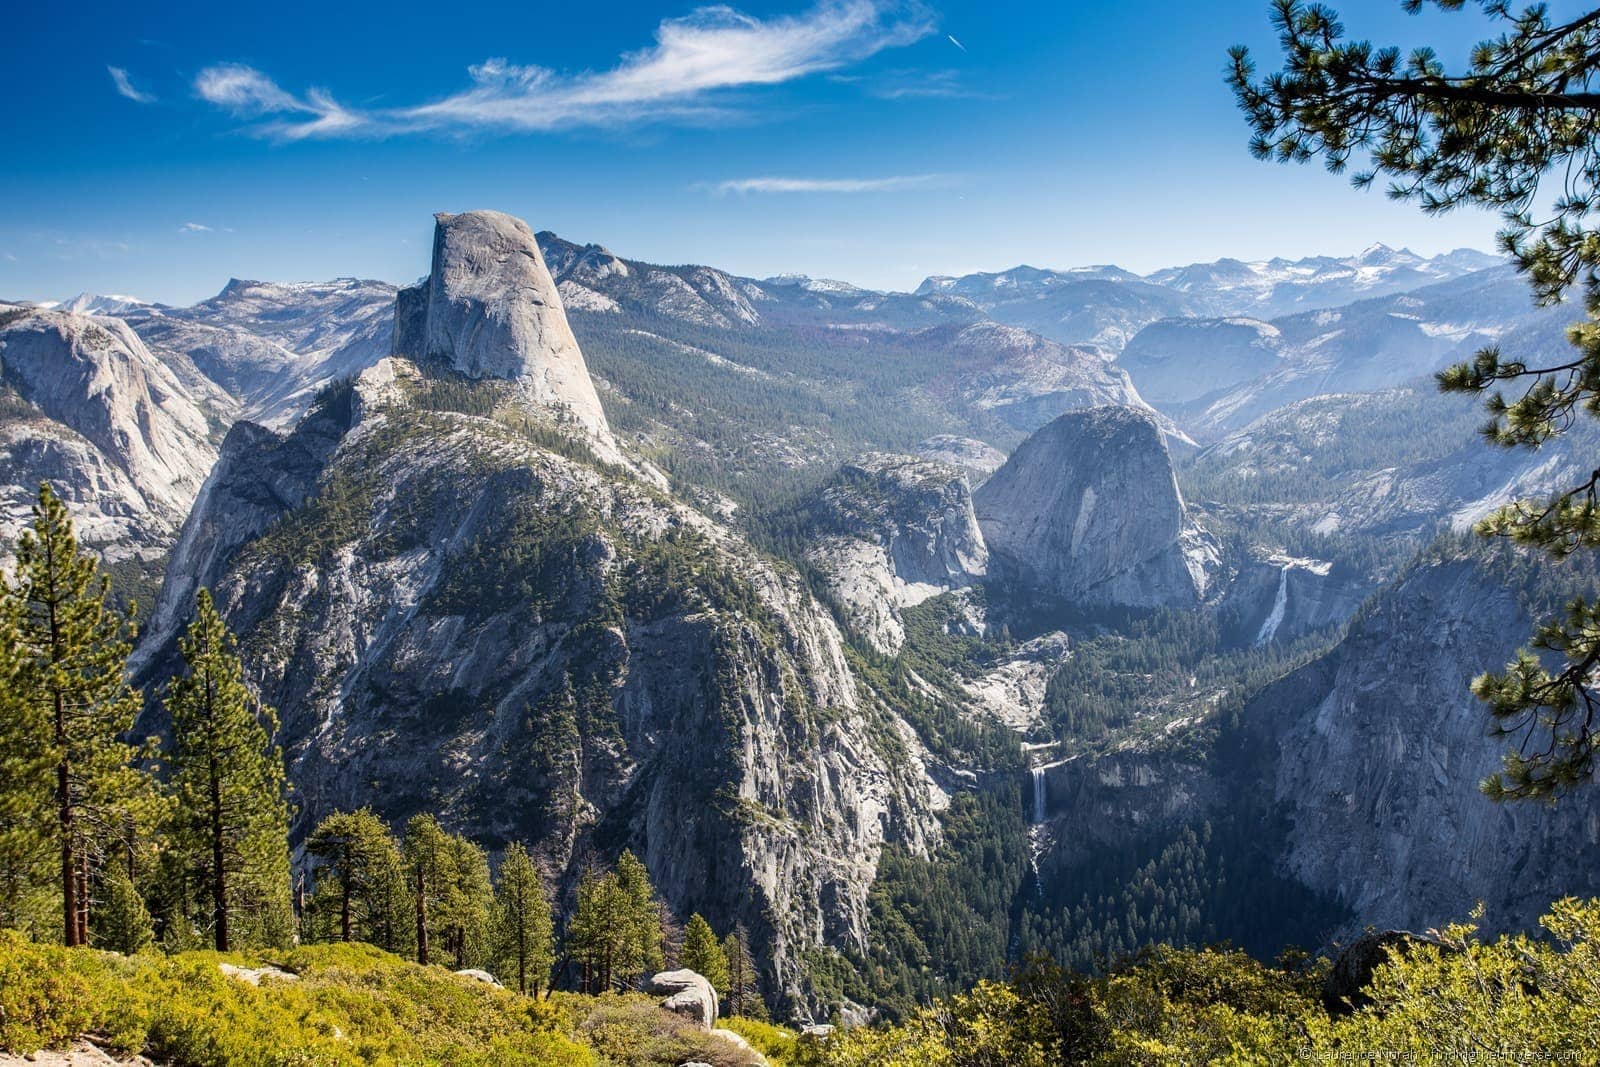
However you choose to get up here, the views are entirely worth it, with spectacular panoramas across the whole valley, with waterfalls cascading all over the place and those impressive rock formations just blowing your mind.
As it’s relatively accessible, it’s also very busy, especially Glacier Point itself. I’d advise stopping off at the viewing point about a mile before Glacier Point itself for slightly less crowded but no less impressive vistas.
There’s an excellent view of Vernal and Nevada Falls from this location, in the lower right of the shot. How small they seem from up here!
4. Half Dome
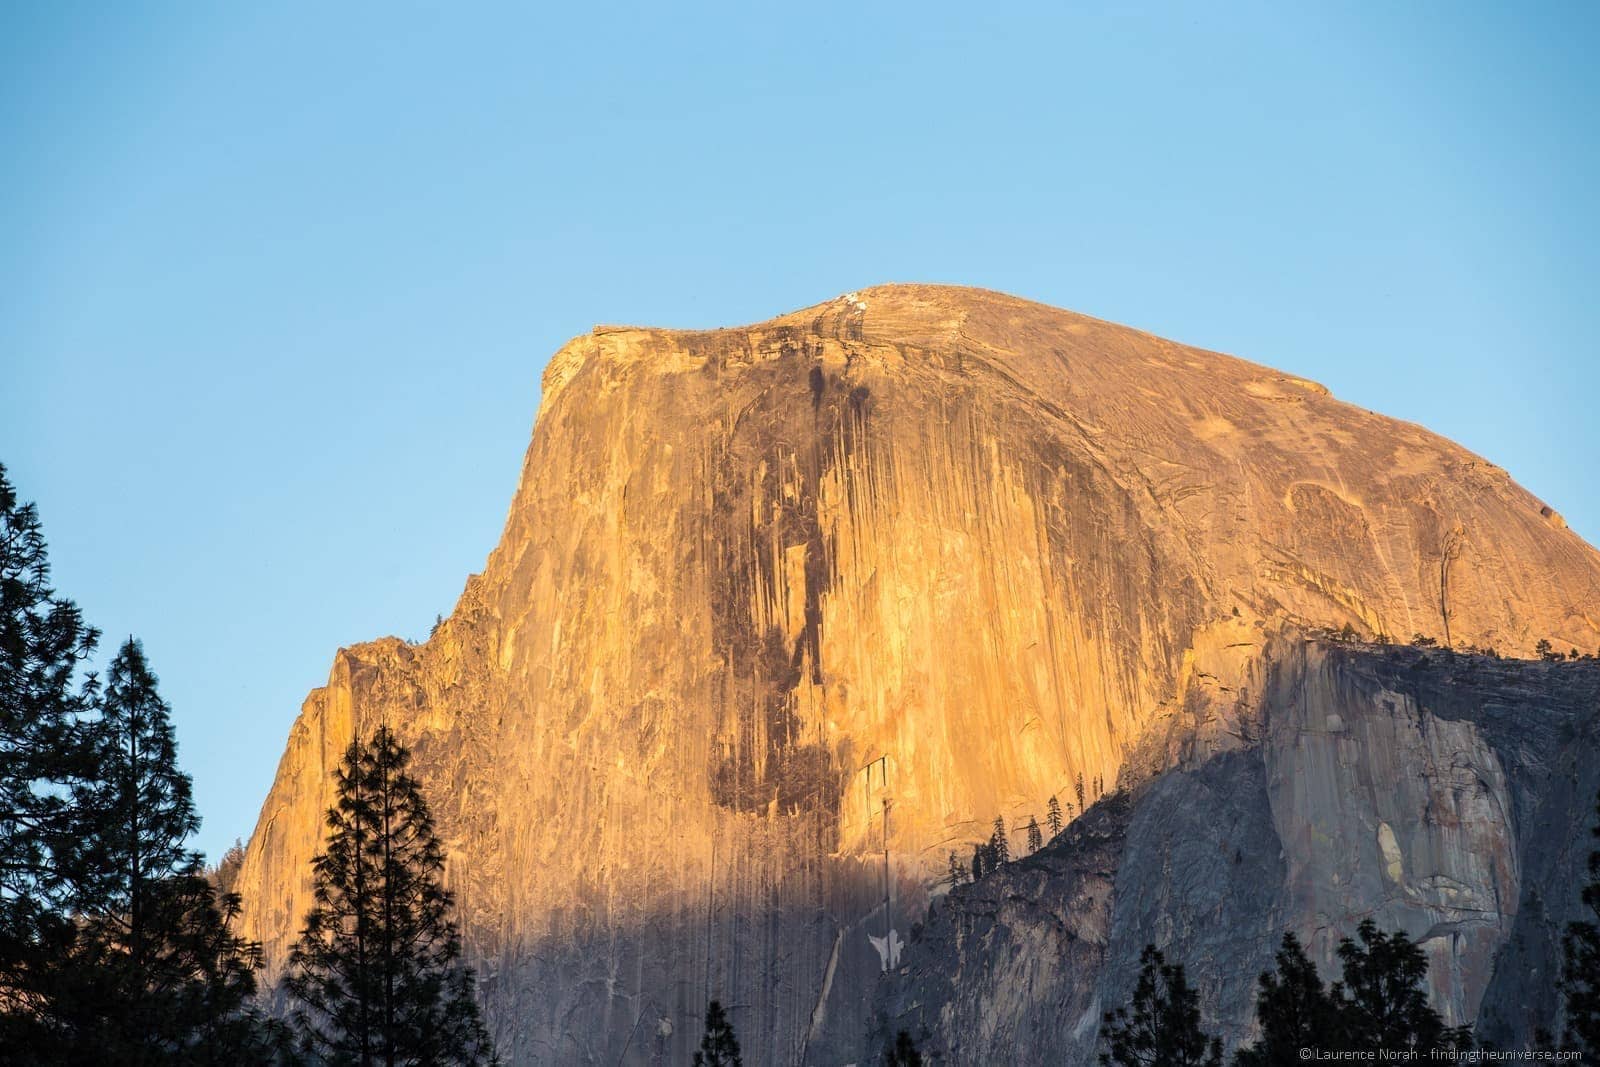
Half Dome is one of the most recognisable rock formations in Yosemite, and the 10-12 hour round-trip hike is a favourite for park visitors.
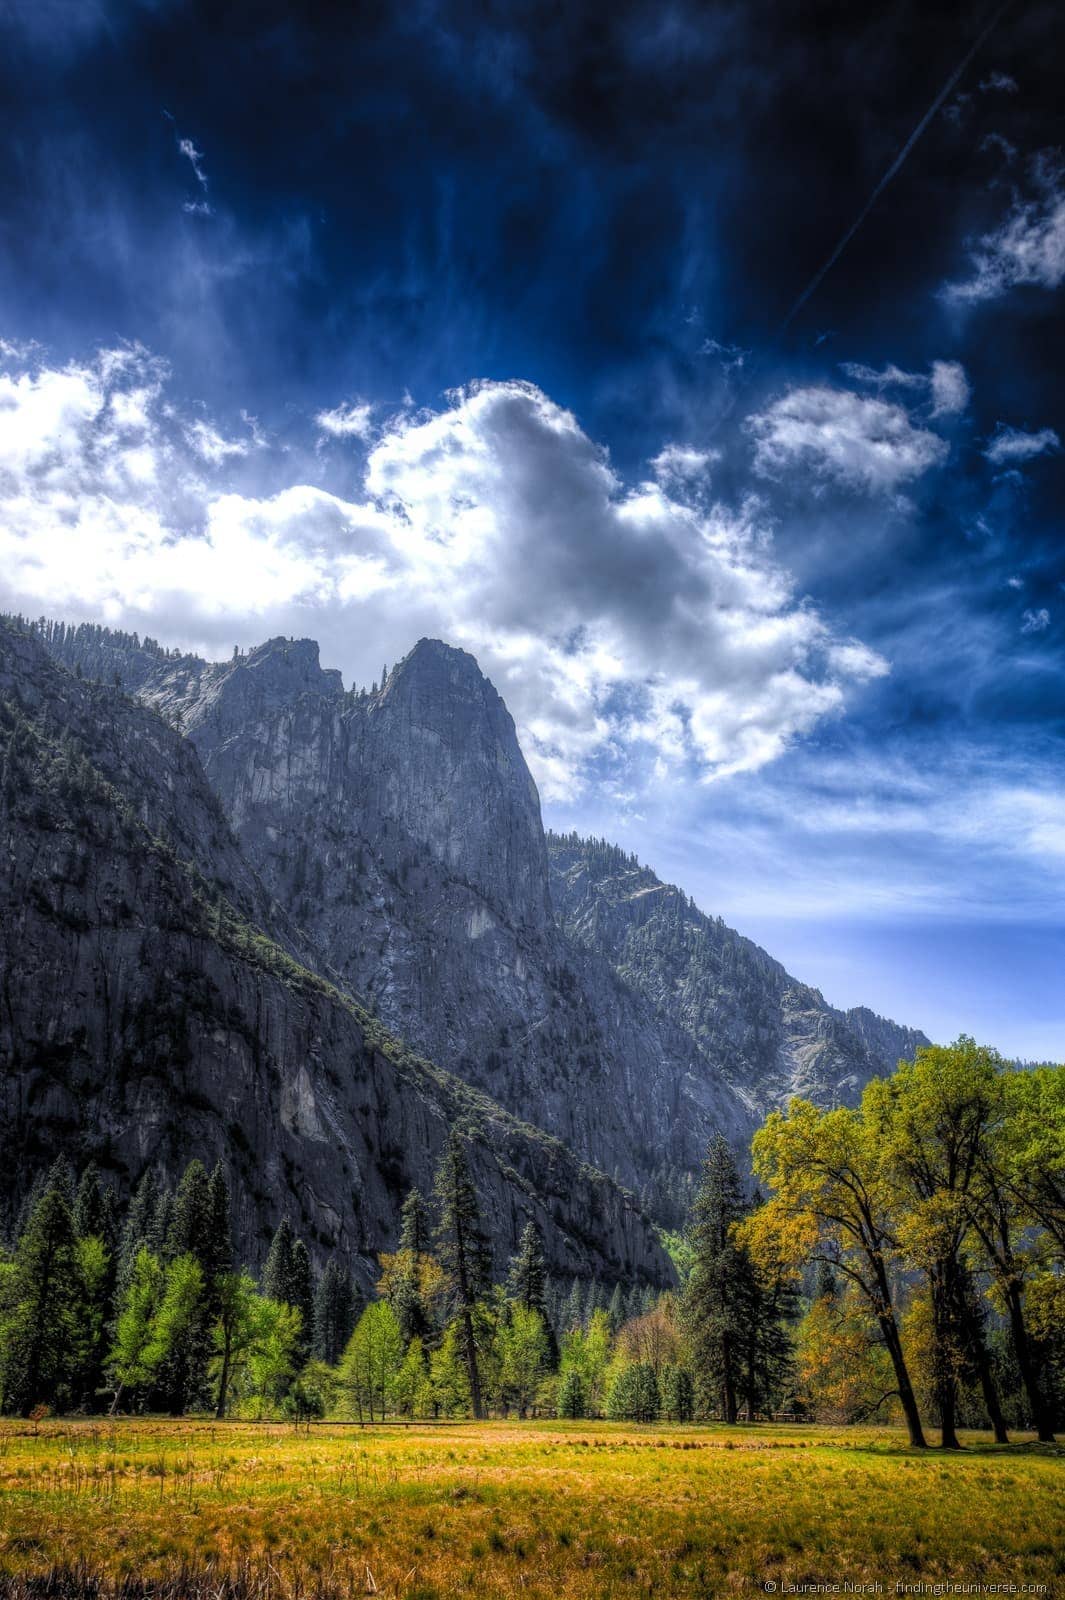
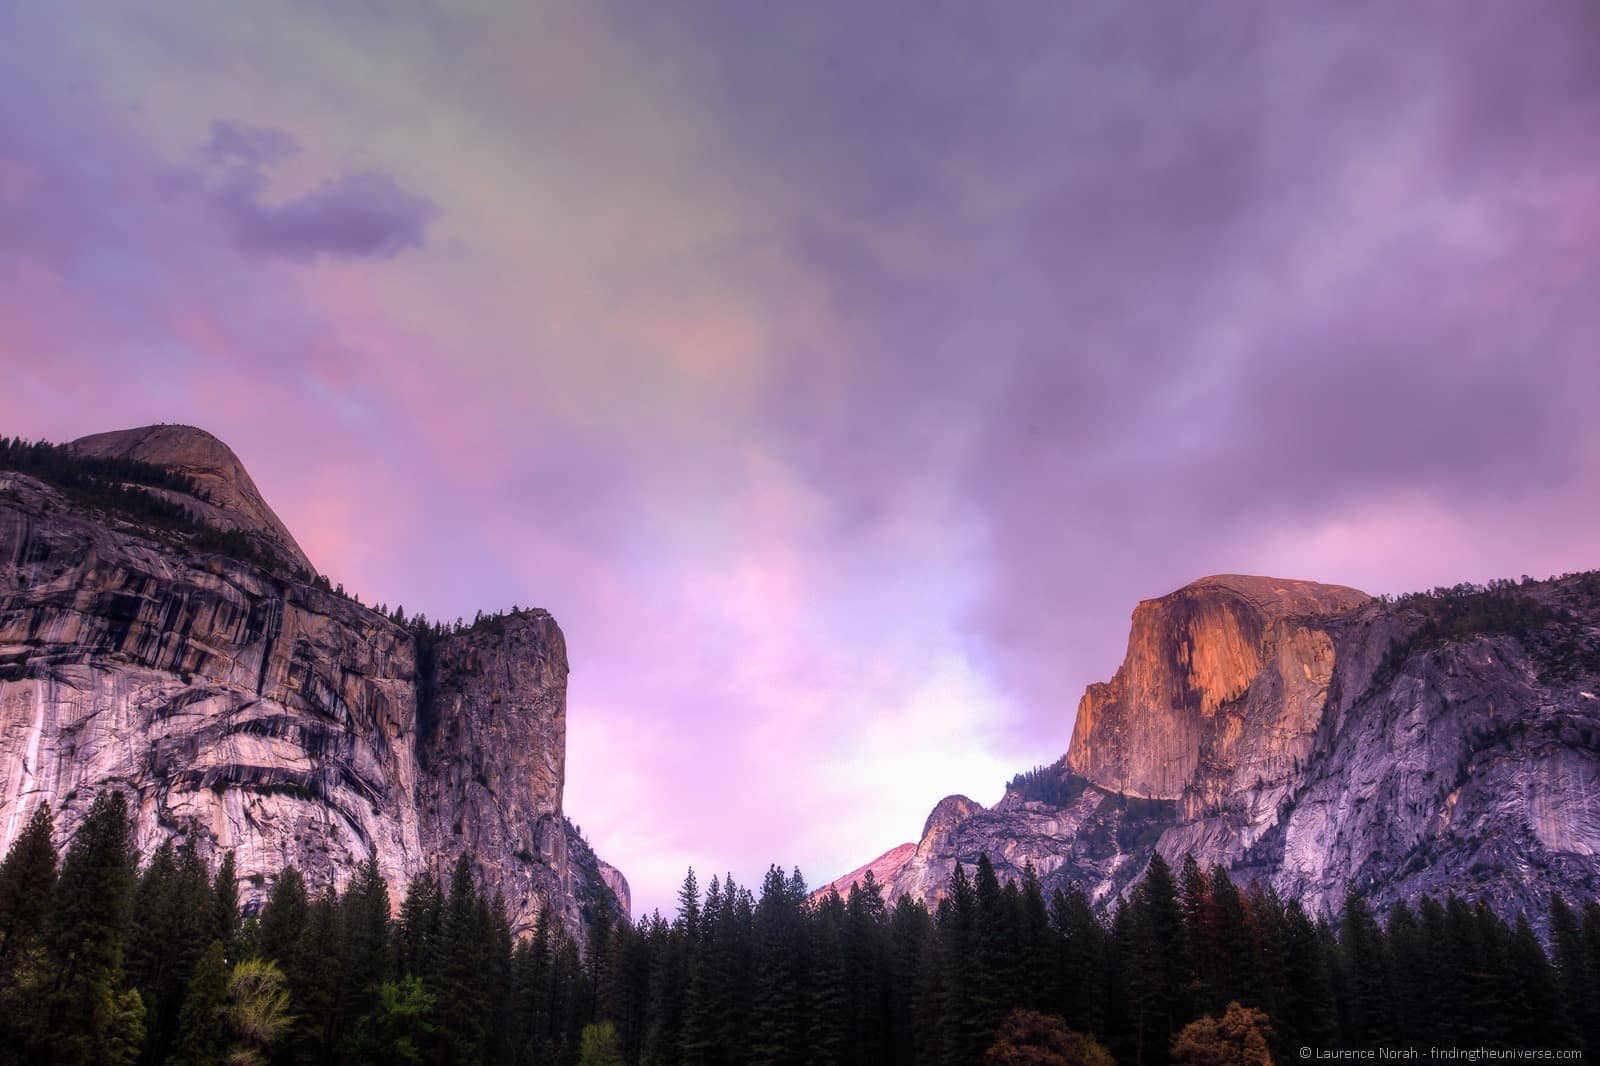
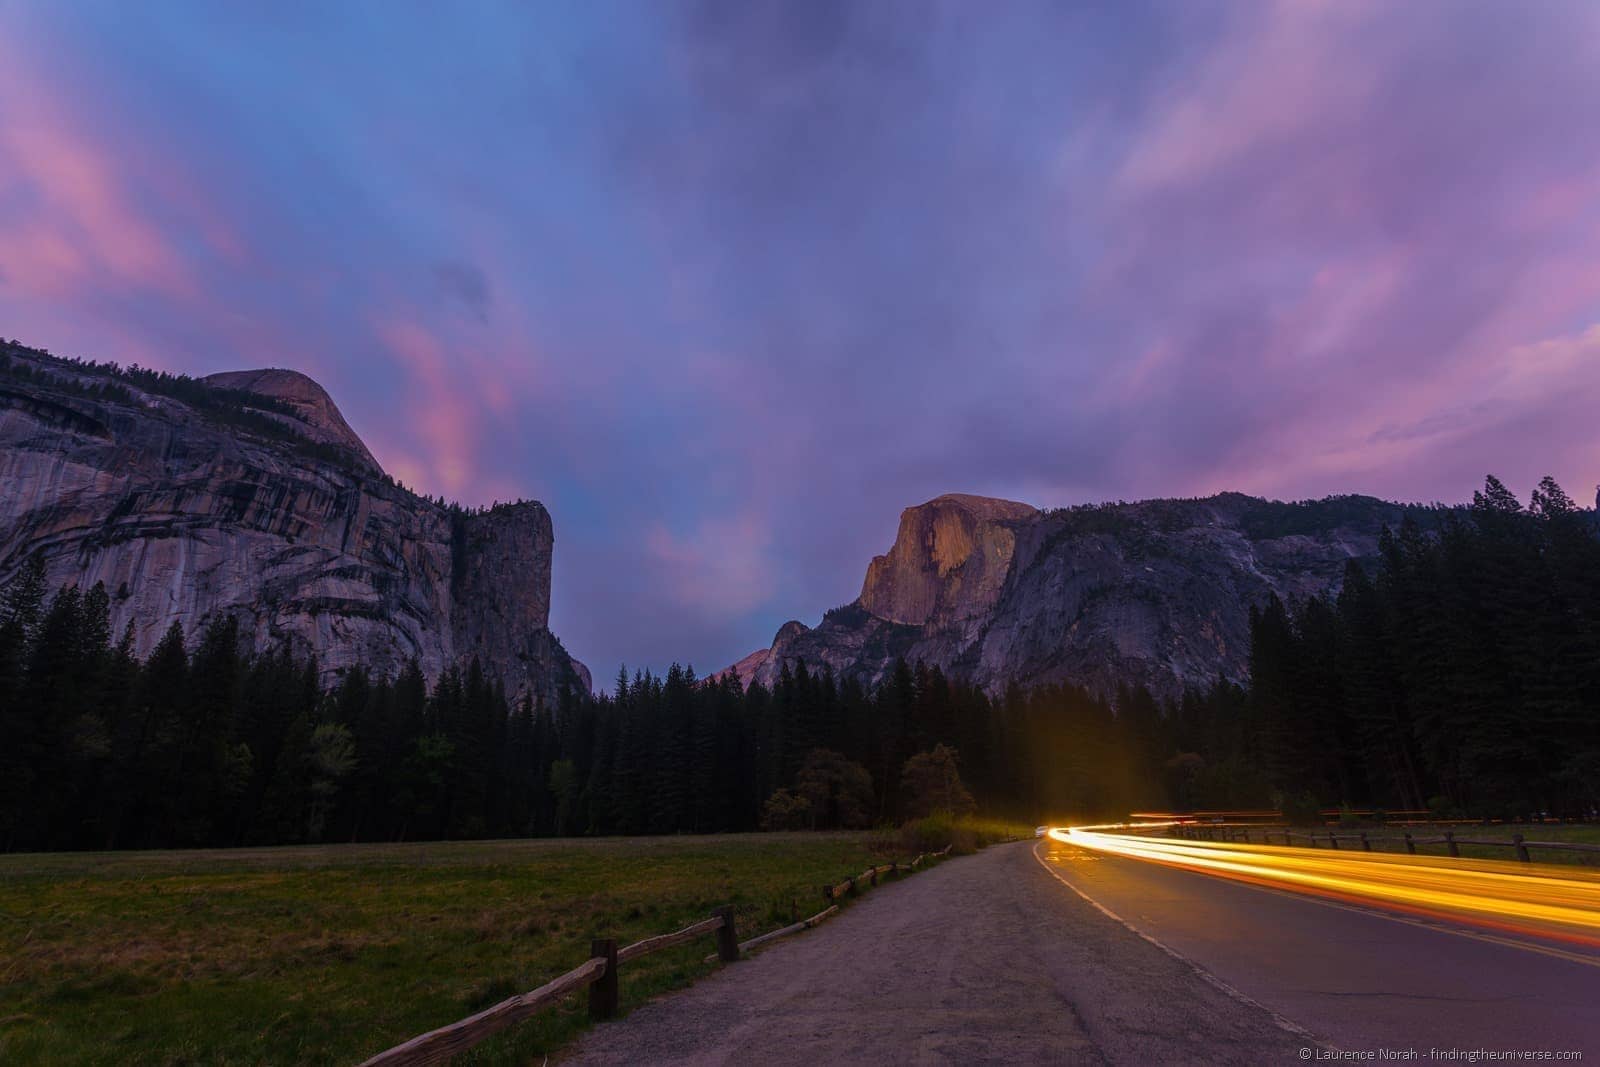
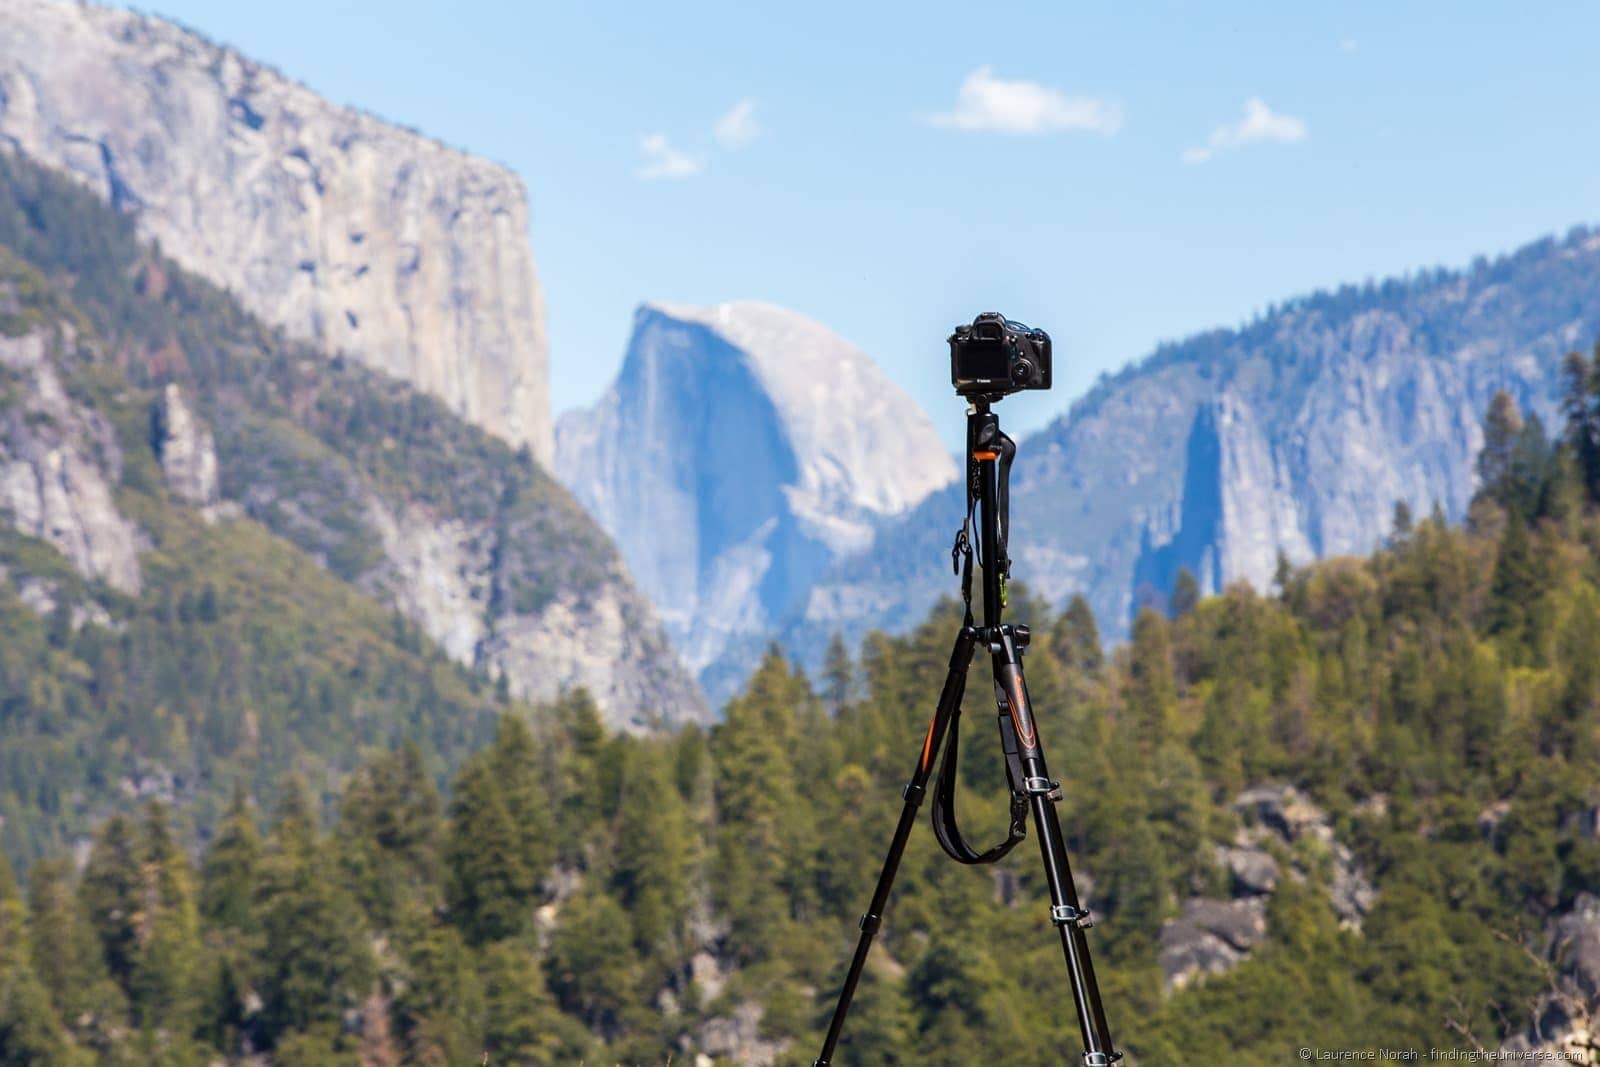
It’s visible from all over the park, although the area outside Curry Village affords some spectacular views, which is where the next two shots were taken from.
You can also get a great view of Half Dome on the way into the park from a viewing point on Big Oak Flat Road, which is also not quite as busy a location as many of the other viewing points.
5. Sentinel Bridge
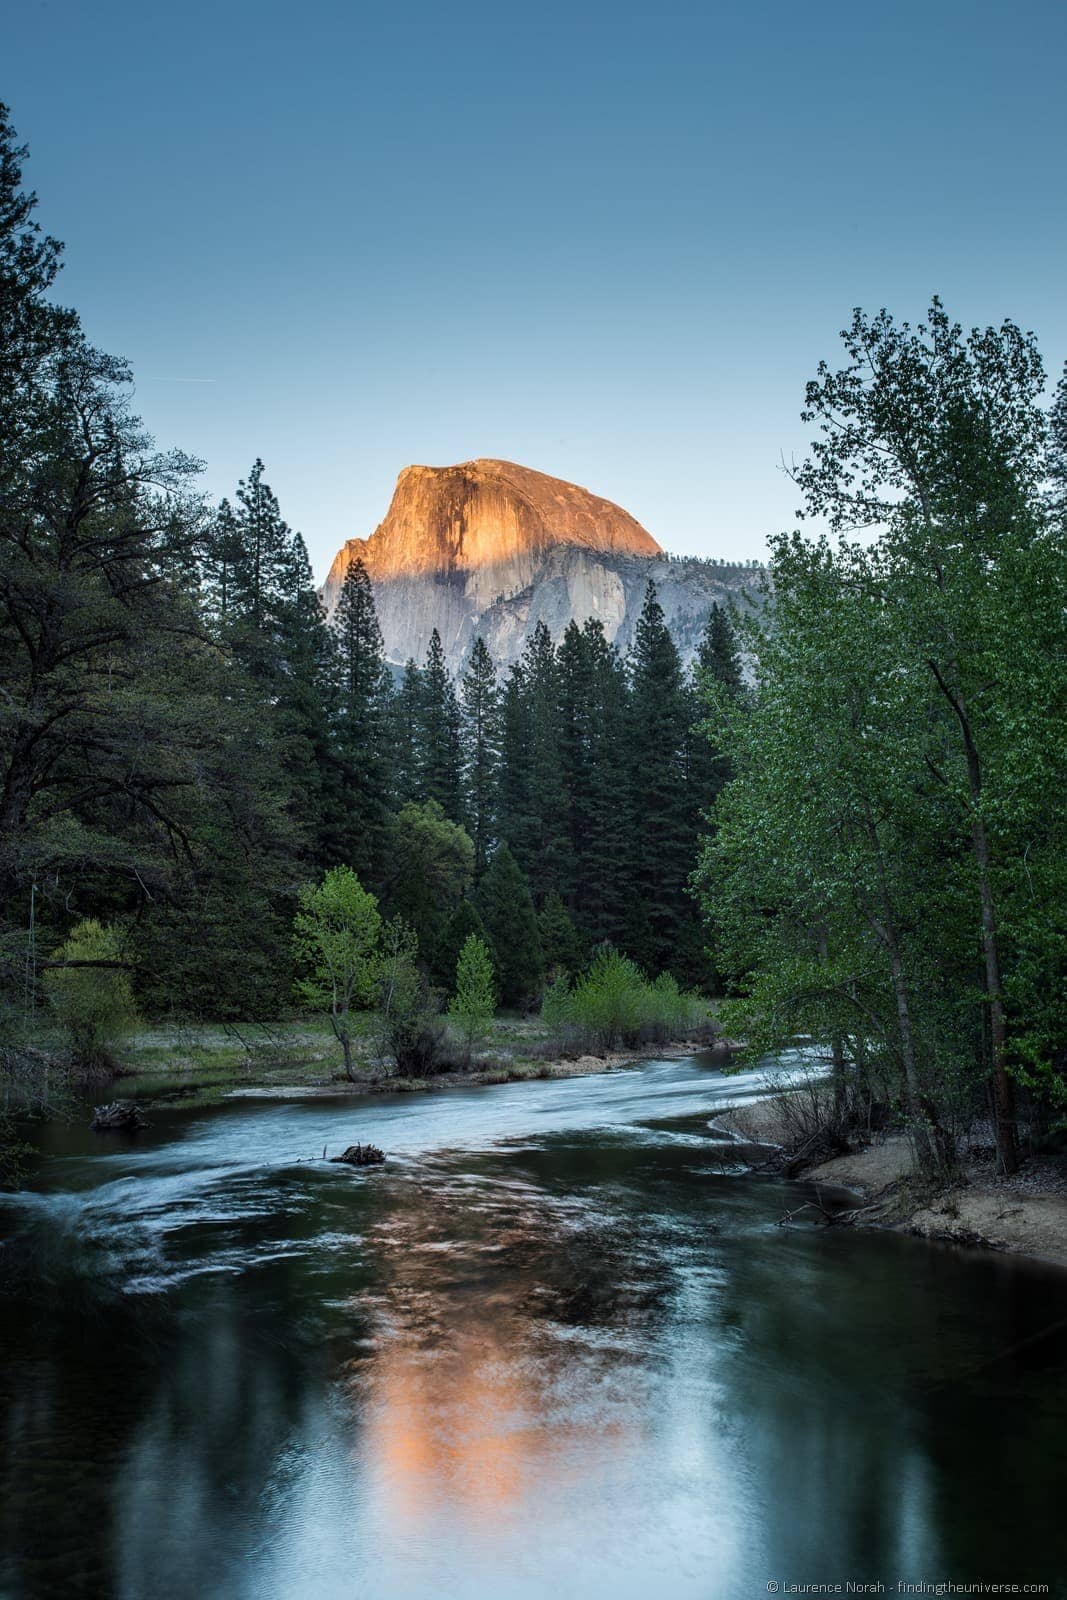
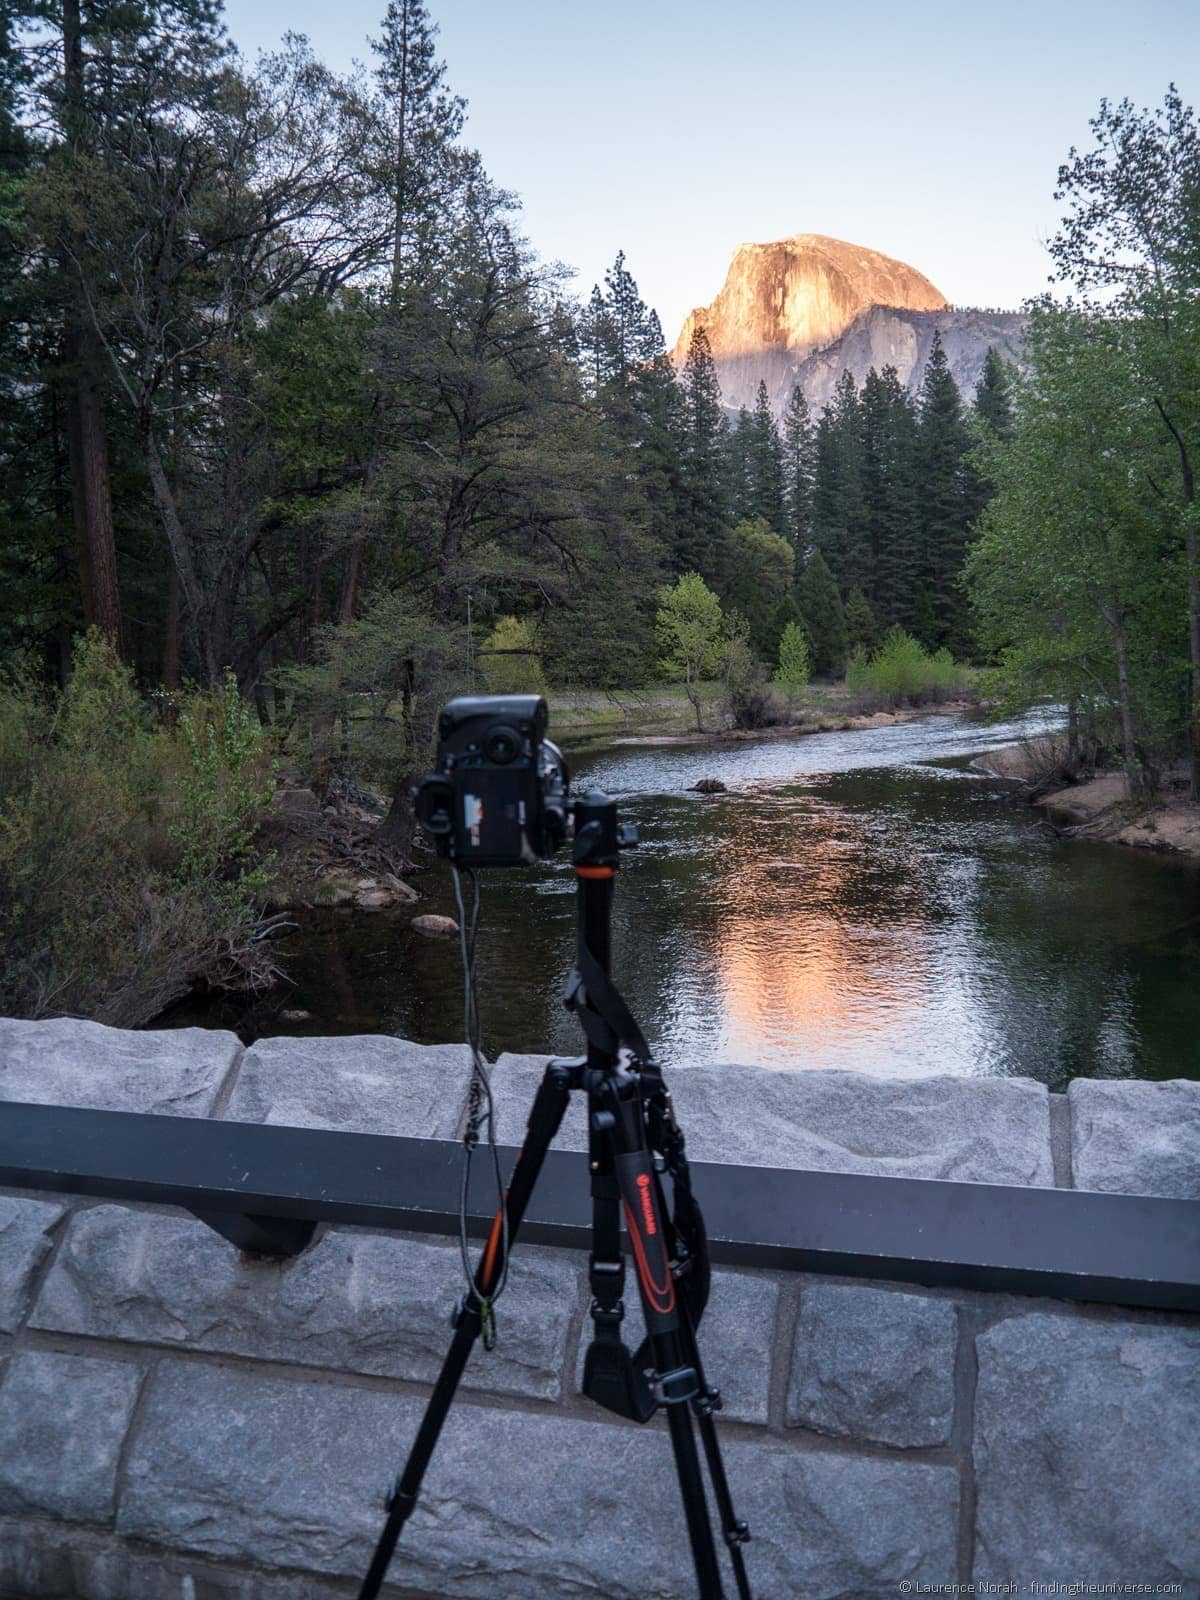
For sunset views of Half Dome, one of my favourite locations had to be Sentinel Bridge. From here you can see the last of the light illuminating this magnificent rock formation, with the added bonus that there’s a river for reflections.
This was certainly a popular spot, but I was able to pop my tripod in amongst the other tripods to get the shot.
6. Valley View
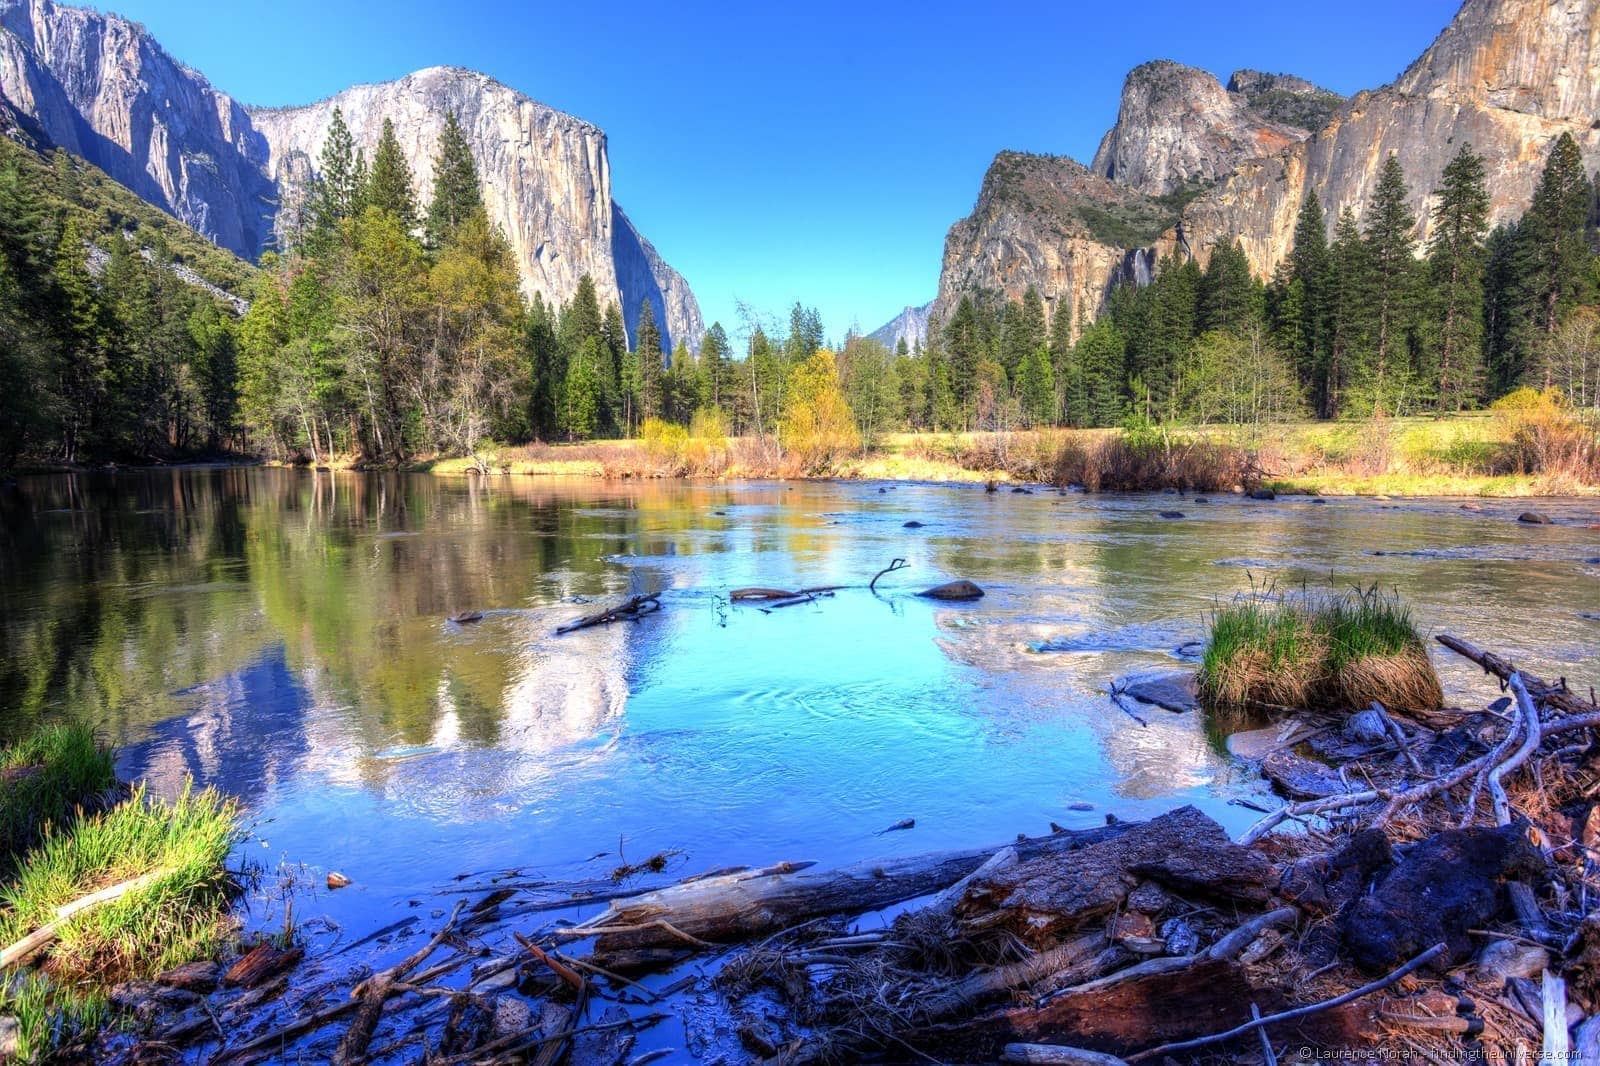
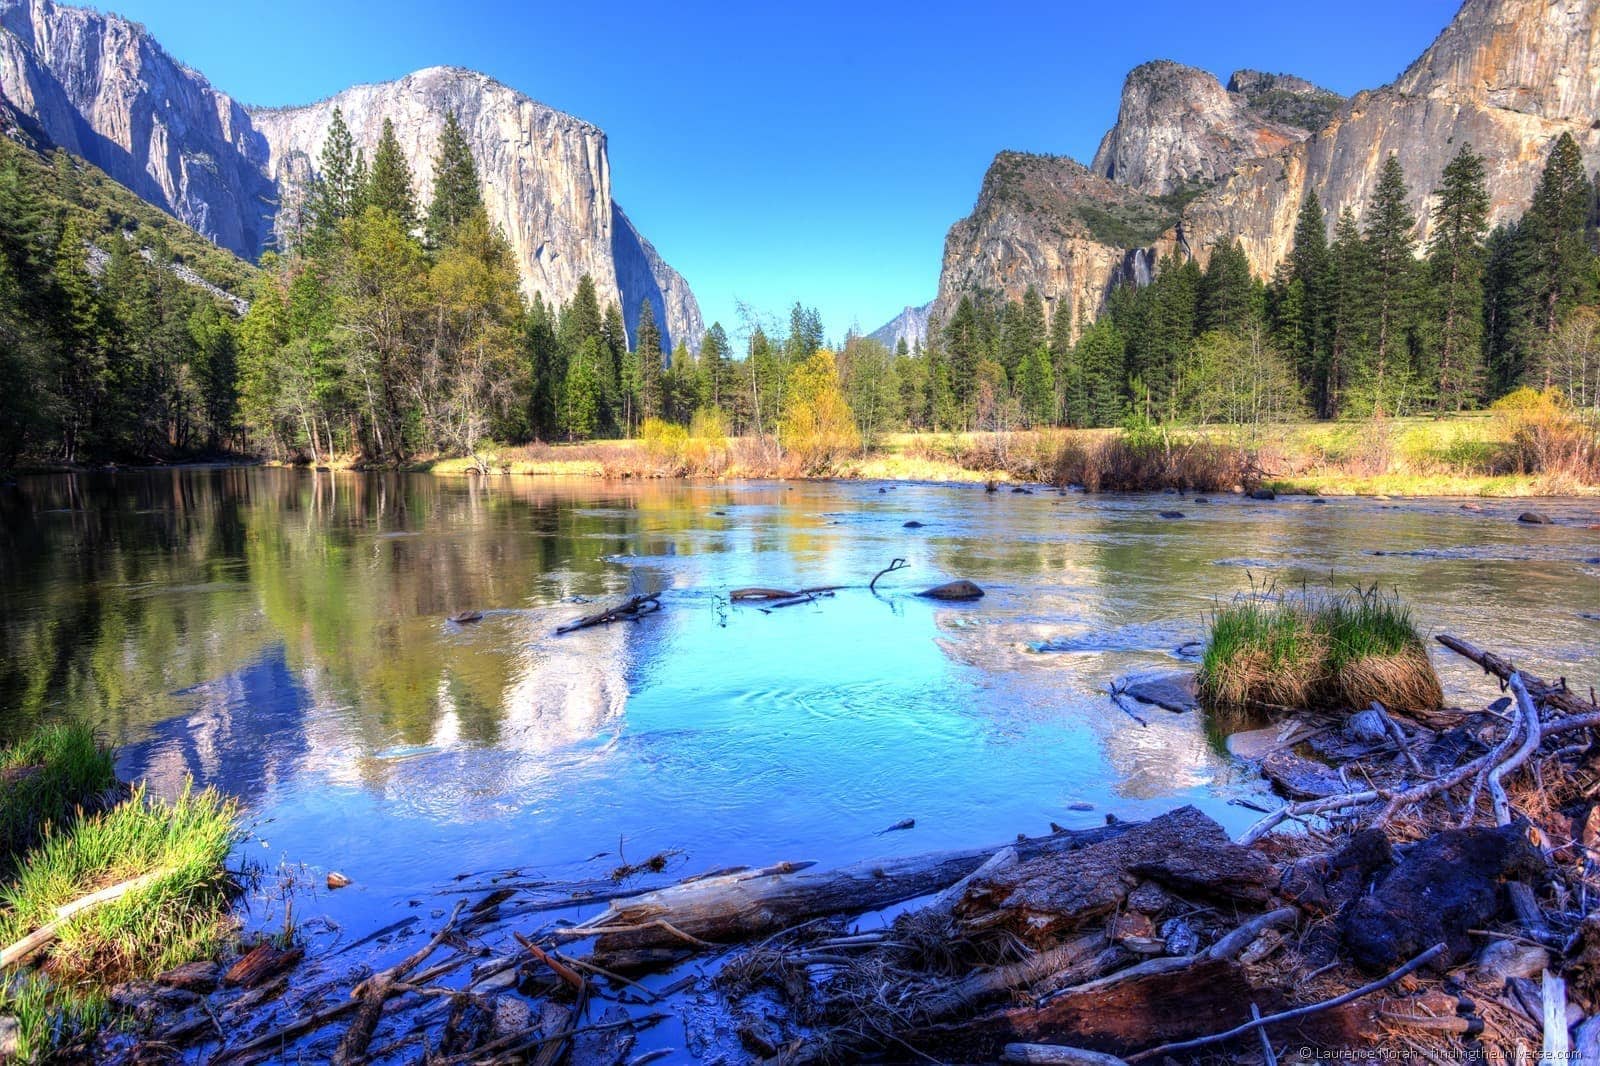
Valley View is a wonderful location to get shots of El Capitan, especially because of the large, slow flowing river that affords plenty of reflection opportunities. This is also an excellent place to get sunset shots on more cloudy days.
7. Yosemite Falls
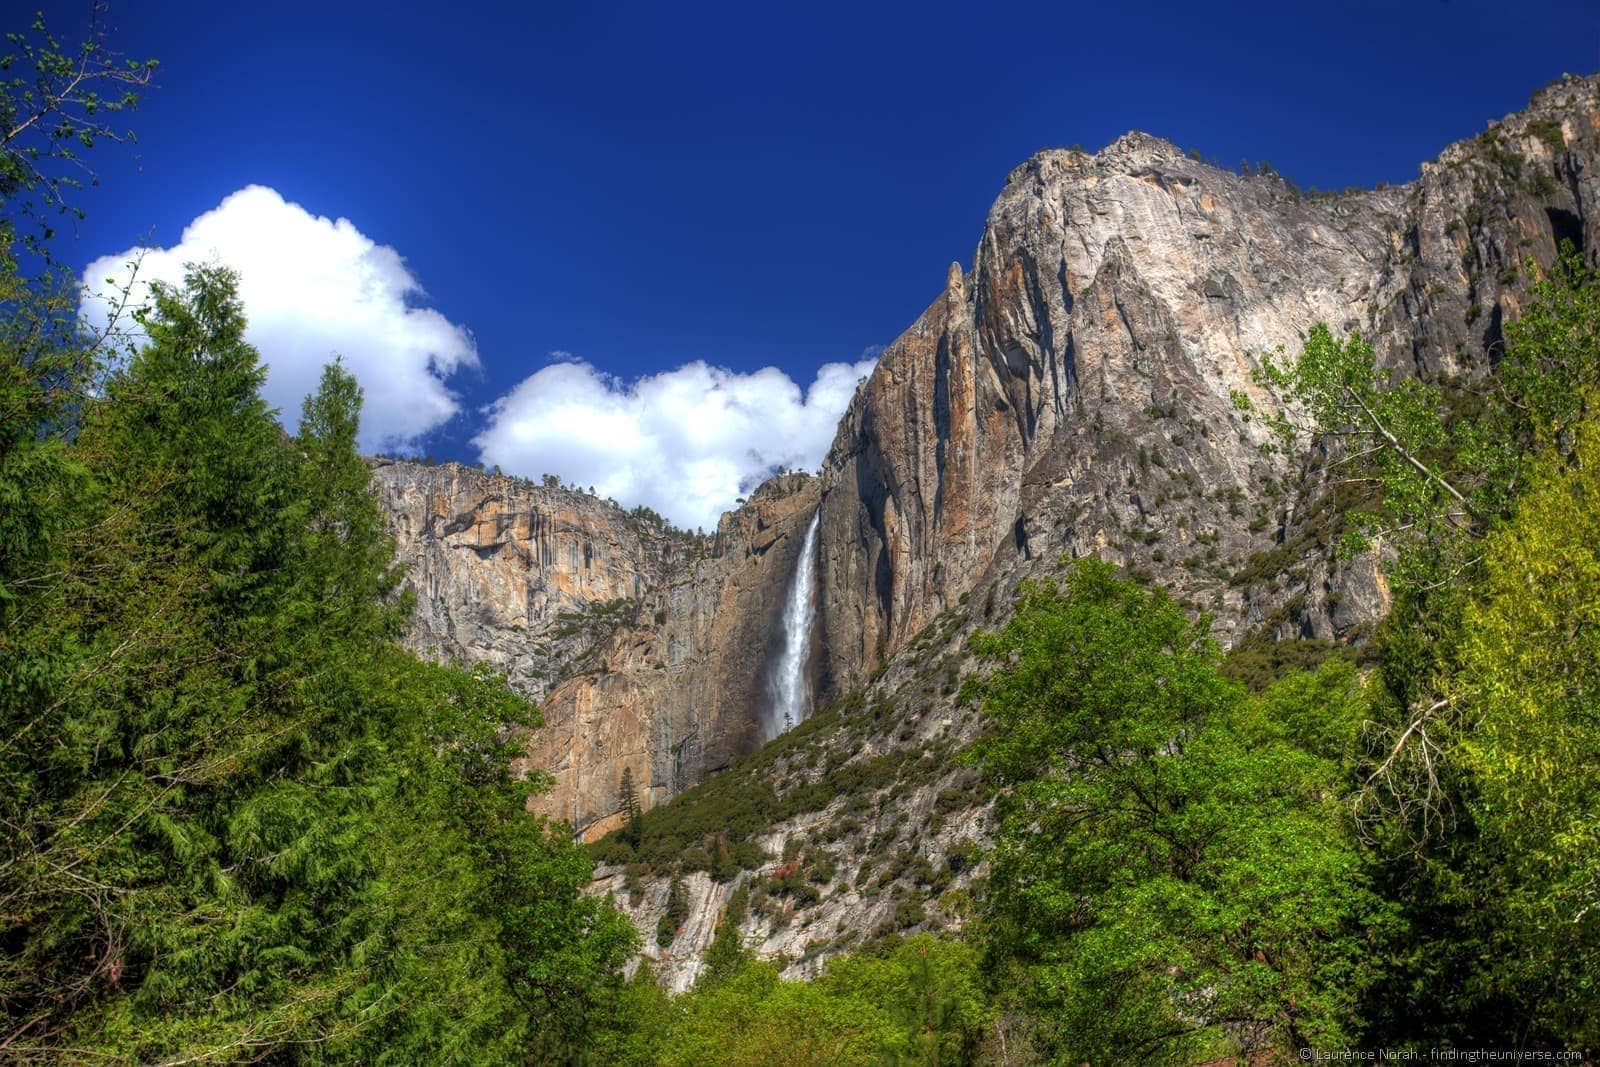
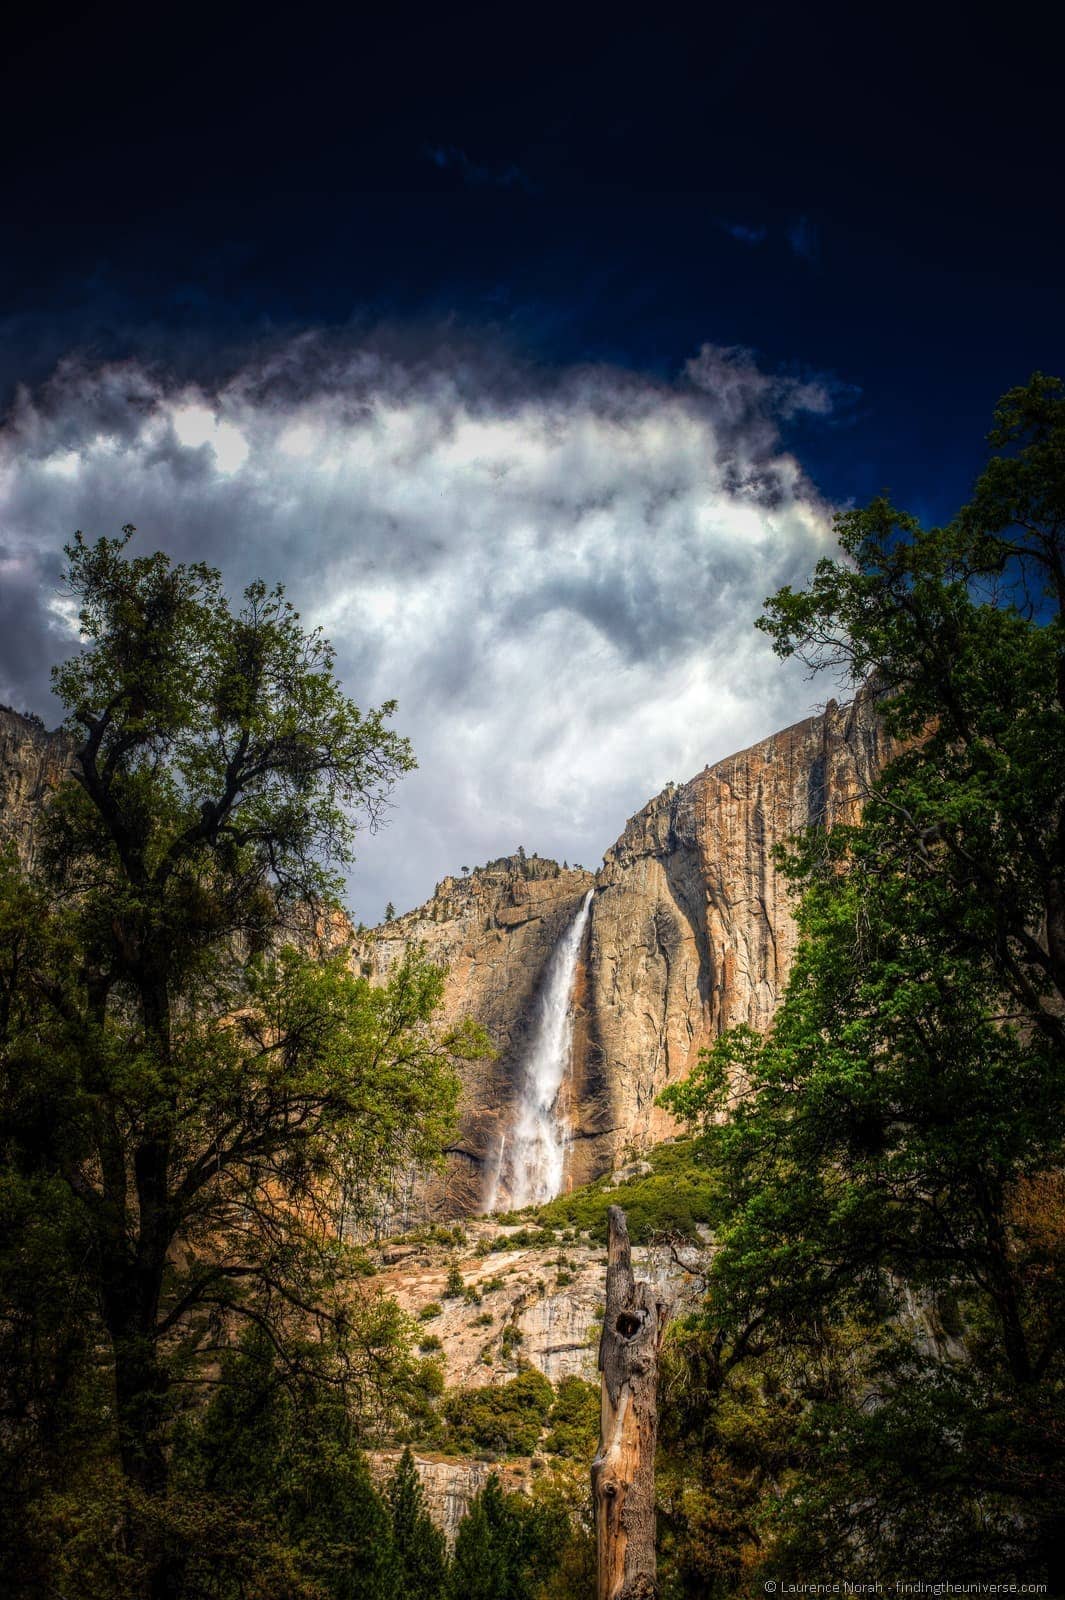
One of the more magnificent falls in all of Yosemite, and split into the Lower and Upper falls, these falls can be shot from a variety of locations. For the upper falls, I felt that near the Ansel Adams gallery there were some good opportunities to capture them in all their glory.
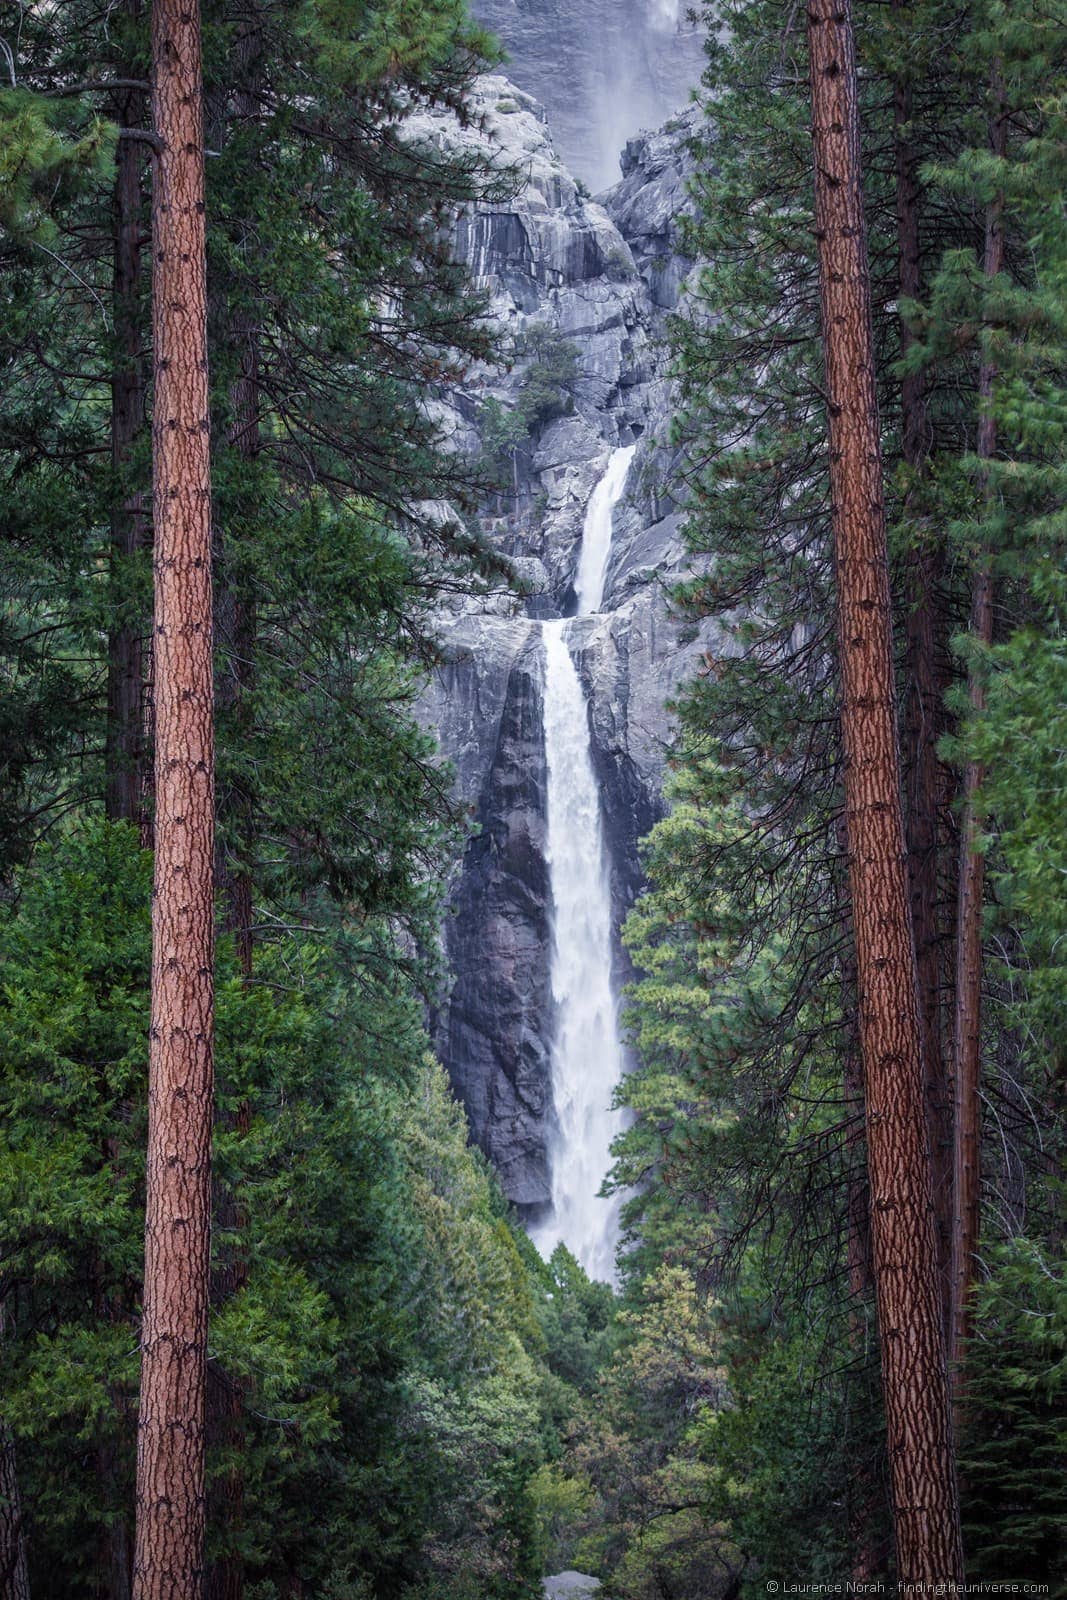
The lower falls are easily accessible by foot, but don’t be too hasty to get close. My favourite shots were with a long lens almost from the road, using the forest to provide some natural framing.
8. Bridalveil Falls
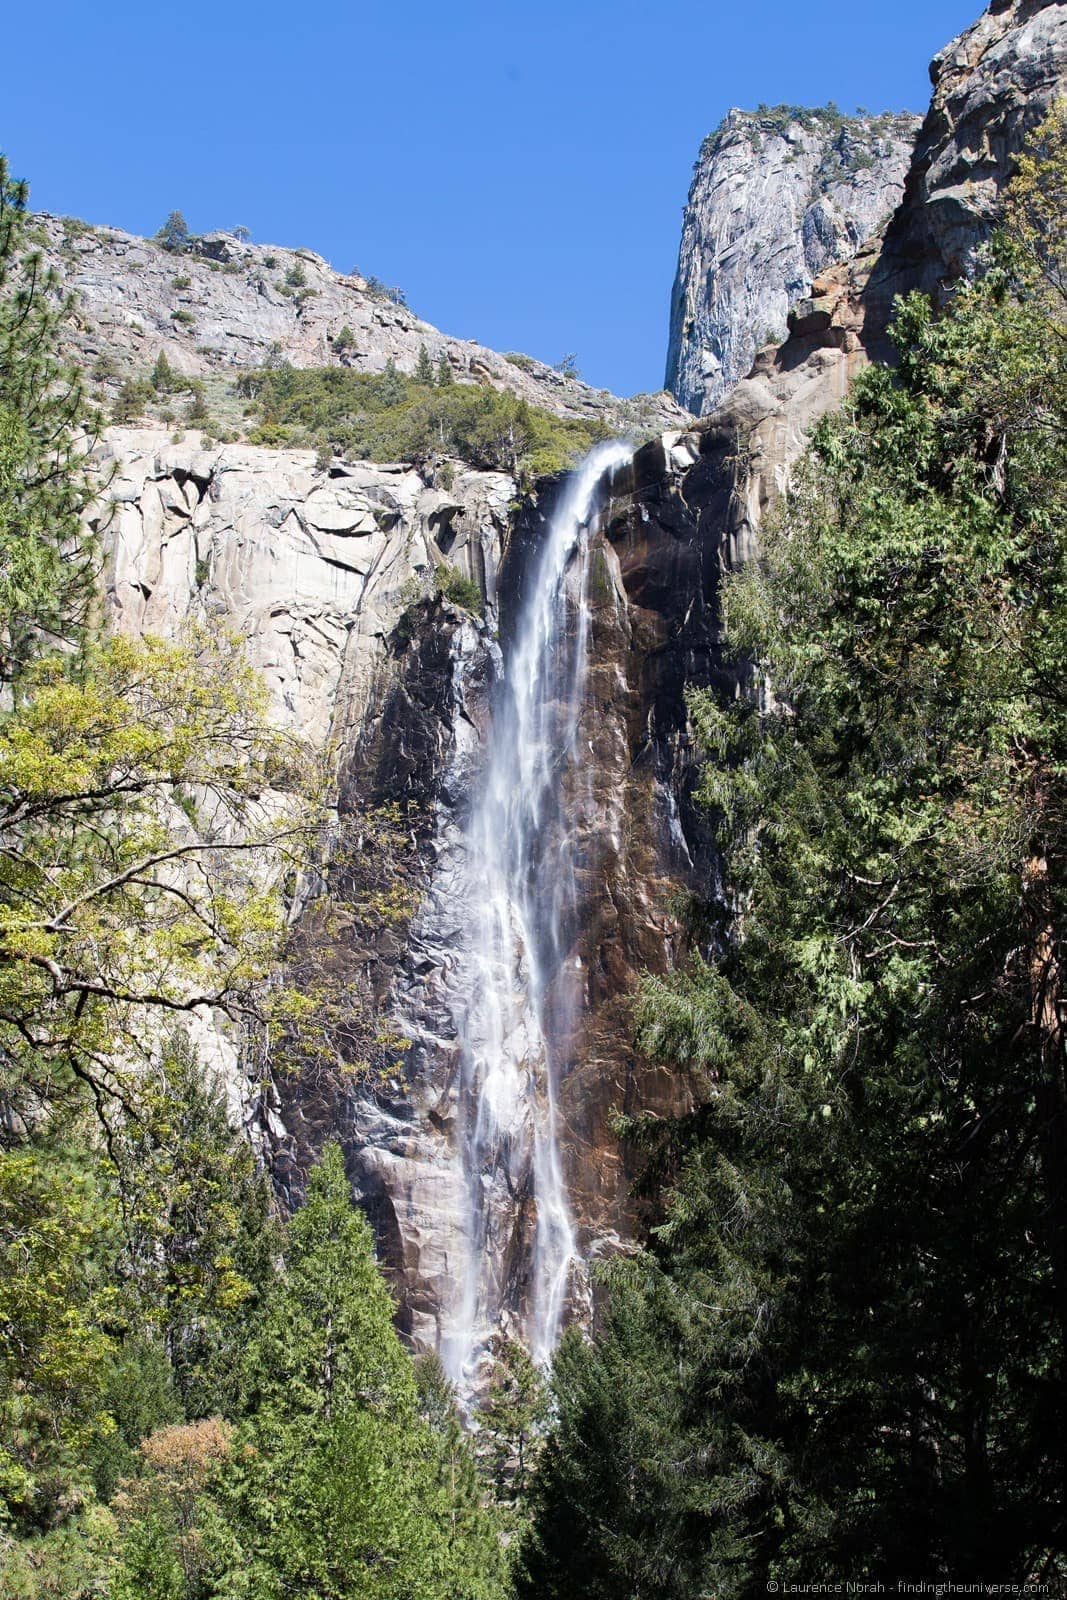
Like Lower Yosemite Falls, Bridalveil falls can be seen from a number of locations in the park, and access to them is very easy via the Bridalveil Falls path. Also, like Lower Yosemite Falls, the best place to shoot them is definitely not the viewing point – it’s crowded and the angle is awkward. Instead, either shoot them from the car park at the trail head, or from somewhere where their grandeur is more obvious, such as the previously mentioned Tunnel View.
Well, those were some of my favourite spots in Yosemite for photography. As you’ll have noticed from many of these shots, I had my camera set up on a tripod – in this case the Vanguard VEO.
I’m proud to be a Vanguard Pro, and I find their VEO range to be perfect for travel, offering a great mix of portability and stability in a well priced package.
Discounted Price for Vanguard Products for our Readers!
As Vanguard Ambassadors we are able to offer you a unique discount code which will get you 20% off everything in the Vanguard USA, Vanguard UK, Vanguard Spain, and Vanguard Germany online store websites. Just use code FindingTheUniverse (case sensitive) on checkout.
Further Reading and other Resources for Photographing Yosemite
If you want more information, both on photography in Yosemite, and on visiting in general, then I can highly recommend the following resources:
- The Photographers Guide to Yosemite, by Michael Fyre. This excellent book covers all the highlights of the park, best times to shoot, tips on gear and much more, in a handily pocket sized edition. Very much recommended.
- This excellent post from Jess introduces the park, and will help you get the most out of one day in Yosemite.
- If you’re visiting in winter, you might want to try attending the traditional Christmas Bracebridge Dinner
- Looking for more epic photography locations around the world? We have a guide to hiking Havasu Falls, the best photo spots in San Francisco, a guide to sunset and sunrise at the Grand Canyon plus many more in our other photography location guides
- If you are looking for a tripod (and if you’re serious about your photography, you absolutely should have one!), then Vanguard have an excellent range. The VEO system I was using for this shoot is specifically designed for travel, meaning it’s super-light and easy to use, plus they won’t break the bank.
- If you’re in the market for a new camera, check out my definitive guide to the best travel camera, with something for every budget
- Finally, if you’re looking to learn more about photography, I run an online travel photography course which covers everything I know about photography, plus you get one on one feedback directly from me as you go! Check it out and let me know if you have any questions.
And that sums up some of my favourite spots in Yosemite for photography! Let me know if you’ve got any favourites of your own in the comments below, and do check out some of my other photography location guides here.

MARVIN MURRAY says
great shots and advise, thanks, this will be my first trip to yosemite in october with national parks media photo workshop for 4 days, got an extra day on front & back end of workshop then to sequoia & kings, any advise down there? will be there 6 days. traveling from rush creek to wuksachi, then 6 days down there, any advise?
Laurence Norah says
Hi Marvin – no worries! Unfortunately I haven’t photographed those two areas you mention, so can’t give any specific advice 🙁 I hope you have a great time though, Yosemite is stunning!
Donald Sharpe says
Great job! Many thanks for the info!
Laurence Norah says
Our pleasure Donald – have a great trip!
Ashish says
Thanks for sharing! Very helpful article! Heading to the valley tomorrow 🙂
Diogo Santos says
Amazing POST!!!! I’m going Yosemite in a couple of days and this post is like a little perfect guide! MANY THANKS.
just a question… what filters are you using? I have some filters from K&F concept but the result is awful comparing to yours!!
Laurence says
Thanks Diogo 🙂 I use Haida ND filters – you can see my full gear list right here: https://www.findingtheuniverse.com/our-photography-gear/
Laurence says
We were there for two nights, which gave us plenty of time to see all the above sights as well as a visit to the Mariposa Grove on the way out! Obviously you can spend a great deal more time here 🙂