
I’ve been a working travel photographer for more than fifteen years, and I still come home from every trip with a memory card holding two or three thousand frames. Taking photos is the easy part. The bit where most people get stuck is what to actually do with them once you’re home, sitting on a card full of a trip you don’t want to lose.
This guide goes through the exact workflow I run after every trip, from the moment the card comes out of the camera to the point where my favourite shots are backed up in three places, organised so I can find them in seconds, and actually being enjoyed instead of slowly rotting in a folder called “New Folder (2)”.
I’ll tell you which steps really matter and which you can skip, including the answer to a question I’m often asked: whether you can make any money from your travel photos. (Short version, it’s a lot harder than the internet makes it sound, and I’ll explain why further down.)
Table of Contents:
Quick Take: What to Do With Your Travel Photos
Here’s the workflow in order:
- Get everything off the card and cull the rejects
- Back up your photos before you touch anything else. This is the one step you cannot skip.
- Organise them so you can find a specific shot months later.
- Edit your keepers, lightly unless editing is your thing.
- Share them and build somewhere to keep your best work.
- Print the ones you love, and treat selling as a bonus rather than a plan.
If you only do one thing on this list, do number two. A backed-up photo can survive a lost laptop, a stolen bag or a dead hard drive. An un-backed-up photo is one accident away from gone, and I’ve watched friends learn that the expensive way.
Step 1: Get Your Photos Off the Card and Cull the Keepers
The first job is just to get everything off the memory card and onto a computer. Memory cards are the most fragile link in the whole chain. They get reused, reformatted, dropped and lost, and a card sitting in a drawer is a single point of failure waiting to happen, not a backup.
Copy the lot across, then leave the card alone until the photos are safely in at least two places (more on that in the next step).
Once the files are on your computer, cull. This is the step people avoid, and it’s the one that pays off most. I shoot in bursts for wildlife, so a single sea eagle dropping for a fish might be forty near-identical frames. Two of them are sharp and well composed. I keep those two and bin the other thirty-eight without a second thought. Do the same across the whole trip: delete the blurry ones, the test shots, the frames where someone blinked, and the fifteen almost-identical versions of the same view.
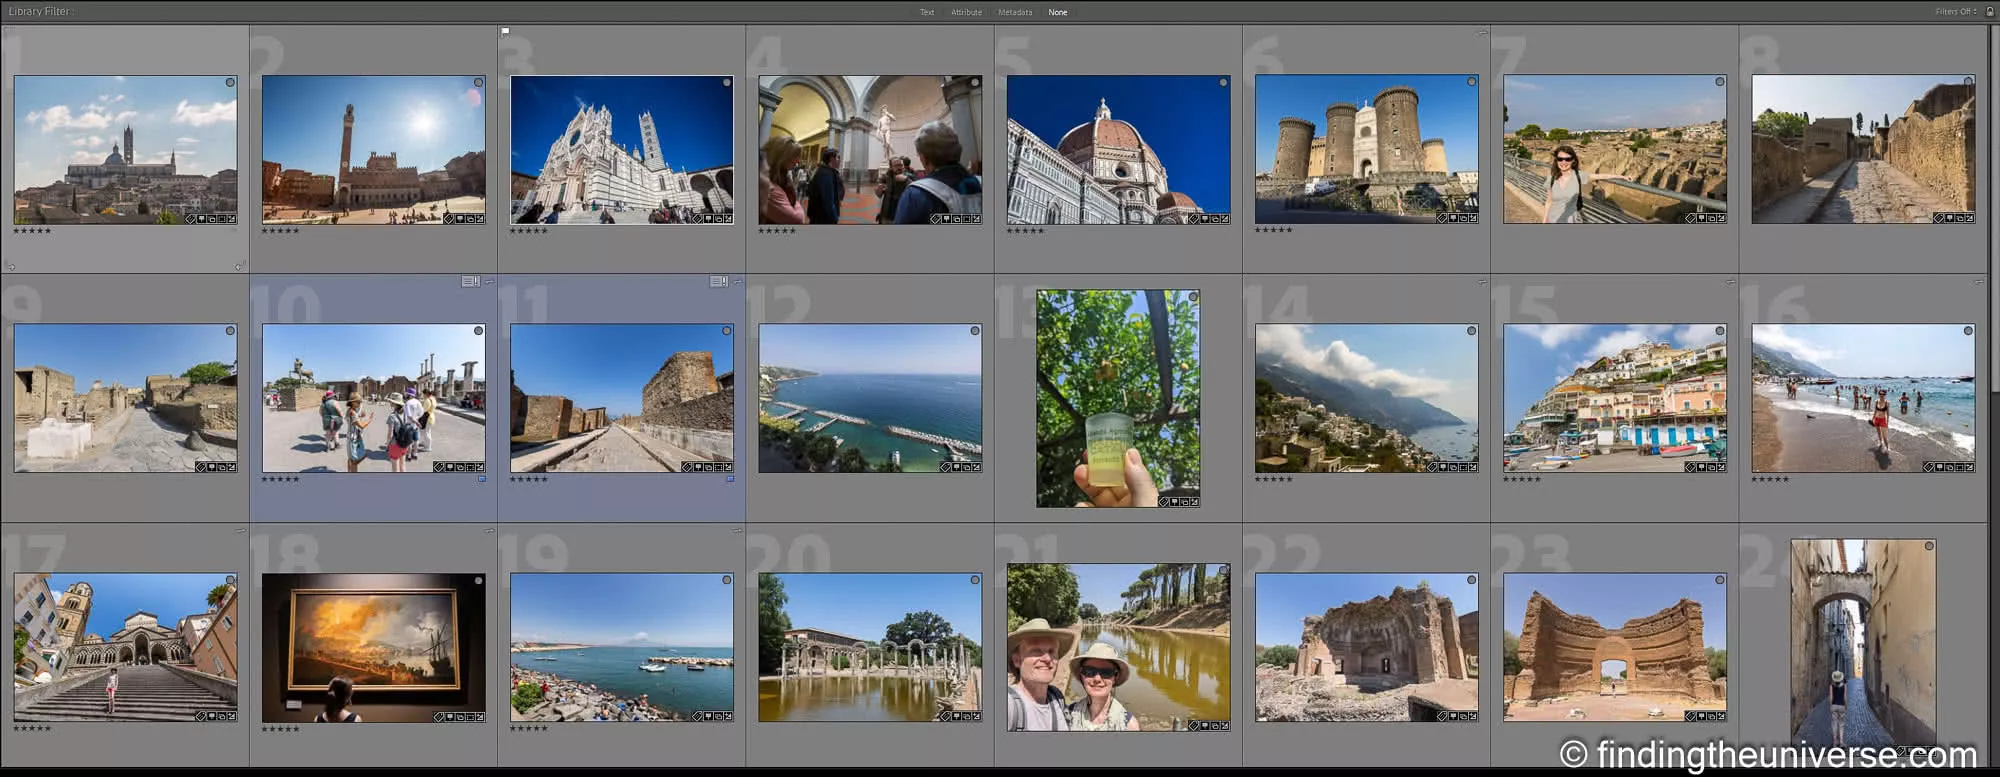
How I cull: flag the keepers, reject the rest. Optional but recommended: delete the rejects.
You don’t need to be precious about it. Storage is cheap, but attention is not, and a library with a thousand sharp keepers is far more useful than one with twelve thousand maybes you’ll never look at again. I use the flag system in Lightroom (pick the keepers, reject the obvious bin, delete the rejects in one go), but the same logic works in pretty much any photo app, or even just dragging files into a folder. The goal is to walk away with a set of photos you actually care about.
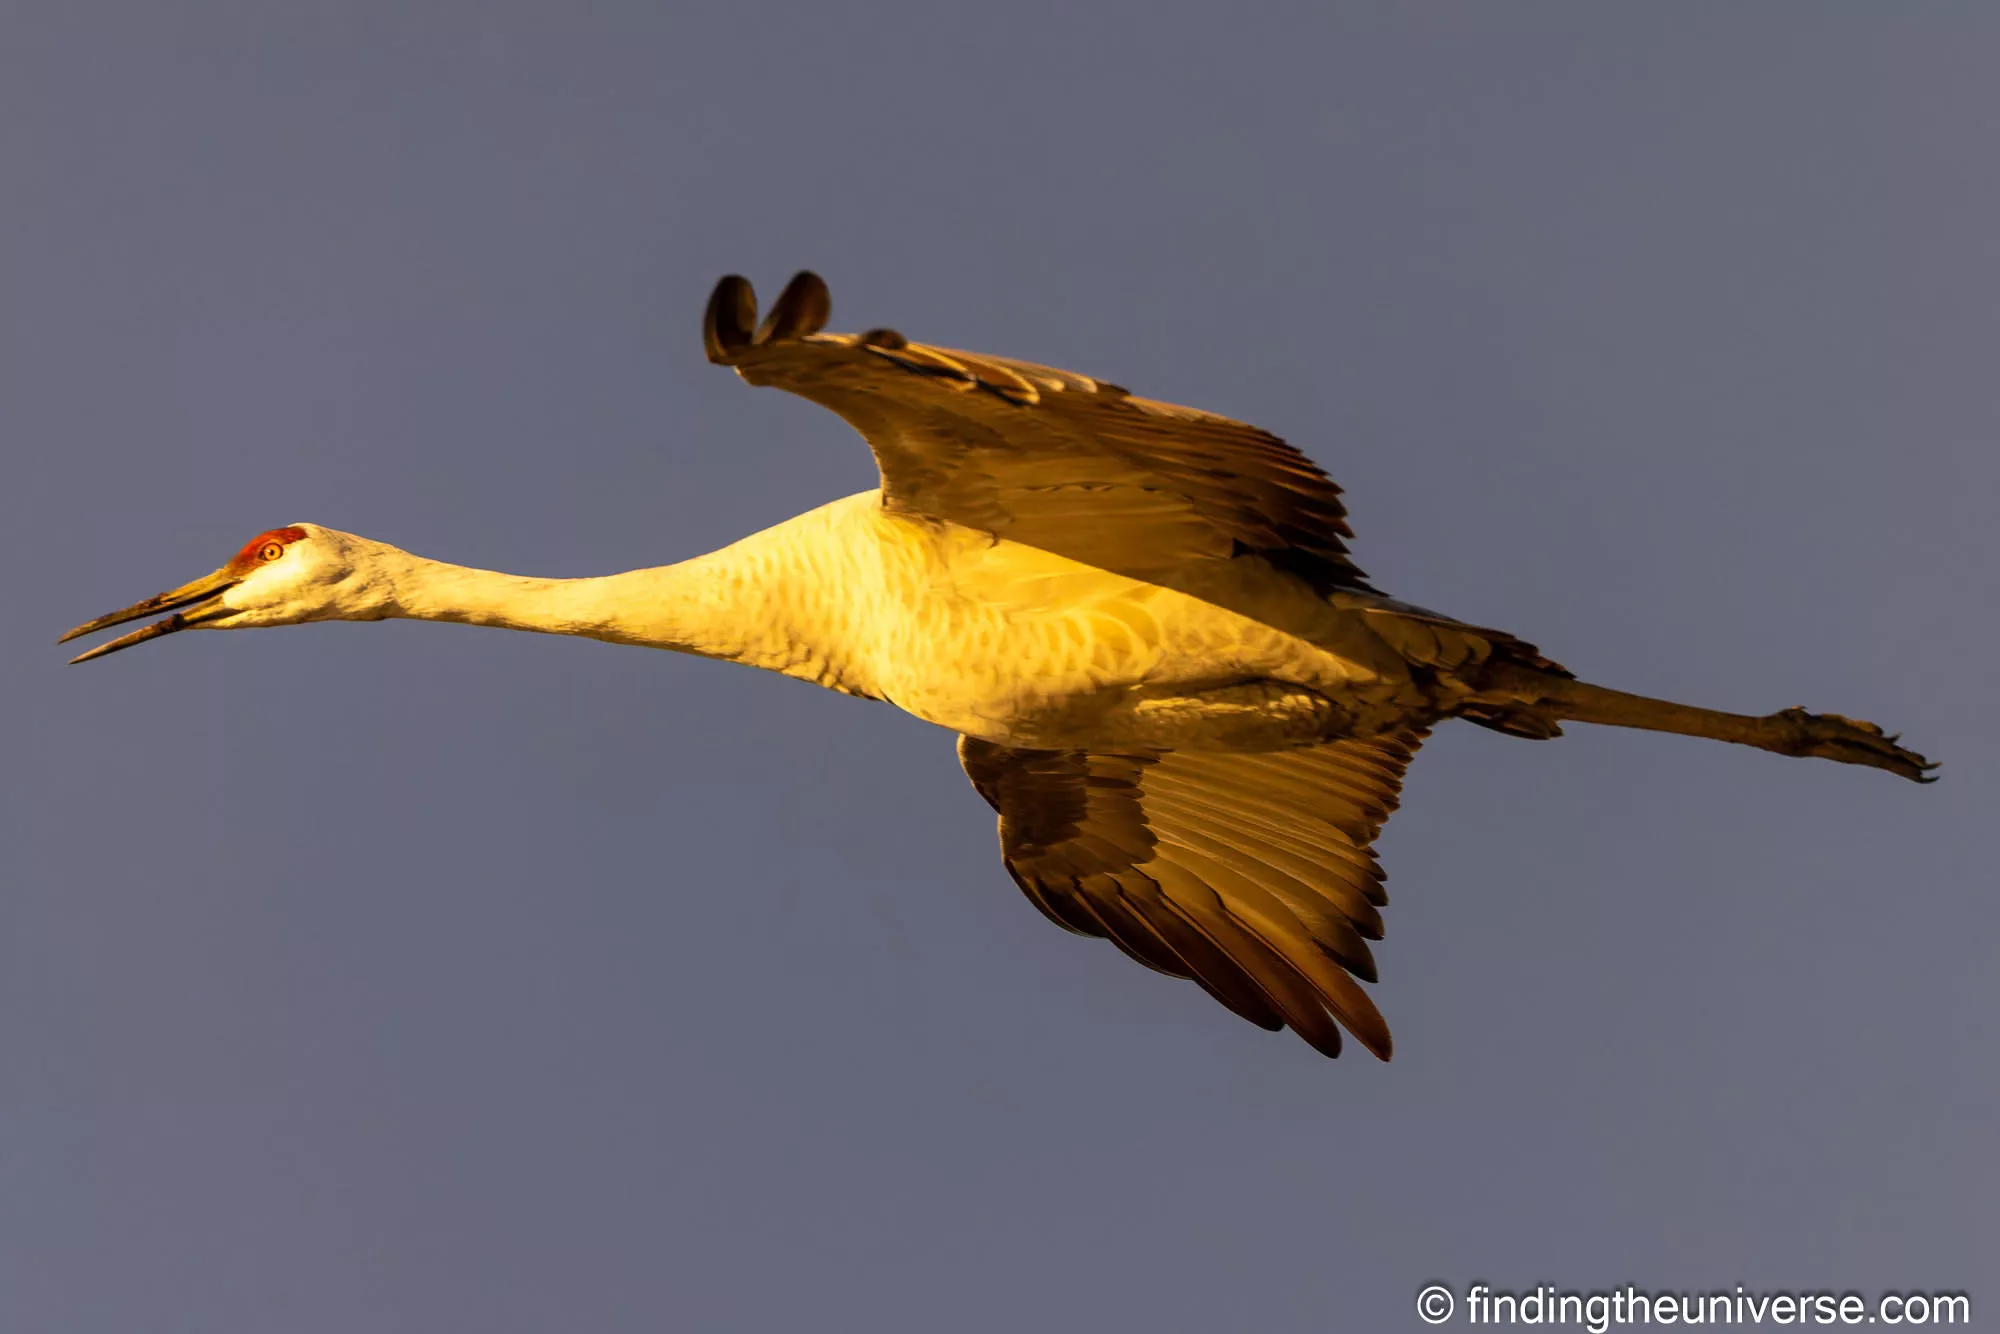
The keeper from a forty-frame burst. Canon EOS R5 with the EF 100-400mm at 400mm, f/5.6 at 1/2000, ISO 2000.
Step 2: Back Up Before You Do Anything Else
This is the non-negotiable one, so I’m going to spend a bit longer on it. Before I shot for a living I wrote software, and the lesson that gets drilled into you early is blunt: data you have not backed up is data you are choosing to lose. Hard drives fail. Laptops get stolen. People spill coffee. It’s not a question of if a drive dies, only when, and you don’t want your only copy of a once-in-a-lifetime trip on it when it does.
The one framework you need is the 3-2-1 rule: keep at least 3 copies of every photo, on 2 different types of media, with 1 of those copies stored somewhere off-site. It sounds like overkill until the first time it saves you. Here’s how that looks for me.
On the road: I import each day’s photos onto my laptop, then immediately copy them onto a rugged external SSD that lives in a different bag to the laptop. If one bag walks, the photos are still in the other. A pocket SSD is small, fast, and pretty cheap these days, so there’s no excuse not to carry one. (The SanDisk Extreme range is the one I recommend, though any reputable rugged drive does the job.)
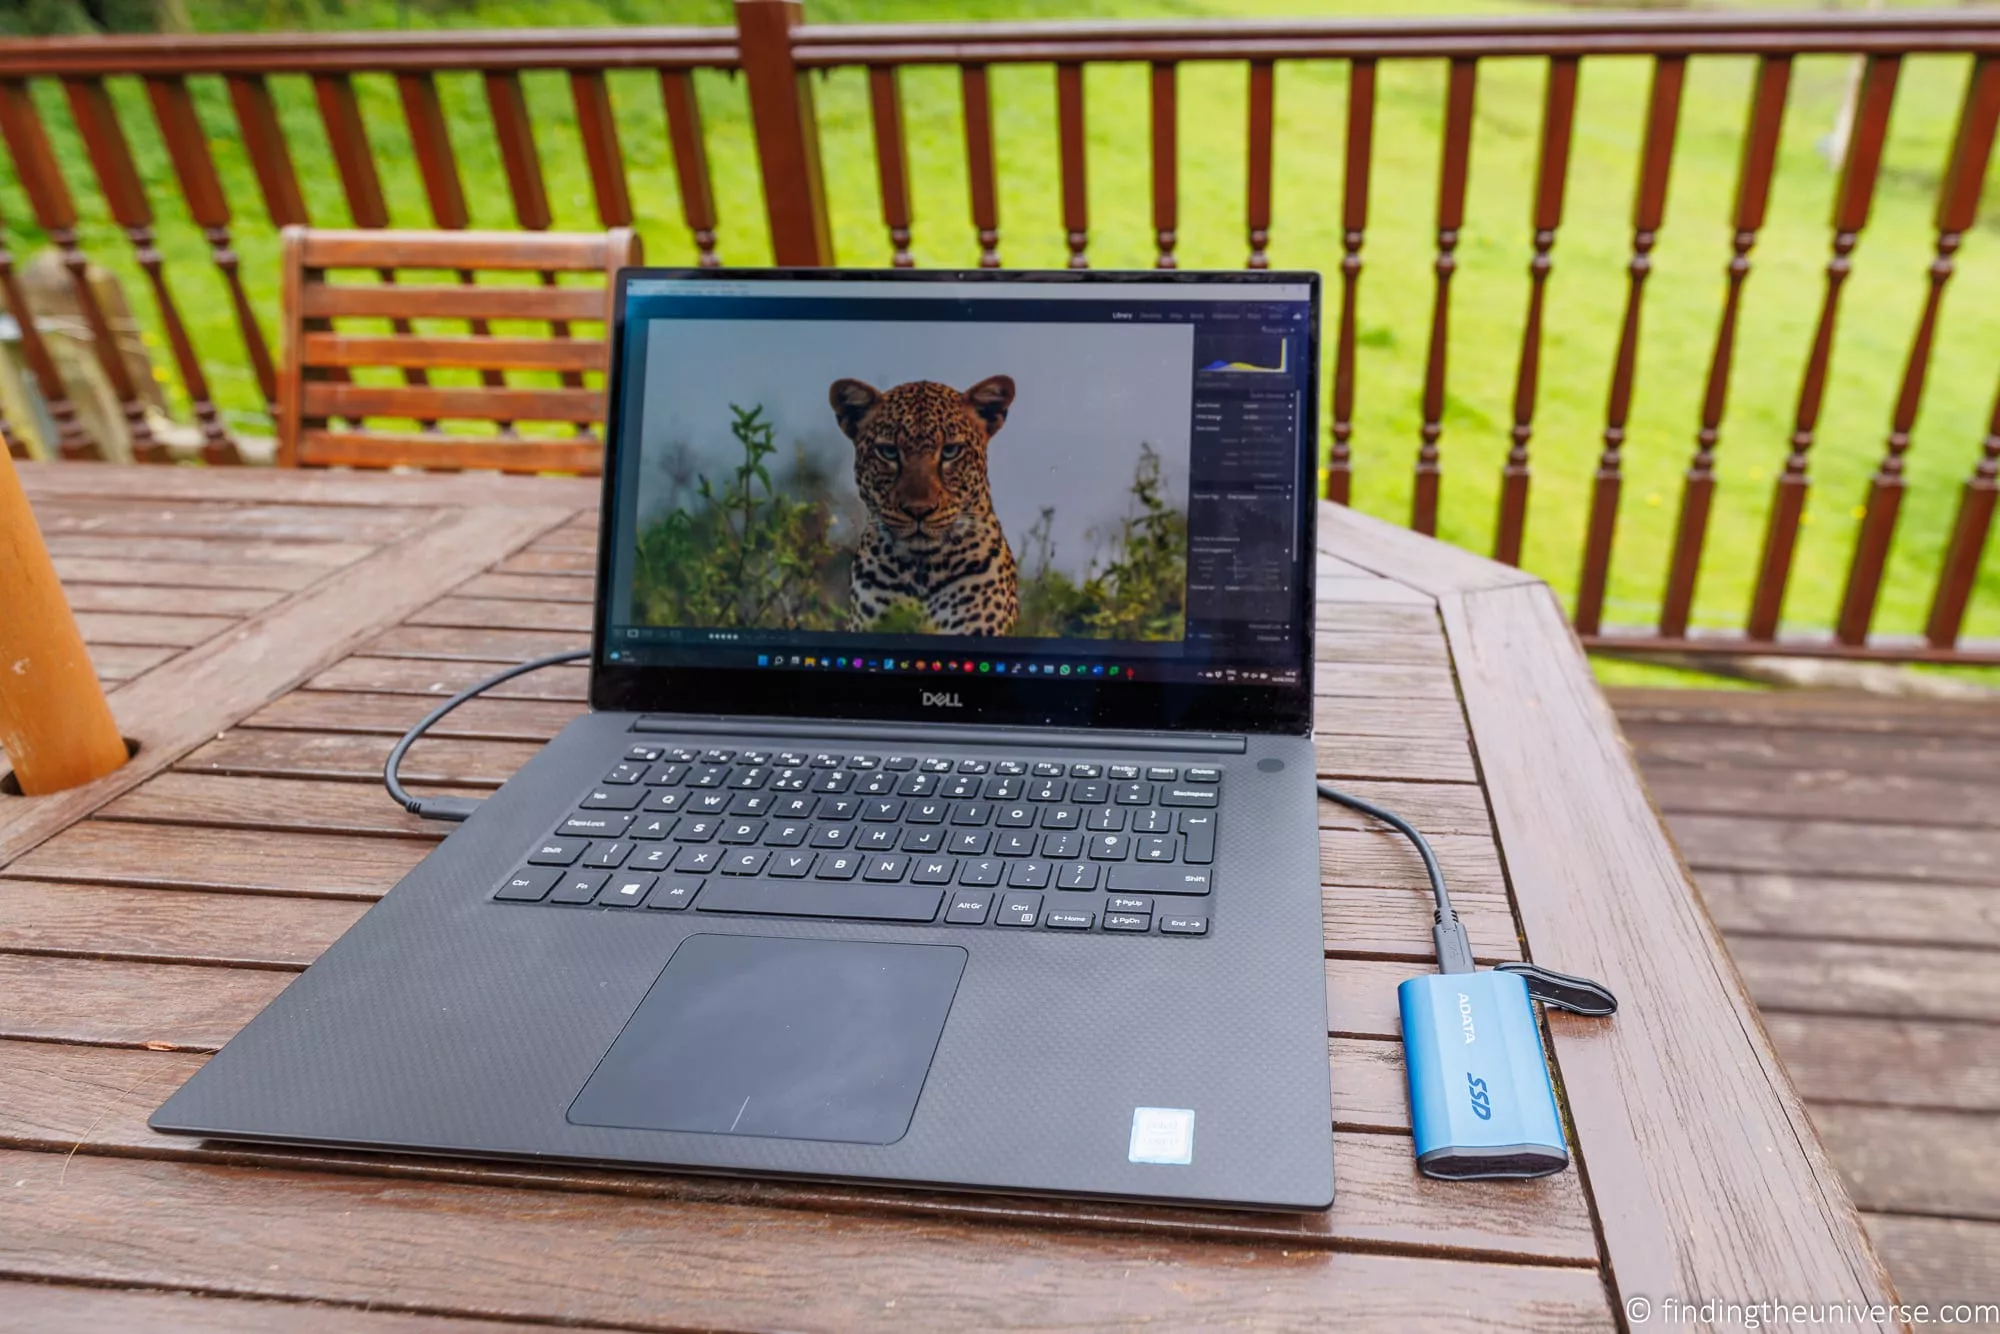
My on-the-road backup: laptop plus a pocket SSD kept in a separate bag.
At home: everything lands on my main machine, which mirrors automatically to a NAS (a network drive that sits in the house and holds a second copy of everything), and backs up continuously to Backblaze for the off-site copy. Backblaze gives you unlimited backup for one computer at a flat $99 a year as of 2026, which for the peace of mind is the easiest money I spend on this whole hobby.
My own NAS is a tiny Beelink mini PC running Unraid, with the drives attached over USB. It’s small enough that the whole thing lives inside my desktop case. If you’d rather not tinker, you can buy a ready-made one off the shelf and have it running in an afternoon. (A two-bay Synology like this one is the classic ready-made starting point.)
That’s three copies (main machine, NAS, cloud) on two types of media (local drives and the cloud) with one off-site (Backblaze). The whole thing runs in the background and I barely think about it. A backup you have to remember to do is a backup that won’t happen. If you want the full breakdown of my setup, including the specific software and how I have it scheduled, I go into all of it in my dedicated guide to backing up your photos.
Step 3: Organise So You Can Actually Find Things
A backed-up photo you can’t find again is only half useful. My folder structure is deliberately boring: a folder for each year, and inside it a folder for each trip or destination, named plainly (“2025 Iceland”, “2025 Lake District”). That’s it. I don’t build elaborate sub-folders for every town and beach, because the real organising happens somewhere else.
The piece most people never set up is Lightroom Collections, and they’re the single biggest reason I can pull up any shot in seconds. Folders are physical: a photo lives in exactly one folder on your drive.
Collections are virtual: the same photo can sit in several at once, without ever duplicating the file. Mine are named for where a photo is going rather than what’s in it, so I have one per blog post, one for prints, one for social, one for competition entries. When I need the shots for a piece I’m writing, or the ten I’m sending to a print lab, they’re already gathered in one place instead of scattered across twelve years of trip folders.
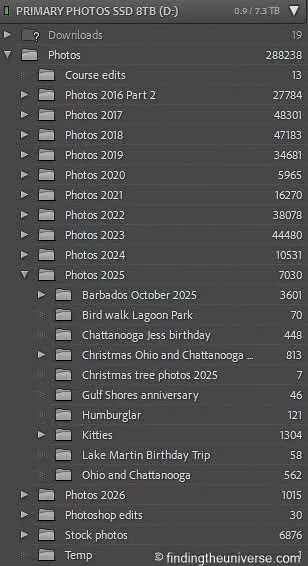
My folders stay simple: year, then trip. The clever filing happens in Lightroom.
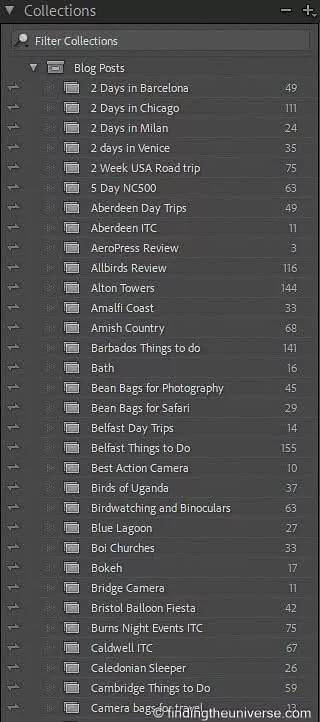
Collections let one photo live in several groups at once. This is where the real organising happens.
Smart Collections take it a step further: you set a rule once (say, every five-star photo from 2025) and Lightroom keeps the collection updated for you as you rate new imports.
Set up a “Portfolio” smart collection for your very best work and it quietly builds itself over the years. You don’t need to copy my exact system, but do separate the two ideas in your head: keep the folders simple, and let a catalogue tool do the clever grouping.
Step 4: Edit Your Keepers, Lightly
Editing is a whole craft of its own, and I’m not going to try to teach it in a paragraph. For the purposes of this workflow, the job is small: take the keepers you flagged in step one and give them a quick pass. Get the exposure right, fix the white balance, straighten any wonky horizons, crop for a stronger composition, and lift the shadows if the scene was high-contrast. Ninety percent of a good travel photo is in those few adjustments.
I do all of mine in Adobe Lightroom, which is also where I cull and organise, so the whole thing happens in one place. You really don’t need to edit every frame. Edit the ones you’re going to share, print or use, and leave the rest as they are. If you want to go deeper on my actual editing approach, presets and export settings, I’m putting together a dedicated guide to my Lightroom travel editing workflow, and I’ll link it here when it’s live. For now, keep this step light and don’t let “perfecting” your photos become the reason they never make it out of the catalogue.
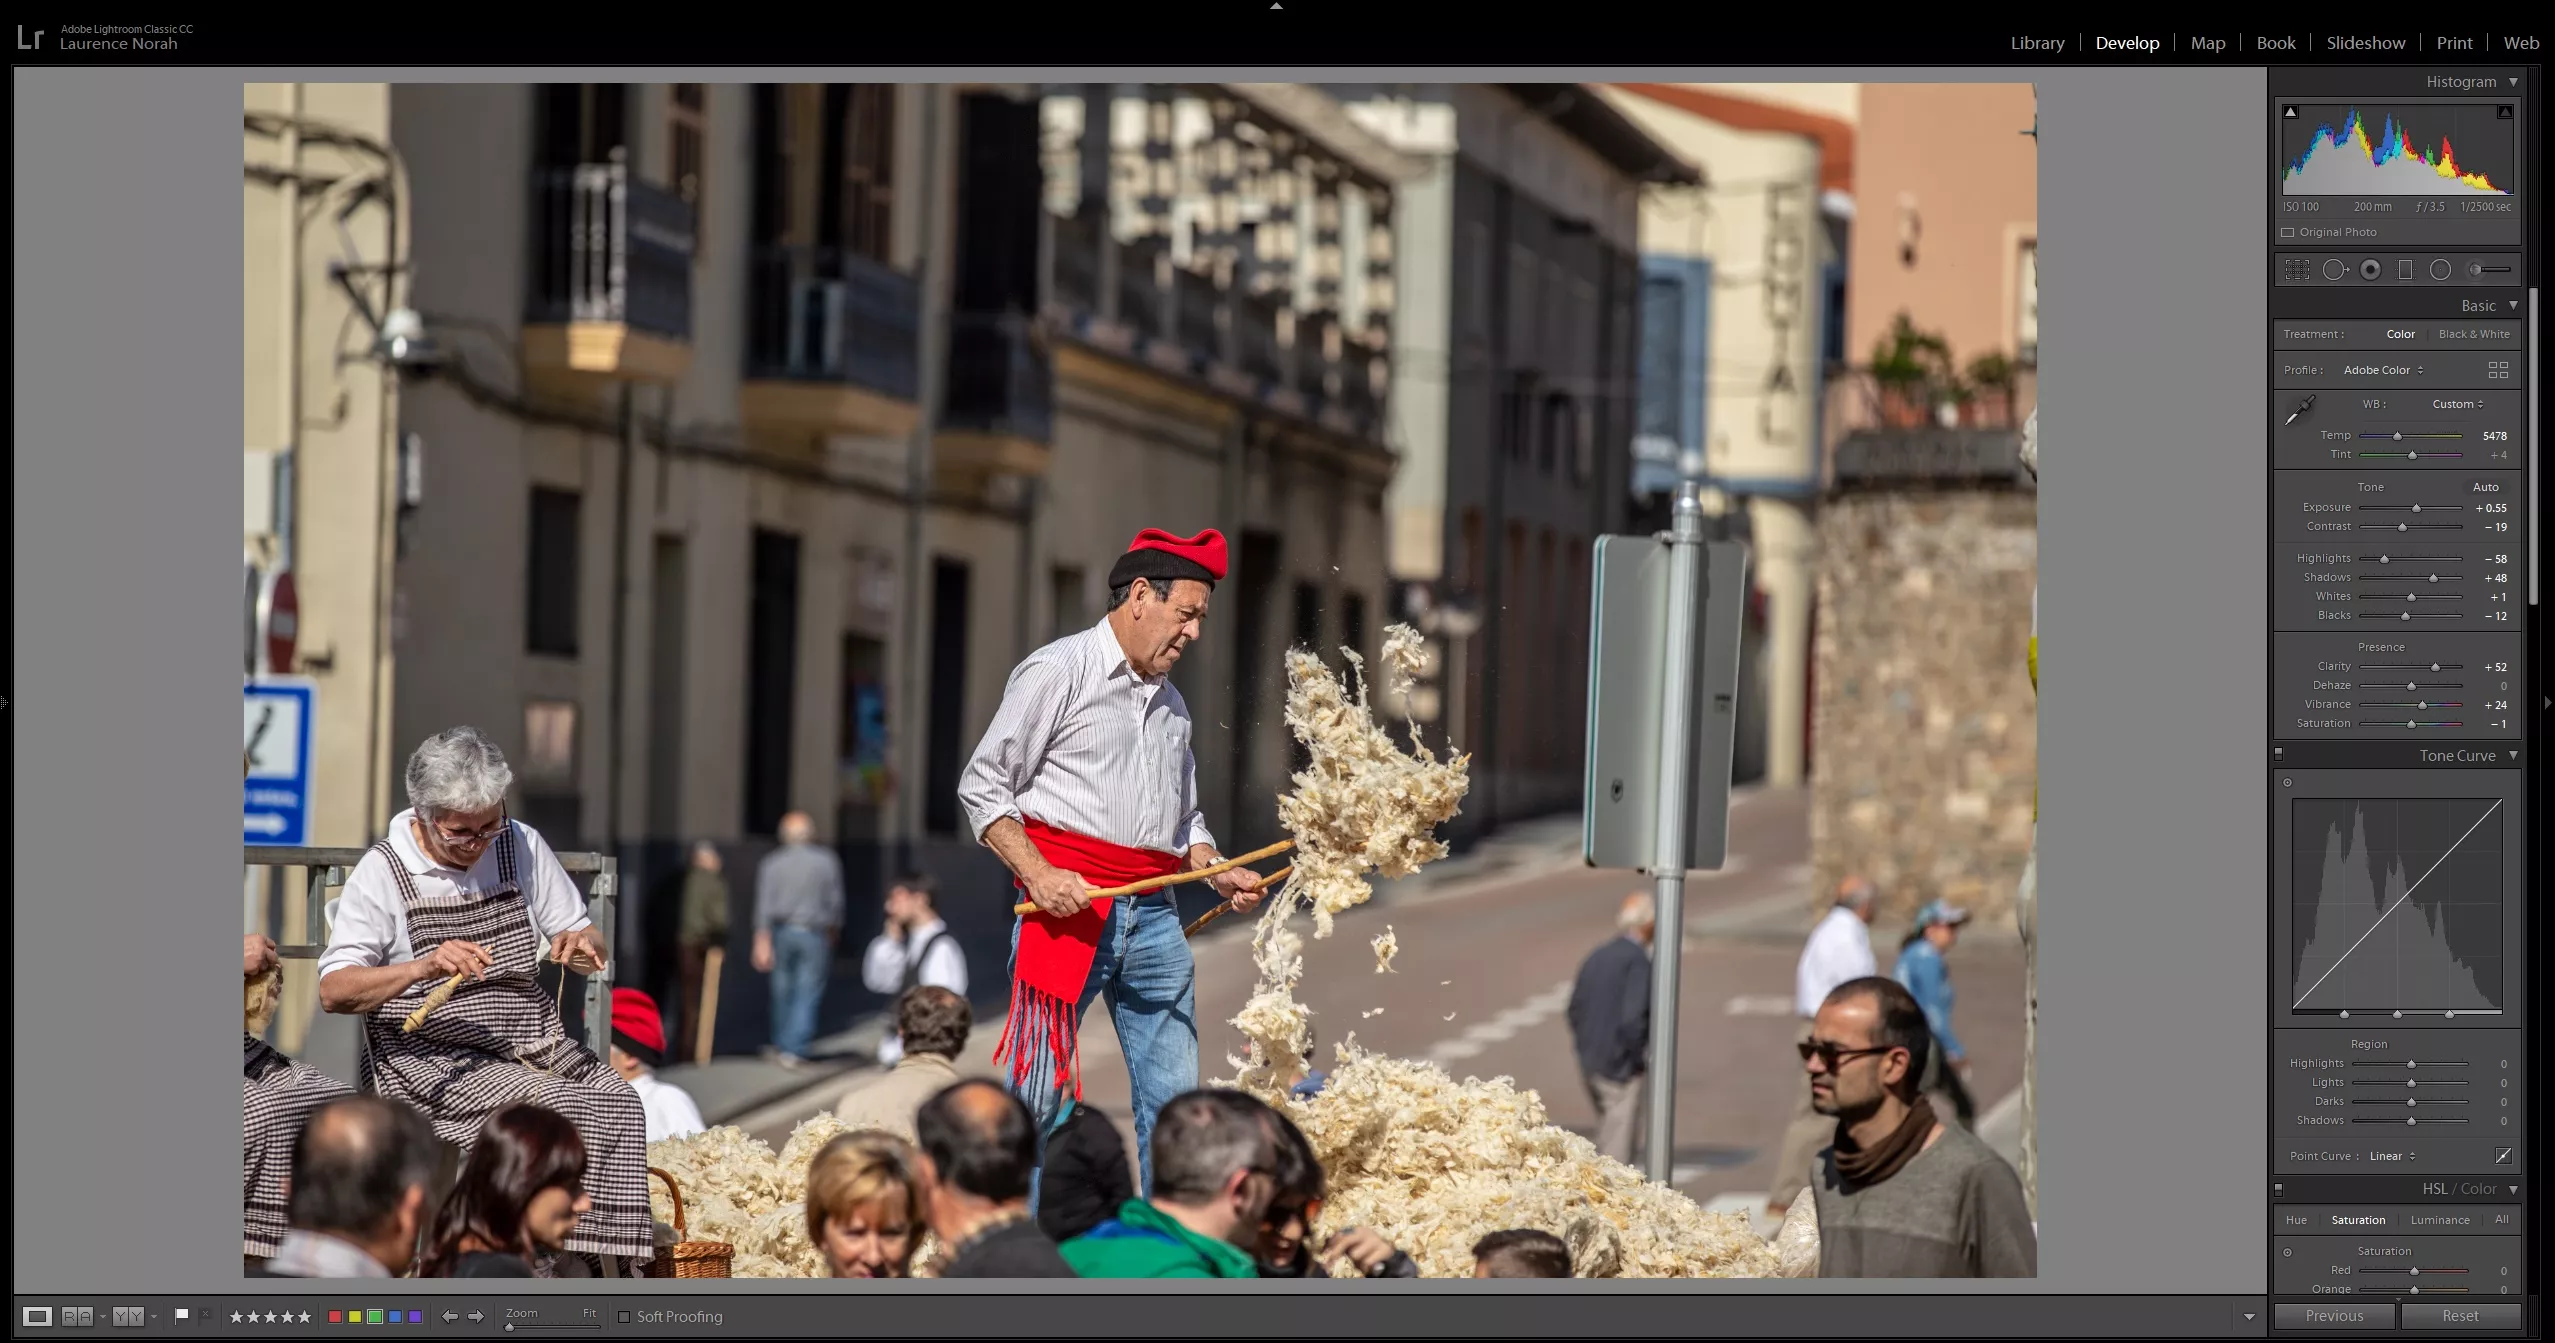
A quick pass in Lightroom: exposure, white balance, a straighten and a crop. That’s most of it.
Step 5: Share Your Photos and Build a Home for Your Best Work
Photos are made to be looked at, and this is the step where that finally happens. There are really three things you might want to do here, and the right tool depends on which one you mean: share a full-resolution gallery privately with the people who were on the trip, build a public portfolio of your best work, or post to social media to reach a wider audience. Most people want a bit of all three.
Here’s how the main options stack up.
| Platform | Best for | Full-resolution sharing | Sell prints | Starting cost |
|---|---|---|---|---|
| SmugMug | A proper portfolio plus private galleries and hands-off print sales | Yes | Yes, built in | From $20/mo (annual) |
| Flickr | Community feedback and free or cheap hosting | Yes | Not really | Free, or about $7/mo for Pro (annual) |
| Reach and building an audience | No (compressed) | No | Free | |
| Google Photos | Quick private album sharing with family and friends | No (compressed unless you pay for storage) | No | Free up to 15GB |
| Your own website | Full control and a branded home you own outright | Yes | Possible with a plugin | Hosting plus a domain |
For sharing a trip privately, Google Photos or a shared album is fine and free. If Google Photos is where your whole archive has ended up rather than just the odd shared trip, I’ve worked out what it actually takes to leave, service by service. For anything I care about, my best work lives on SmugMug, and it’s been my portfolio home for years.
It does three jobs at once: it’s my public portfolio, it hosts private full-resolution galleries I can send to family or a client with a single link, and it handles print sales without me lifting a finger. Plans start at $20 a month on annual billing as of 2026, though SmugMug changes its pricing fairly often, so check smugmug.com/plans for the current numbers (new sign-ups usually get 15% off the first term).
I’ve written a full SmugMug review if you want the detail on who it suits and who should skip it.
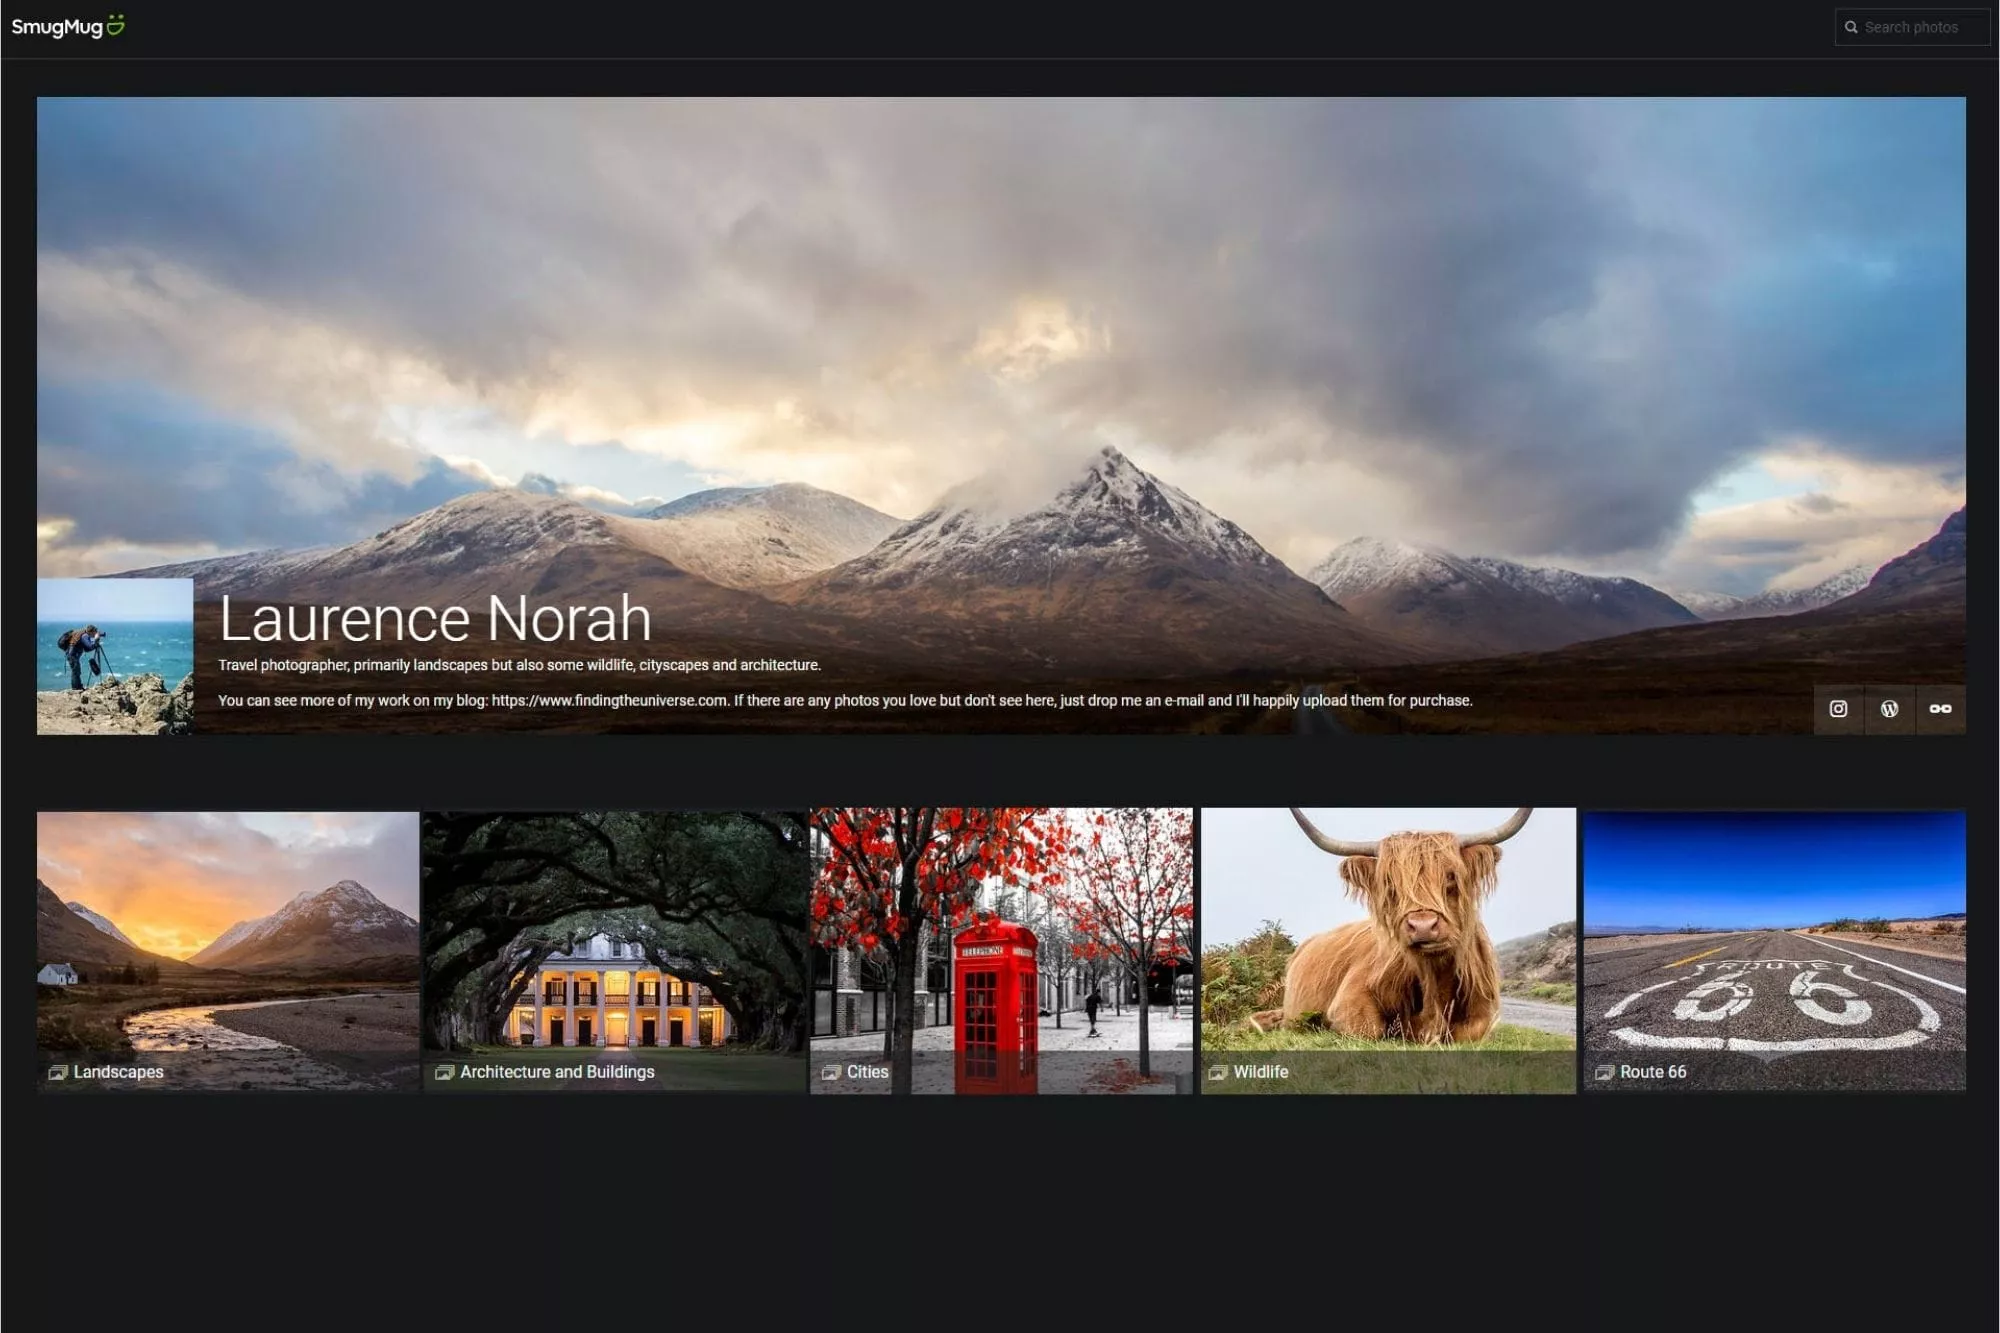
My portfolio lives on SmugMug. It doubles as private gallery hosting and a print store.
Whichever platform you choose, decide what to make public before you upload. I keep full-resolution downloads switched off on public galleries and add a discreet watermark to anything that goes out into the world, which deters the most casual image theft without ruining the photo.
If you want to do the same, I have a step-by-step guide to watermarking your photos across phones, Macs and PCs.
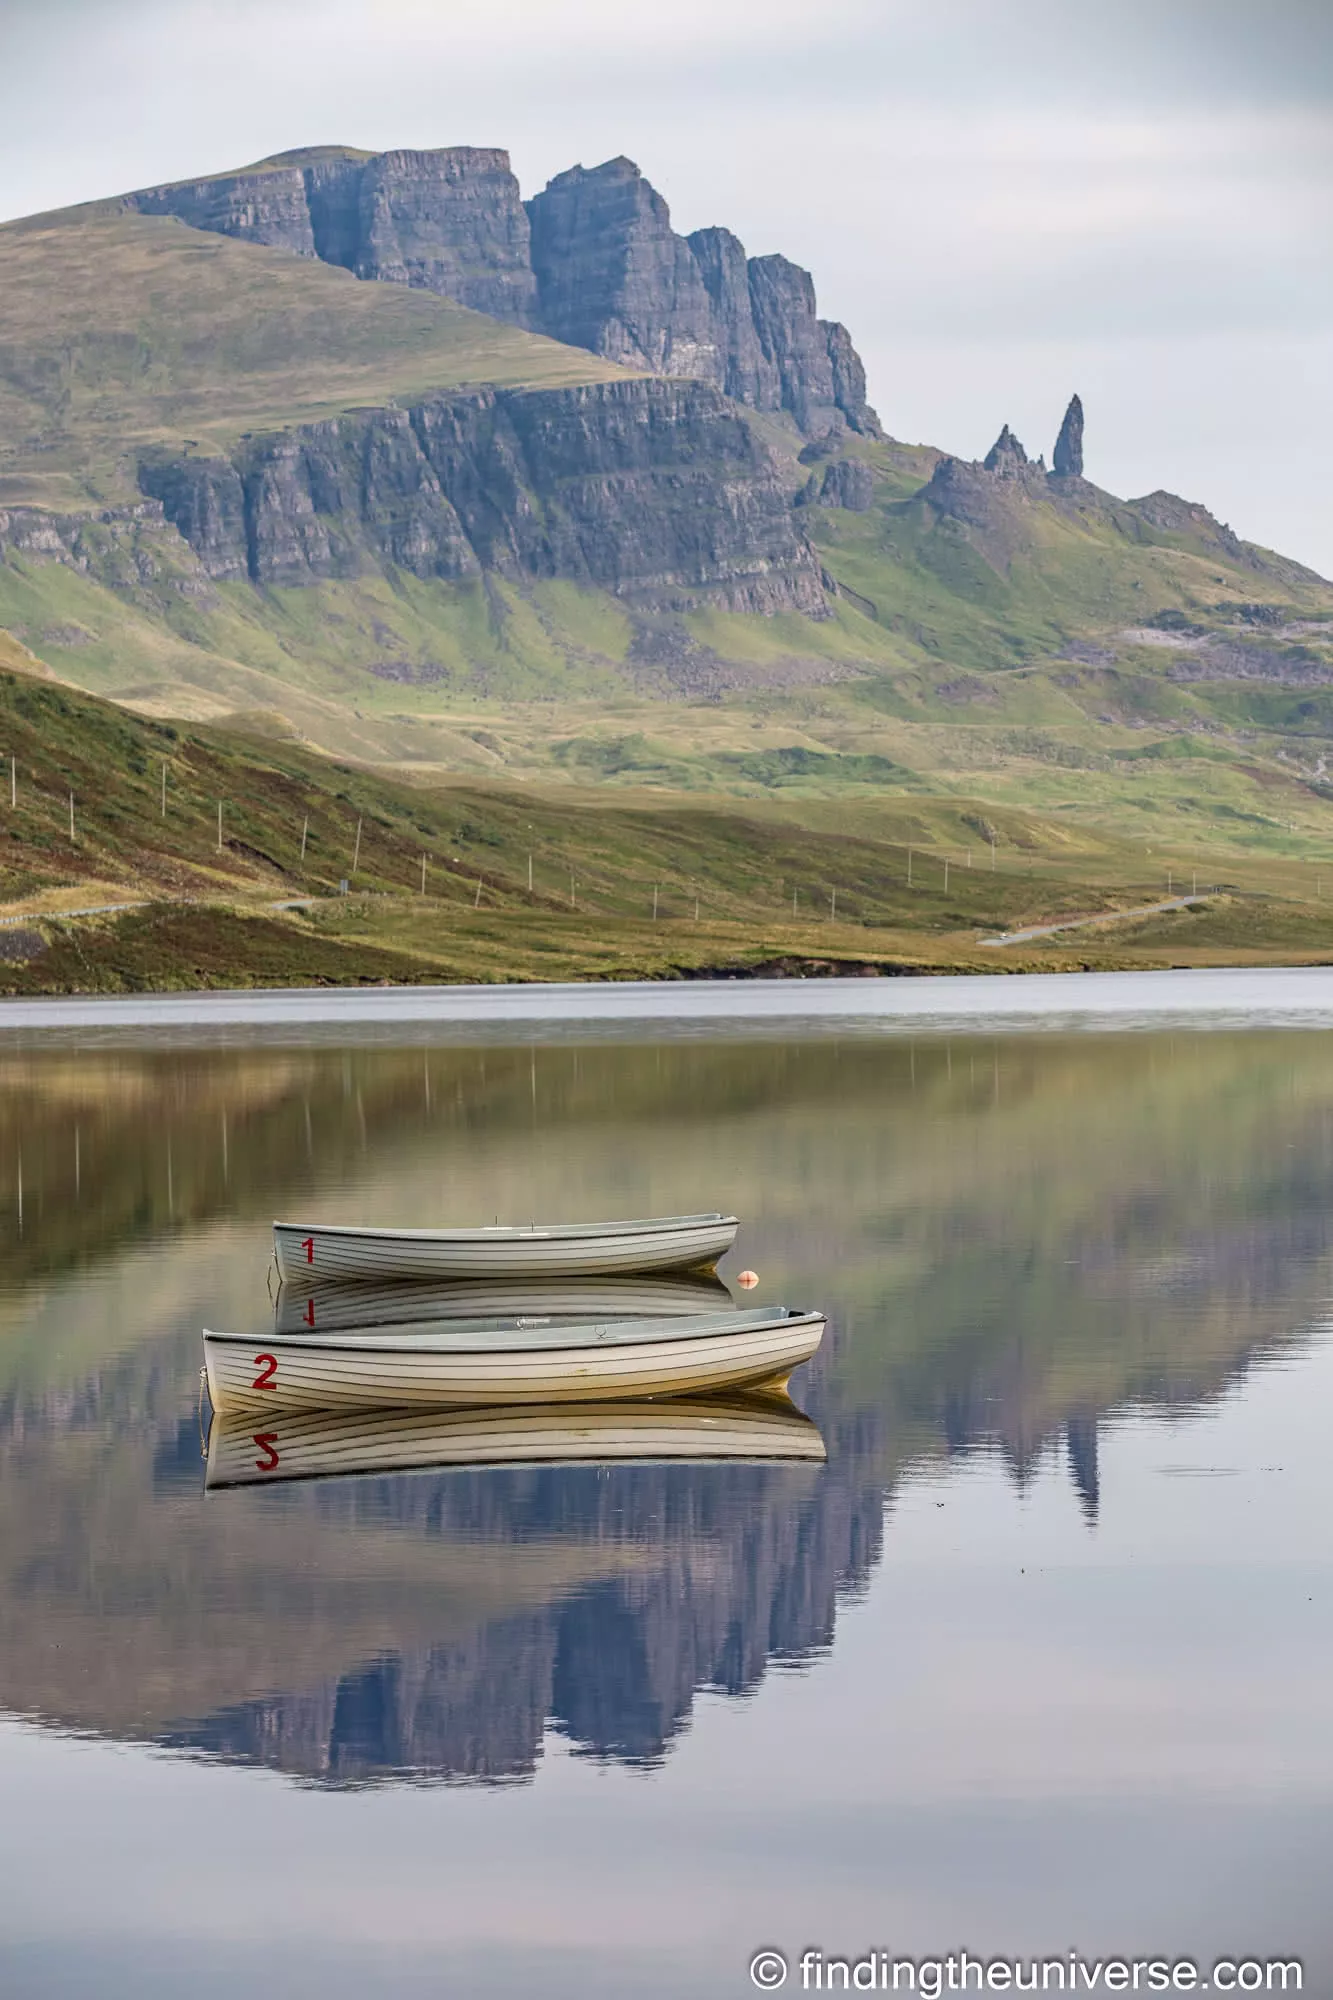
The Old Man of Storr reflected in Loch Fada, Skye. Canon EOS 6D with the EF 70-200mm at 130mm, f/7.1 at 1/800, ISO 100.
A few years ago a reader emailed me a photo of their forearm. They’d had one of my landscape shots tattooed onto it! That’s comfortably the strangest and most flattering thing that has happened to me in this career, and it only happened because the photo was somewhere a stranger could find it. Your photos can’t land with anyone while they’re stuck on a hard drive.
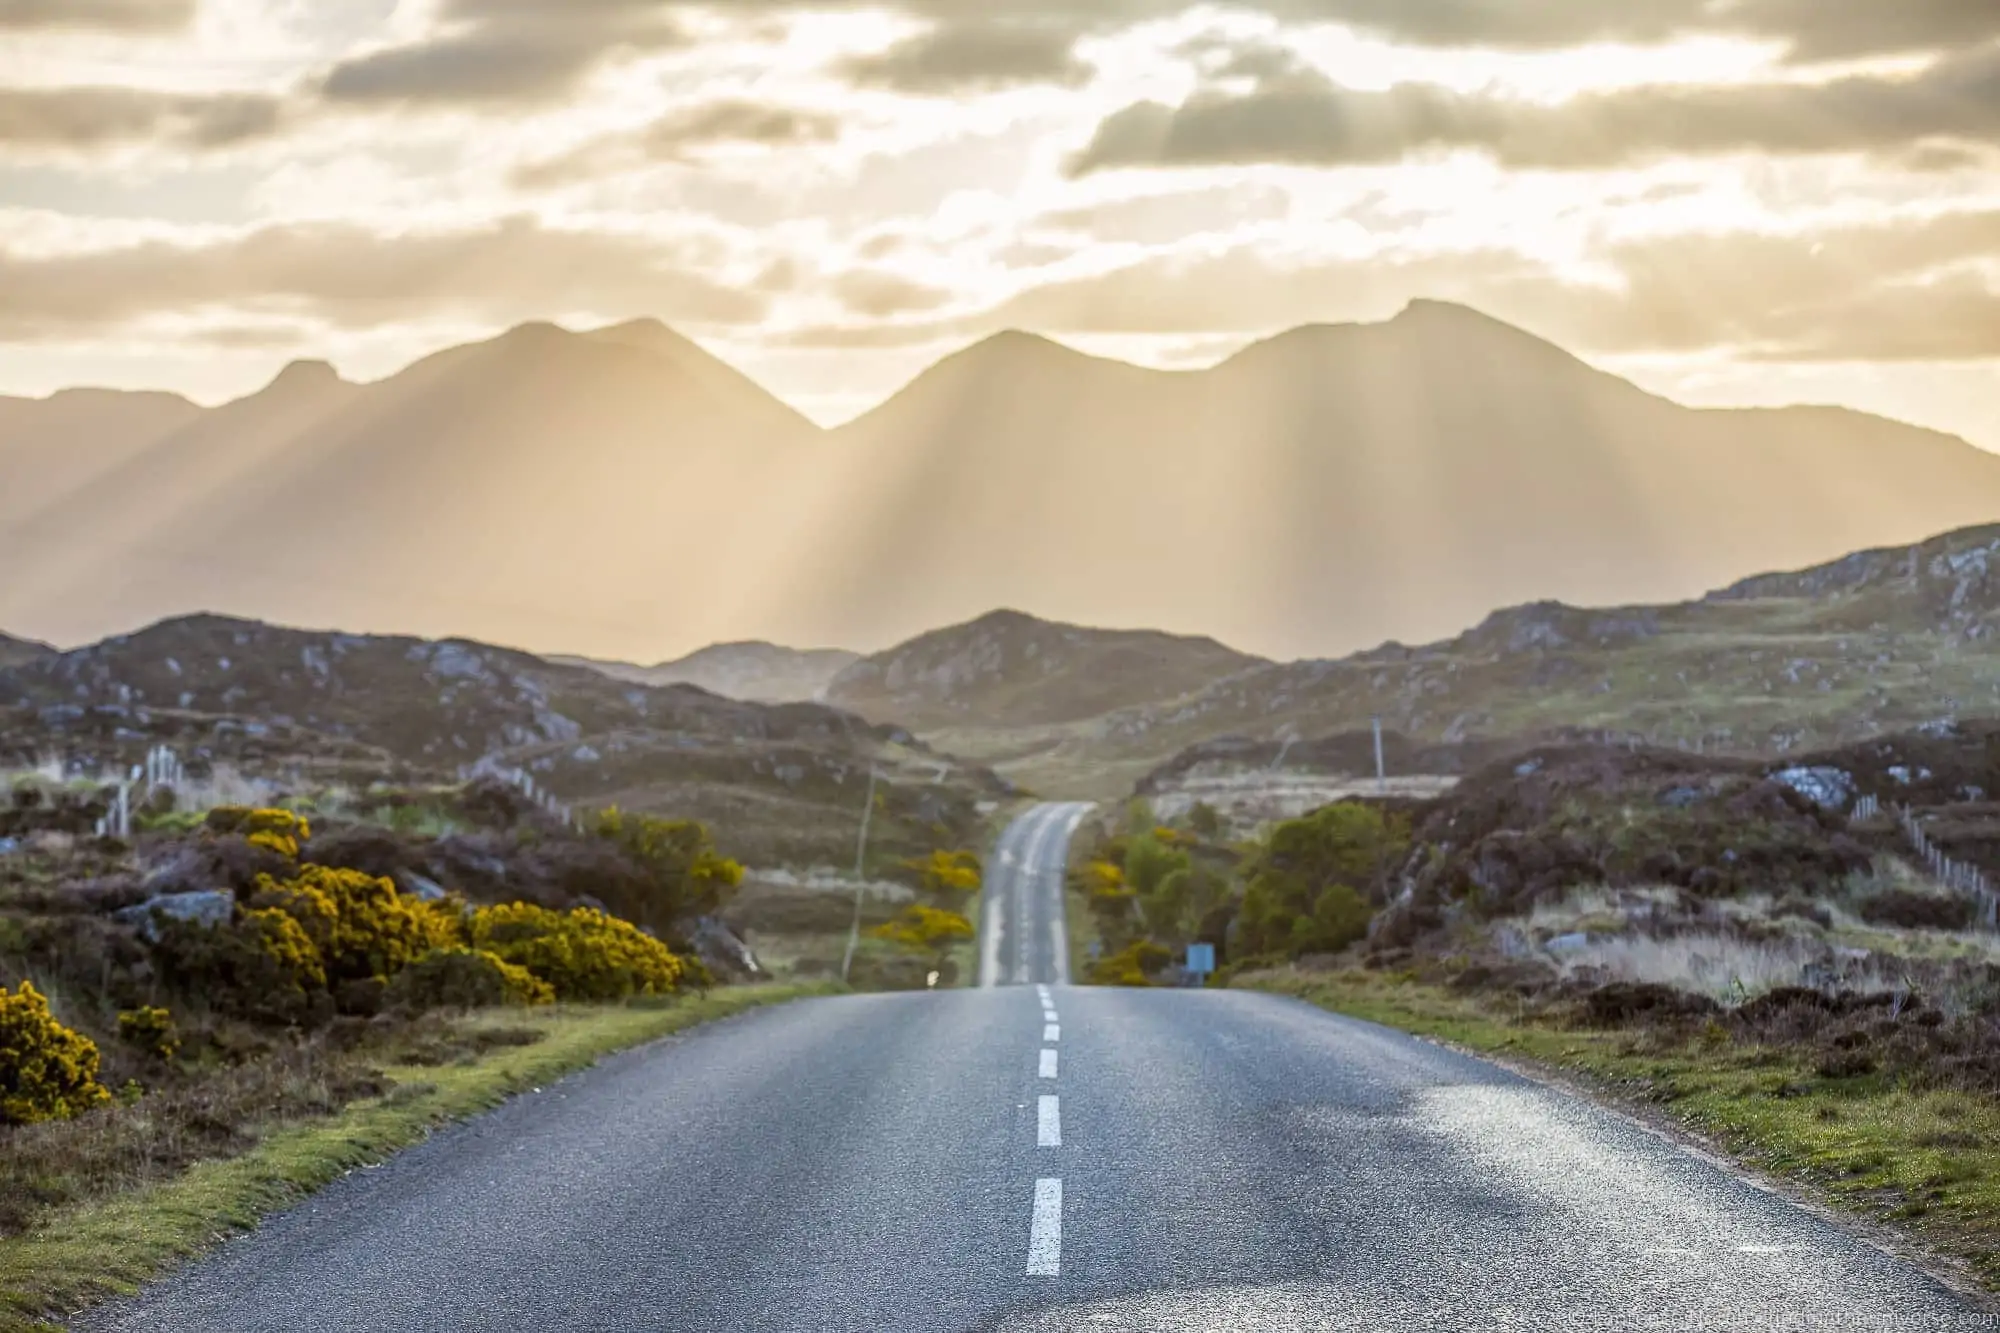
This is the shot a reader had tattooed on their forearm. Still the best compliment I’ve ever had.
Step 6: Prints, and the Reality of Selling Your Photos
The best thing you can do with a photo you love is get it off the screen and onto a wall. A print you walk past every day gives you far more pleasure than a file you open twice a year. The simplest route is to order through a gallery platform: SmugMug, for example, is connected to professional print labs, so a reader can buy a print straight from one of my galleries and the lab prints and ships it without me touching the order.
If you’d rather make something yourself, there are plenty of options, from photo books to framed prints to canvases, and I’ve rounded up the ones worth considering in my guide to creative ways to display your photos.
A word on the making-things front, though: I don’t produce photo books or sell canvases myself beyond what SmugMug’s labs handle automatically. It’s not my thing, and I’m not going to pretend I hand-make albums every winter.
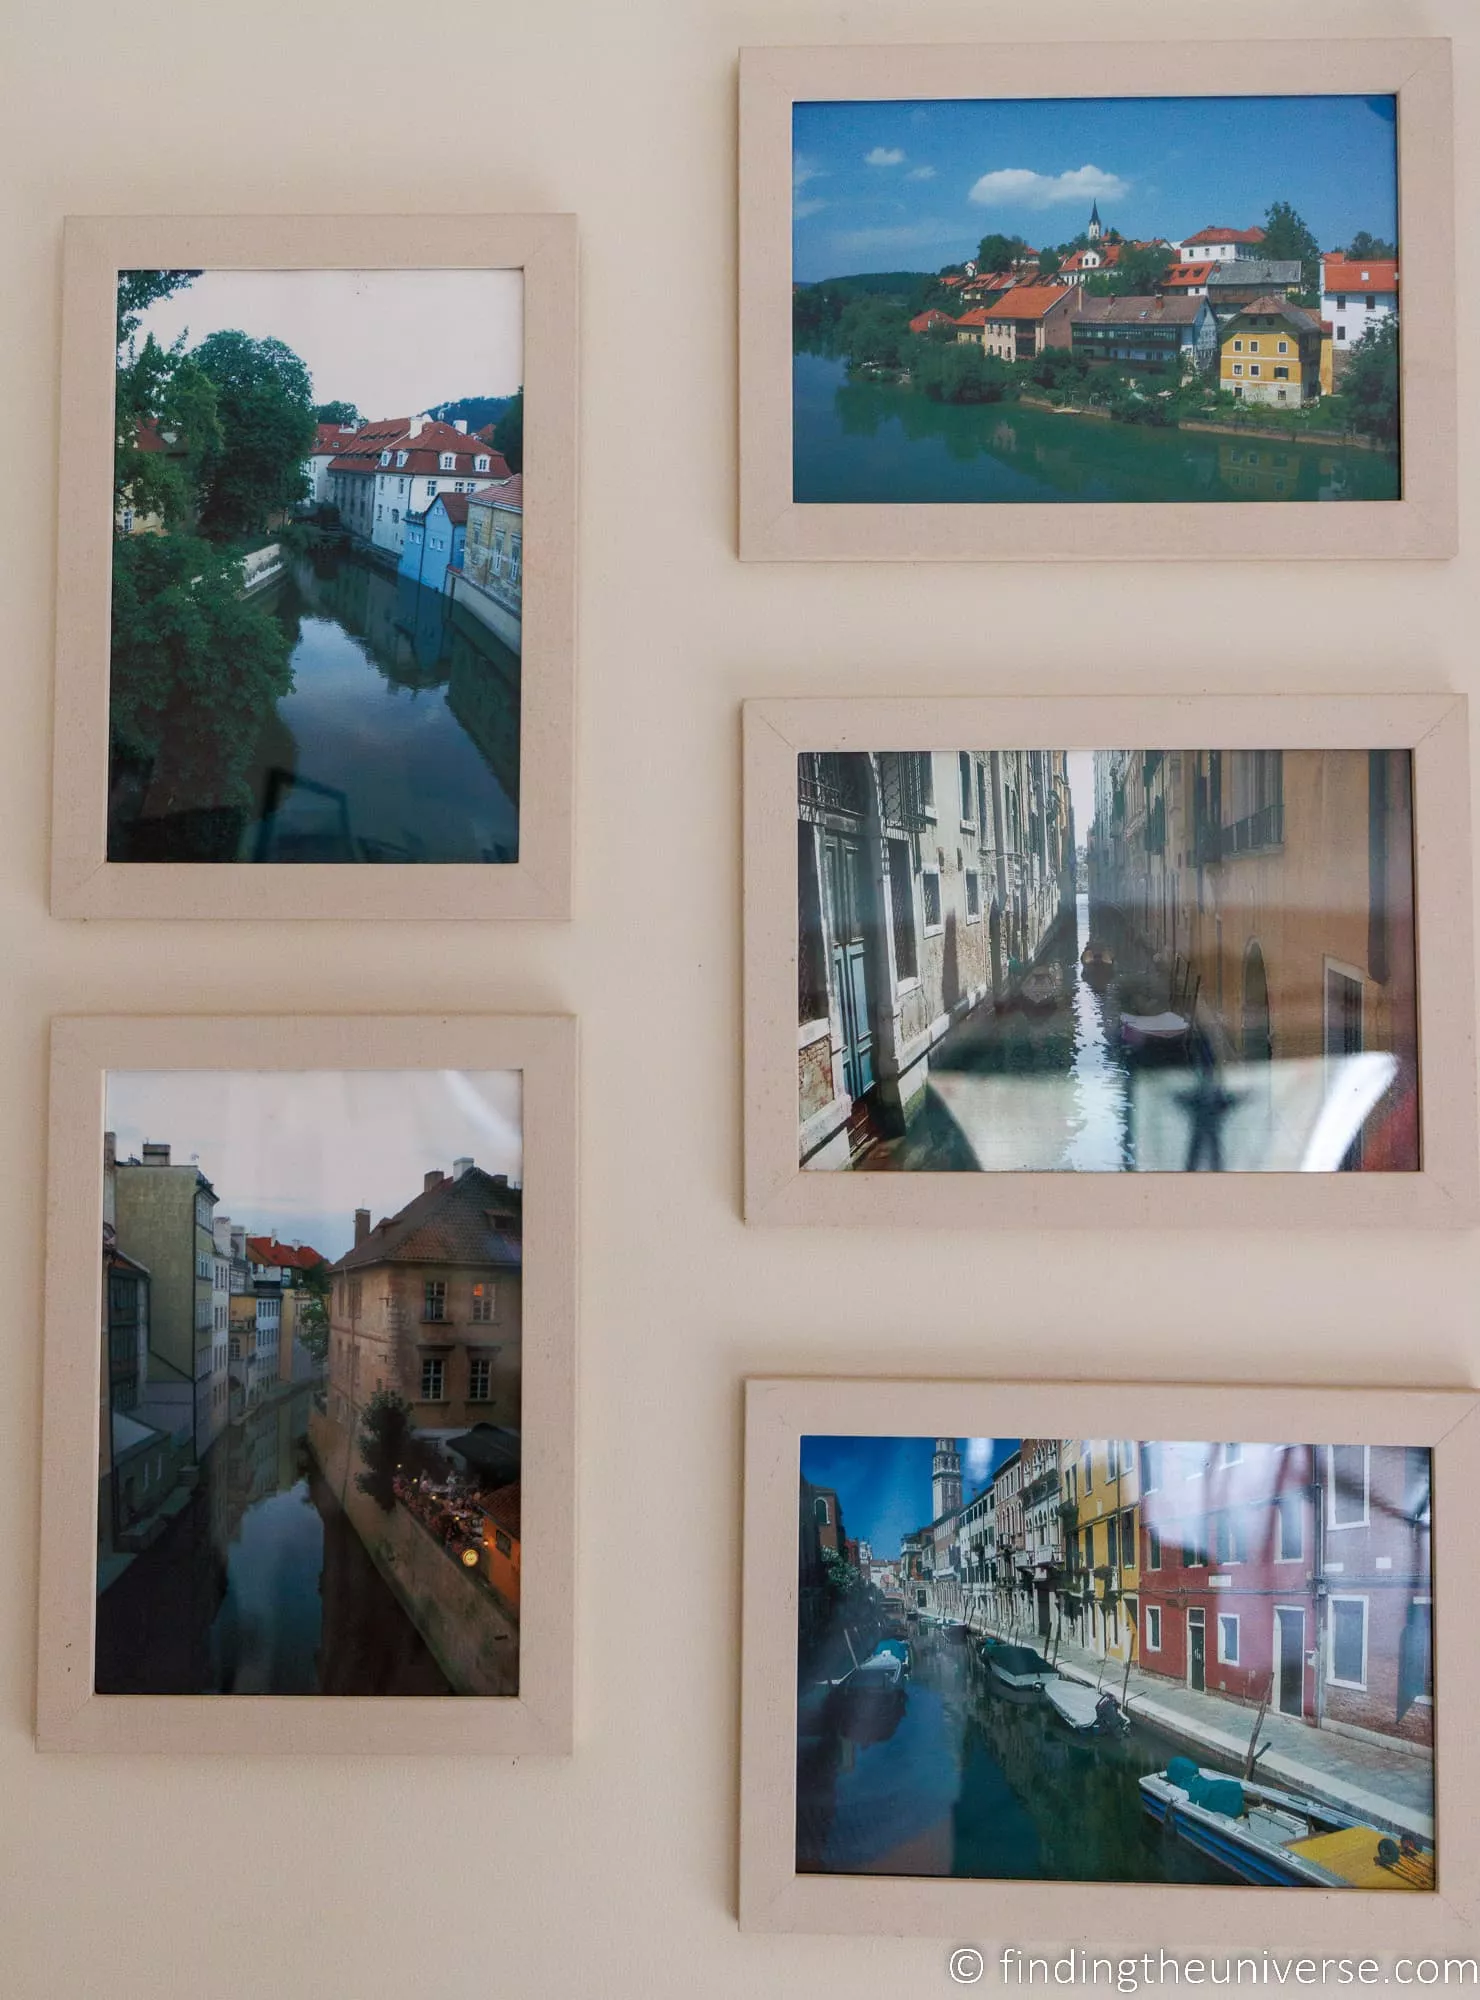
A print on the wall beats a file in a folder every time. This is my parents’ living room wall, where they have some of their photos up.
Which brings us to the big one: can you make money selling your travel photos? You can, but I want to be realistic with you, because the internet oversells this badly.
Selling prints and stock is hard. You’re competing with print-on-demand services where people print their own shots for a few dollars, and with stock libraries where prices have fallen through the floor. Most working travel photographers I know, myself included, earn far more from teaching, client work and writing than we ever do from selling prints.
For most photographers print sales are a nice bonus when they happen, not an income you can plan a life around.
So my advice is to set the bar low and be pleasantly surprised. Put your best work somewhere it can be bought, price it sensibly, and then forget about it and get on with shooting. If you do want to take selling seriously, I’ve written a much fuller guide on how to sell your photos online that walks through stock, prints and licensing properly. Just go in with your eyes open.
What’s Actually Worth Your Time, and What I’d Skip
After more than fifteen years of doing this every few weeks, here’s what I’ve learned about where the effort pays off. The high-value work is mostly the unglamorous stuff. Backing up properly is the single best thing you can do, and it’s the thing people skip. Culling hard makes everything downstream easier.
Organising with collections, rather than fiddly folders, saves me hours over a year. And sharing your favourites with the actual people in the photos brings more joy than any of the rest of it.
The things I wouldn’t lose sleep over: chasing print sales, building the perfect folder taxonomy, editing every single frame to within an inch of its life, or buying new software and gear in the hope it will organise your photos for you. It will not. A simple system you actually follow beats a perfect system you abandon by March. Pick the steps above that fit how you work, automate the backup so it happens without you, and spend the time you save out shooting the next trip.
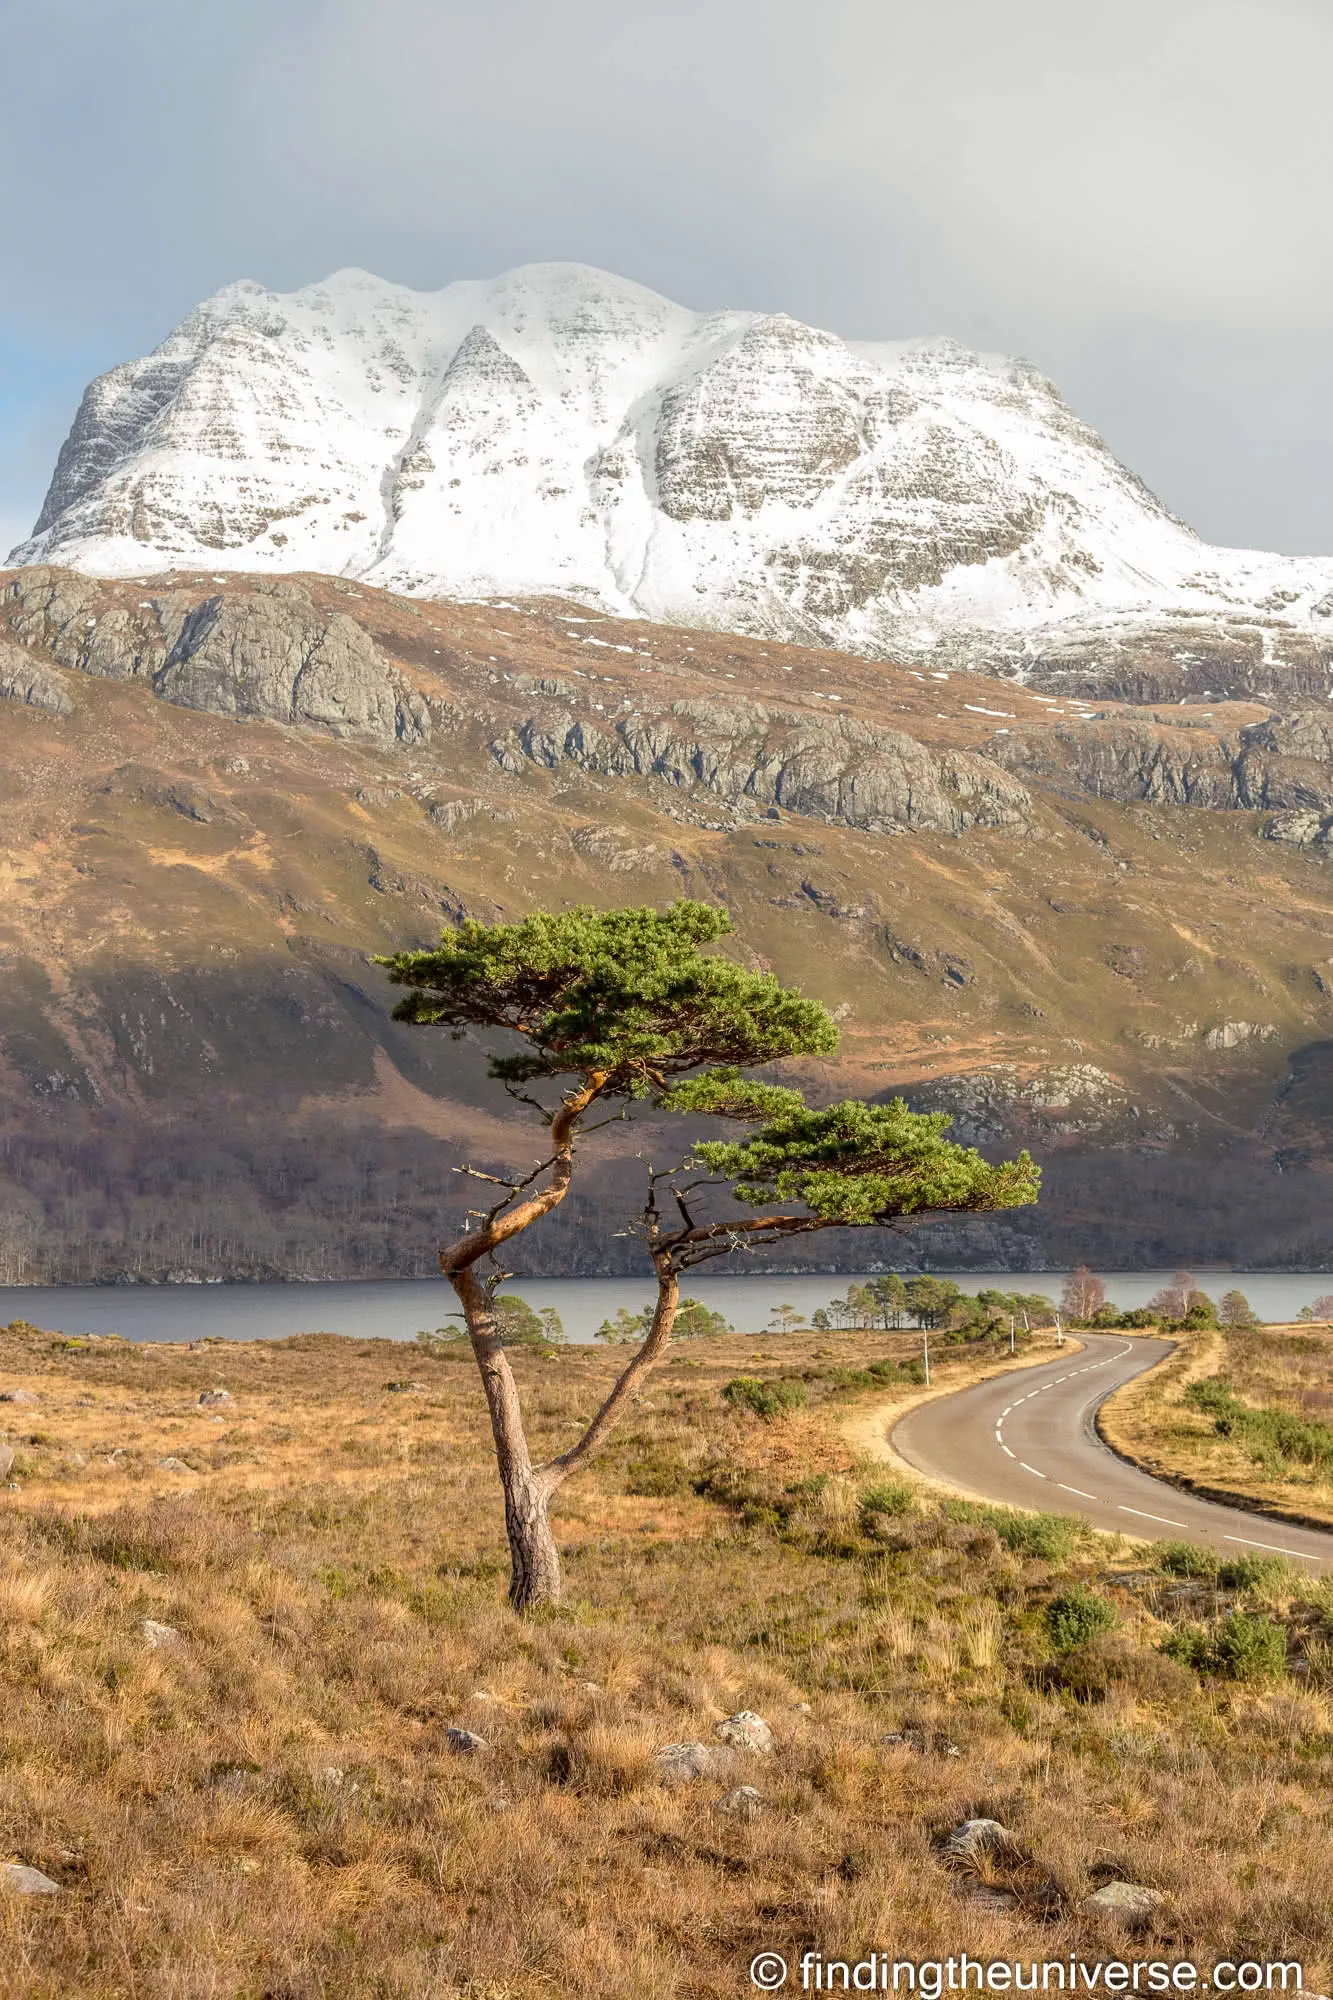
The best use of the time you save on admin: the next trip. Slioch above Loch Maree, Canon EOS 6D with the EF 70-200mm at 70mm, f/7.1 at 1/250, ISO 160.
Frequently Asked Questions
What Should I Do With My Travel Photos After a Trip?
Work through six steps in order: cull the rejects, back the photos up in more than one place, organise them so you can find things later, edit your keepers, share them, and print the ones you love.
If you only have time for one, make it backing up. Everything else can wait, but an un-backed-up photo is one dropped laptop away from being lost for good.
How Do I Back Up My Photos While Travelling?
Import each day’s photos onto your laptop, then copy them onto a small external SSD that you keep in a separate bag. That way a single lost or stolen bag never takes both copies.
When you get home, fold those photos into a proper backup: a copy on your main computer, a second copy on a local drive or NAS, and a third in the cloud with a service like Backblaze. That’s the 3-2-1 rule, and it’s what keeps your photos safe long term.
What Is the Best Way to Organise Travel Photos?
Keep your folders simple, one per year and one per trip inside that, and do the clever grouping with a catalogue tool. In Lightroom, Collections let a single photo belong to several groups (Portfolio, a specific trip, a theme like waterfalls) without duplicating the file.
Smart Collections go further by updating themselves based on a rule you set once, such as every five-star photo. Separate the physical folders from the virtual grouping, instead of trying to make folders do both jobs.
Where Should I Share My Travel Photos Online?
For quick private sharing with family, a free service like Google Photos is fine. For a public portfolio, full-resolution private galleries and print sales in one place, a dedicated platform like SmugMug is the better fit. Instagram is for reach and audience, not full-quality images.
Pick based on what you want to do: share, show off your best work, or sell. Most people end up using a free option for casual sharing and a portfolio platform for the photos they care about.
Can You Actually Make Money Selling Travel Photos?
You can, but it’s harder than it looks from the outside. You’re competing with cheap print-on-demand services and stock libraries where prices have collapsed, so print and stock sales tend to be a small, irregular bonus, not a reliable income.
Most working travel photographers earn far more from teaching, client work and writing than from selling images. Put your best work somewhere it can be bought, price it sensibly, then treat any sales as a happy surprise.
How Many Photos Should I Keep From a Trip?
Far fewer than you shoot. Delete the blurry frames, the test shots, the blinks and the near-identical duplicates, and keep only the ones you’d want to look at or use again.
A tight library of strong photos is far more useful than thousands of maybes you’ll never open. When I shoot a burst of forty frames, I often keep just one or two. Be ruthless now and you’ll thank yourself every time you go looking for a shot.
What Should I Do With Thousands of Old Travel Photos I Never Sorted?
Start with the backup, not the sorting. Get the whole unsorted mess into a safe, backed-up location first, so nothing can be lost while you work through it.
Then tackle it in small batches by trip, one at a time, instead of trying to fix everything in one sitting. Cull each trip, drop the keepers into a collection, and move on. You don’t have to do it all at once, and a backed-up pile of unsorted photos is far safer than a tidy pile that only exists in one place.
Improve Your Photography
Everything above is about looking after the photos you’ve already taken. If you want to come home with better ones in the first place, that’s about understanding your camera and learning to see light, and it’s exactly what I teach in my online travel photography course. It’s the course I wish I’d been able to take when I started out, built from years of shooting in the field rather than in a studio. Get the shooting right and every step in this workflow becomes more rewarding, because you’ll have far more photos worth keeping.
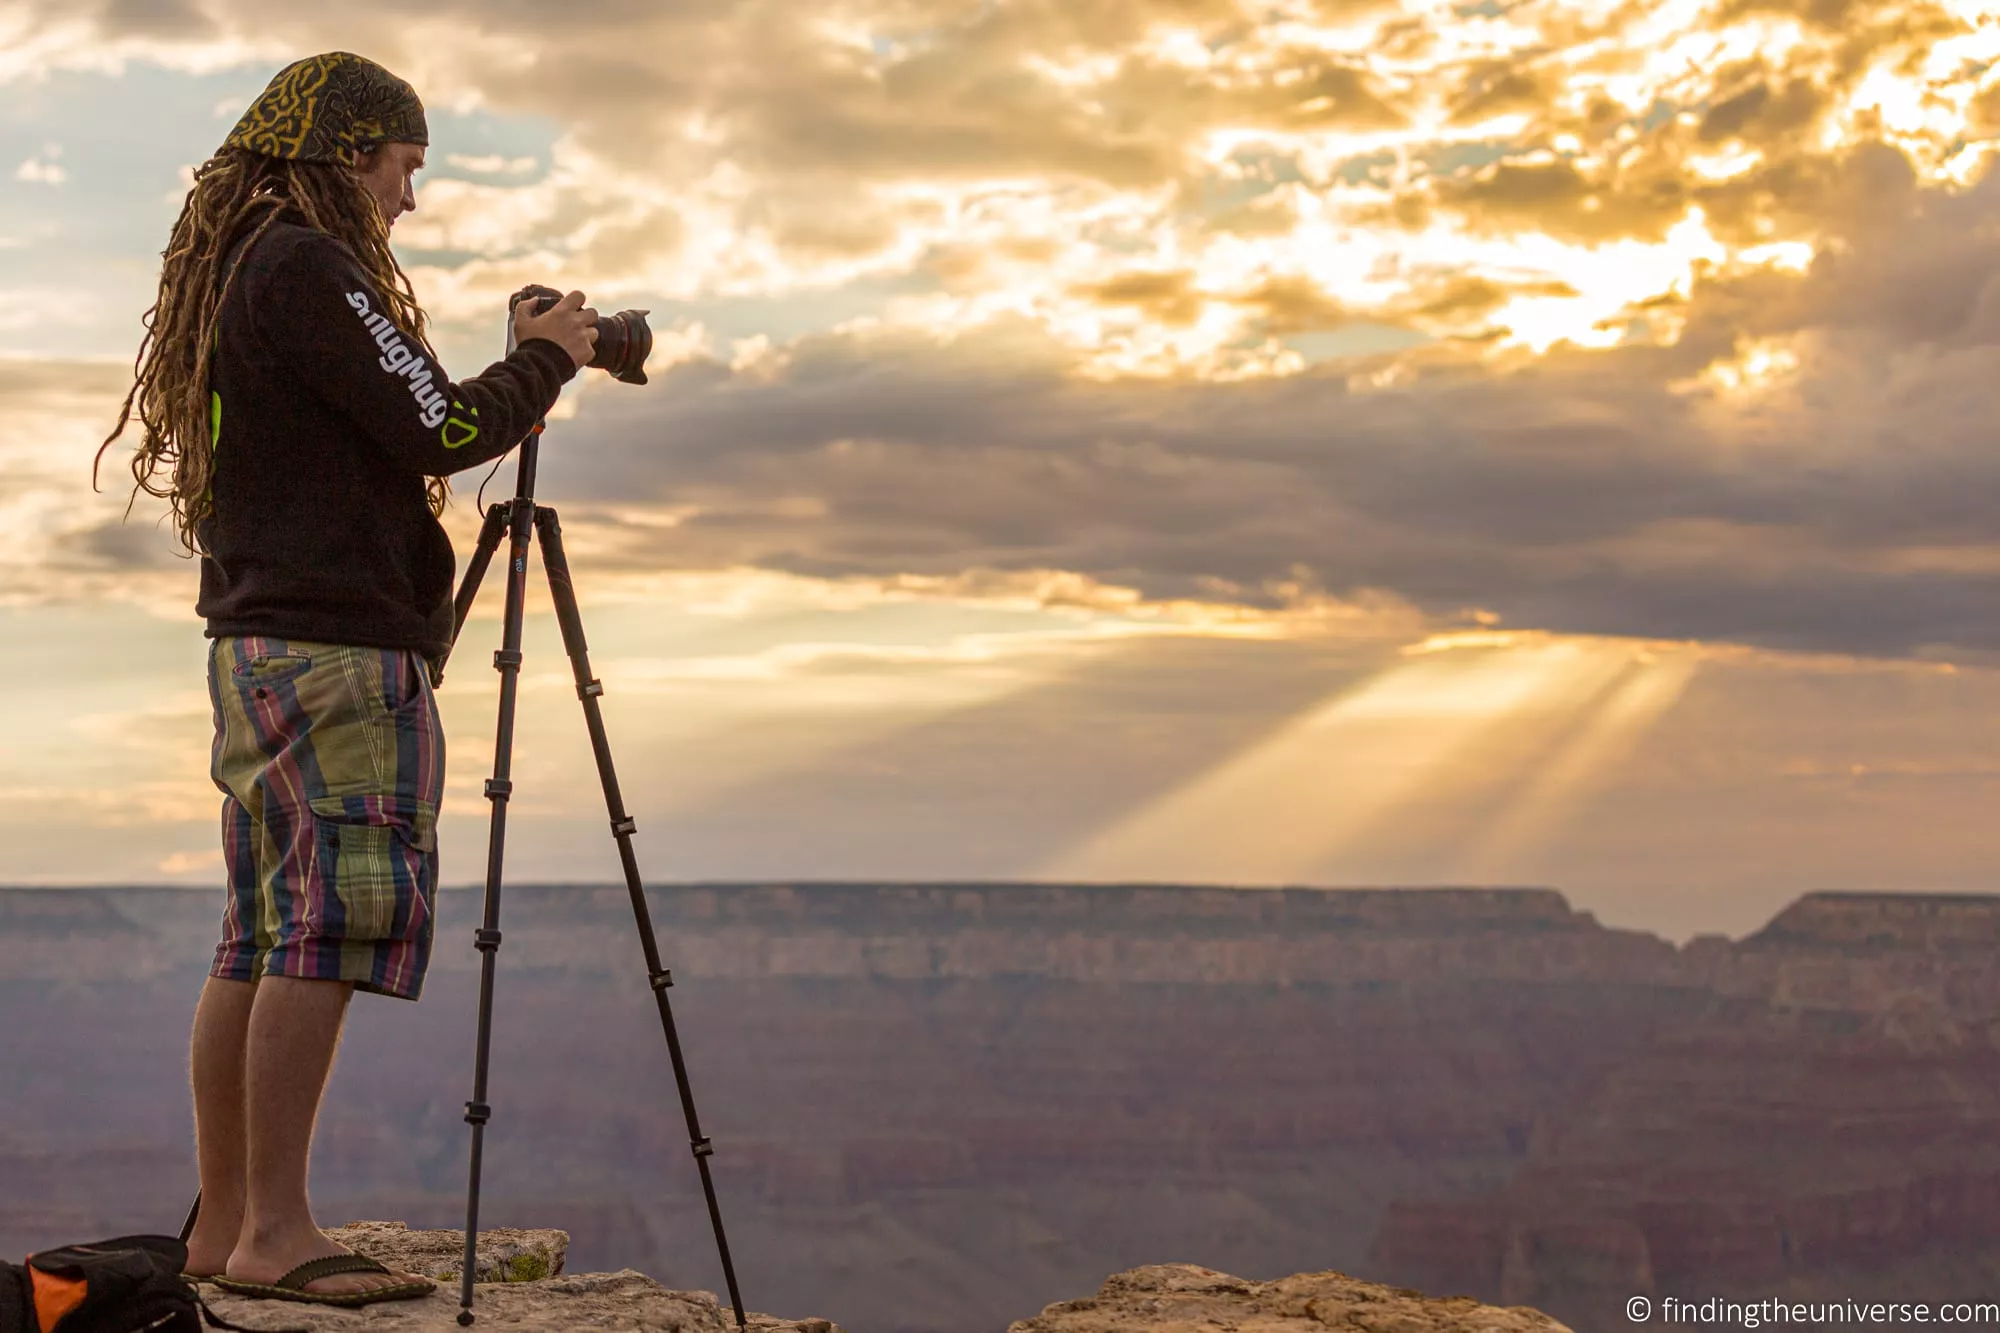
Come home with better photos and every step above becomes more fun.
Leave a Reply