Wintery cold places offer myriad opportunities for photography, from shooting beautiful snow covered landscapes to chasing the northern lights. If the light is right, you can get some truly fantastic winter shots. However, cold winter weather also offers unique challenges to photographers – and I’m not just talking about cold fingers!
In this post I want to share with you some of my top winter photography tips and ideas to help you prepare yourself and protect your camera when photographing in cold weather and wintery conditions. This advice is based on my experiences doing winter photography in various conditions all the way down to negative 40 in countries like Norway, Finland, Canada and Scotland.
You can actually damage your camera equipment (and yourself!) if you’re not properly prepared for winter photography, and some of these winter photography tips are particularly important for keeping your camera protected from both the snow, and the cold. I hope you find it useful!
Table of Contents
Winter Photography & Cold Weather Tips
1. Use A Sealable Plastic Bag
Ok, so this might seem a bit weird. But this is one of the most important winter photography tips in this list, so I’ve put it first to ensure you properly protect your camera in winter from the cold.
If you’re using your camera in particularly cold weather, you’re going to want a bag (or bags) that you can fit your camera gear (i.e., camera body, lenses) in that has an airtight seal – my recommendation would be something like a freezer bag with one of those easy close systems.
The reason for this is that when you move from somewhere very cold to somewhere warmer, there is the risk that moisture will condense on or inside your equipment. Moisture does not play well with the internals of most cameras, and protecting your camera from it is important.
To stop this happening, before you head inside after your shoot, seal your camera equipment inside the freezer bag along with some of that cold winter air. You can remove the battery and memory card before putting it in the bag if you want so you can begin importing your photos and recharging your batteries. Then you can take your camera inside, leaving it inside the sealed bag, and it will warm a little more slowly with none of the moisture able to penetrate the bag.
You’ll want to leave your camera in the bag for at least a couple of hours to warm up before taking it out the bag – in the meantime you could be importing your photos to your computer, or just warming yourself up after your winter photography session!
2. Take spare batteries (and keep them warm!)
Cold weather kills batteries. It’s a known fact. The cold causes batteries to drain faster than normal inside the camera, and even when not in use, they’ll still lose their charge.
To mitigate against this, and to save yourself from running out of battery power at a key juncture, you’re going to want to carry spare batteries, and keep them in an inside pocket as close to your body as possible. Your body heat will help protect them from discharging and keep you shooting for longer. You should also keep your main batteries warm in this way until you need to use your camera.
If you can, I’d also recommend having your camera inside your coat and close to your body, but this isn’t always practical for more bulky equipment. However, if you’re using a smaller camera system, a point and shoot camera, or even a smartphone, then keeping it close and protected can help.
3. Don’t freeze your nose to your camera
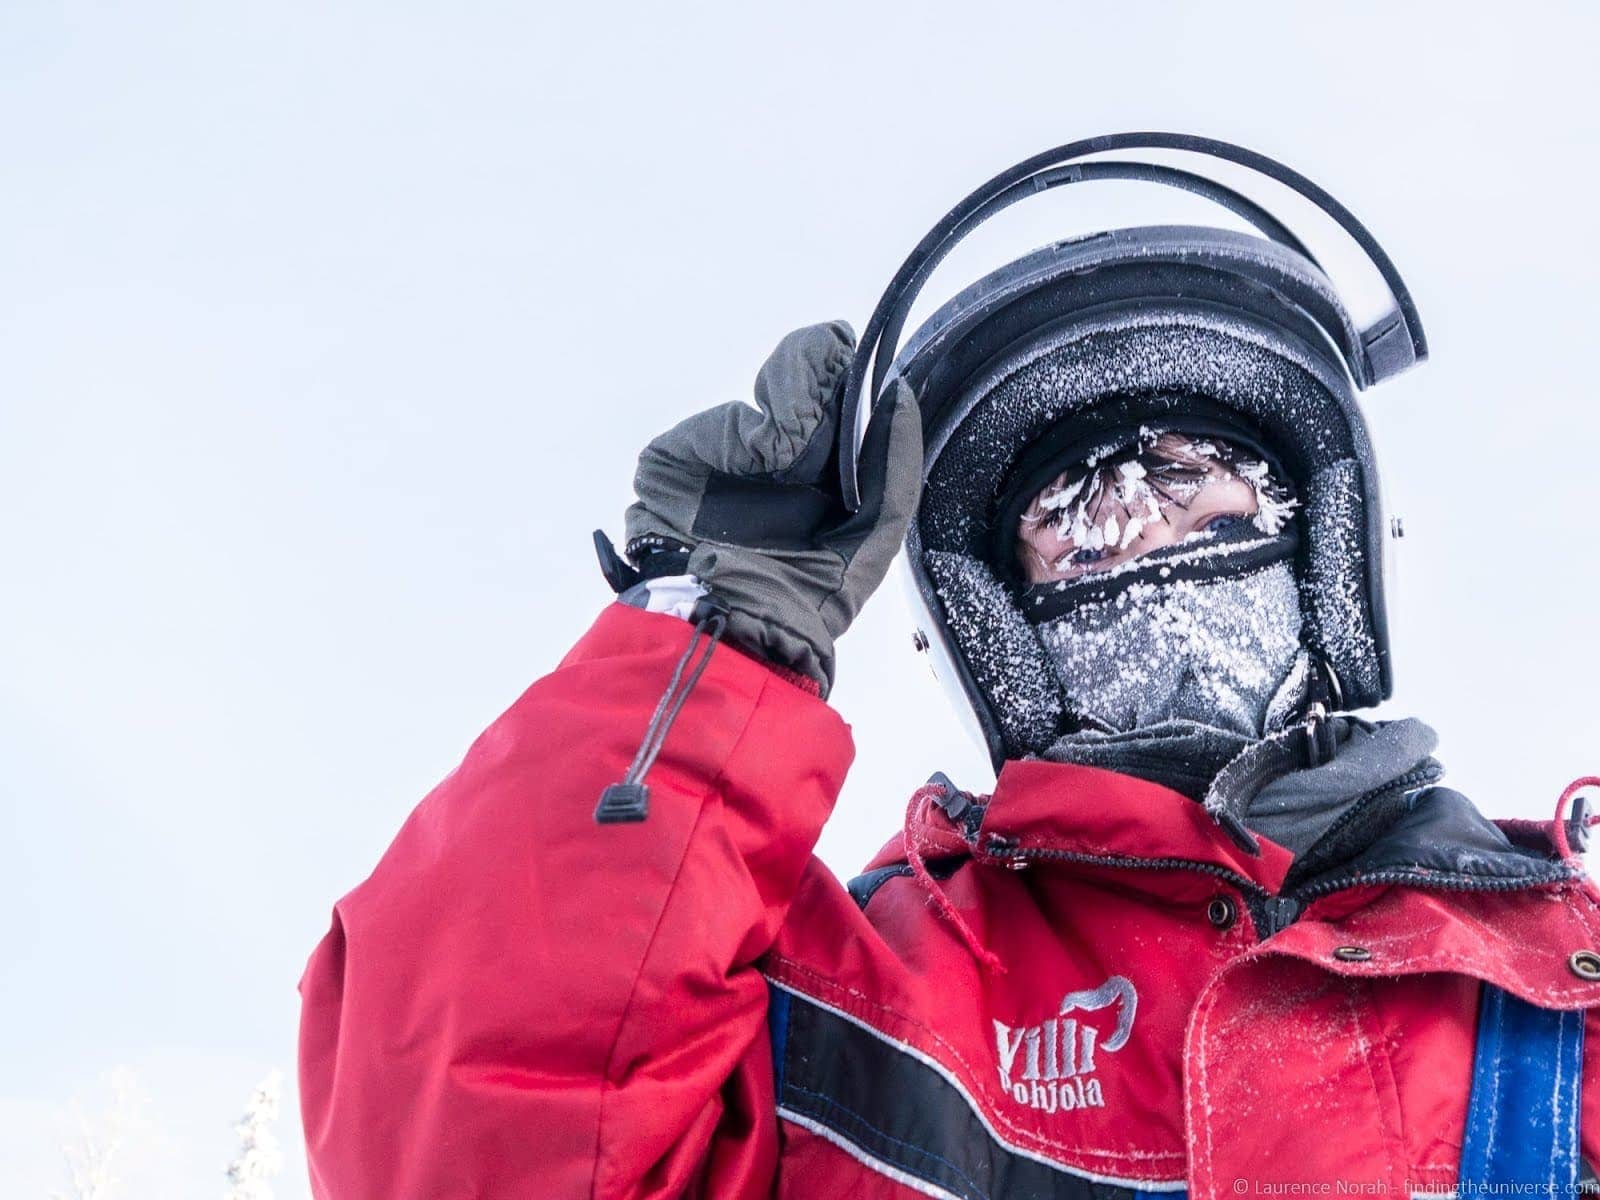
A lot of cameras are made of metal, and when you drop down to seriously cold temperatures, metal can become a bit of a risk to our skin. In particular, when you hold your camera up to your eye to take a photo, your nose might touch up against the camera body, which can lead very quickly to frostbite, or even your nose being frozen to your camera!
To avoid freezing your nose, I’d suggest wrapping your face with material to protect it, like a scarf or balaclava, or wrapping the camera body with something to protect you. Alternatively, shoot from a tripod and use the camera’s screen rather than the viewfinder to compose the shot, and avoid the problem altogether.
4. Wear good gloves
One of the big challenges of cold weather photography is just trying to use the camera in those sub zero temperatures. Dials, buttons, filters – all these things that are easy to deal with when shooting in normal conditions, all become very challenging when we’re wrapped up to the max.
The right pair of gloves can be key in this situation. If it’s not insanely cold, fingerless gloves can be an option – allowing you the dexterity of your fingertips whilst keeping the rest of your hands warm. Otherwise, you’re going to have to be pulling those toasty warm gloves on and off to operate your camera.
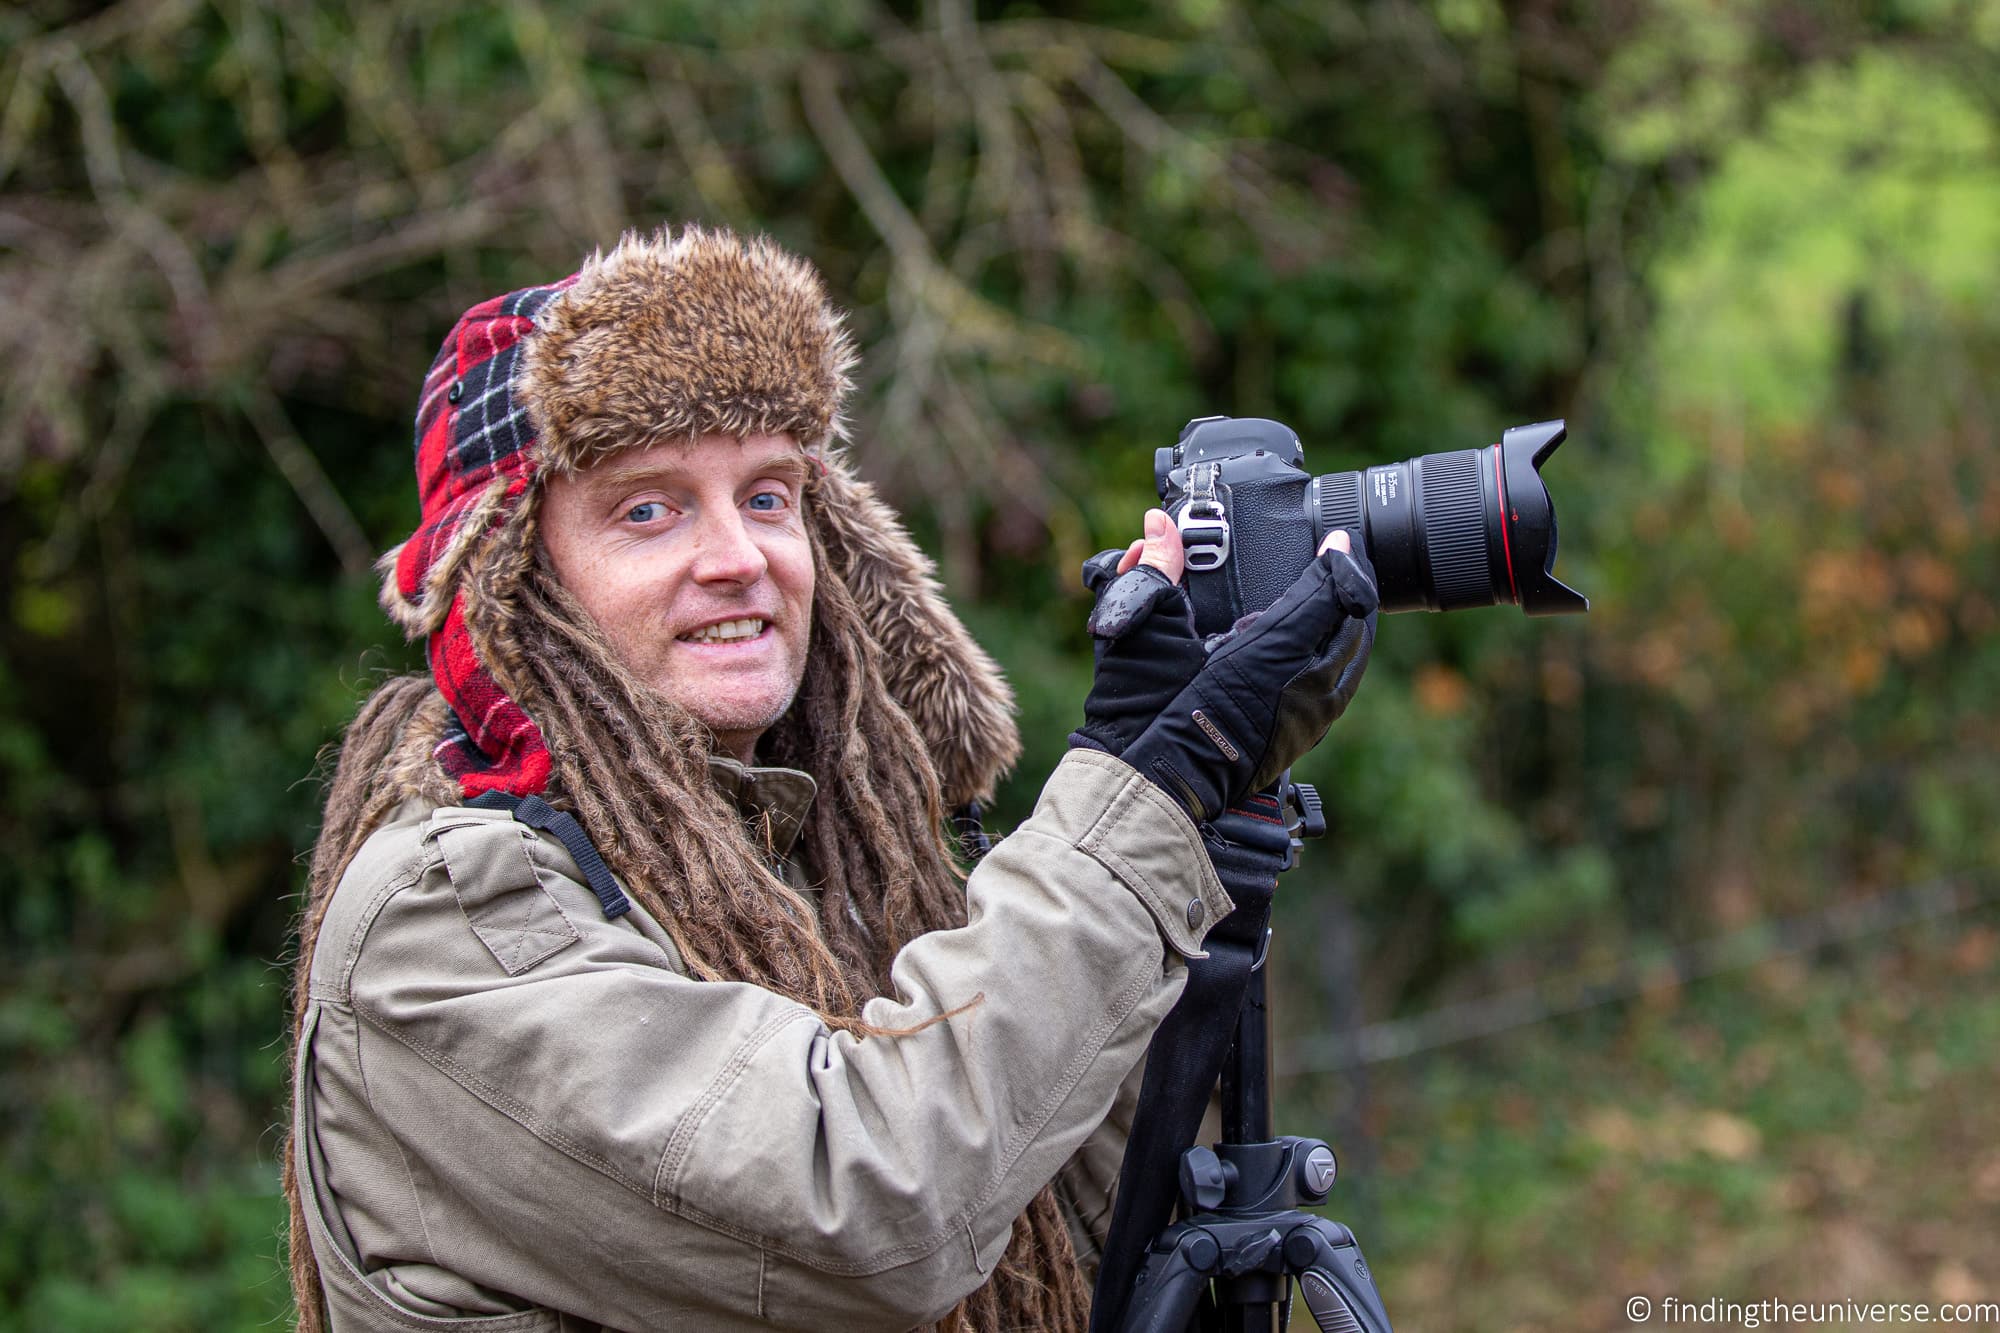
There are a variety of gloves designed for winter photography and cold weather conditions, which vary in their approach, from fingerless solutions to gloves with removable sections. In my experience, really cold conditions tend to need bulkier glovers, so make sure you pick the pair that will suit the conditions you’ll be shooting in.
I’d suggest avoiding fingerless gloves for anything but the mildest temperatures, as they are less likely to keep your fingers really warm. Instead, find a pair of gloves that has detachable fingers so buttons and dials can be adjusted quickly.
There are a number of options on the market. These are a good pair specifically designed for photography, with a warm merino wool lining and magnetic finger caps. These are the pair that I own which I use for winter photography at temperatures around freezing and just below.
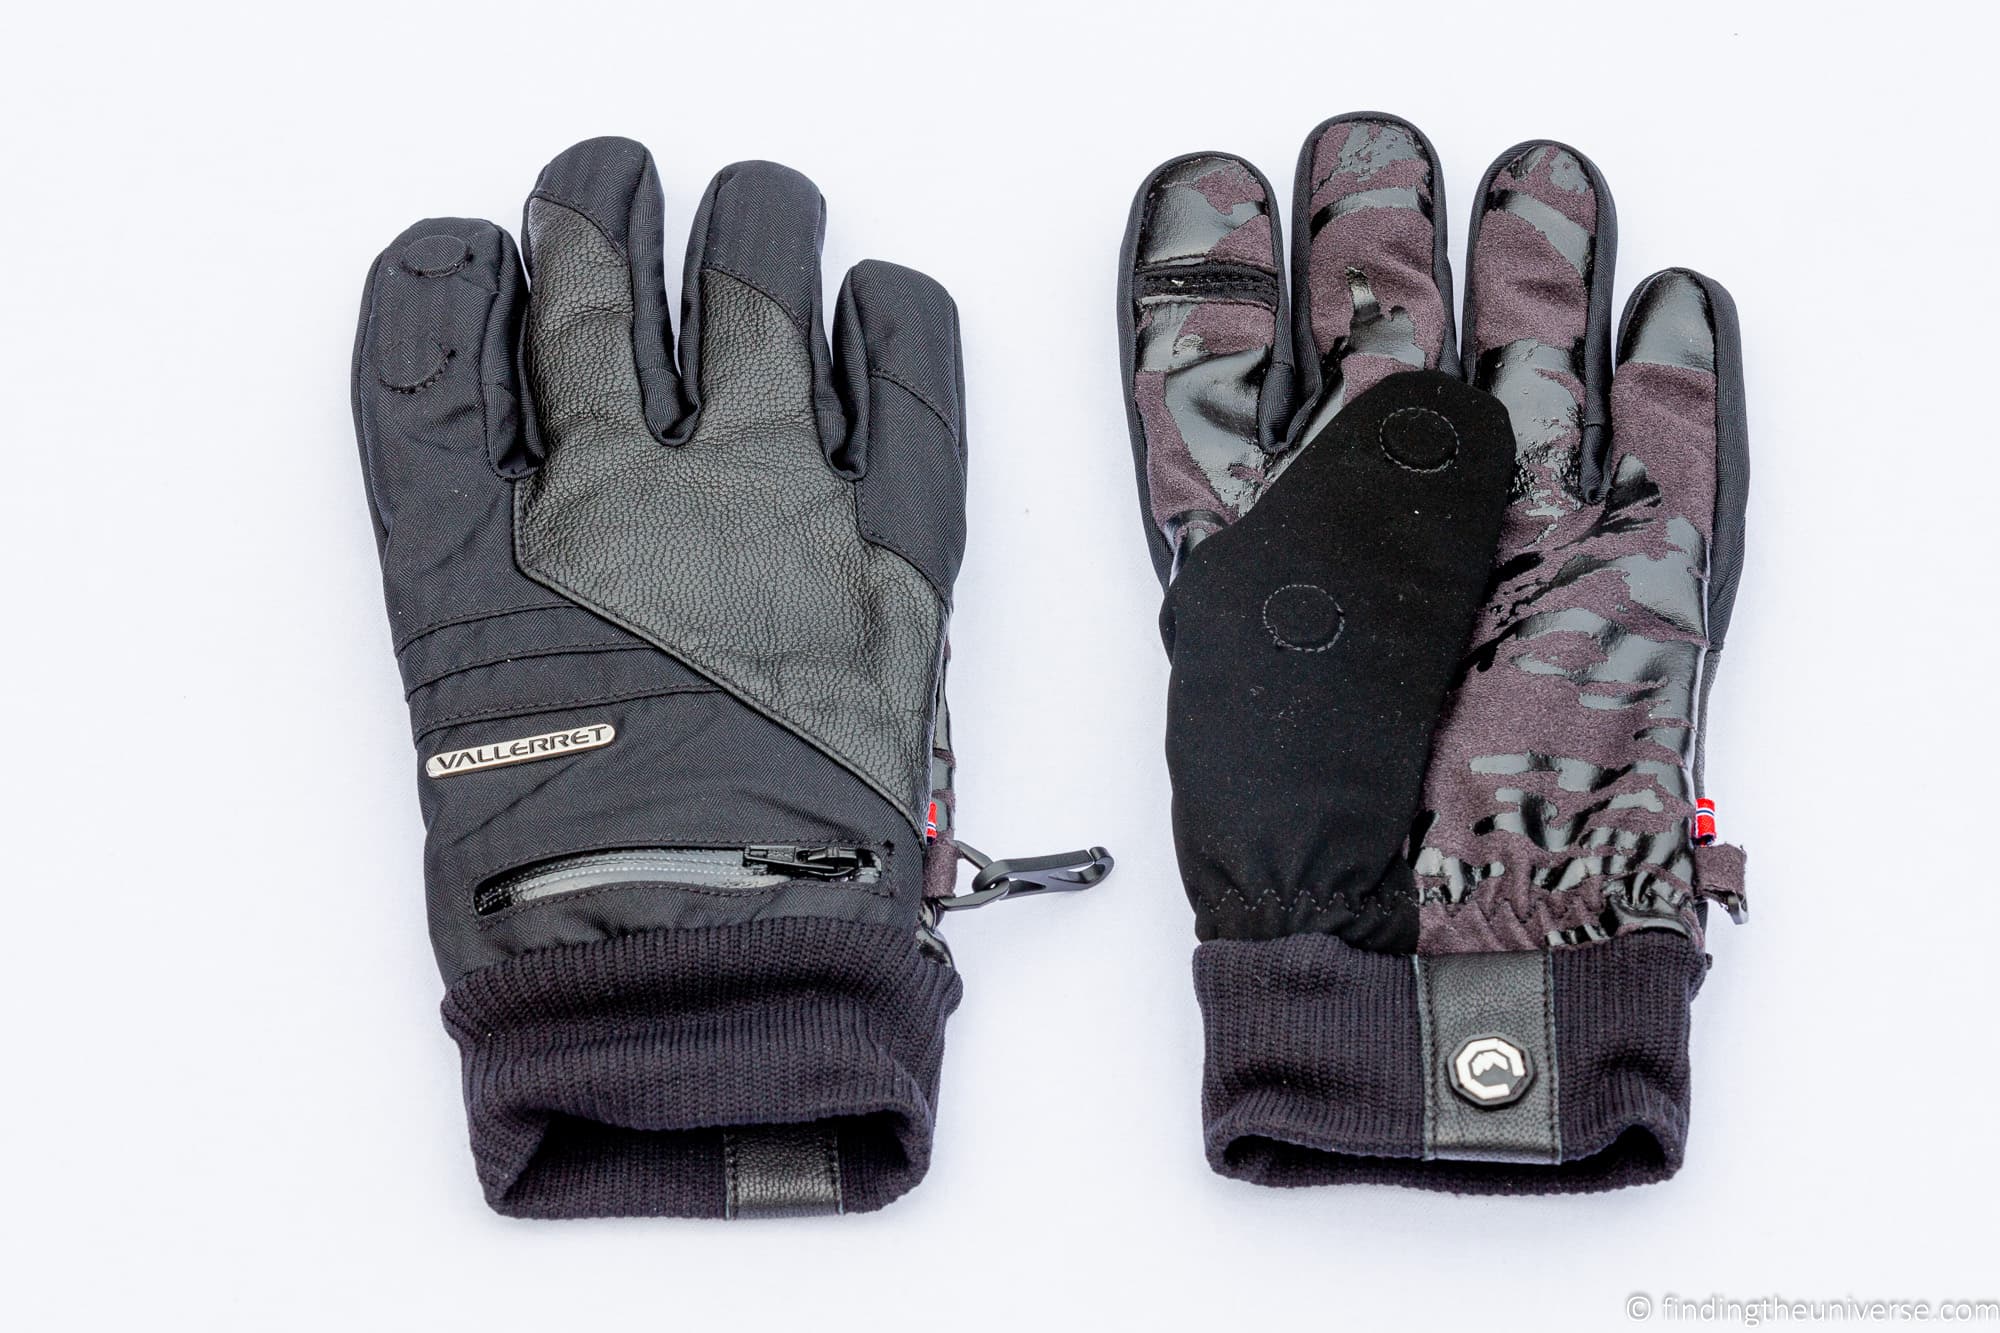
The company that makes them specializes in winter photography gloves, and they have a wide range of options, depending on the weather conditions.
The pair I own are good for fairly cold weather, but I would recommend one of their more heavy-duty pairs if you are travelling somewhere really cold, such as these, these or these.
There’s another option to consider for keeping you hands warm, which is to:
5. Use Heat Packs
Chemical heat packs solve the problem of your hands (or feet) getting cold, and you not being able to warm them back up again. This is especially the case for your hands, which will be handling very cold camera equipment.
A chemical heat pack can provide hours of warmth to your hands for a minimal cost, and are a sound investment – just pop them in your gloves (or hold them in your hands) for instant relief from the cold.
6. Wear warm winter clothes too!
This should be obvious, but sometimes obvious things needs stating. If you’re out in cold weather, you want to be wearing clothes designed for cold weather. The secret is layers – thermal baselayers to start, and then build up the layers until you finish with something that’s ideally water and windproof.
Avoid cotton if you can, as if it gets wet from either rain or snow or if you are sweating you’ll get cold very quickly. Synthetic fleeces or wool are a better option.
Don’t forget a hat of course – I like a hat that covers my ears (any extremities are susceptible to frost bite), warm socks, a scarf, and those gloves I previously mentioned.
7. Use a good camera bag
This isn’t just a cold weather photography tip, but when you’re out in extreme conditions, a good camera bag is a must. It will protect your gear until you’re ready to use it. You want something that is purpose designed to be a camera bag, as it will have the necessary amount of padding to protect your gear.
You also want a bag that offers some level of protection against the elements. When it’s cold, this is usually snow, which will brush off, but a bag with a waterproof cover is a good investment nonetheless. You’ll also want to be sure it fits all your gear and anything else you usually take with you when out (heat warmers, snacks, drink etc..).
I’m proud to be a Vanguard ambassador, and love their range of bags. Currently my go-to bag is the excellent Vanguard Alta Sky 49. I can fit two camera bodies with lenses in, it has a side pocket for a travel tripod (or water bottle / flask of hot coffee), it has a water-proof cover, and it’s comfortable for all day wear even when loaded up.
8. Invest in a good tripod
I’m already a big proponent of using a tripod to help you improve your photography – in fact I wrote a post detailing 11 reasons you need a tripod for awesome photographs.
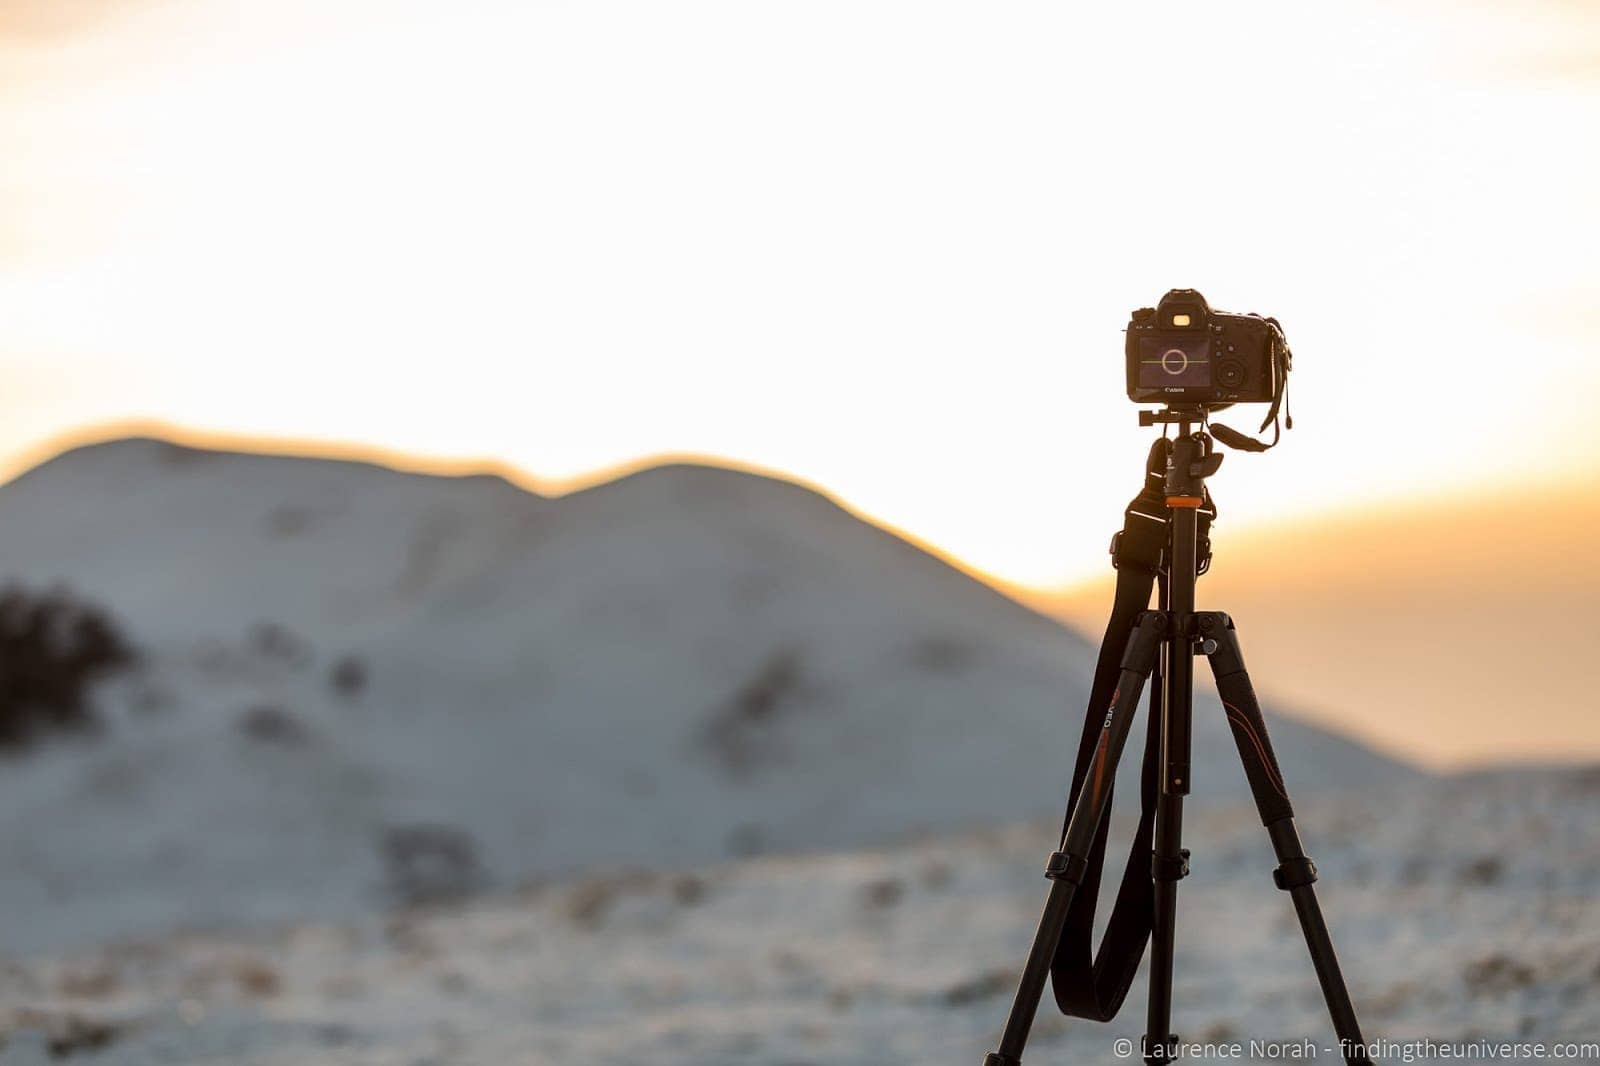
This is no different for winter photography – especially if you’re out at night trying to capture the night skies or the elusive northern & southern lights. That low level of light is going to need you to use long exposures, and the only way to do that is by ensuring your camera is rock-steady – something you can’t do with your hands.
A good tripod is a worthy investment. There are plenty of options available, but I’d be remiss if I didn’t mention the excellent VEO range from Vanguard. They’ve been my go-to travel tripods for a number of years, and they offer a great balance between price, portability and functionality.
9. Use the right camera settings for Winter Photography
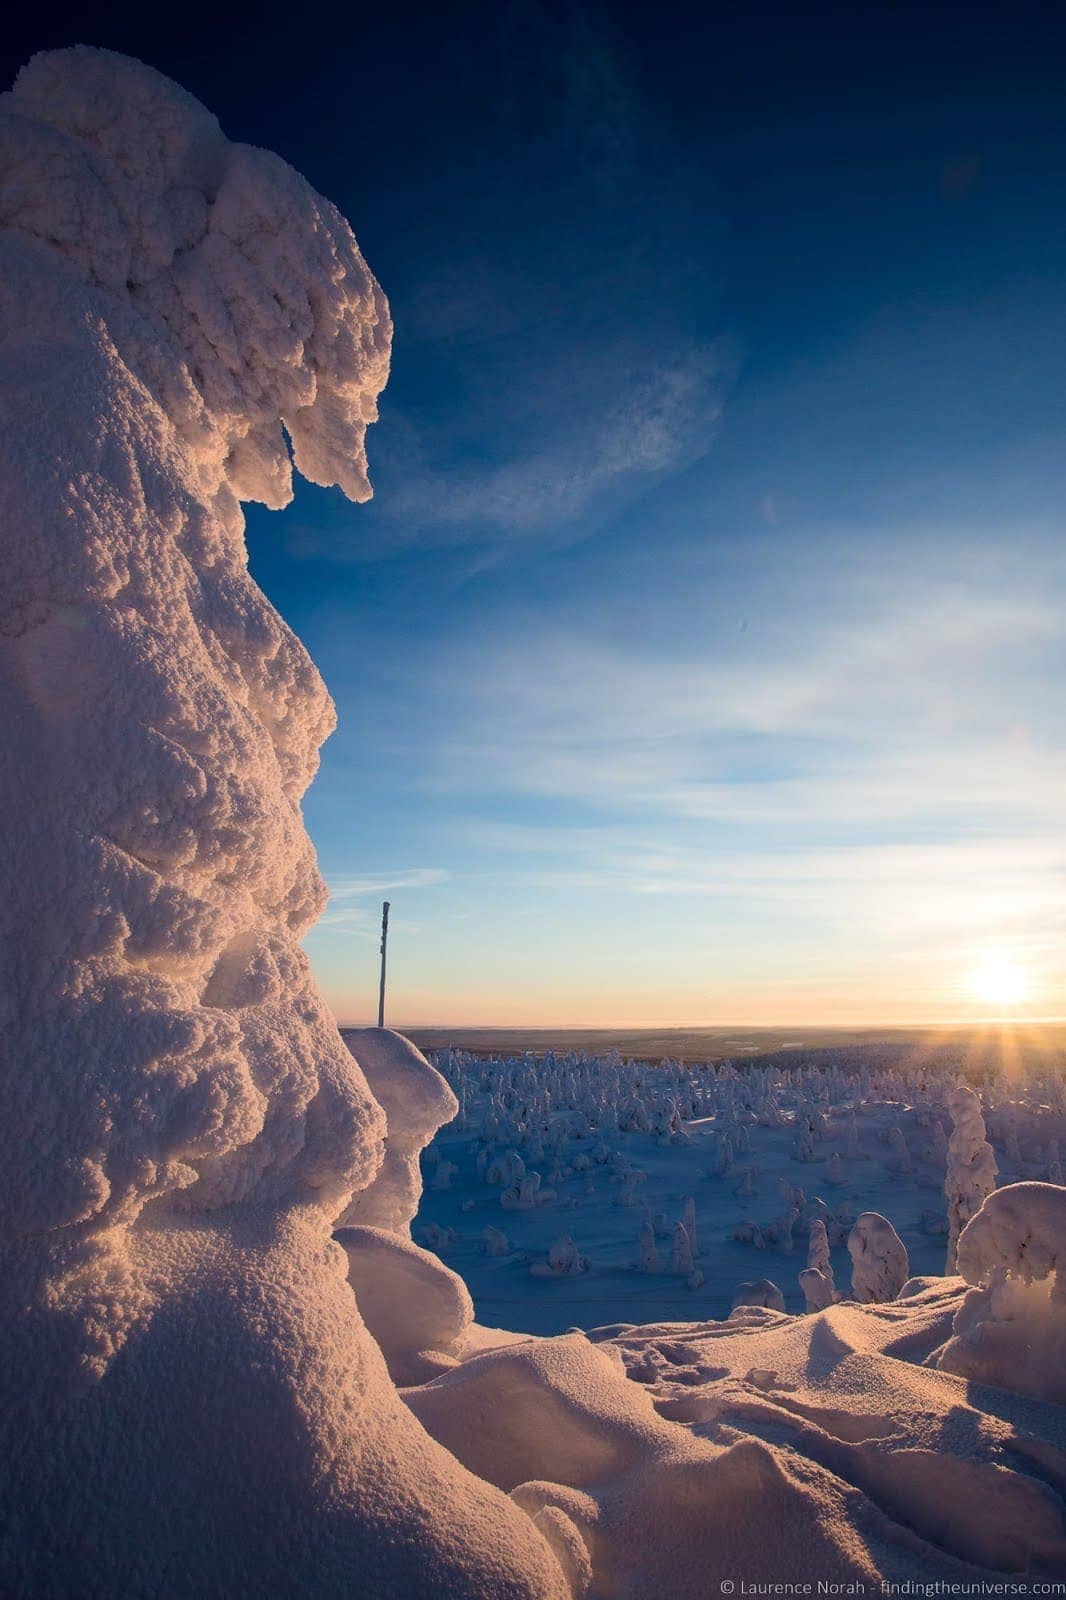
Snow makes for beautiful winter photography opportunities, but it can also wreak havoc on your camera’s exposure meter, resulting in images that are under-exposed, or darker than you would expect. This is because all the glare from the snow confuses your camera, causing it to read the light in the scene wrong.
If you are shooting snowy scenes, one of my top winter photography tips is to compensate by increasing your cameras exposure by around 1 stop – the exact amount will vary depending on the amount of snow and light.
When taking the shot, you’ll need to check how dark the image is by checking the preview on your cameras screen. If it looks too dark, you’ll need to compensate – you can do this with the exposure compensation feature of your camera, or by shooting in manual mode and setting everything up yourself.
Working with exposure compensation (and taking full control of your camera!) is something I cover in much more detail in my travel photography course, but in essence, you need to find the exposure compensation function on your camera, which usually looks like a “+/-“ button. It may also be accessible from inside your camera menu system.
Once you’ve found it, set it to “+1”. This means that the camera will allow twice as much light in versus not using exposure compensation, and should get your pictures looking brighter and more true to the scene as your eye sees it.
10. Carry an air blower
The last tip on this list is to help keep your camera free of snow. When you’re out photographing in cold weather, errant snowflakes might find their way to your camera’s lens – not ideal for your compositions! Thankfully, your camera will be cold so they won’t melt, and can be brushed off.
You don’t want to brush them off with your hands or a cloth though as the warmth could cause them to melt, or you might leave fingerprints on your lens. Instead, use a photography lens air blower like this to just blow them off the lens. Easy!
Well, those were some of my top tips for preparing yourself and your camera for cold weather photography. I hope you found them useful! Let’s take a quick look now at some:
More Photography Resources
This isn’t the only post I’ve written on photography! Here are some more resources to help you out with improving your photography:
- If you’re travelling in the northern hemisphere in winter, you might see the northern lights. See our guide to photographing the northern lights for more information on getting great photos
- If you’re looking for more advice on specific tips for different scenarios, we also have you covered. See our guide to Northern Lights photography, long exposure photography, fireworks photography, tips for taking photos of stars, and snow photography.
- My always expanding series of Photography Location Guides, to help you get the best shot in locations around the world.
- An overview of my Travel Photography Gear, in case you wondered what a professional photographer has in his bag
- We have a guide to what to buy a photographer, which has gift ideas at all price points and experience levels
- Our always updated guides to the best travel camera, the best travel camera lens, and the best compact camera for travel
- A Beginners’ Guide to Improving your Travel Photos
- My series of Photography Tips, which I am always expanding and updating with posts like this one
- And, if you’re serious about improving your photography, I run an incredibly comprehensive online travel photography course, which will teach you everything you need to know about photography. Check that out here.
And that’s if for today’s post on preparing for cold weather photography! Have anything you’d like to add or feedback to share? Let me know in the comments below!
Bill Wagner says
Very Helpful. What about memory cards. Do I have to worry about losing photos after being outside and then coming into the warmth?
Laurence Norah says
Hi Bill,
So memory cards tend to be less susceptible to this issue, so you shouldn’t lose data. As a precaution, you might want to take it out of the camera and put it into a separate zip lock bag to warm up, but normally I just let everything warm up together in a bag. I’ve not had an issue even shooting in very cold conditions with my memory cards.
Cheers
Laurence
Bill Wagner says
Thanks for the quick and detailed reply.
What type of polarizing filter do you recommend for bright days in Yellowstone wheneverything is covered in snow?
Laurence Norah says
Hi Bill,
Any circular polarizing filter from a recognisable brand would be good. I personally use a B+W filter like this but I’ve had good results with Haida and Kolari filters. So whichever fits your budget.
Enjoy Yellowstone!
Laurence
Kate says
Great article! I photograph aurora borealis in Yellowknife, Canada and it gets really cold in winter around -30 to -40, sometimes more with windchill. I also use a Camera Parka to protect my DSLR when it is very cold. For my fingers, I use thin thermolite gloves so I can change settings, and have mittens (with heat warmers) in sometimes to put over. Always keep batteries and cell phone in the inside pocket of my goose down jacket. Winter photography is fun!
Laurence Norah says
Thanks very much!