Have you ever heard photographers talking about long exposure photography, and wondered what it was? Or perhaps you’ve seen examples of long exposure photographs, and want to know how to do it yourself. Or just up your long exposure skills?
Well, you’ve come to the right place. In this guide to long exposure photography, we’re going to go through everything you need to know to learn long exposure photography yourself. You’ll learn what gear you need, how to set your camera up correctly, and get tips for taking awesome long exposure photographs.
First though, let’s answer the question of what exactly long exposure photography is.
Table of Contents
What is Long Exposure Photography?
Long exposure photography is a photography technique where you take a photo over a prolonged period of time, by opening the camera’s shutter for longer than normal.
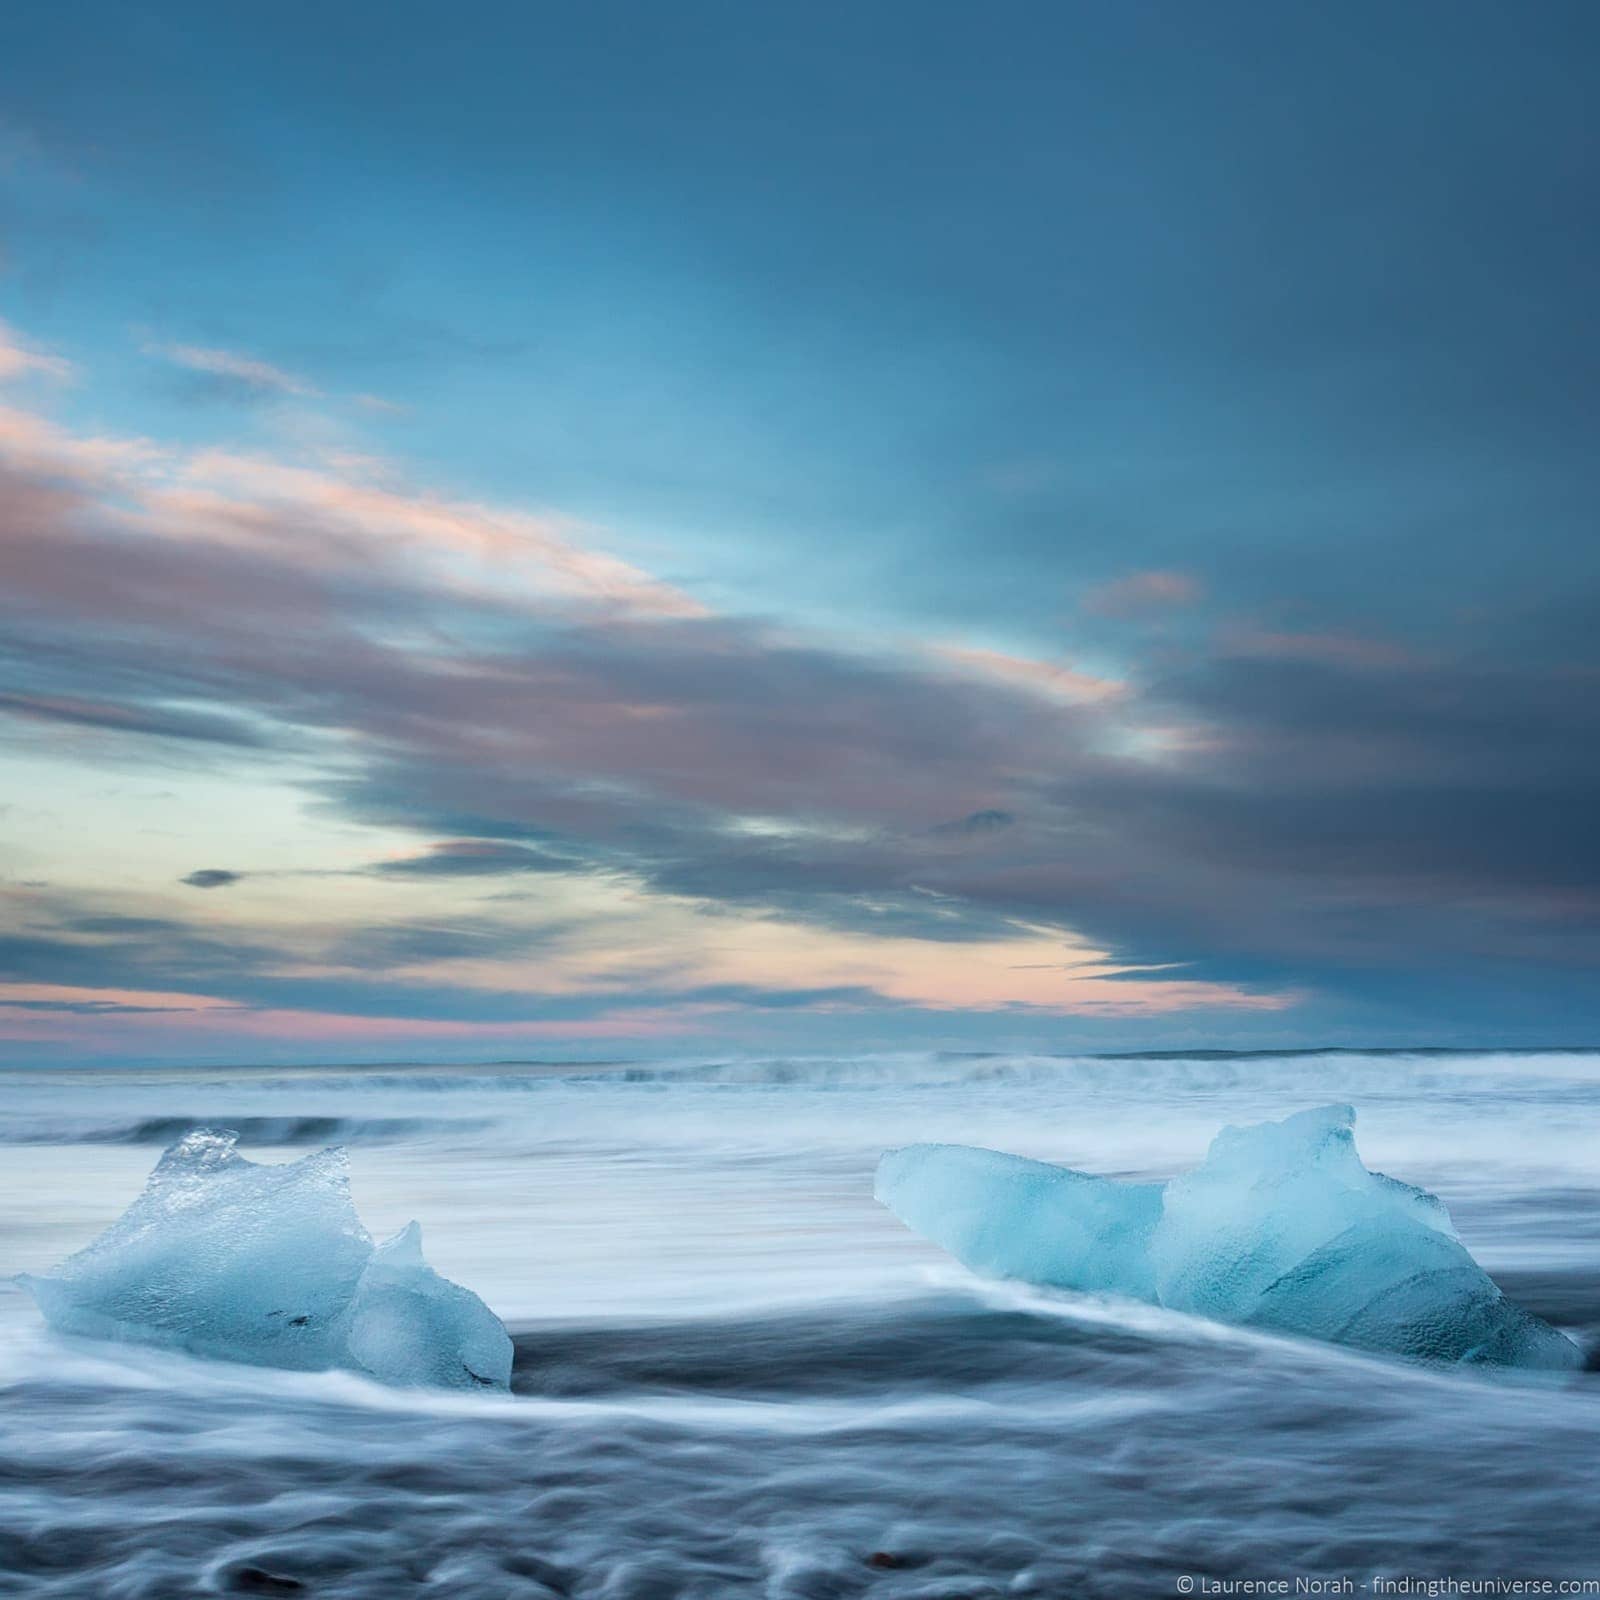
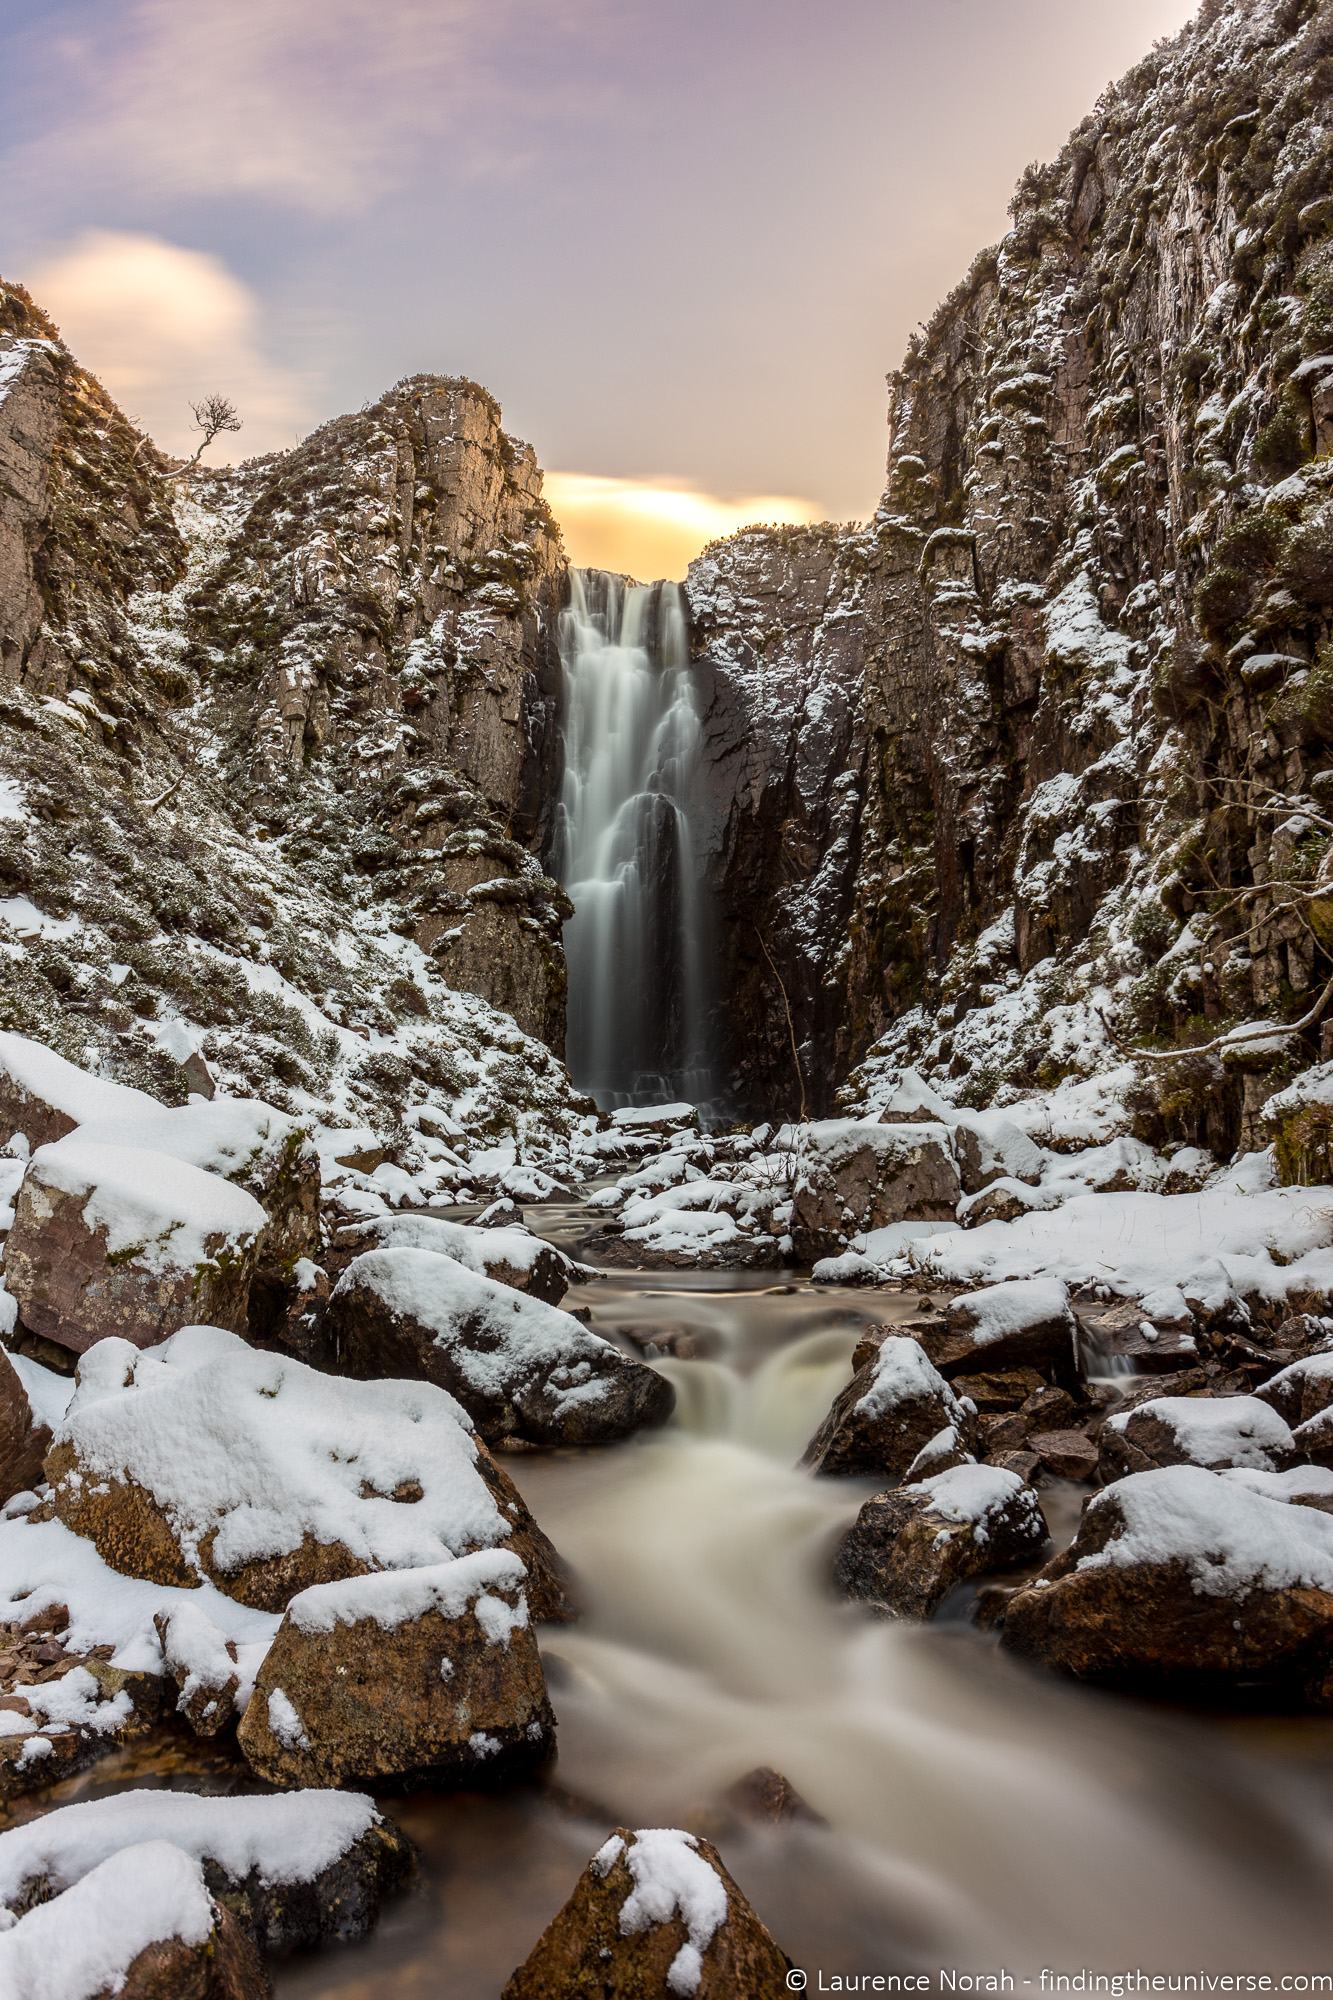
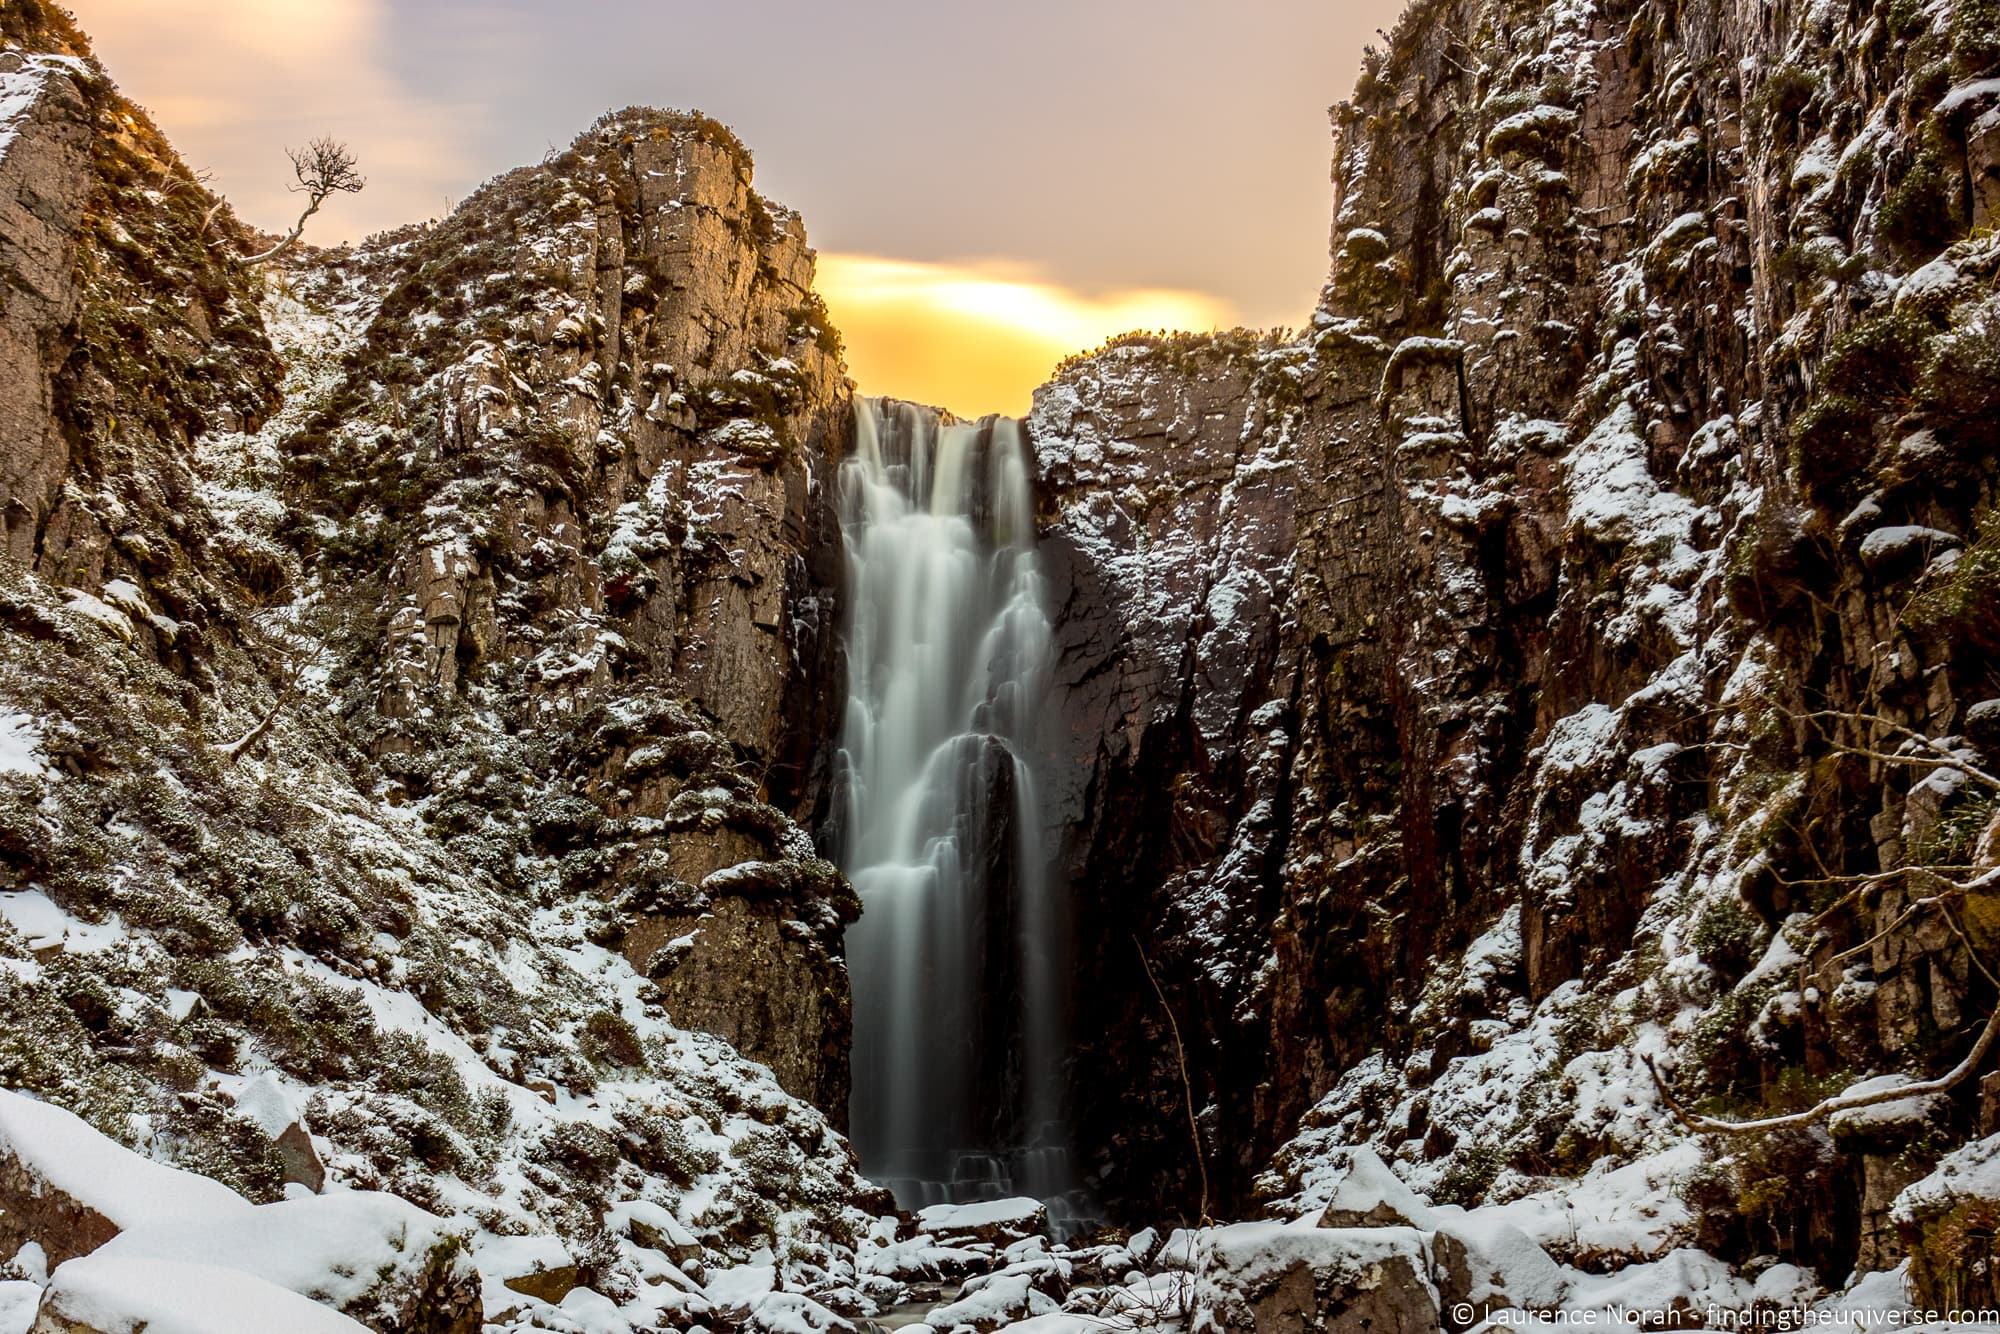
This results in any movement in the scene being captured, which can result in some interesting effects. You can an example of this in the shot below, where the moving water has created a soft flowing effect.
There are further examples throughout the post and some comparisons, to give you an idea of what is possible.
Of course, now you might be wondering what “normal” is in terms of a photo.
A quick overview of how a camera captures a photo – when you press the shutter button on your camera, it will make a clicking sound, which indicates the photo has been taken. What happens in this moment is that the “shutter”, which is a barrier between the cameras sensor and the lens, is opened, allowing light to pass onto the shutter. The sounds you hear is the shutter quickly opening and closing.
The result of the light hitting the sensor to record the image is known as an exposure, and the amount of time that the shutter is open for is known as the shutter speed. Shutter speed is measured in time, usually in fractions of a second.
As a guide, most photos are taken at a shutter speed of between 1/60th of a second and 1/4000th of a second. Which is pretty quick!
Long exposure photography has you opening the shutter for much longer than this, usually for at least a second, but often in the tens of seconds, depending on the subject and the effect you want to achieve.
Long Exposure Photography Examples
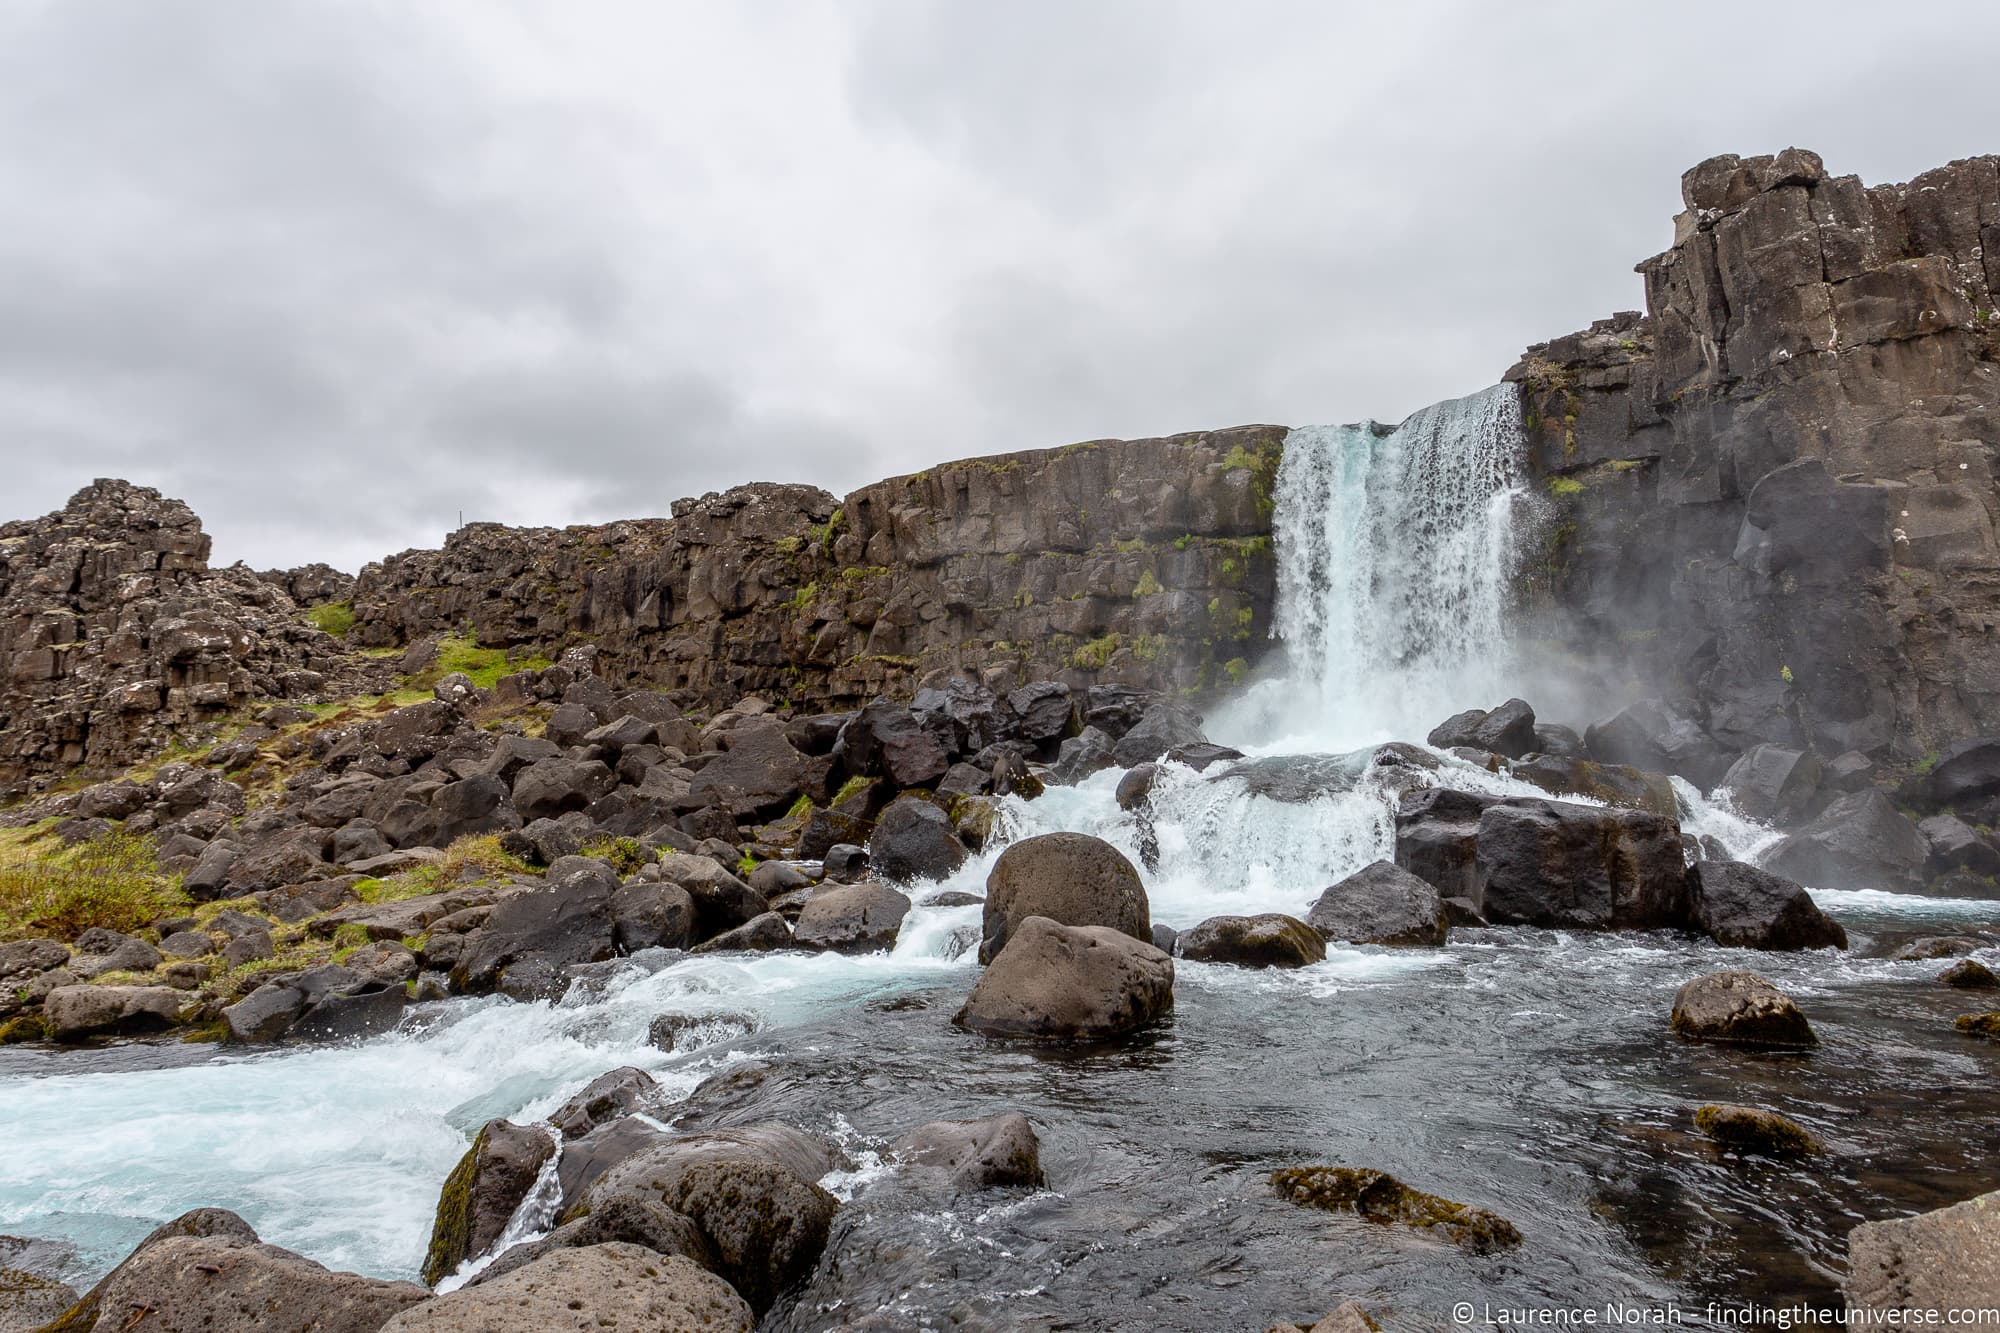
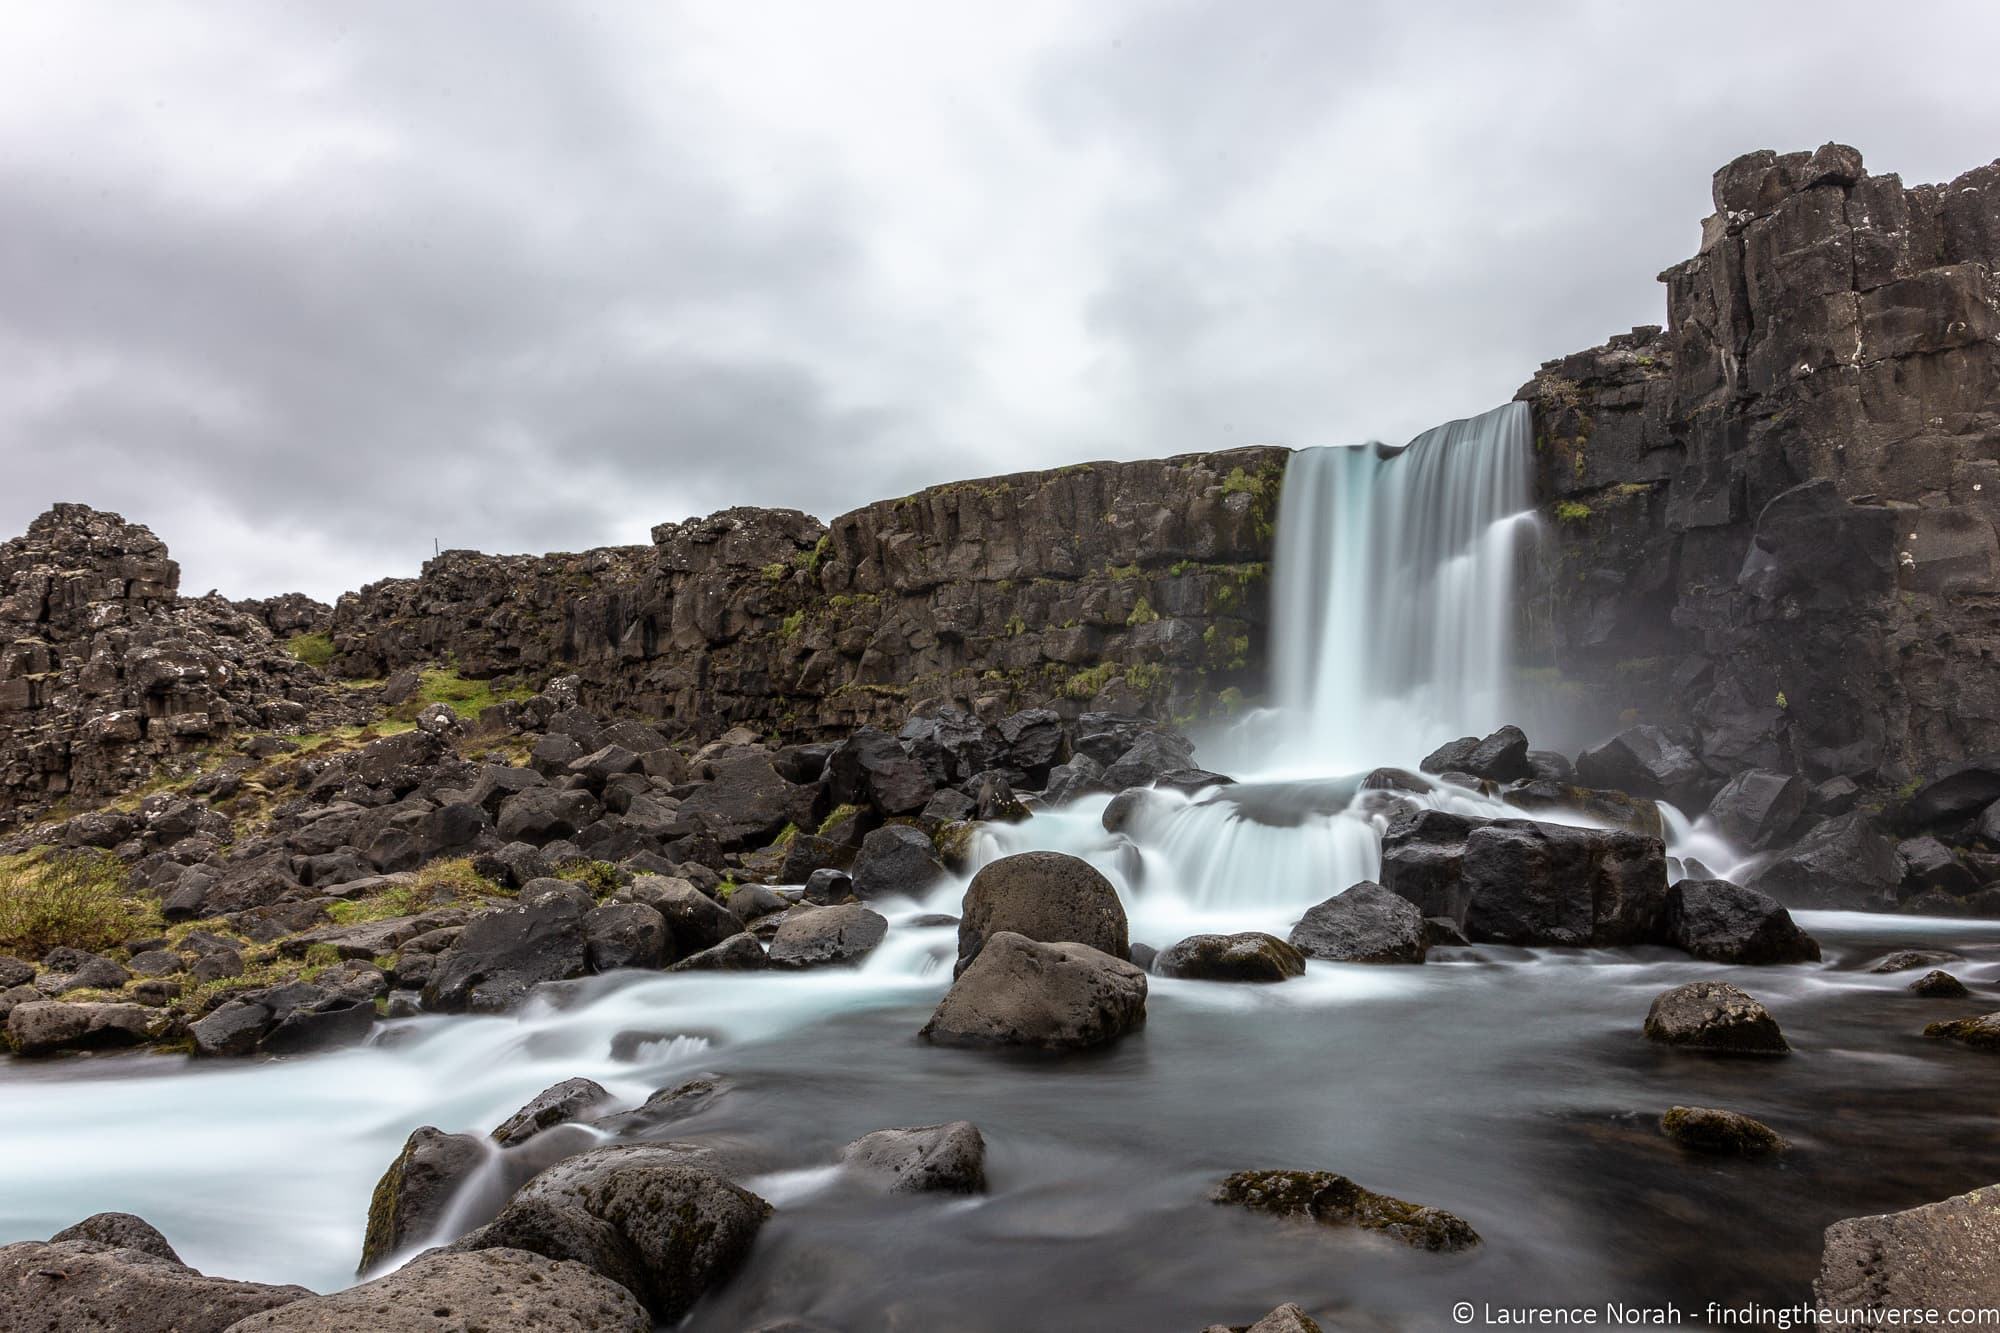
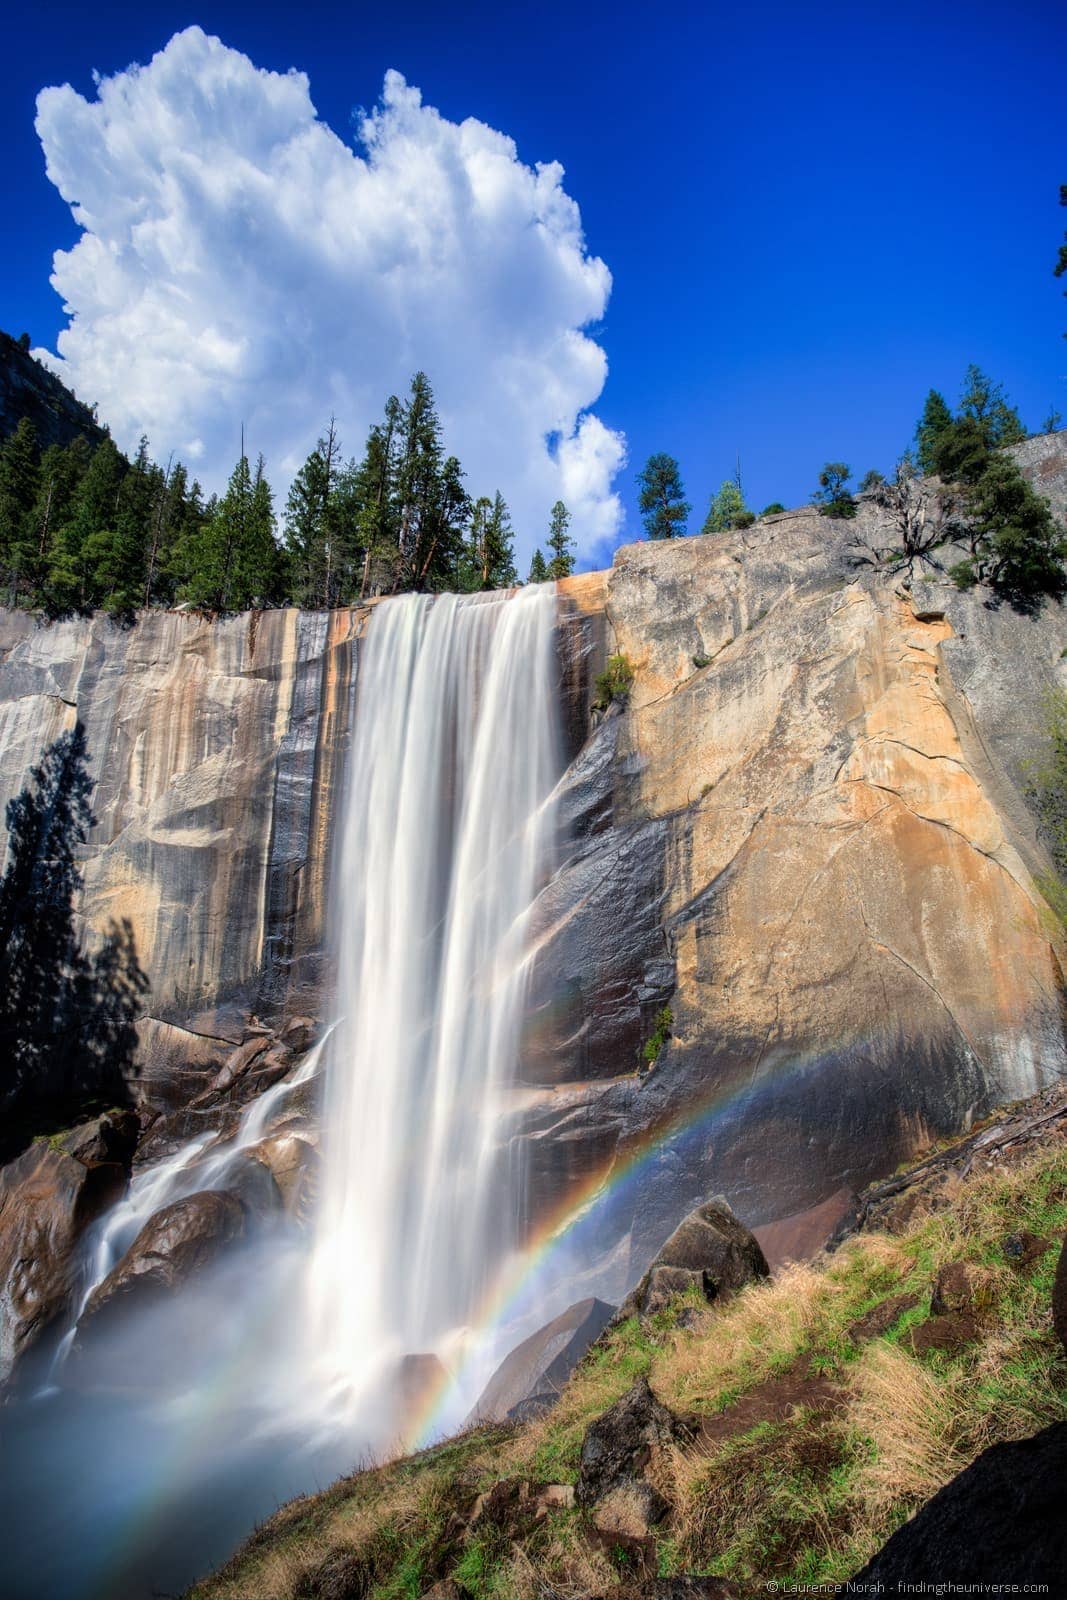
Here are a couple of photos of a waterfall in Iceland to give you an idea of the difference between a “normal” photo (first shot) and a “long-exposure” photo (second shot).
Another example that works well is the night sky. As the earth rotates, you can capture the stars moving, which looks very neat. Here are two shots from the desert in Morocco to illustrate.
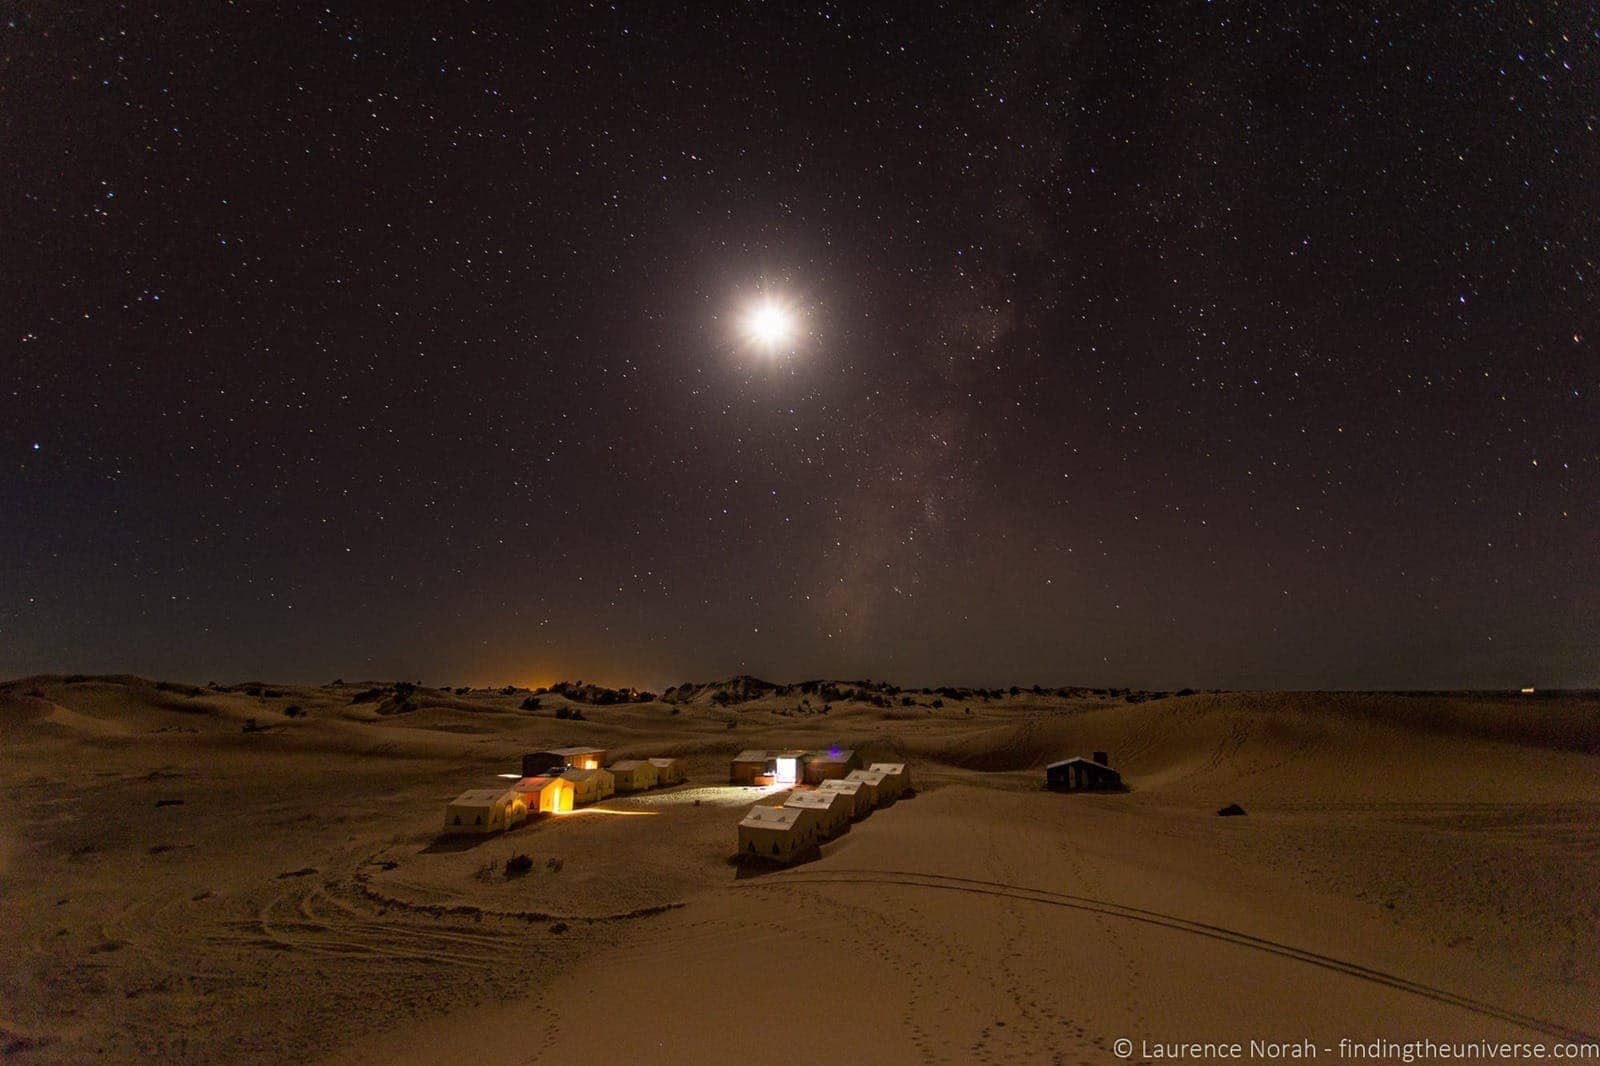
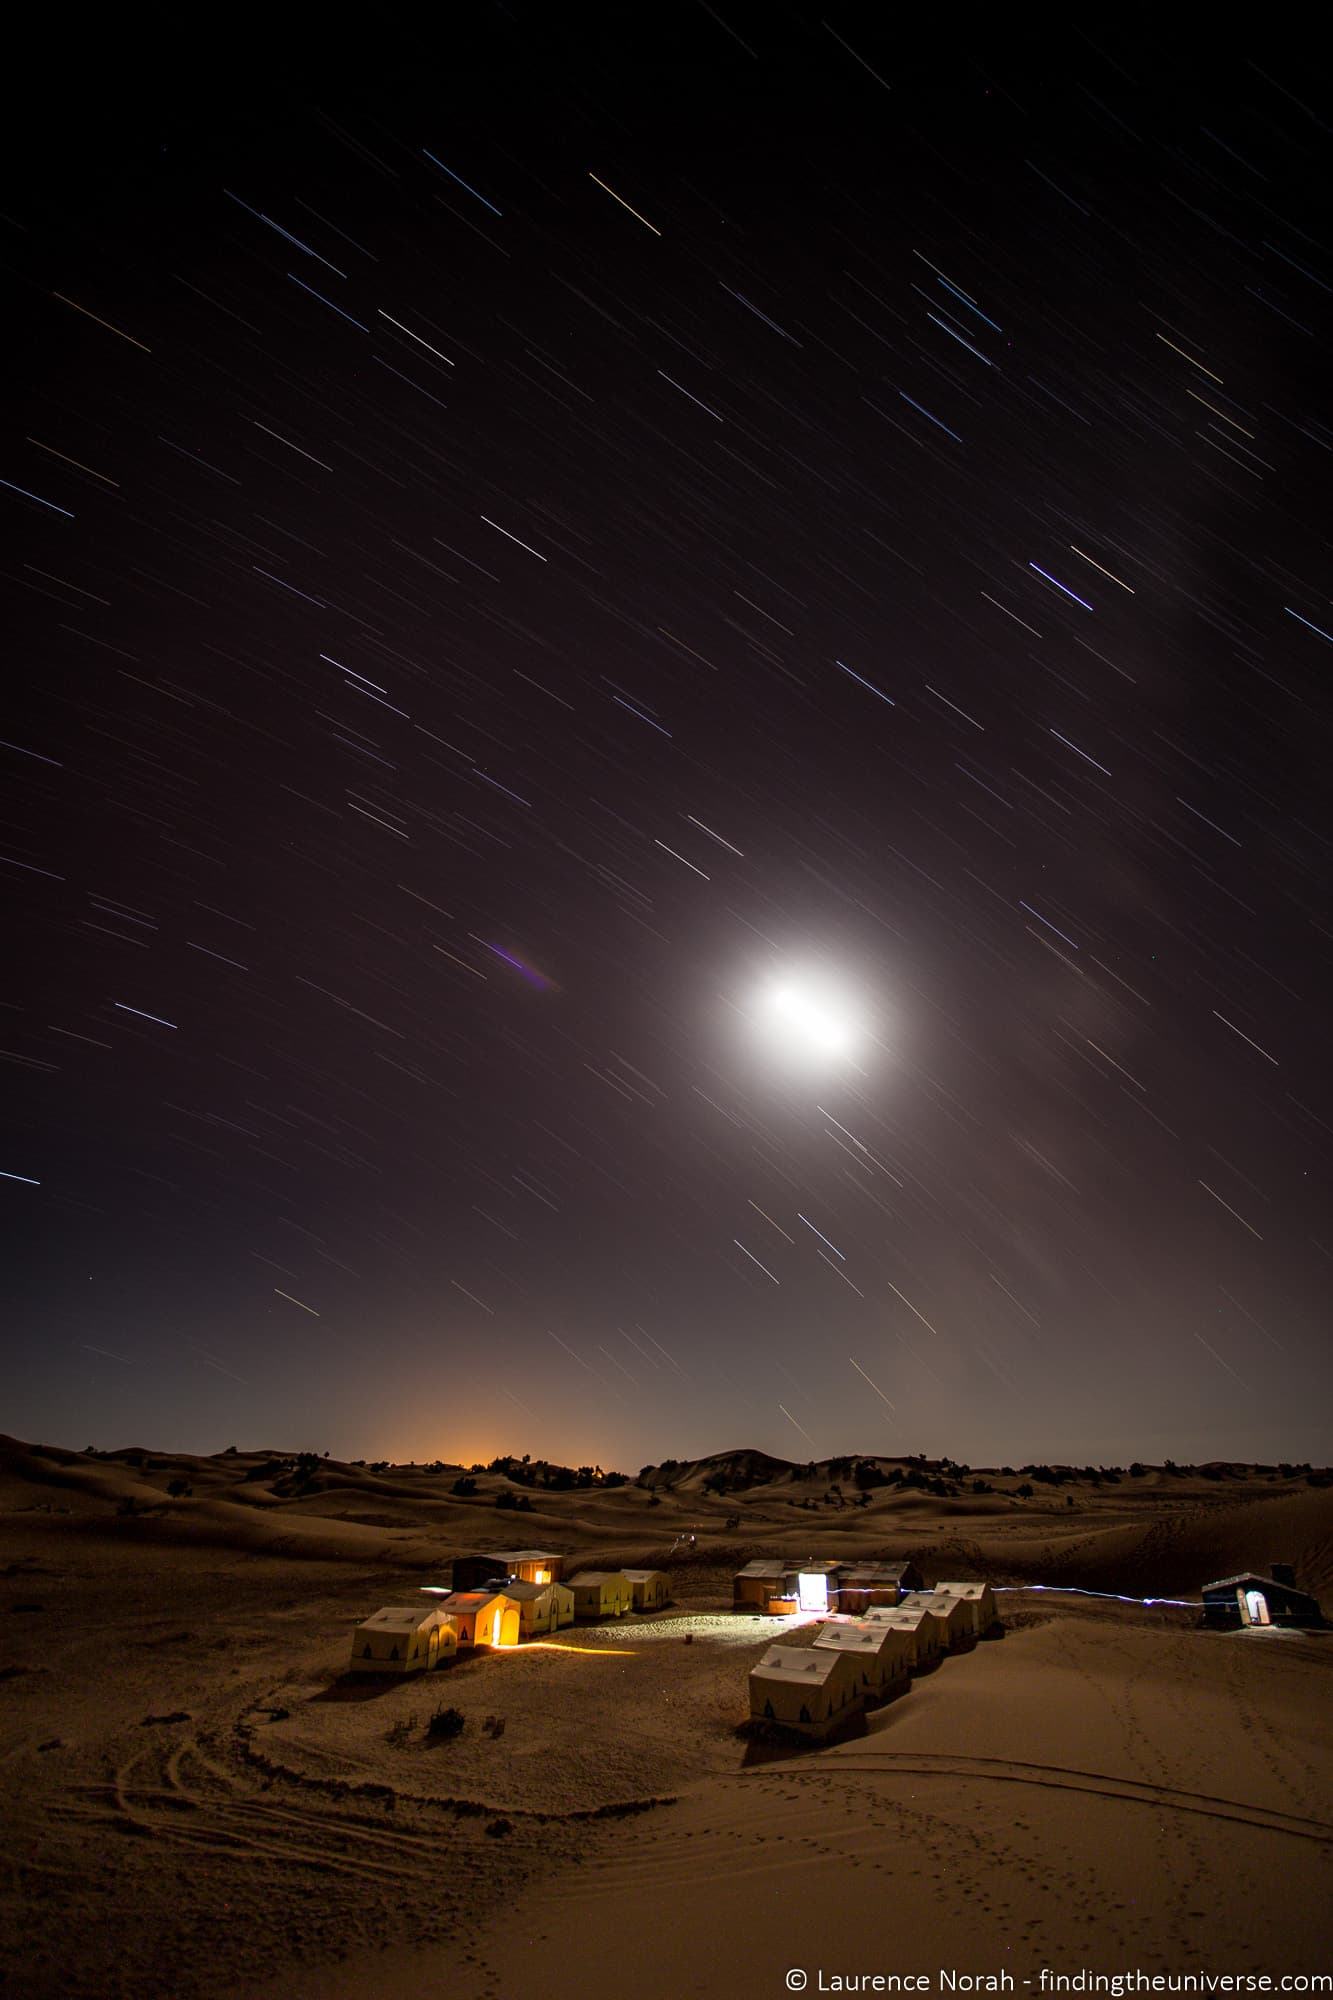
As you can see, this is essentially the same image, and they are both in fact long exposures as there is not very much light available at night in the desert, even with a full moon.
The first shot is a 30 second exposure, whilst the second image is a 961 second exposure. This second exposure has gone for long enough that the rotation of the earth is captured, resulting in the stars seeming to move across the sky.
Gear You Need for Long Exposure Photography
Whilst many photography tips that we share on this blog don’t require any special equipment, long exposure photography is an exception to this rule, and there are a few things you will need for the best results. These are as follows.
1. Camera with manual settings
Long exposure photography requires you to be able to manipulate the shutter speed of your camera so you can take photos for a longer period of time.
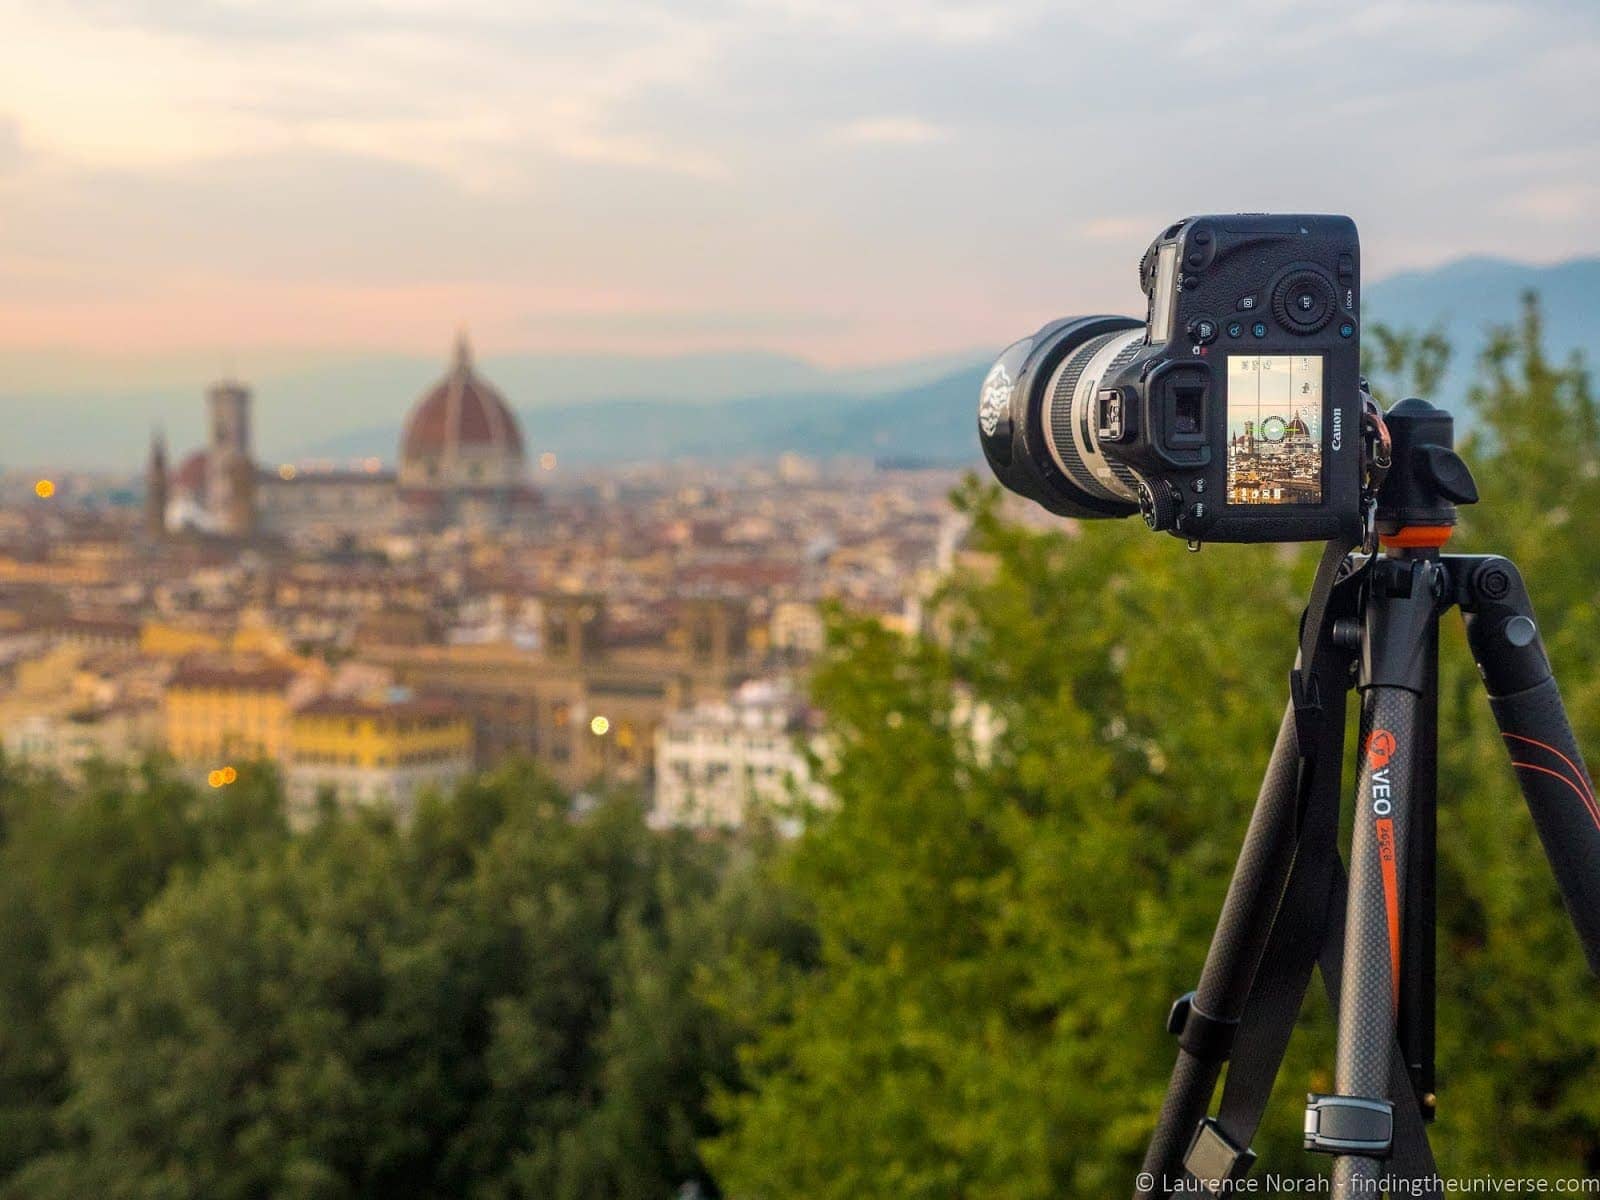
Many cameras will let you do this, including DSLR cameras, mirrorless cameras and some point and shoot cameras. You are looking for either a “manual” mode, or a “shutter priority” mode, often found on the camera’s mode dial and marked as “M” for manual, and “S”, “T” or “Tv” for shutter priority.
Some modern smartphones also include the option to shoot for longer periods of time, either using the built-in camera app, or by using an advanced camera app with support for long exposures like this.
If your current camera doesn’t let you adjust the shutter speed and you are interested in an upgrade, take a look at our guides to the best travel cameras and best mirrorless cameras for ideas.
2. Tripod
Long exposure photography requires you to take photos with the camera shutter open for prolonged periods of time.
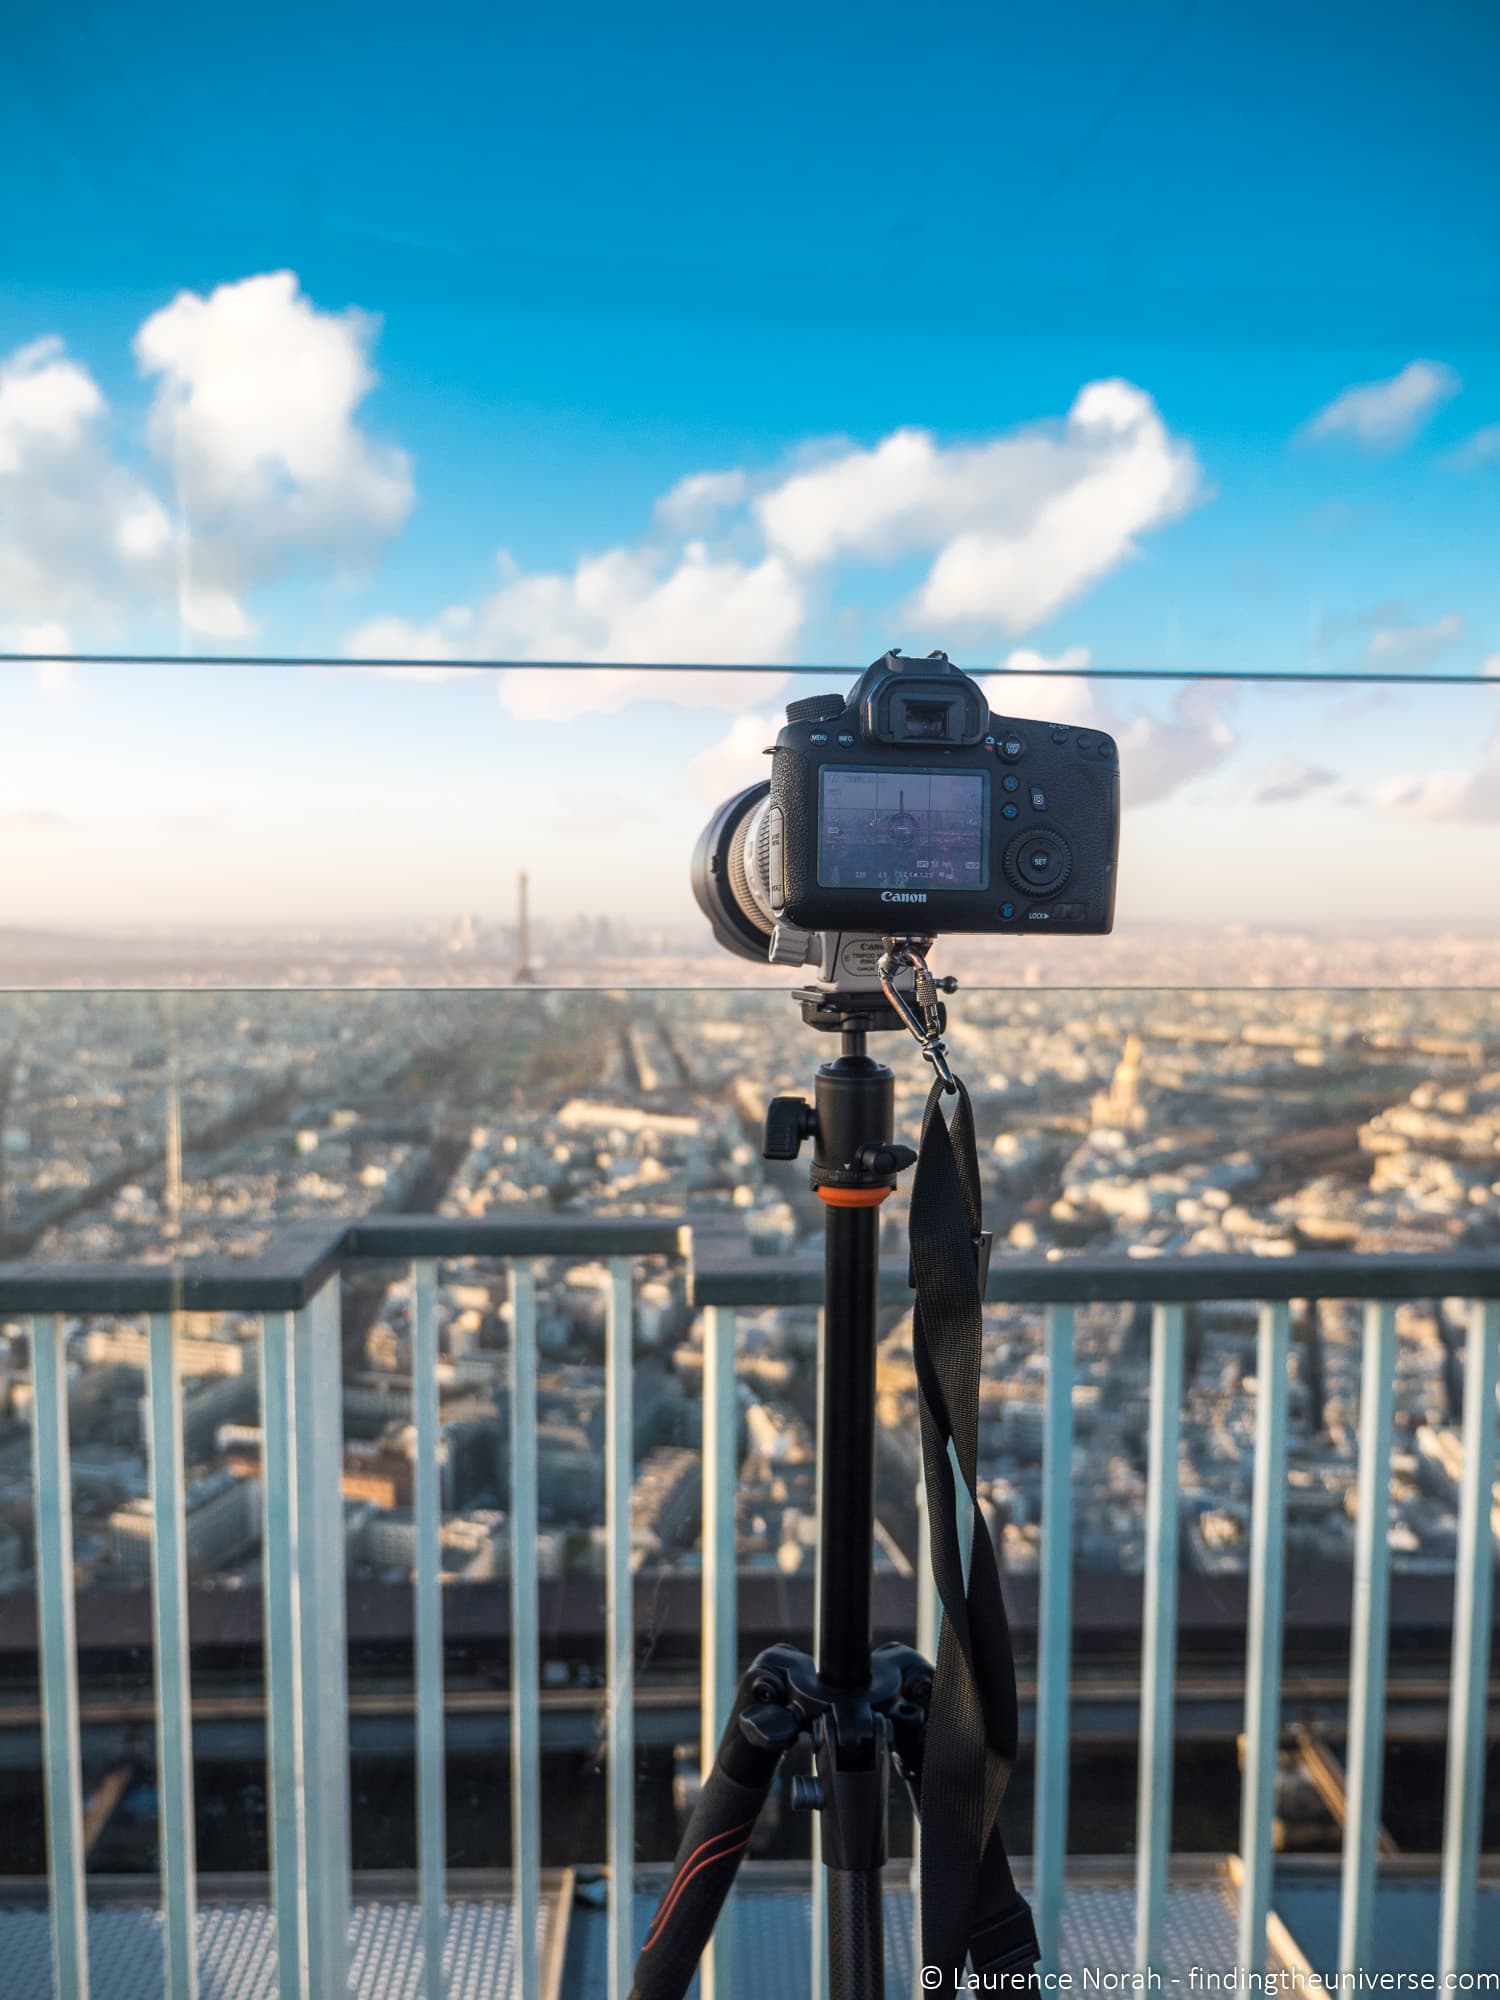
Unfortunately, it’s impossible for us to hold our cameras still for this length of time. Even with image stabilisation technologies, the small movements in our hands when we hold a camera means that shutter speeds shorter than 1/60th – 1/15th of a second will result in blurry images.
The solution to this problem is not to hand hold our camera at all, and instead to place our camera on a tripod, which will hold it entirely still for the duration of the exposure. Check out our guide to travel tripods for ideas on which tripod will work for you if you don’t have a tripod already.
Of course, tripod are useful for much more than long exposure photography – see our guide to why you need a tripod to give yourself some more reasons to buy one!
3. Neutral Density Filters
If you want to shoot long exposure photos in the daytime, you will quickly run into the problem of having too much light available. Cameras are primarily designed for hand held daytime photography, which means they will take great photos in the daytime, using fast shutter speeds to minimise the impact of your hands moving.
Unfortunately, this means that if you try and do a long exposure photo in the daytime, even for shutter speeds of around a second, there will likely be so much light hitting the sensor that the end result will be an over-exposed photo – i.e., one that is either too bright, or just all white.
The solution is of course to reduce the light coming into the camera. Whilst you can change the aperture and reduce the ISO sensitivity, there is only so far you can go with either of these settings. Instead, the solution often requires you to use a neutral density filter.
This is a physical piece of glass that attaches to your lens, which is shaded darker, and works a bit like a pair of sunglasses or welding goggles – it reduces the light coming into the camera, meaning you can take longer exposures.
Neutral density filters come in various strengths, and we would suggest you read our detailed guide to neutral density filters to help you pick the right one for you. We currently use a Haida ND10 stop filter for our long exposure photography, but there are lots of options to choose from on the market!
4. Remote release
One last piece of the gear puzzle for long exposure photography. This isn’t essential like the others, but will certainly make your life easier.
A remote release is basically a bit of equipment that lets you release the shutter on your camera remotely, without having to press the actual shutter button on the camera. Pressing the shutter button, even with the camera on a tripod, can cause unwanted movements, and a remote release avoids this problem.
A remote release is also usually required for any exposures over 30 seconds, which is the limit that most cameras support in manual mode. Instead, you can use a remote release cable with the camera in BULB mode, and the shutter will stay open for as long as you want it to.
There are various types of remote release, from simple ones like this, which just work as an external shutter button, to more advanced options like this, which include features such as an intervalometer or let you specify the duration of the exposure so you don’t have to hold the button down.
Another option, which will depend on your camera, is to use a smartphone as the release trigger. Many newer cameras nowadays feature either WiFi or Bluetooth connectivity to a smartphone, and come with an app which will let you control the camera remotely. This will let you trigger the shutter in the same way as a remote release, and is an excellent alternative to investing in more hardware if your camera supports the feature.
Camera Settings for Long Exposure Photography
Now that you have all the equipment you need for your long exposure photo, you’ll want to know how to set up your camera to get the shot. Here are the settings you will need to adjust, and some suggested values for those.
Manual or Shutter Priority
The first thing you will want to do is to put the camera into either manual or shutter priority mode.
Manual will give you full control over all your camera’s settings, including aperture, shutter speed and ISO. This is the mode we would suggest you use for long exposure photography as it will give you the most control.
You could also use shutter priority mode. This will let you set the shutter speed, while the camera looks after aperture and ISO depending on the available light. Whilst this is a good stepping stone, this might not always produce the best results, so we suggest aiming for manual.
On most cameras, picking a mode is as simple as moving the mode dial on your camera. This will usually be on the top of the camera, and have a variety of settings, including “Auto”, “P”, “Av”, “Tv”, “M” and “BULB”.
“Tv” (also “T” or “S”, depending on your camera model), is shutter priority, and “M” is manual. BULB is what you will need to use if you have a remote release and want to shoot exposures greater than thirty seconds.
Shutter Speed
Once you have your camera in manual or shutter priority, you will want to set the shutter speed.
This will vary depending on the scene. For fast moving water like a waterfall, anything from 1 second to 30 seconds will usually work well.
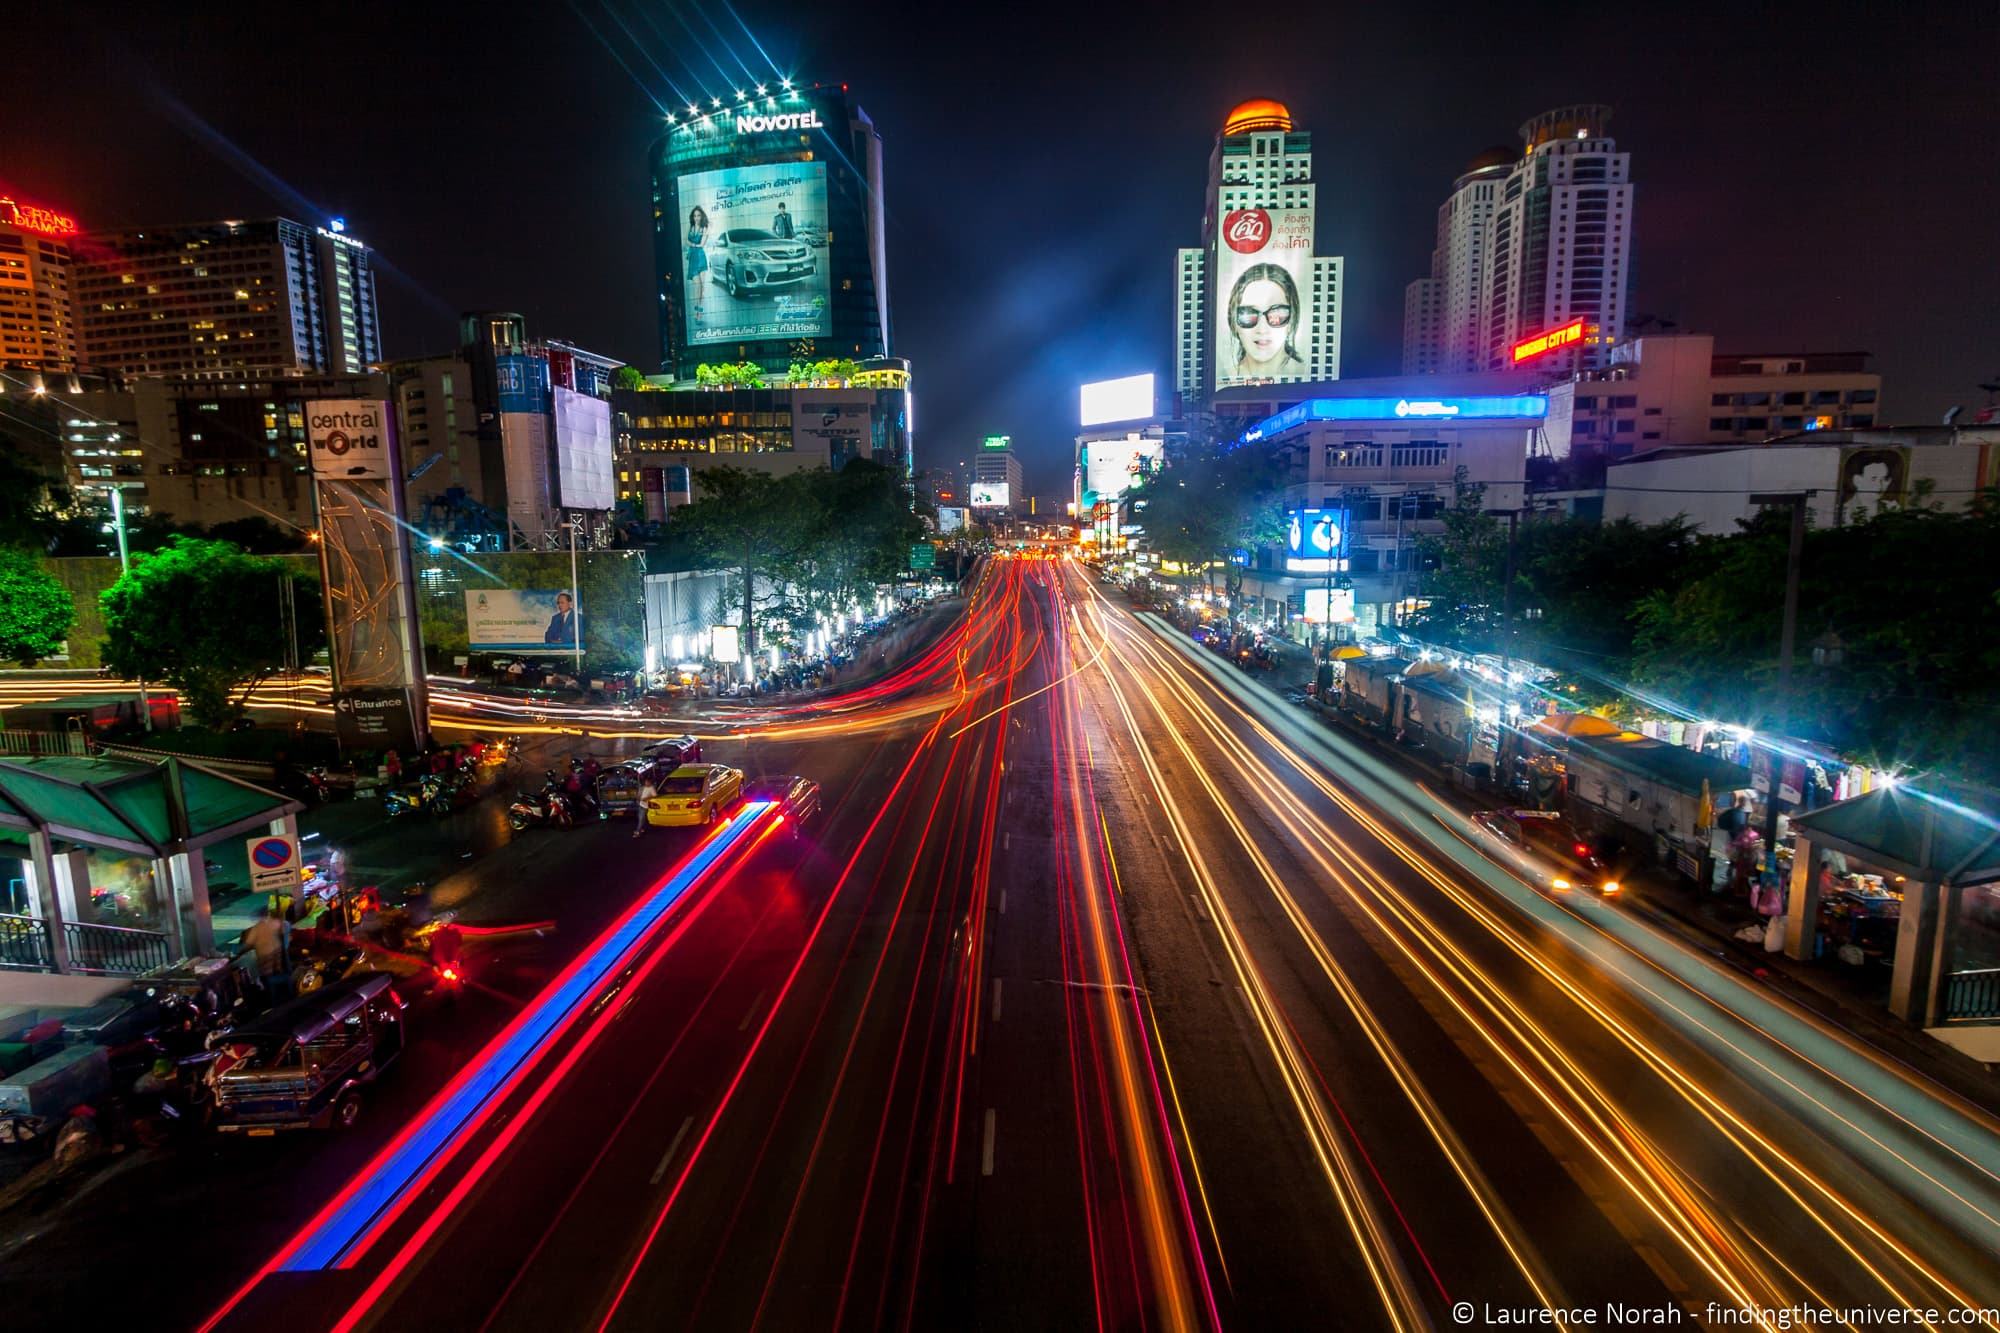
For night shots of moving traffic or similar, this will depend on the speed of the traffic, but around 15 – 30 seconds will usually work.
If you want to shoot the stars, there are a number of ways to do this, but the best option is actually to take a series of shorter exposures (30 second – around 4 minutes) and stack them in software afterwards. We have a full guide to taking pictures of the stars, which explains why this is.
As a general rule though, for most long exposure photos you are likely looking at exposures in the 1 second to thirty second range. We’d suggest taking a few photos, and experimenting, so you get a feel for what works.
ISO
For the majority of long exposure photography, especially in the day, you will want to shoot with as low an ISO as possible – most cameras will have a low ISO setting of 100 or 200. This will produce the cleanest image with little noise.
As you increase the ISO, the noise will increase. For some scenarios, such as night photography, you might need to increase the ISO to compensate the small amount of light, depending on your exposure.
Aperture
As you might be aware, aperture controls depth of field, so the setting you choose for this will partly depend on your subject and composition.
However, the aperture setting will also control how much light gets through the lens, so the aperture setting will also depend on the brightness of the scene.
If you are shooting at night, you will likely want to open the aperture as wide as possible, choosing an aperture setting in the range of 1.8 – 5.6, basically the lowest number your lens goes to. This will let the maximum amount of light in.
RAW
Finally, you will want to set your camera to shoot in RAW rather than JPG. Or shoot in both JPG + RAW. This will give you much greater control over the final image, although you will have to use editing software like Adobe Lightroom in order to produce a final image.
Long exposure photography can be tricky, and it’s easy when starting out to under or over expose an image. If you shoot in RAW, you can often recover from these issues fairly easily, whereas a JPG file will not have enough data in it to enable you to recover the shot.
We have a detailed guide to what is RAW, as well as reasons you should switch to shooting in RAW, which you should definitely read if you are new to RAW images.
Scenes that work well for Long Exposure Photography
Now that you have an overview of the gear you need for long exposure photography, and the camera settings you need to adjust for your photos, we wanted to give you an overview of the sorts of images and scenes that you might consider shooting long exposure photos of.
Moving Water
One of the most popular subjects for long exposure photography is moving water. Shooting water for longer shutter speeds creates a lovely soft and fluffy effect, which is particularly nice for waterfalls and fast moving rivers.
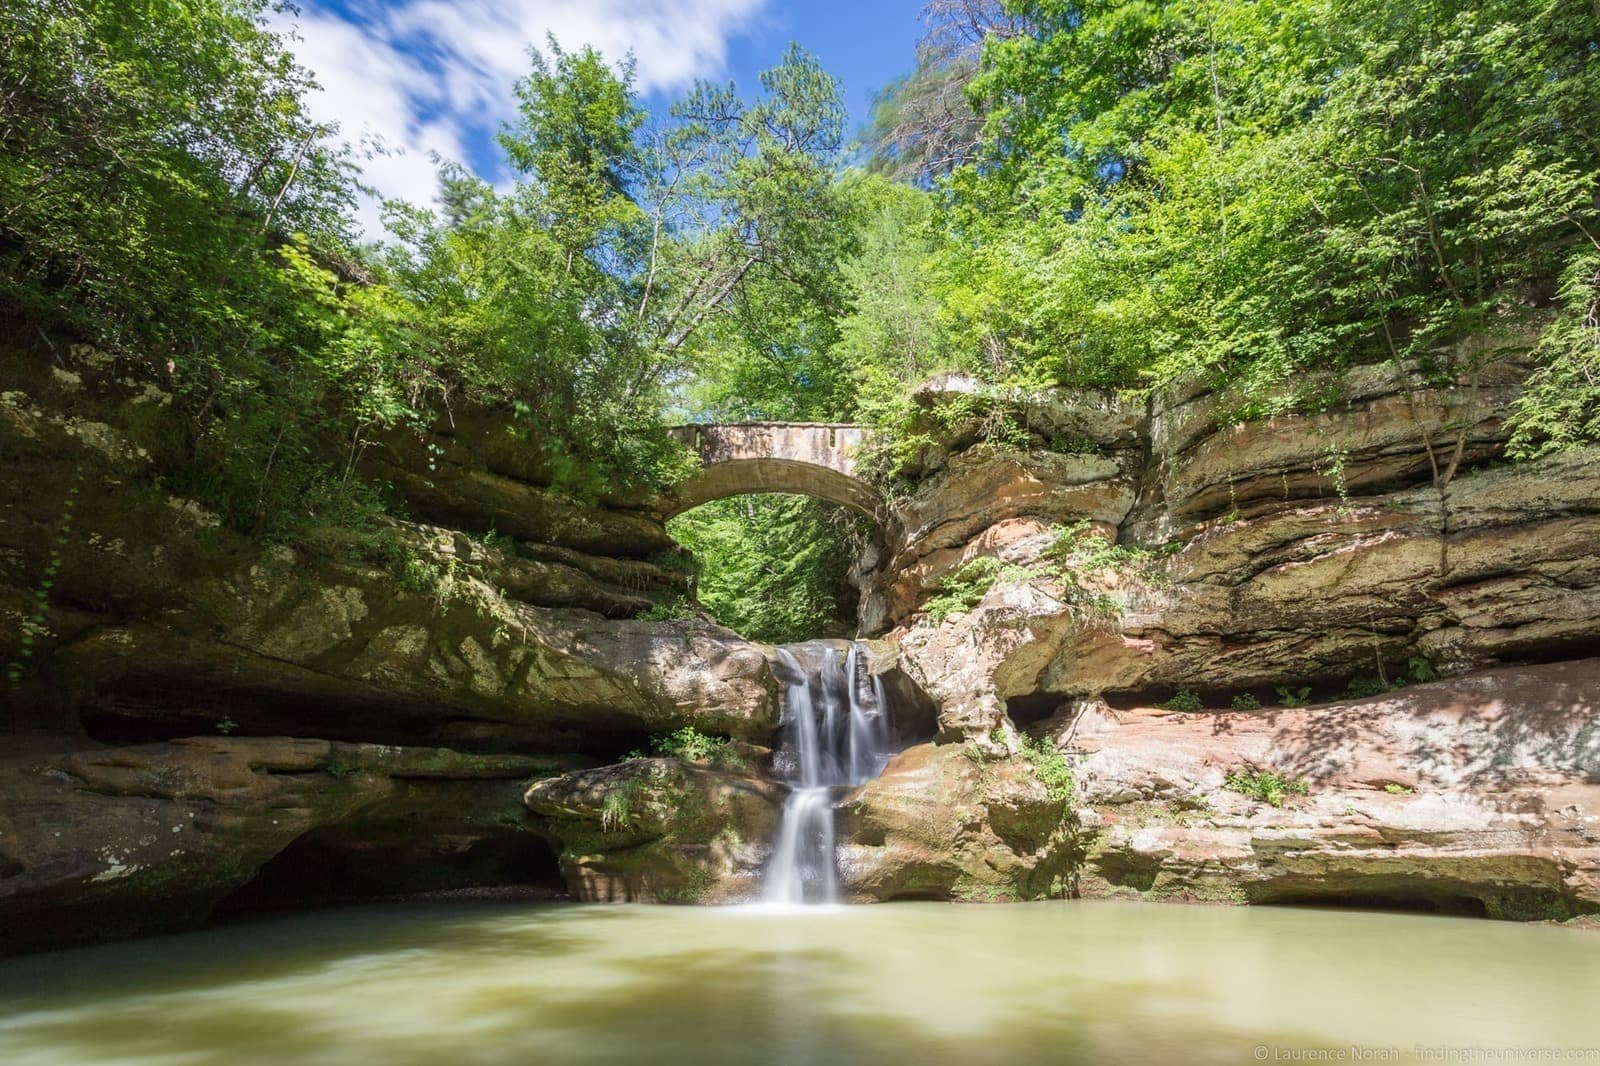
Shooting long exposures of the sea, in particular piers stretching out to the horizon, or rocks with water moving around them, also makes for an effective shot.
Astrophotography
The night sky can make for some beautiful photography opportunities, but it is also one of the more difficult things to photograph due to the lack of light.
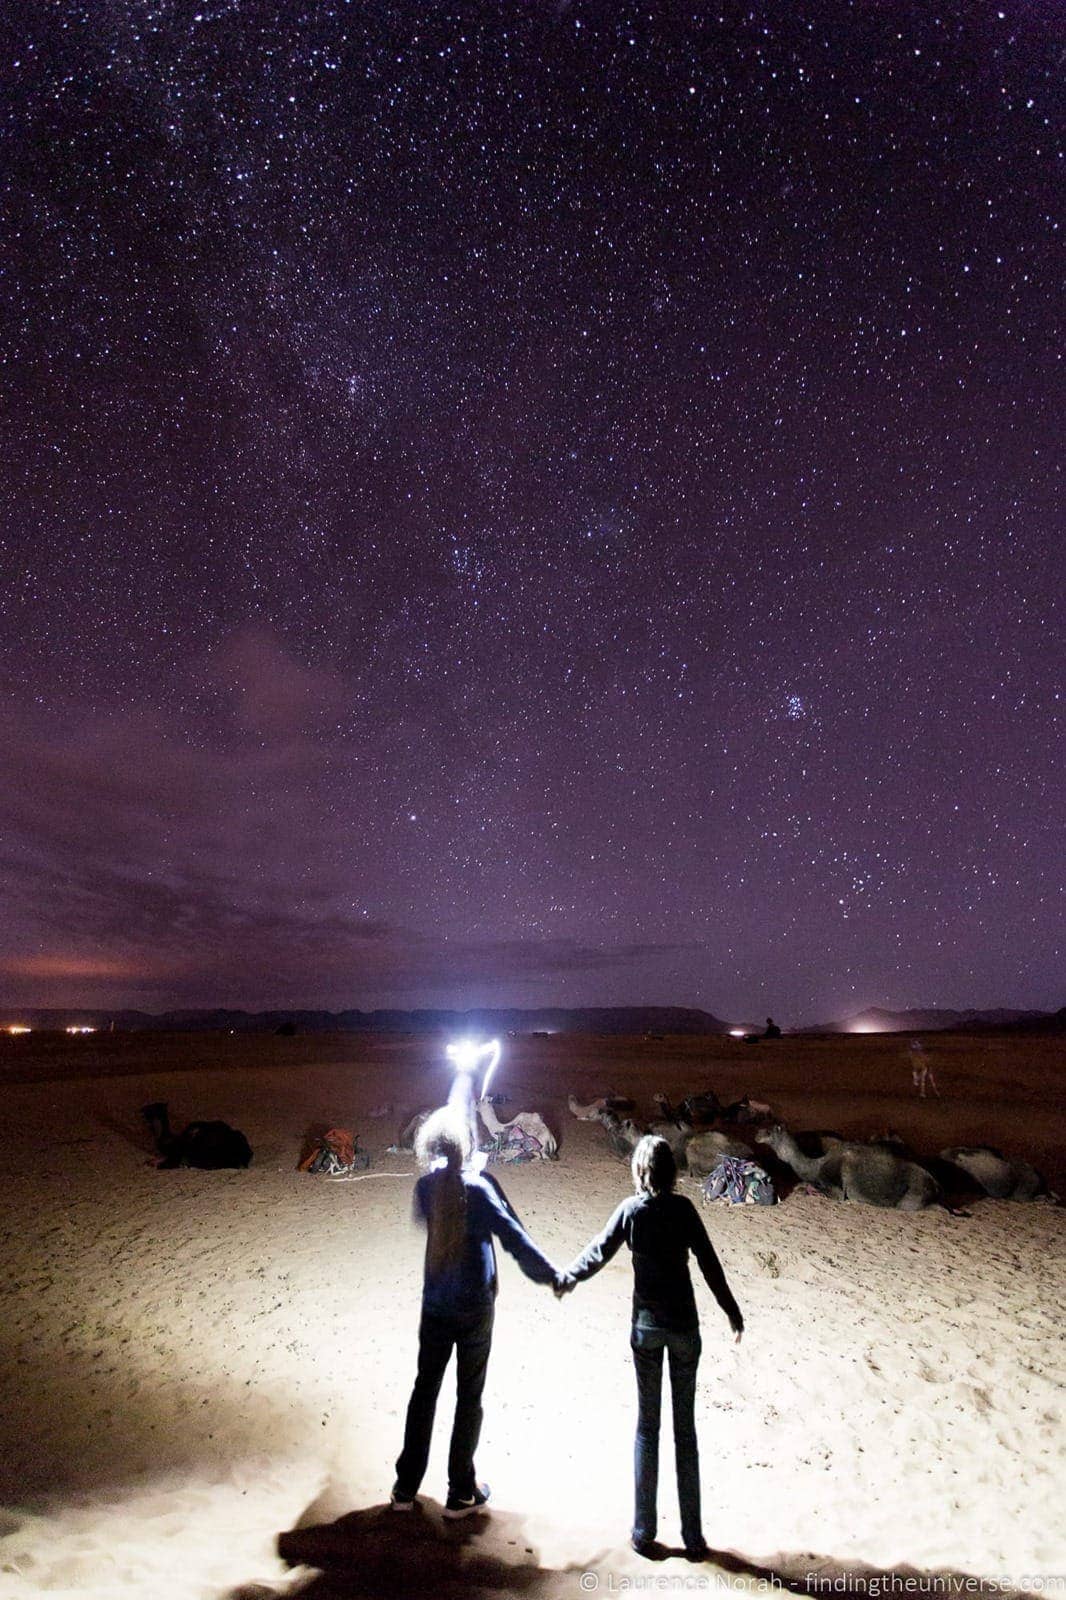
Long exposure photography is the answer to this problem, letting you capture details in the sky that you might not previously have been aware existed, such as the glorious colours of the milky way, or the incredible display of the aurora borealis.
We’d suggest reading our detailed astrophotography guide for more information on taking photos of the night sky, as well as our specific guide to northern lights photography. Whilst similar to long exposure photography, there are a few extra things you will need to consider for these specific situations.
Roads with cars
Capturing motion is an excellent use of long exposure photography, and shooting a road filled with moving cars, either at night or a dusk, is a great way to turn what may be an otherwise ordinary scene into a gorgeous sea of light.
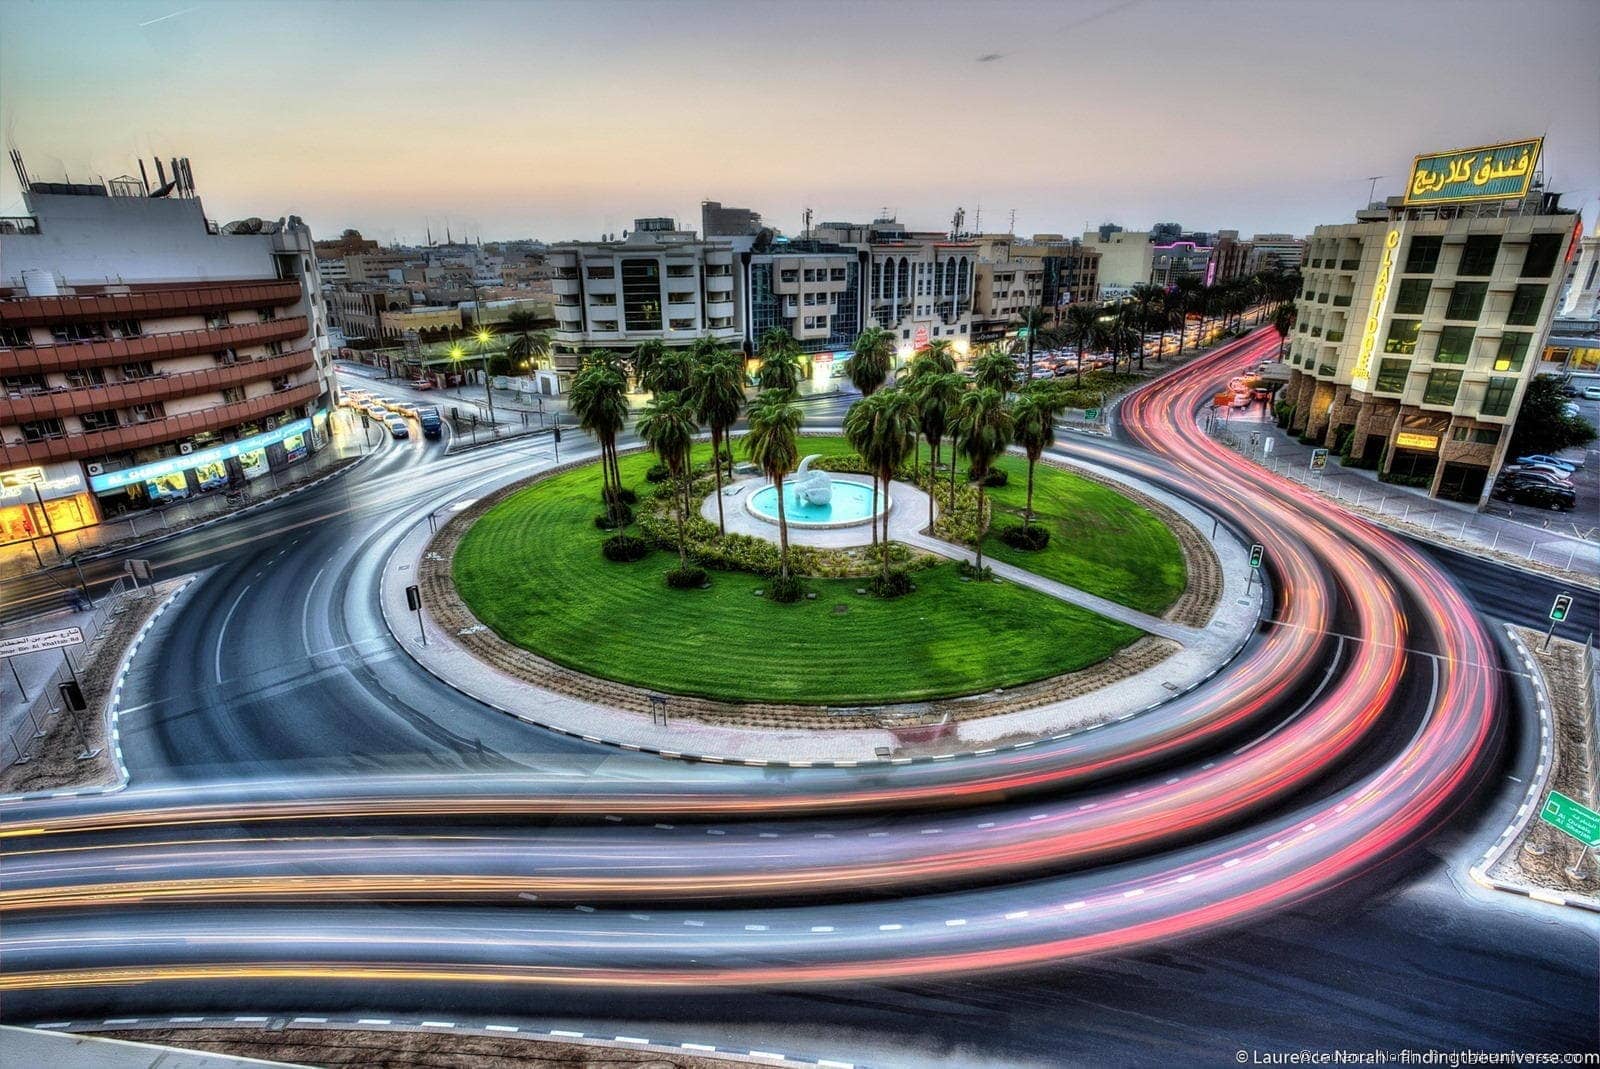
The exact settings you use will vary depending on how dark it is, what street lighting is available, and whether or not you want the light sources to be star shaped in your final shot (achieved using apertures around f/14 and smaller).
You’ll also want to consider the speed of the cars on the road, as ideally you want complete light trails, so you’ll want to capture cars entering and exiting the shot entirely, rather than partly.
Light painting
Similar to the concept of photography moving cars, light painting has you intentionally moving a light source so as to create an image.
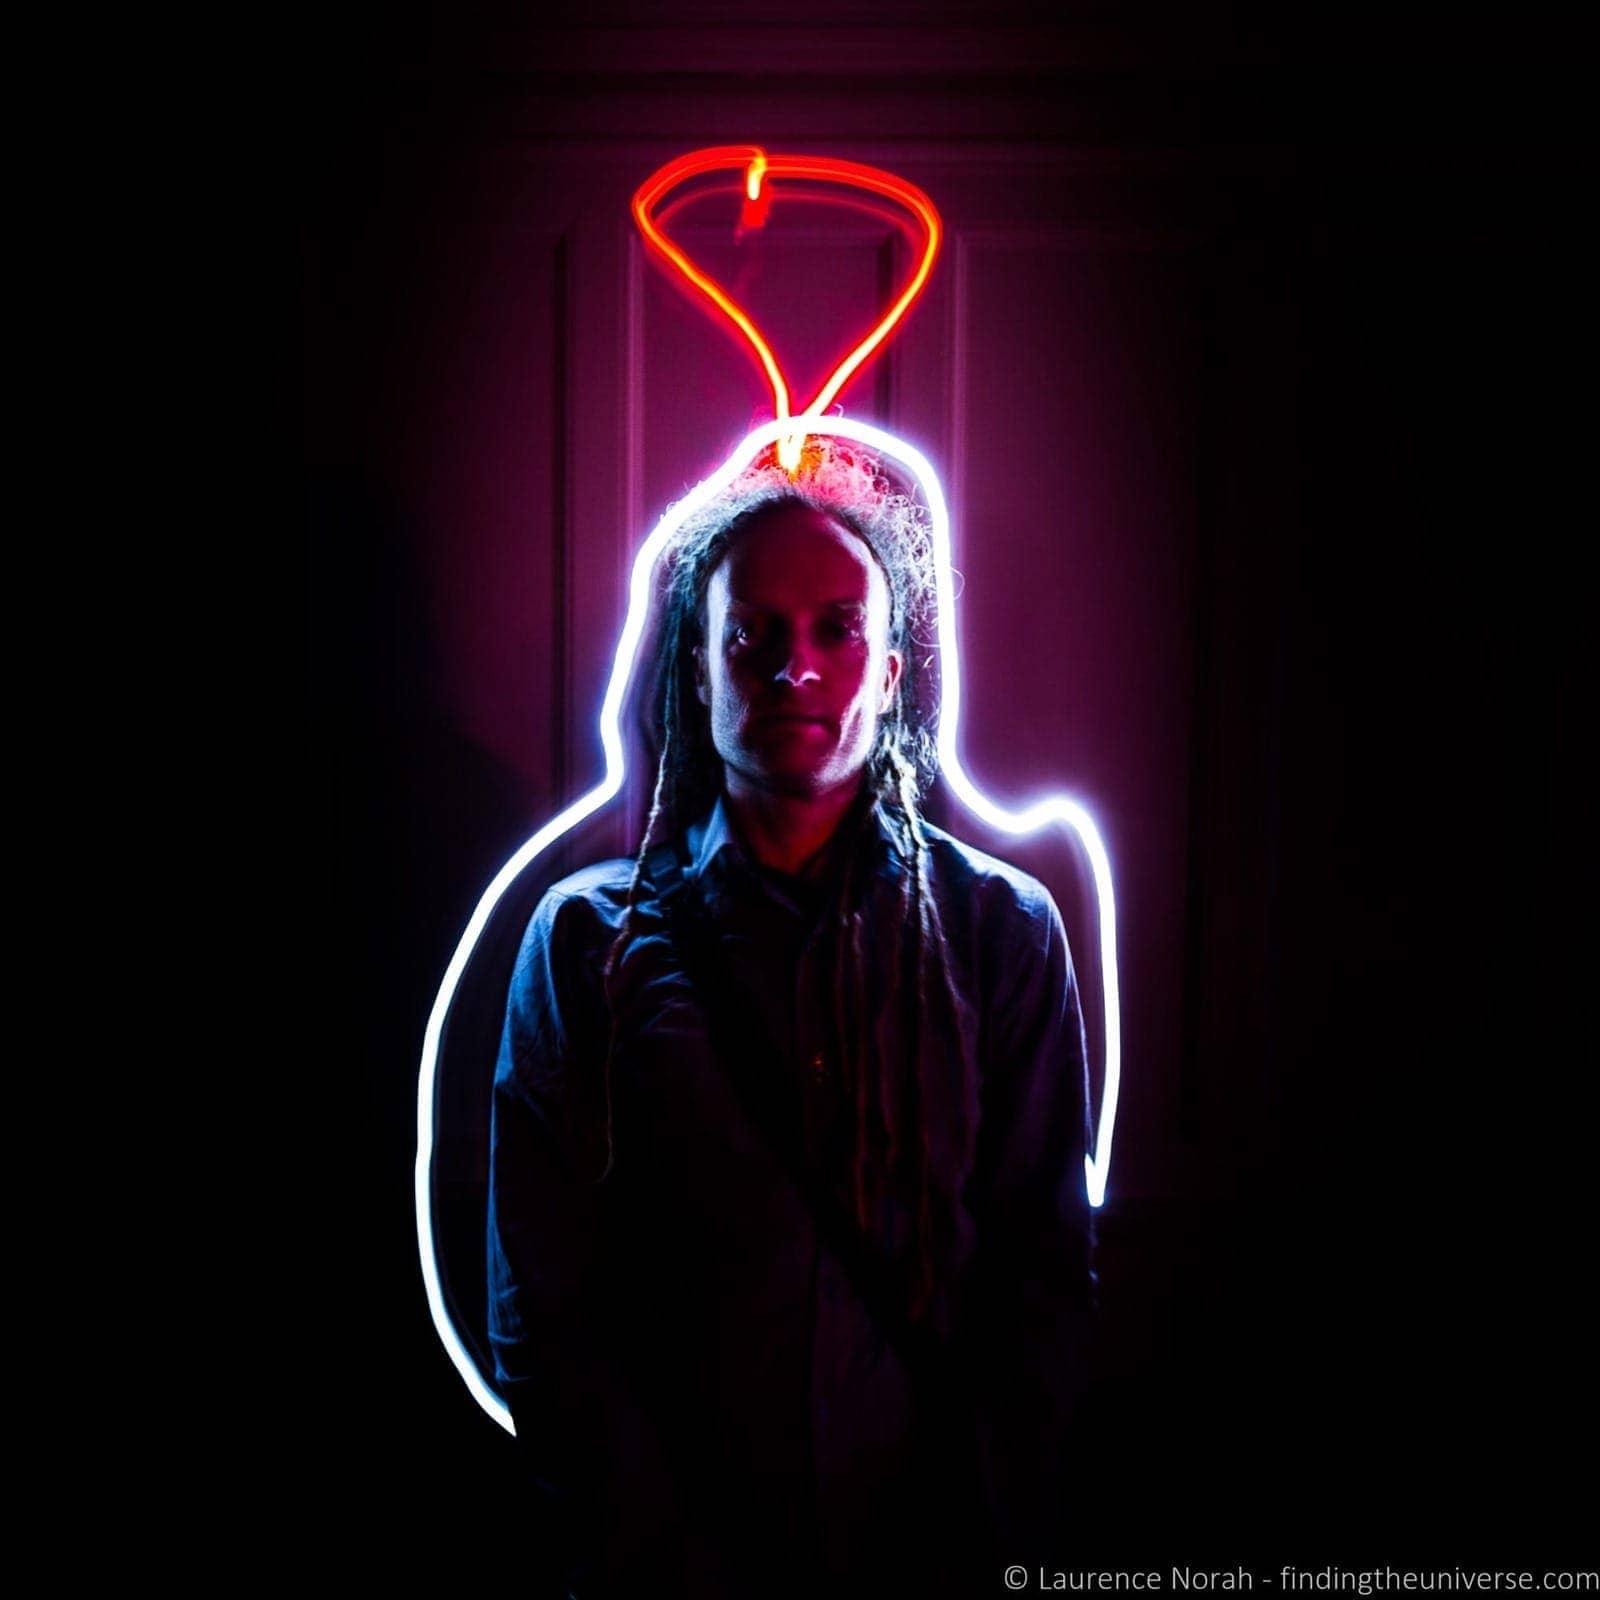
This is done by setting up the camera to a long exposure, and then using the light source to create a scene by drawing in the air. You can even use different colours to create a more impressive effect.
Light painting is actually quite tricky to do well, as when you are drawing in the air you can’t see what you are doing, and there’s no frame of reference to help you along. This is definitely a question of practice makes perfect!
Lightning
Lightning can be difficult to photograph, firstly because it happens so fast that you won’t have time to react, and second because you don’t know when it’s going to happen even if you could react quickly enough!
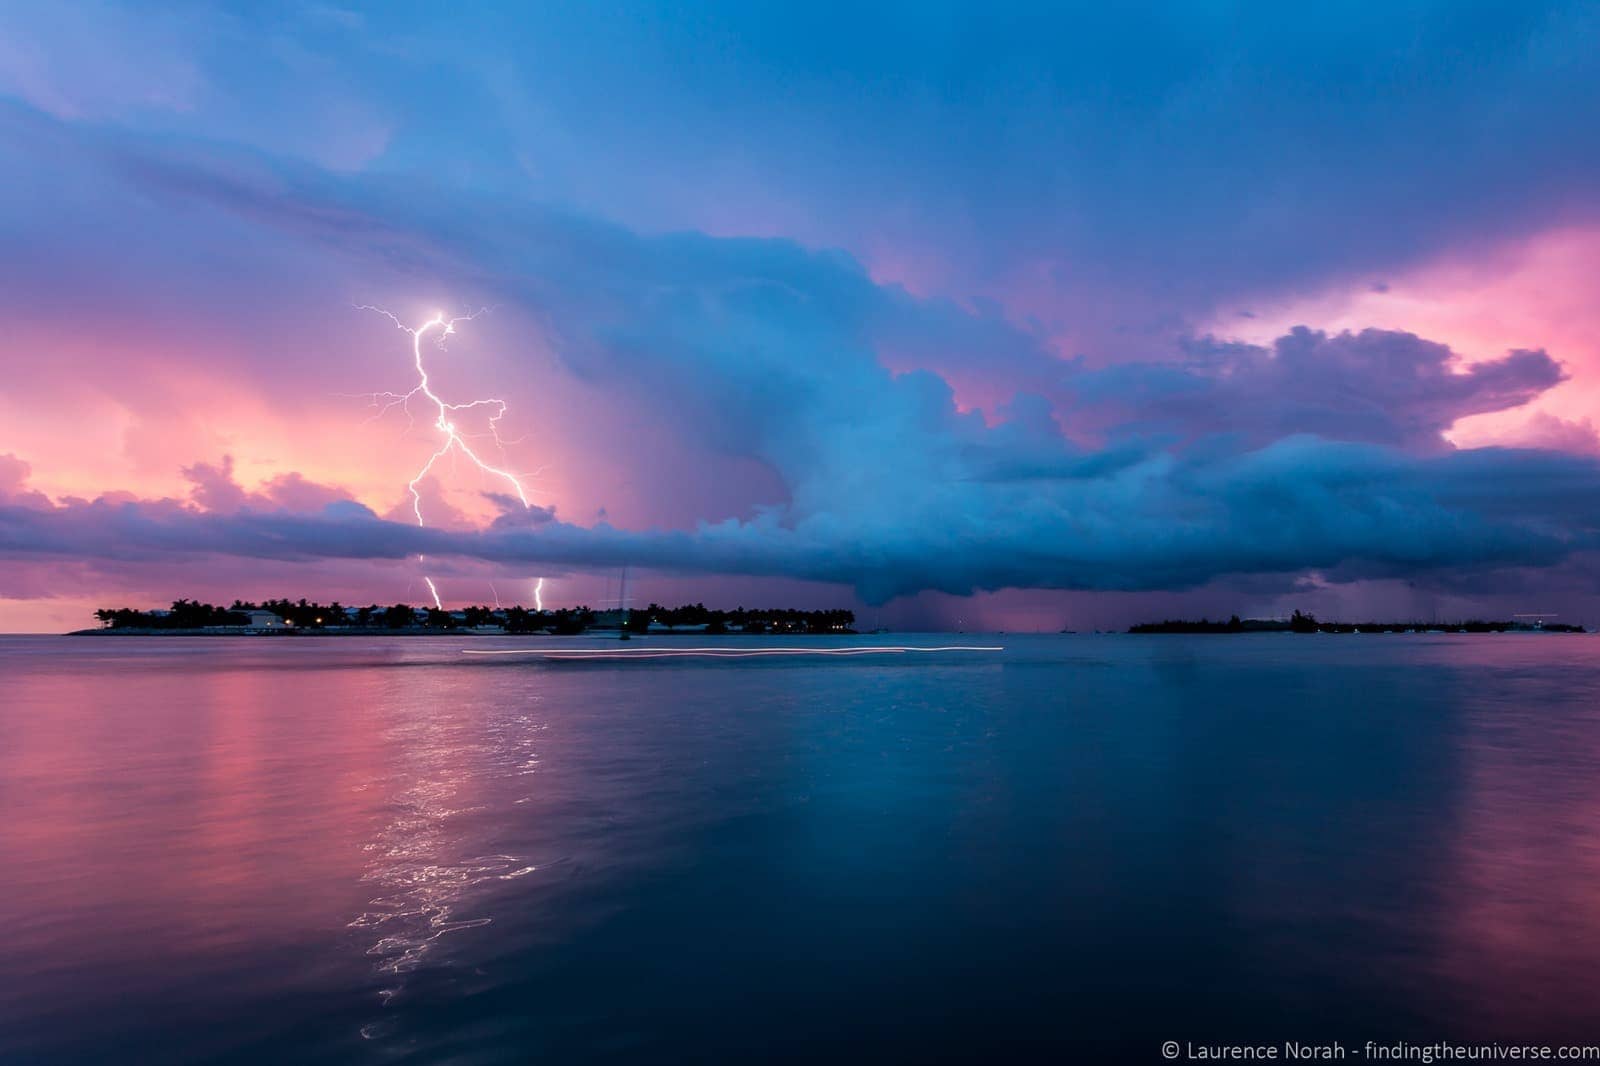
One way to get around this problem is to use a longer exposure – if you point your camera towards the storm and use an exposure in the range of 10 – 15 seconds, the chances are that if the lightning bolt goes off, you will capture it.
Of course, this will require some patience and you’ll get a lot of photos without any lightning in, but the reward of getting a good lightning shot are definitely worth it!
Any Dark Scene
Of course, all of the above are great uses for long exposure photography, but you can also take advantage of longer shutter speeds for more mundane purposes.
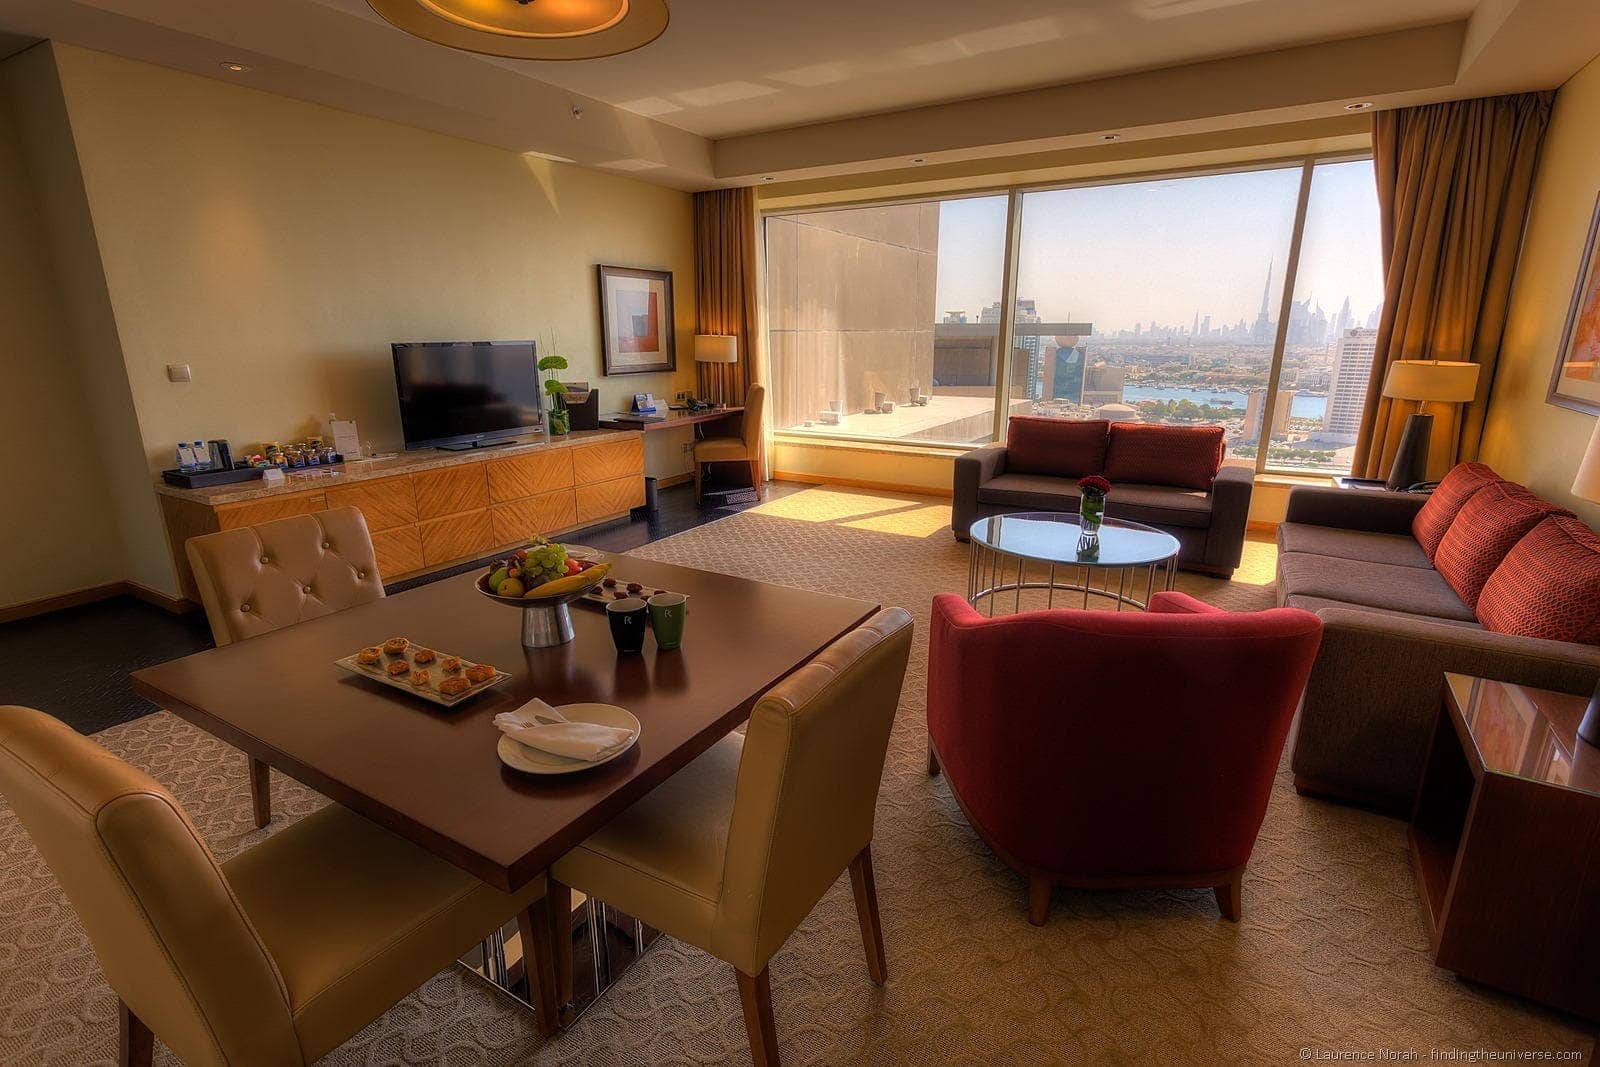
Any scene that is a bit dark, such as the interior of a building, or a restaurant meal, can benefit from using longer exposures. A longer exposure will let you reduce the ISO and set your aperture appropriately, meaning you’ll get a noise free image at a depth of field to suit what you want.
This will only work for static scenes of course, as you don’t want blur in this sort of shot, but for interior architecture shots this can work wonders if you want nice clean images.
Tips for Long Exposure Photography
Based on our experience taking long exposure photos, we wanted to share some tips to help you get over some of the common issues that photographers face with shooting longer exposure photos. These should help you get up to speed more quickly with your own technique.
Focus
As with any photo, you’ll want your long exposure shot to be sharp and in focus.
This can be harder than you might think with a long exposure photo, especially if you are shooting at night, or with a neutral density filter.
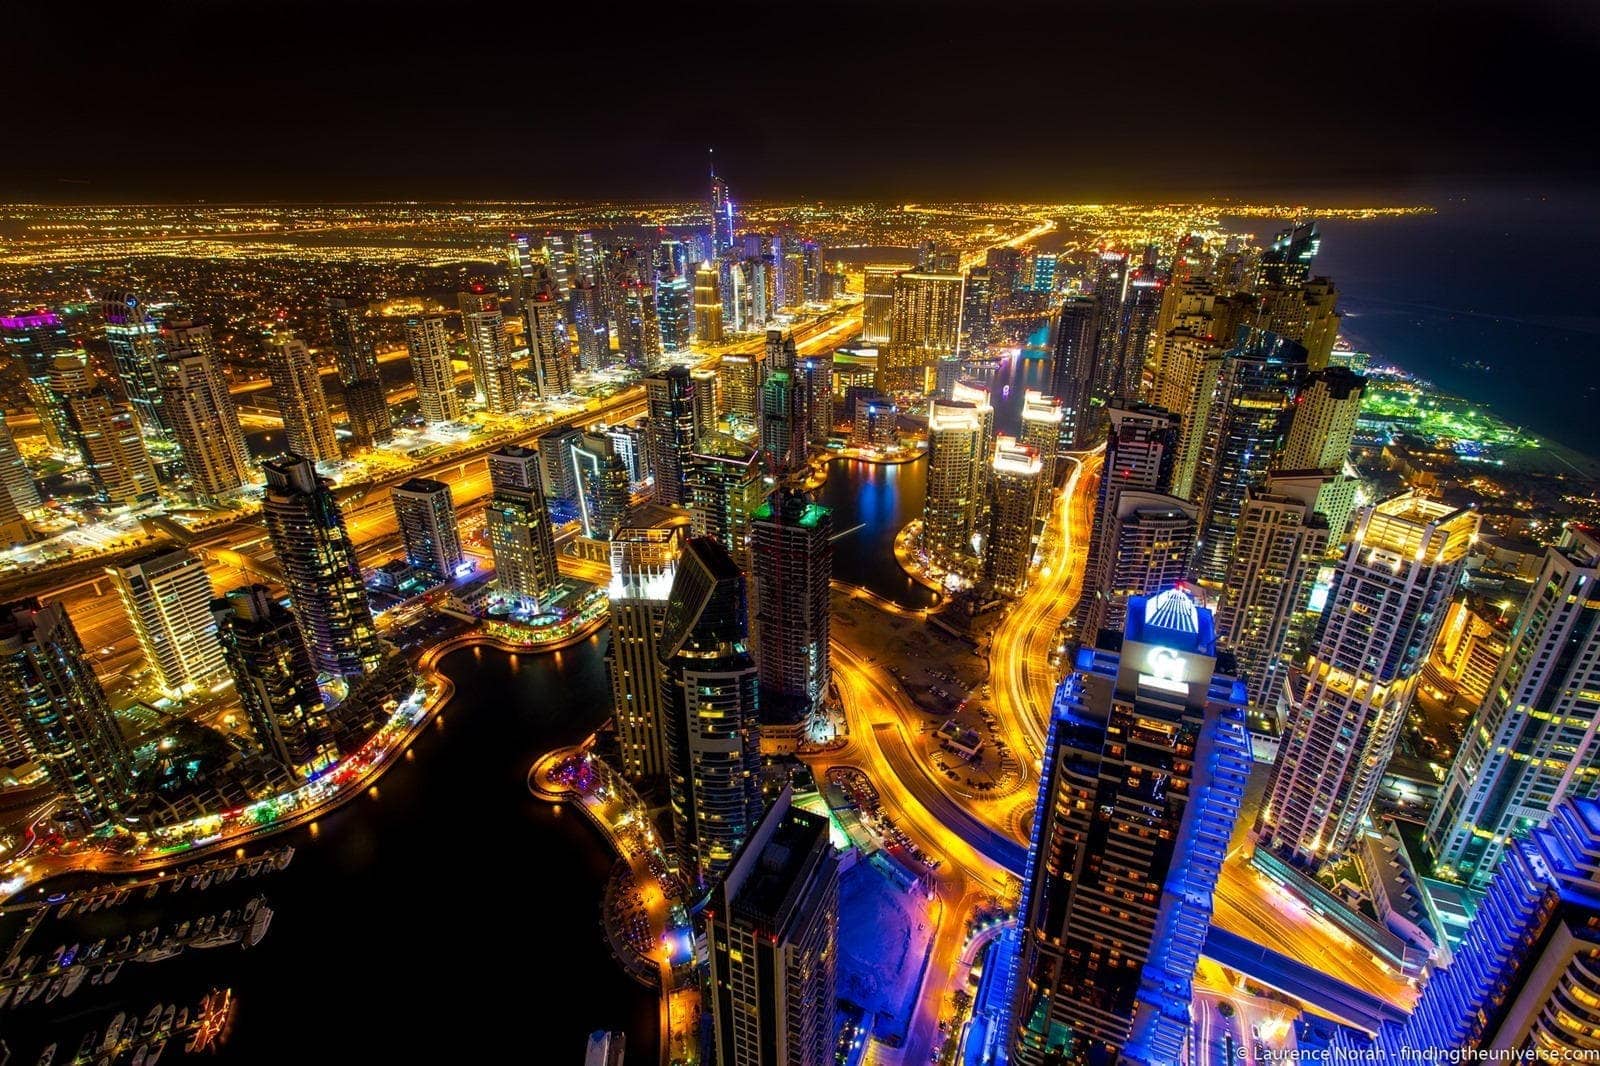
If you are shooting at night, it might be too dark for the camera to focus, and if you are shooting with a neutral density filter, this might cut out so much light that the camera can’t focus.
You have a few options in these scenarios. First, you’ll likely want to put the camera into manual focus mode. Then, if you have a neutral density filter, get focus with no filter, then put the filter on to shoot the scene.
At night, the best option is to use the liveview or electronic viewfinder on your camera, and zoom in to an area where there is at least some light, and then focus manually. If you are shooting the stars, you’ll want to set the focus to near infinity instead
Composition
As with any photography, a long exposure photograph will need to be well composed. Don’t fall into the trap of thinking that just because it is a long exposure photograph of light trails or some nice looking water, that you can forget about the other rules of composition.
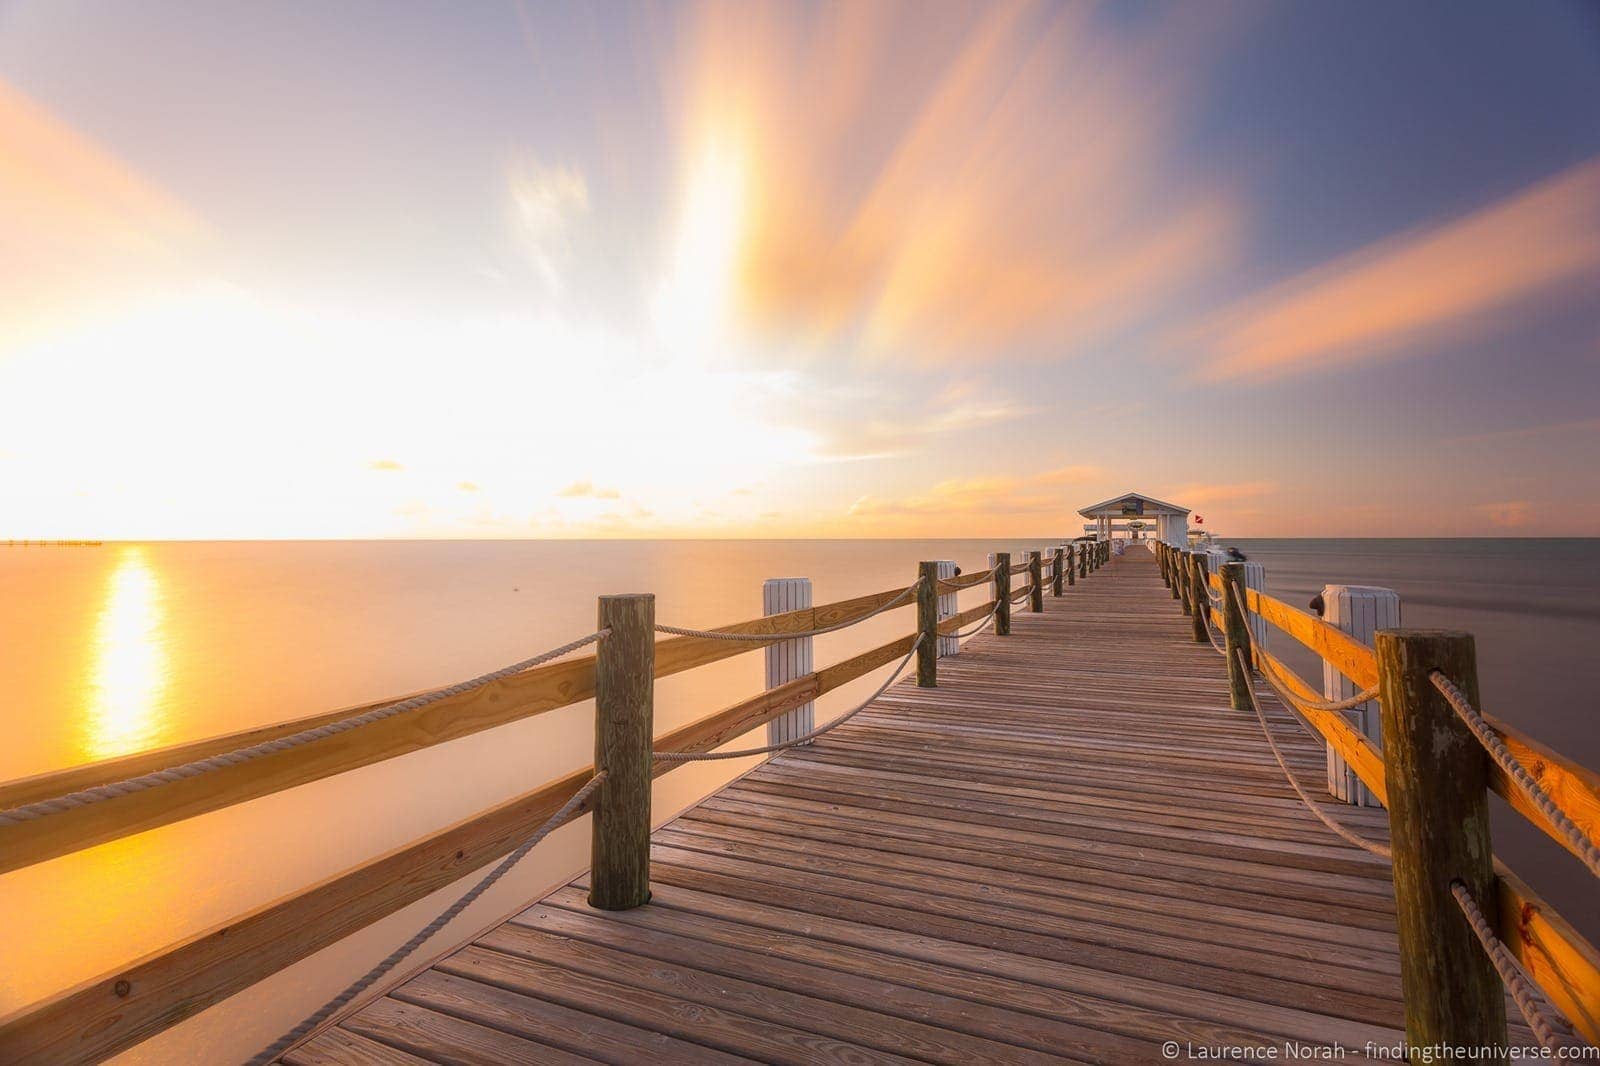
For ideas, you can use light trails as leading lines. For moving water, rocks in the foreground of a beach work really well.
Stability
It’s really important for long exposure photography that your camera is entirely still throughout the shot.
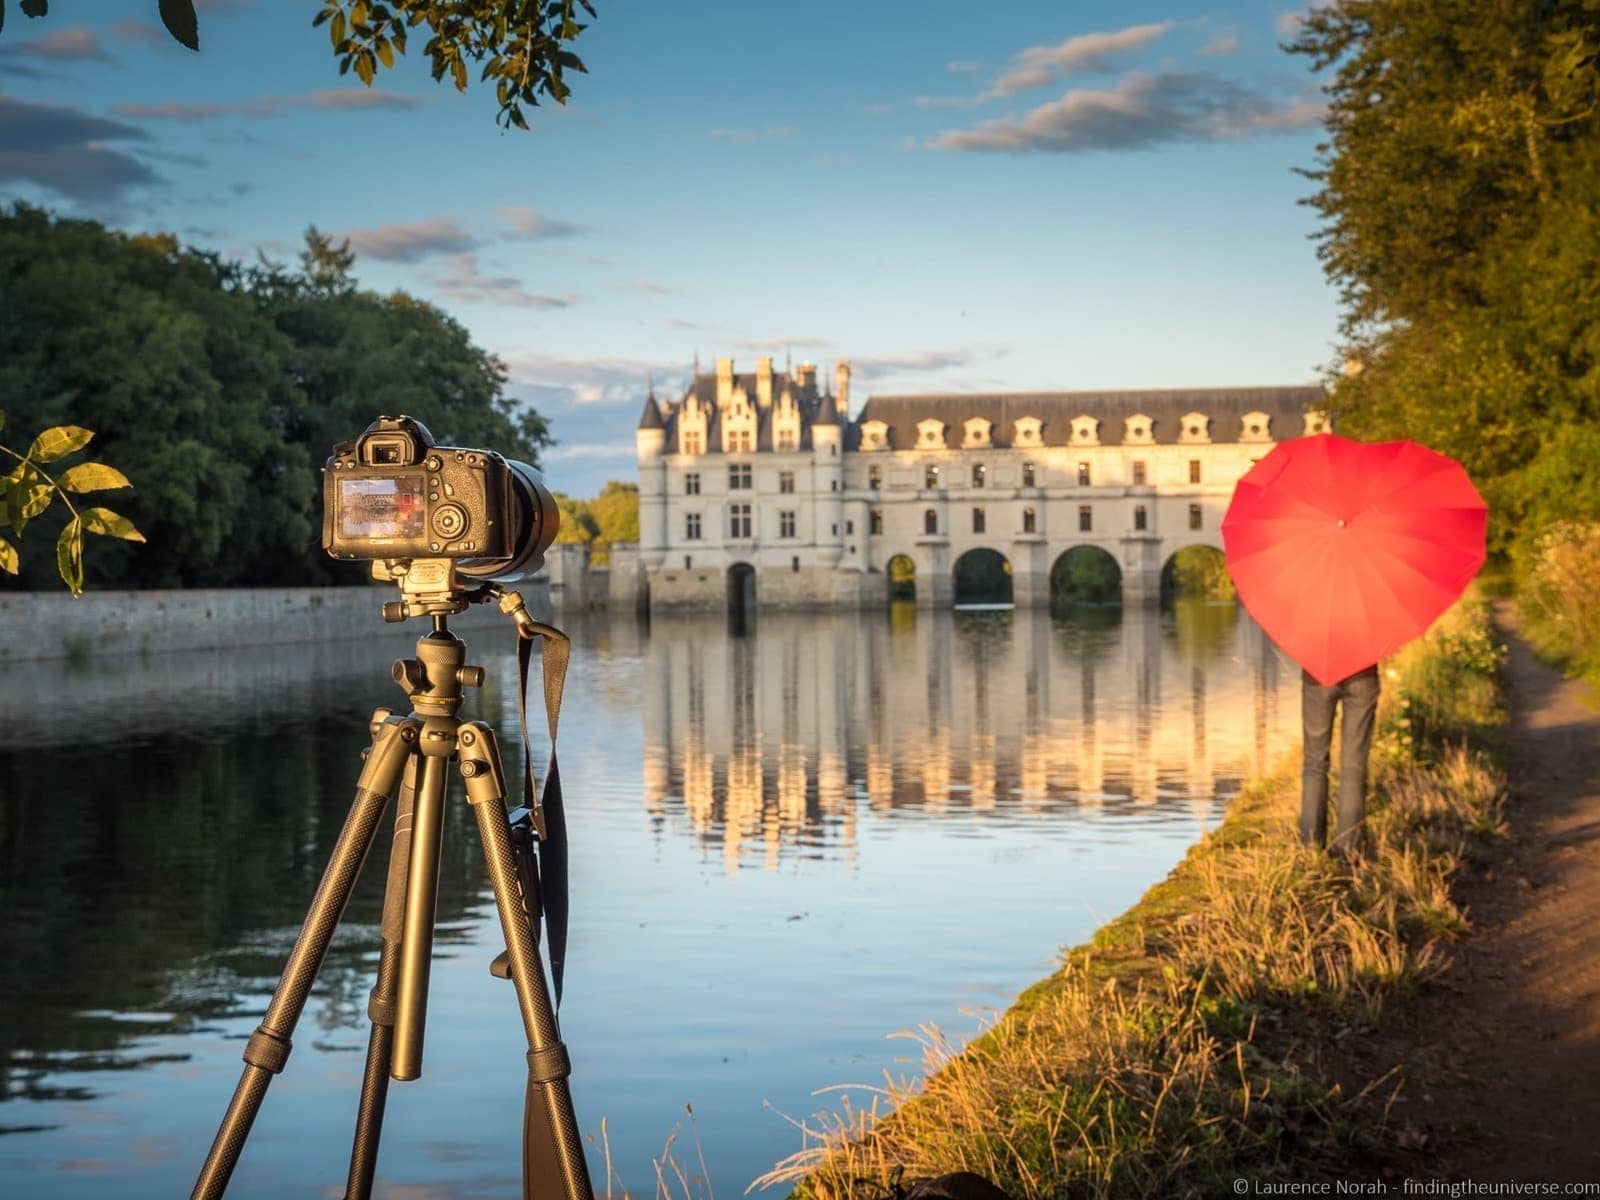
One mistake is to set the camera up on the tripod on an unstable surface such as a moving boat, sand, or bridge. This may not always be the case – for example, if you are on a bridge or other platform which is moving, it won’t matter how stable the tripod is, as the camera will still move with the bridge movement.
It can be very hard to see if the image is completely sharp on the back of your camera’s viewfinder, and you may only notice after the fact when you come to edit your shot that it is in fact sharp.
You can partially check by zooming in to 100% on your viewfinder, but really, the best option is to ensure the surface you are on is absolutely stable in the first place.
Sources of Motion
Long exposure photography works best when you can capture some motion in the image to give it that unique look.
Always be on the lookout for this motion when composing your shot, and be aware of what direction the motion is going in, and think of how you can incorporate that motion into your composition.
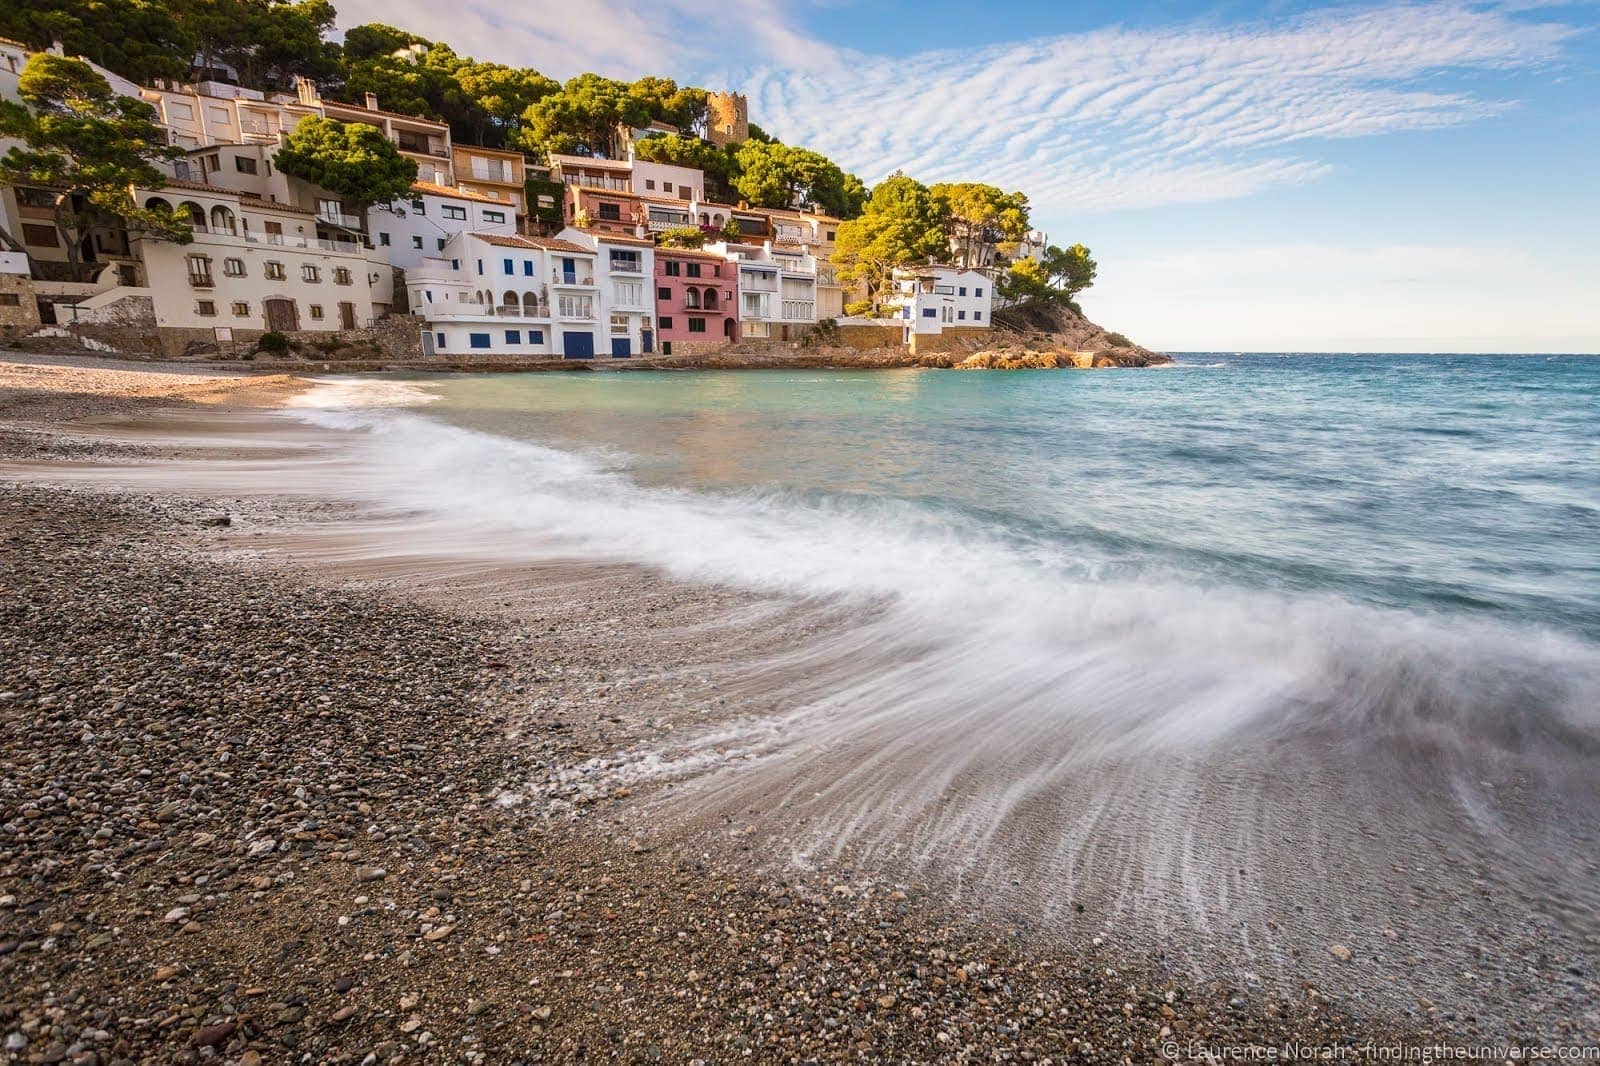
For example, clouds can be an excellent source of motion in a long exposure shot, as they turn into great streaks across the sky. The direction they are moving in will give the streak its direction, and you can use these streaks as leading lines, drawing your viewer into the image.
Water can also work well, especially on beaches, as the waves move up and down the sand.
Other sources to consider are moving lights, such as spinning carousels at fairgrounds or moving cars. Different sources of motion will have different speeds, so you will want to adjust your shutter speed to maximise the effect.
Remember the ISO!
Many cameras these days come with an automatic ISO function, whereby the camera will set the ISO automatically for you – even if the camera is in full manual mode.
Whilst in many situations this can be helpful, for long exposure situations you definitely want to be controlling the ISO yourself. So before you hit the shutter button, always be sure to check that the ISO is set where you want it.
Improve your Overall Photography Skills
Long exposure photography is just one part of the larger photography puzzle, and we always think that rather than focusing on one area, it’s best to try and improve your overall photography knowledge.
Long exposure photography in particular builds upon a number of other photography skills, including knowing how to adjust your cameras settings, and really understanding what each of those settings does, including aperture, ISO and shutter speed.
If you are interested in improving your photography skills, we recommend checking out our online travel photography course, which we have created to be as comprehensive as possible. Take a look at that here.
Experiment!
Last, but not least, we definitely suggest you get out there and experiment! As with any new photography technique, long exposure photography takes practice to get right.
So find something to shoot, be it a nearby street, river or night sky, and have a go at it yourself. Practice makes perfect!
Further Reading
That sums up our guide to long exposure photography – we hope you found it useful.
As well as this post, we have a number of other detailed photography posts to help you get the best photos. Here are some we think you will find useful.
- Our guide to picking the best travel camera, which features a range of cameras at various price points. We also have a dedicated guide to picking a compact camera for travel, a guide to picking a mirrorless travel camera and a guide to picking a DSLR travel camera.
- If you need a new lens, we have a guide to the best travel camera lenses which covers the majority of camera types available today
- We have a guide to taking better pictures of yourself, how and why to use back button focus, how to take pictures of stars, tips for snow photography, an overview of Neutral Density filters and a guide to shooting in RAW – just some of our photography posts!
- We also have an always expanding series of Photography Location Guides, to help you get the best shot in locations around the world.
- We have a guide to the best gifts for photographers
- A Beginners’ Guide to Improving your Travel Photos for those starting out in travel photography
- Our reasons why you need a travel tripod
- And, if you’re serious about improving your photography, I run an incredibly comprehensive online travel photography course, which will teach you everything you need to know about photography. Check that out here.
And that’s it! As always, if you have any feedback or questions about the above, do let us know in the comments below. Happy photographing!
Mark Ransome says
Thank you for an informative article. It would be great to have the same in post processing in LR and Capture One as that is where the real magic happens.
Mark Ransome
Laurence Norah says
Hi Mark!
Thanks for your e-mail. So I have yet to write a post on photo editing, that’s a good point. In terms of long exposure photography though, most of the work is done in camera as it would be quite a task to emulate the effect of a long exposure shot in software. So the main techniques for long exposure photography specifically are camera related, rather than related to photo editing. None of the tips I would give for photo editing would be long exposure specific, they’d just be to do with editing a photo in general. I hope this makes sense 😉
Laurence
Marlon says
Easy to understand tips. Thanks Norah couple and keep on rockin’ on your travels & photography!
Laurence Norah says
My pleasure – thanks for commenting!
Robert Eckhardt says
thank you
Laurence Norah says
My pleasure 🙂