
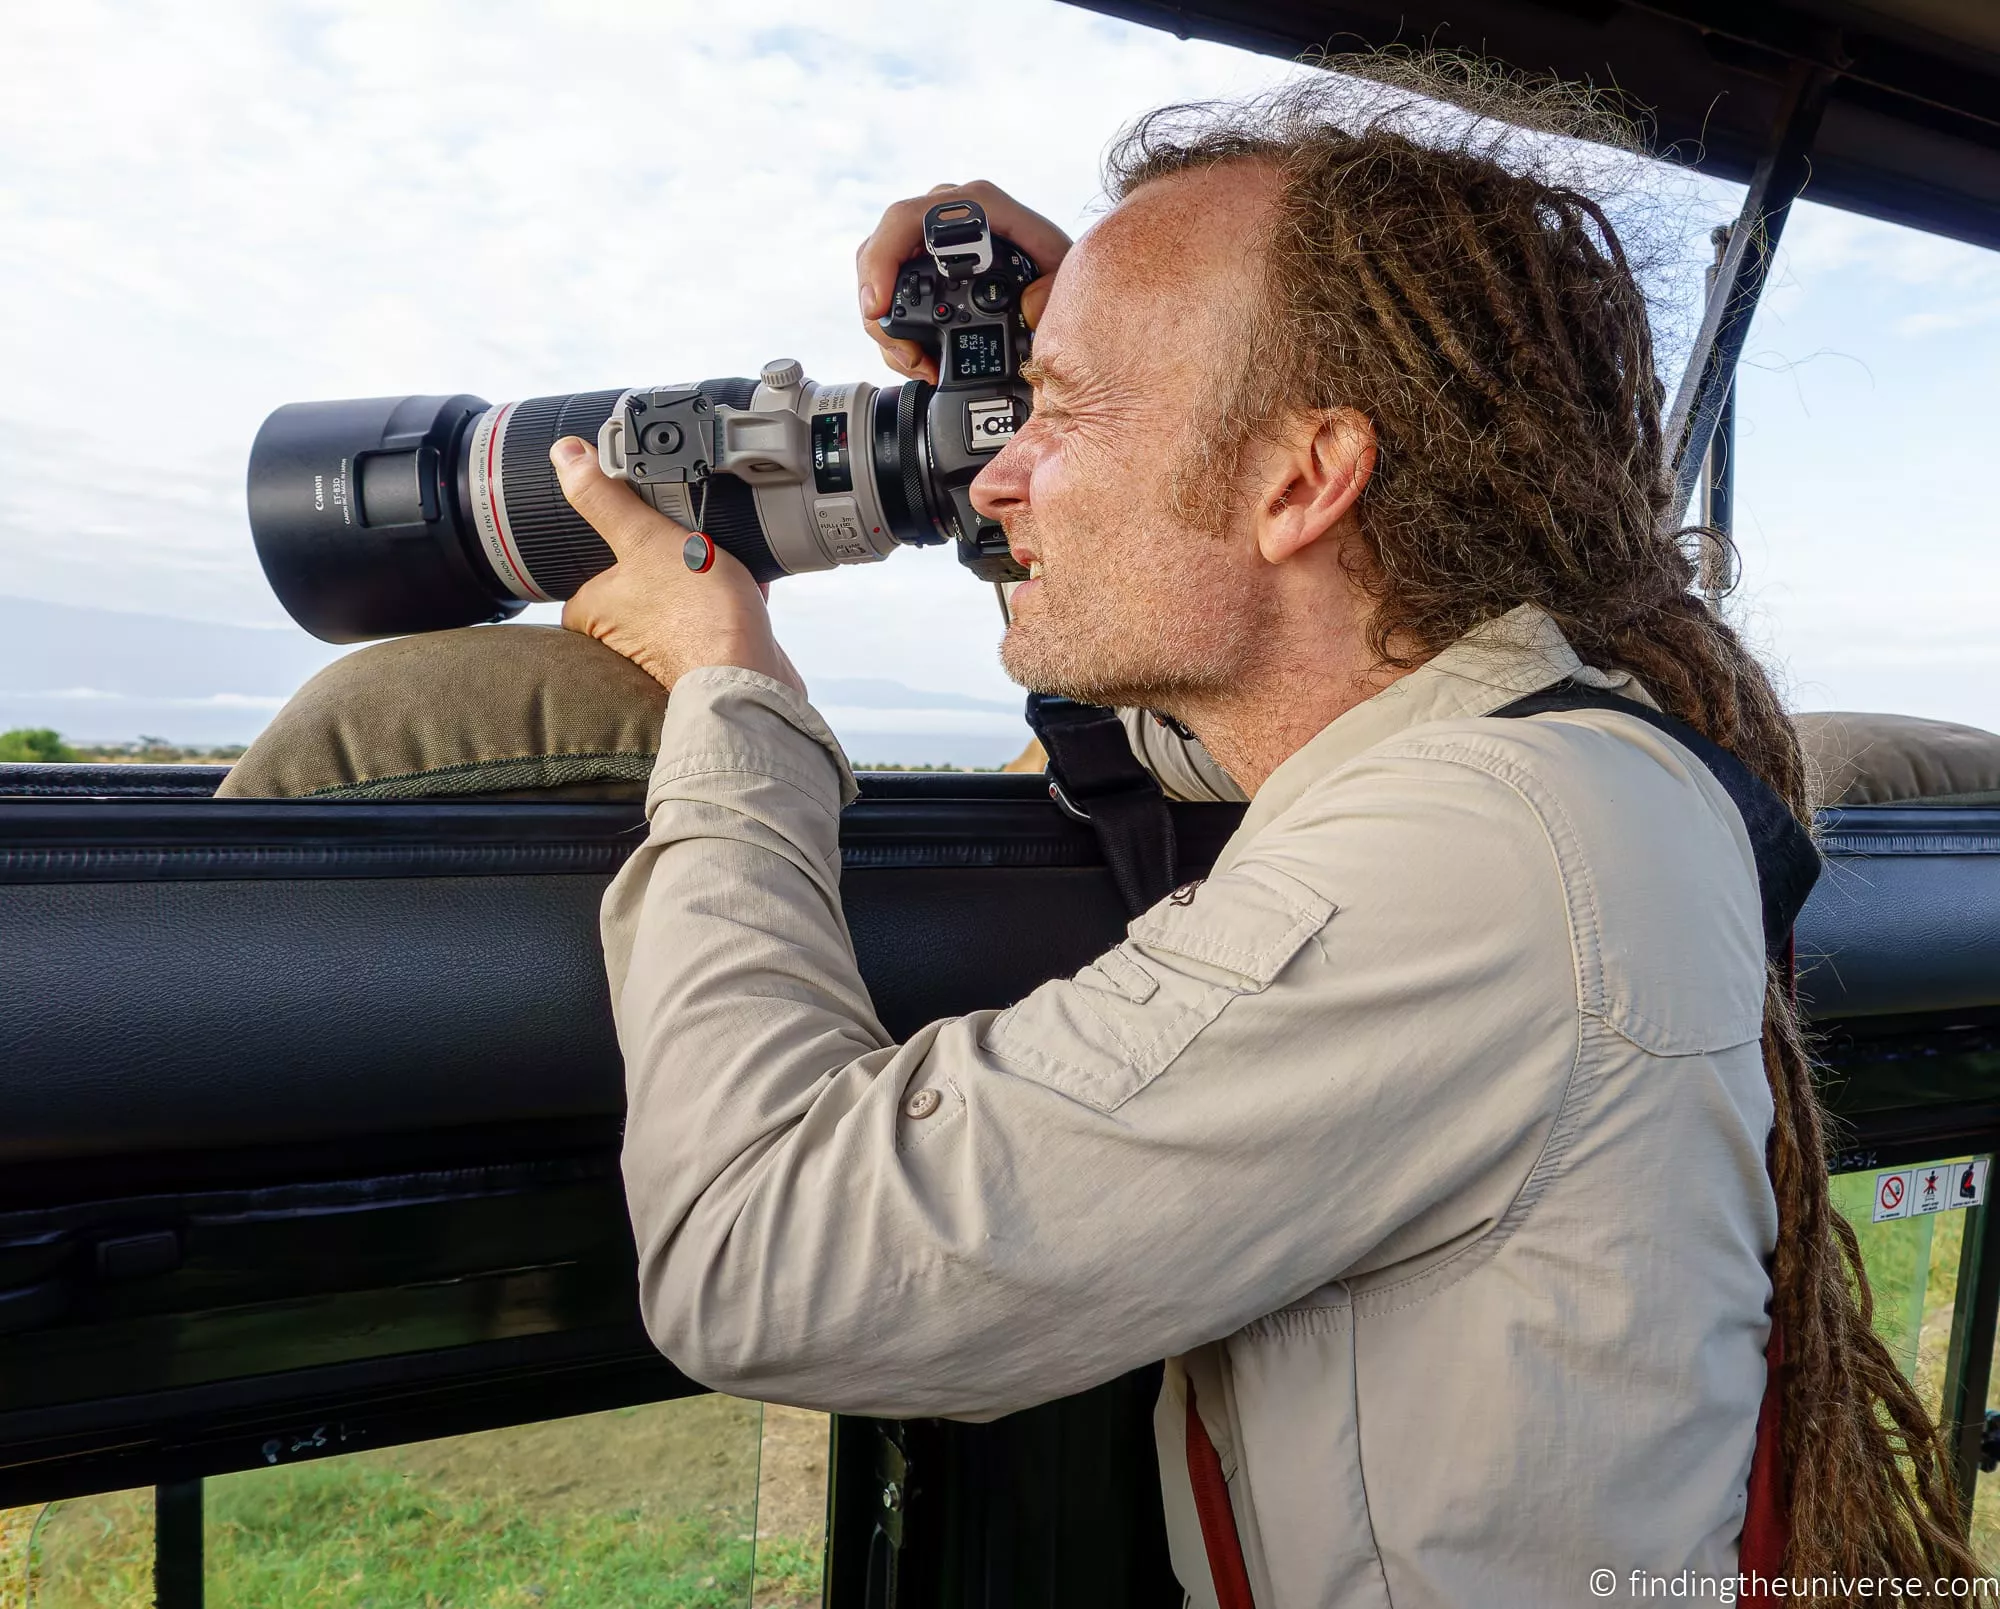
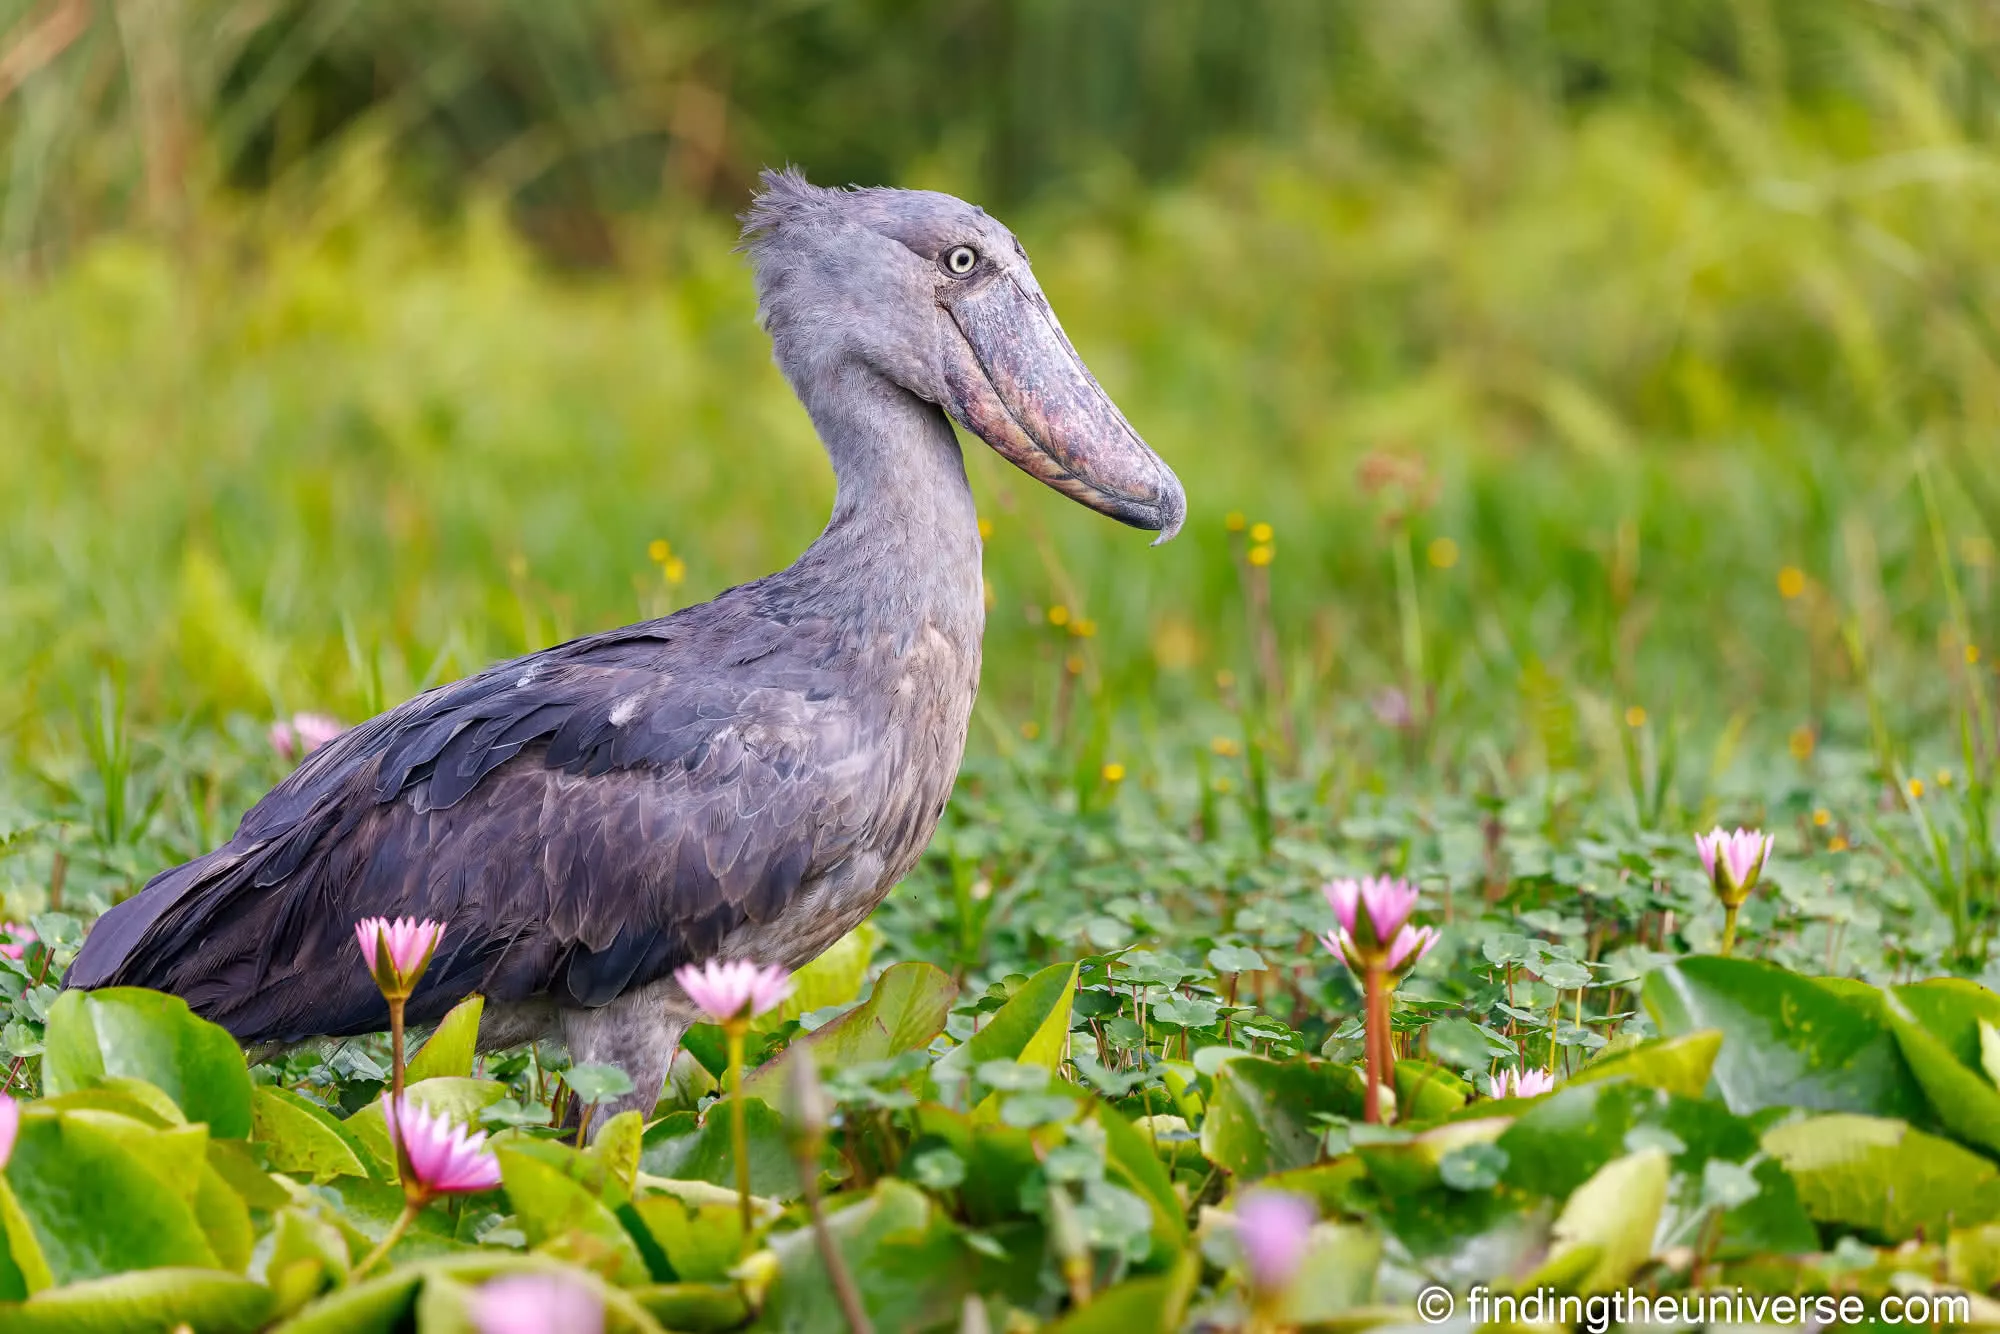
I’ve spent a lot of years pointing a camera at birds. The most memorable have been on trips: shoebill storks in Uganda, seabird colonies in the Seychelles and the Galapagos, and puffins in Iceland. The most frequent, by a distance, are the hummingbirds, woodpeckers and cardinals on our garden feeders most mornings, which is where the majority of my bird photography actually happens. Nearly all of it, garden and abroad, has been shot on the same kit, a Canon EOS R5 with an adapted EF 100-400mm lens, parked at 400mm so often that the zoom ring is mostly decorative.
I’m telling you this so that a) you can see I have some experience in the topic and b) so you see that bird photography is a game of reach. The lens is at least as important as the camera body, which is why I’m covering both lenses and camera bodies in this guide.
Every recommendation below is a complete kit, a camera plus a matched telephoto lens, tied to a budget and a use case, so you know exactly what to buy for your situation as well as roughly what it’ll cost. Bird photography can become an expensive hobby quickly, but you don’t have to spend a fortune to get great results. I mean, you can spend a fortune to get great results. But you don’t have to.
If you just want the short answer: for most people, the best value kit for bird photography is the Canon EOS R7 with the Canon RF 100-400mm lens. The R7’s cropped sensor means that lens frames like a 160-640mm zoom, the autofocus can find and track a bird’s eye, and the whole kit costs less than most of the full-frame bodies further down this page before you’ve even put a lens on them.
If that’s still too much, a superzoom bridge camera like the Panasonic Lumix FZ80D will have you photographing garden birds for a fraction of the price, with no second lens to buy.
Below are six kits across a range of budgets, including the one I actually shoot with, plus my advice on how much reach you need and on buying used, which is where bird photography goes from alarmingly expensive to merely expensive.
Table of Contents:
Quick Picks
Here are the kits I’d point you at first, depending on your budget and what you shoot. Each one gets a full section below.
- Best value for most people: the Canon EOS R7 with the RF 100-400mm. Bird-detection autofocus and 640mm equivalent framing at a mid-range price.
- Cheapest way in: the Panasonic Lumix FZ80D, a 60x superzoom for a few hundred dollars. This is the camera I’d suggest for a beginner who isn’t sure yet how deep this hobby will go.
- What I shoot: the Canon EOS R5 with the adapted EF 100-400mm f/4.5-5.6L IS II. Both discontinued, both still available, and together one of the best used-market deals in photography.
- Maximum reach for the weight: the OM System OM-1 Mark II with the M.Zuiko 150-600mm, which frames like a 300-1200mm lens.
- Birds in flight, no compromises: the Sony a9 III with the Sony FE 200-600mm. Your wallet will not thank you.
A 60-Second Guide to the Jargon
Bird photography comes with more jargon than most kinds of photography, which is saying something. Nearly all of it is describing the same thing: how big the bird ends up in your frame.
If you already speak fluent millimetre, skip straight to the table. If the numbers below look like a foreign language, here’s the vocabulary you need to know in about a minute.
- Focal length (the “mm” number) is just how far a lens reaches. Bigger number, bigger bird. A phone sits around 24mm; a lens only really starts to get useful for birds at 400mm and gets better from there. It’s the single most important number on this page. Bigger is nearly always better, with inevitable caveats.
- “Frames like”, or equivalent, is how I’ve made every kit here comparable. The same lens reaches differently on different cameras, because a smaller sensor sees a narrower slice of the scene. So rather than quote the raw lens, I quote what it frames like on a standard full-frame camera. When the table says a kit “frames like 640mm”, that’s the number to compare, whatever’s printed on the barrel. This is also often referred to as the “full-frame equivalent”.
- Crop factor is why that gap exists, and for birds it’s good news: a smaller sensor multiplies your reach for free. Canon’s APS-C bodies by 1.6x, Nikon, Sony and Fujifilm APS-C by 1.5x, Micro Four Thirds by 2x. Put a 400mm lens on the 1.6x Canon R7 and it frames like 640mm, at no extra cost or weight. It’s the whole reason a cheaper cropped-sensor camera can out-reach a pricier full-frame one.
- Optical zoom (the “60x” on bridge cameras) is a different number again, and worth not muddling with crop factor. It’s simply the ratio between a lens’s widest and longest setting, so a 20-1200mm lens is a “60x zoom” (1200 divided by 20). Optical zoom is real reach, done with glass, and it holds its quality. Digital zoom, the kind your phone tips into when you pinch too far, just enlarges and crops what’s already there, and the result is mush. Every zoom figure in this guide is optical. Just note that 60x does not mean it makes things 60x bigger, although the marketing teams would probably prefer you didn’t know that.
The short version: chase the “frames like” number, treat crop factor as a discount on reach, and ignore digital zoom entirely.
Bird Photography Kit Comparison Table
Here’s the breakdown in one table. Price bands cover the kit as a whole, camera plus lens, buying new where that’s still possible. $ is under $1,000, $$ is $1,000 to $2,500, $$$ is $2,500 to $5,000, and $$$$ is over $5,000. Live prices are listed with each pick below.
| Kit | Camera | Lens | Frames like (35mm equivalent) | Price band | Best for |
|---|---|---|---|---|---|
| Kit 1 | Panasonic Lumix FZ80D | Fixed lens | 20-1200mm | $ | Cheapest way in |
| Kit 1 | Nikon COOLPIX P1100 | Fixed lens | 24-3000mm | $$ | Maximum reach, no lens to buy |
| Kit 1 | Sony RX10 V | Fixed lens | 24-600mm | $$ | The premium bridge, modern AF |
| Kit 2 | Canon EOS R7 | Canon RF 100-400mm | 160-640mm | $$ | Best value complete kit |
| Kit 2 | Canon EOS R7 | Canon RF 200-800mm | 320-1280mm | $$$ | The most reach per dollar |
| Kit 3 | Canon EOS R5 (used) | Canon EF 100-400mm L IS II (used) | 100-400mm | $$$ used | What I shoot, used-market value |
| Kit 3 | Canon EOS R5 Mark II | Canon RF 100-500mm L | 100-500mm | $$$$ | The buy-new Canon flagship kit |
| Kit 3 | Canon EOS R6 Mark III | Canon RF 200-800mm | 200-800mm | $$$$ | The sensible buy-new Canon kit |
| Kit 4 | OM System OM-1 Mark II | M.Zuiko 150-600mm | 300-1200mm | $$$ | Maximum reach for the weight |
| Kit 5 | Sony a7 V | Sony FE 200-600mm | 200-600mm | $$$ | Sony all-rounder that shoots birds well |
| Kit 5 | Sony a7 V | Sony FE 100-400mm f/5.6-8 | 100-400mm | $$$ | The lighter, cheaper Sony kit |
| Kit 5 | Sony a9 III | Sony FE 200-600mm | 200-600mm | $$$$ | Birds in flight, global shutter |
| Kit 5 | Nikon Z6 III | Nikon Z 180-600mm | 180-600mm | $$$ | The Nikon kit |
| Kit 5 | Fujifilm X-H2S | Fujifilm XF 150-600mm | 225-900mm | $$$ | The Fujifilm kit |
Do You Actually Need a New Camera for Bird Photography?
Possibly not, so let’s check before you spend anything.
Your phone, unfortunately, is not the answer. Phones are brilliant at almost everything else these days, but birds are small, distant and fast, and reach is the one thing a phone can’t fake. Even a 5x telephoto phone camera frames like roughly a 120mm lens, and once you pinch past the optical zoom you’re just enlarging mush. A phone photo of a bird is usually a photo of a tree with a suspicious dot in it.
If you already own an interchangeable-lens camera of any brand and any age, though, the maths changes. A basic 70-300mm zoom on an older DSLR will teach you more about bird photography in a month than a new camera will, because the real skill is fieldcraft: learning where birds perch, how close they’ll tolerate you, and how light behaves at the start and end of the day.
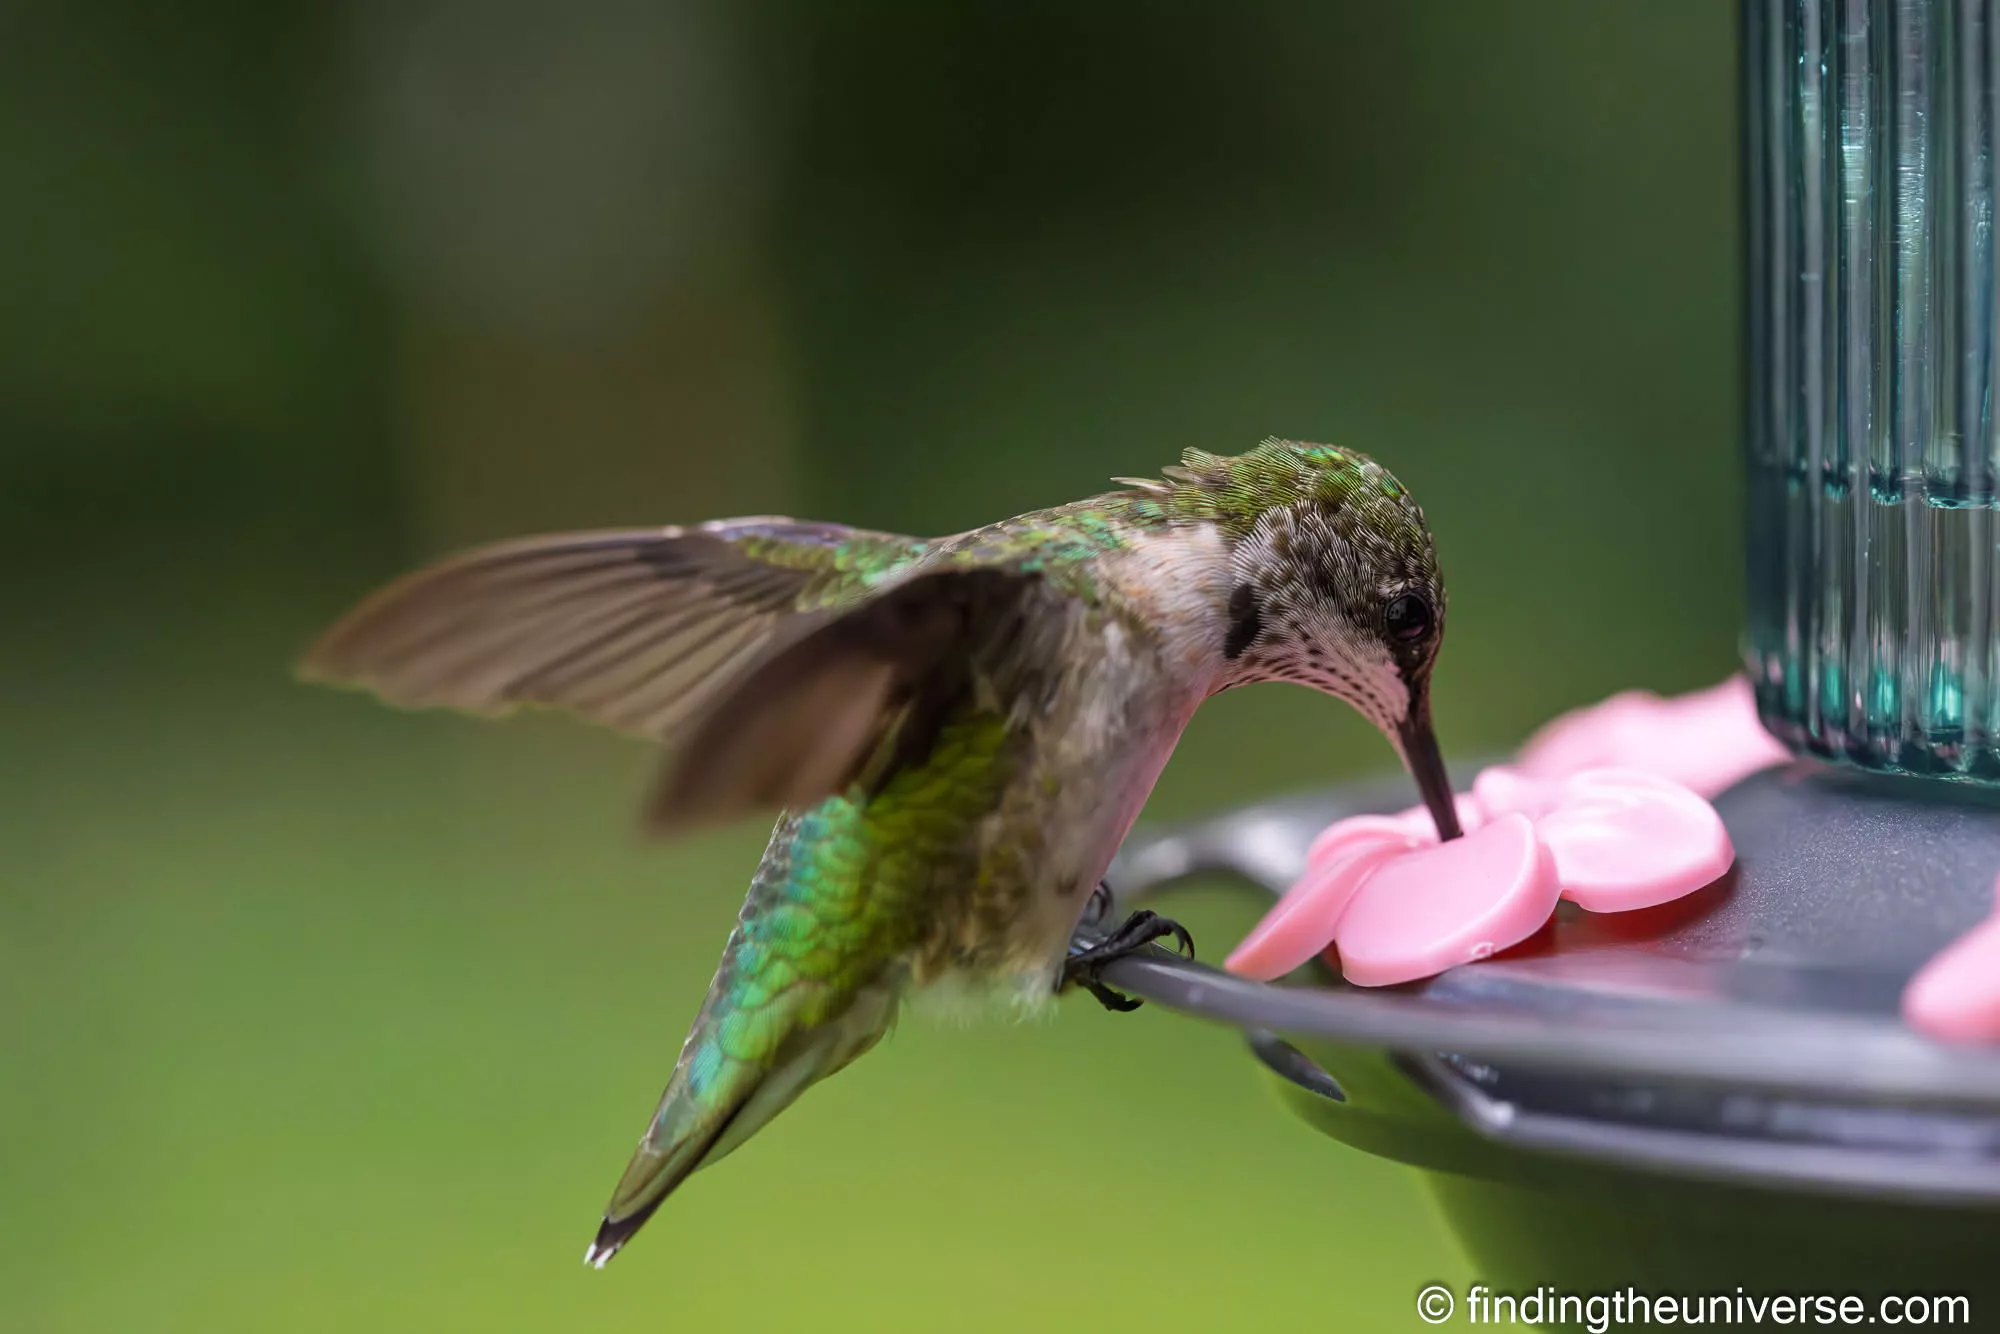
Garden feeders are the classic shortcut, since they bring the birds to a perch you chose, at a distance you chose. I’ve written more about the technique side in my guide to safari photography, and most of it applies just as well to a robin as a lion.
And if what you really want is to watch birds rather than photograph them, a decent pair of binoculars costs a fraction of any kit on this page. We’ve covered those in our guide to binoculars and our beginner’s guide to birdwatching. You can even take passable record shots with a phone held to a binocular eyepiece, a trick called digiscoping, though nobody would describe the process as relaxing.
Kit 1: Bridge Cameras on a Budget
A bridge camera puts an enormous zoom lens permanently in front of a small sensor. That one sentence contains both the good news and the bad news.
The good news is reach per dollar that nothing else touches. The cheapest camera in this guide frames like a 1200mm lens, a focal length that would cost you five figures to reach optically on a full-frame system. The bad news, of course, is that the sensor behind it is about the size of the one in your phone, so image quality drops quickly in poor light, and fine feather detail never quite matches what the bigger-sensor kits below can do.
The other thing to be clear about is autofocus. The two budget models here use older contrast-based focusing systems. They’ll focus fine on a perched bird in good light, but they are not in the same league as the AI-trained subject detection on the mirrorless bodies further down, which can pick out a bird’s eye and hold it in flight. The Nikon even has a mode called Bird-watching mode, which sounds like it should do exactly that. It doesn’t; it’s a scene preset with a helpfully wide focus area, built on that same older focusing system. You’re buying reach here, not clever tracking.
For a much deeper look at this category, my guide to the best bridge cameras covers it in full. Here’s how the three stack up for birds:
Panasonic Lumix FZ80D
The FZ80D is the cheapest way into bird photography. You get a 60x zoom that frames like 20-1200mm, an 18 megapixel sensor, 10 frames a second, and a camera that weighs about 616g with its battery, all for a few hundred dollars.

Its limits are exactly the category’s limits: a small sensor that wants good light, and autofocus that’s happiest with a bird sitting still. But as a first camera, or as the answer to “my parent has started feeding the garden birds and wants photos of them”, it’s a really easy recommendation. Plenty of people buy one of these, discover they love bird photography, and upgrade later. Plenty more discover the FZ80D is all they ever needed.
Check price on Amazon You can buy it on Amazon here.
Nikon COOLPIX P1100
The P1100 exists to answer one question: what if the zoom just kept going? Someone at Nikon might have overdosed on caffeine when designing this system. Its 125x lens frames like 24-3000mm, which is spotting-scope territory. There are birds you physically cannot photograph with any other camera in this guide that the P1100 will fill the frame with, from the far side of a lake.

The costs are real. It’s a 16 megapixel sensor of the same small type as the Panasonic, the camera weighs about 1.4kg, and at 3000mm equivalent you’ll want it braced on something solid because at that magnification your heartbeat shows up in the viewfinder. The quality of the air between you and the bird is also something you’re going to become aware of.
Its autofocus, Bird-watching mode included, is the older tracking system I mentioned above, so this is a camera for perched and wading birds rather than aerial acrobatics. If reach is your obsession, nothing else comes close at the price.
Check price on Amazon You can buy it on Amazon here.
Sony RX10 V
The RX10 V is the exception in this category, and it’s priced like one. It pairs a 24-600mm equivalent f/2.4-4 zoom with a much larger 1-inch stacked sensor, shoots at up to 30 frames a second, and, unlike the two cameras above, it has Sony’s current AI-driven subject recognition, which is trained on birds among other subjects. It’s the only bridge camera here whose autofocus belongs in the same conversation as the mirrorless kits below.

One caveat: 600mm equivalent is the shortest maximum reach of any kit in this guide, so you’re trading telephoto length for that brighter lens and better sensor.
With an MSRP north of two thousand dollars it also costs more than the R7 kit below, and for most bird photographers I think the R7 kit is the better buy. The RX10 V makes sense if you want one do-everything camera for travel that also handles birds far better than any other bridge camera.
Check price on Amazon You can buy it on Amazon here.
Kit 2: Canon EOS R7 with RF 100-400mm (Best Value)
This is the kit I recommend to most people who ask me what to buy for bird photography, and the reasoning is simple: it’s the cheapest way to get modern bird-detection autofocus and serious reach in the same bag.
The R7 is a 32.5 megapixel APS-C camera, which means its sensor crops the view 1.6x tighter than full-frame. Bird photographers buy it for exactly that: whatever lens you mount frames 1.6x longer than it would on a full-frame body, and the R7 packs a lot of pixels into that tighter view, so the bird ends up large and detailed in the frame.
It shoots 15 frames a second with the mechanical shutter and 30 with the electronic one, has in-body stabilisation rated up to 7 stops with the right lens, and its autofocus inherits Canon’s subject detection with a dedicated animal mode that finds the eyes, faces and bodies of birds. That last feature, more than any spec number, is what separates this kit from the bridge cameras above. The camera watches the bird so you can watch the composition.

The R7 has been around since 2022, Canon has dropped it from its own online store, and the rumour mill expects a successor at some point. None of that changes what the camera does, and it’s pushed street prices down, which is partly why this kit is such good value. It remains the APS-C body most birders reach for in the Canon system.
Check price on Amazon You can buy the R7 on Amazon here.
The lens half of the kit is the RF 100-400mm f/5.6-8, and it’s a small marvel. It weighs 635g, which is light enough to carry all day and handhold indefinitely, it has optical stabilisation rated to 5.5 stops, and on the R7 it frames like a 160-640mm zoom.
There are some compromises. First is the aperture: f/8 at the long end makes this a daylight lens, and you’ll feel it in dim forests and at dusk. The other compromise is build quality. This isn’t an “L” lens, the designation Canon gives it’s higher end glass, which also have a red ring around the lens. That means you don’t get the weather sealing or super high-end glass elements of Canon’s high end lenses. However, for garden, wetland and fair weather daytime birding, it’s the best value telephoto Canon has ever made.

Check price on Amazon You can buy the lens on Amazon here.
If you want more reach and your budget stretches, swap the lens for the RF 200-800mm f/6.3-9. Despite being white this also isn’t an “L” class lens. although it does offer weather-sealing at least.
On the R7 it frames like a scarcely believable 320-1280mm, which out-reaches everything in this guide except the P1100, on a vastly better sensor with vastly better autofocus. It weighs just over 2kg, so it’s a different carrying proposition than the 100-400, but for dedicated birders it’s become the reach zoom to beat. It also accepts Canon’s teleconverters across its whole zoom range, which matters more than you’d think, and I’ll explain why in the reach section below.

Check price on Amazon You can buy the RF 200-800mm on Amazon here.
One rung cheaper: Canon’s EOS R10 works with these same lenses for less money, though you give up in-body stabilisation and some weather resistance. I covered it in my guide to the best travel cameras.
Kit 3: Canon EOS R5 with EF 100-400mm (What I Shoot)
Now for the kit that shot those shoebills and puffins, and nearly every other bird photo I’ve published, along with a couple of confessions about it.
My main birding lens is the EF 100-400mm f/4.5-5.6L IS II, which is a lens for Canon’s older DSLR mount, attached to my mirrorless R5 with Canon’s EF to RF adapter. I owned the lens before Canon’s RF mount existed, the adapter let it carry straight over, and in years of use since I’ve never once thought about the adapter in the field.
Autofocus is quick, stabilisation works with the body, and the lens itself is one of the sharpest zooms Canon ever built for the mount. It lives at 400mm and f/5.6, which I’ve come to think of as the affordable-reach sweet spot: long enough for most birds you can realistically approach, bright enough to keep shutter speeds up in ordinary daylight.
The body is the original Canon EOS R5, and its 45 megapixel sensor is what makes it shine. All those pixels mean I can frame a bit loose (birds don’t often give you much choice in this regard), then crop hard in the edit and still have a detailed file, which is effectively extra reach for free.
Its animal detection autofocus finds bird eyes reliably, including, since a firmware update, on birds in flight. It shoots 12 frames a second mechanically and 20 electronically, and the body weighs 650g, so the whole kit balances well enough to handhold for a full morning.
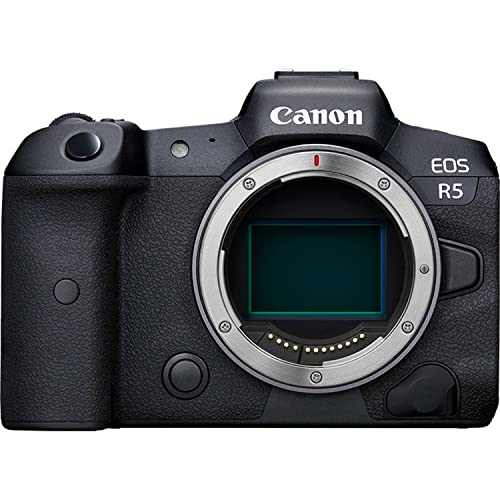
First confession: both halves of my kit are discontinued. Canon stopped making the original R5 in March 2026, and the EF 100-400L II went out of production before that.
The R5 is still sold new while stock lasts, but new copies of the EF 100-400L II have all but dried up, and both are all over the used market, so this kit now makes most sense as a used buy. I’ve put the numbers in the buying used section below, but the headline is that my kit, bought used today, costs about half of what the equivalent buy-new Canon kit does.
Check price on Amazon The R5 is still available new on Amazon here. For the lens, look used: there are copies of the EF 100-400mm f/4.5-5.6L IS II at MPB here.
Second confession: if I were buying into the RF system from scratch today, I wouldn’t buy my own lens. I’d buy one of the native RF telephotos instead, and so should you if you’re starting fresh. There are three to choose between:
The RF 100-500mm f/4.5-7.1L is the premium option and the natural successor to my lens: L-series build and weather sealing, a touch lighter than the old EF at 1,530g, an extra 100mm of reach, and the sharpness you’d expect for an MSRP which nearly reached three grand.
What the premium buys you over the RF 100-400 below is the L-glass optics, the sealing, and that brighter mid-range aperture. Whether that’s worth roughly four times the price is a question only your bank account can answer; for a serious birder shooting in all weathers, it often is. Its one quirk is that it only accepts Canon’s teleconverters at the 300-500mm end of its zoom range, which I’ll come back to.

Check price on Amazon You can buy the RF 100-500mm on Amazon here.
The RF 100-400mm f/5.6-8 is the budget option, covered fully in Kit 2 above, and it’s just as good on a full-frame body, where it frames as a plain 100-400mm. And the RF 200-800mm f/6.3-9, also covered above, is the reach option. Between those three, I’d buy the 100-400 if the budget is tight, the 200-800 if birds are your main subject, and the 100-500L if you want one premium lens for birds, safari and everything else.
On bodies, the buy-new picture in 2026 looks like this. The R5 Mark II is the current 45 megapixel flagship, with a faster stacked sensor, 30 frames a second, and Canon’s newest autofocus. It’s a lovely camera, and for bird photography specifically I’d struggle to justify its price over the alternatives: the premium buys you speed and readout that matter most for fast action and video, and if that’s not your bottleneck, the money is better spent on glass.

Check price on Amazon You can buy the R5 Mark II on Amazon here.
The better buy-new value for most bird photographers is the R6 Mark III: 32.5 megapixels, 40 frames a second with the electronic shutter, in-body stabilisation rated to 8.5 stops at the centre, and subject detection that explicitly covers birds. Pair it with the RF 200-800mm and you have a formidable buy-new birding kit for less than an R5 Mark II body alone with change left for a very nice tripod.
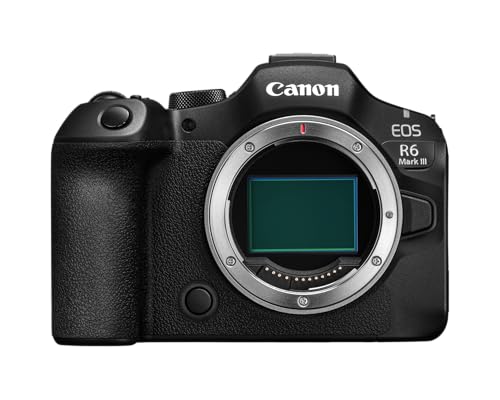
Check price on Amazon You can buy the R6 Mark III on Amazon here.
Kit 4: OM System OM-1 Mark II with 150-600mm
Micro Four Thirds is the system birders discover when their shoulders file a formal complaint, and the maths is hard to argue with.
The Micro Four Thirds sensor crops the view 2x compared to full-frame, so the M.Zuiko 150-600mm frames like a 300-1200mm lens. Twelve hundred millimetres of framing, handheld, with modern bird-detection autofocus.
The complete kit weighs around 2.6kg, which sounds like quite a lot until you realise that reaching 1200mm optically on full-frame means a lens that needs its own seat on the plane. Nothing else in this guide puts this much framing on a bird this portably, except the P1100, and the OM-1 II outclasses that camera in every way except zoom range.

The OM-1 Mark II itself is built for exactly this job. Its subject detection AF explicitly includes birds, it shoots 50 frames a second with continuous autofocus, and its Pro Capture mode buffers frames from before you fully press the shutter, which is how people get the shot of the kingfisher actually leaving the perch rather than the empty branch afterwards. The body carries an IP53 rating, meaning it’s certified against dust and water spray, and it’s freezeproof to minus 10°C. That’s better weather resistance than most cameras at any price, but note it is spray resistance, not waterproofing; don’t dunk it.
The compromises: the sensor is 20 megapixels, so unlike the R5 there’s little room to crop in the edit, and you’re relying on all that reach to frame tightly in camera. High-ISO files also need more care than full-frame ones, so dusk sessions are harder work. The lens is stabilised to 7 stops in sync with the body, weighs 2,065g, and carries an IPX1 rating, which covers dripping water rather than spray, so the kit’s weather resistance is only as strong as its least-sealed half.

Check price on Amazon You can buy the OM-1 Mark II on Amazon here, and the M.Zuiko 150-600mm here. Check price on Amazon
Kit 5: Sony, Nikon and Fujifilm Kits
If you already own lenses in one of these systems, or you just prefer their handling, each has a first-rate birding kit. The logic is the same as everywhere else in this guide: a body with bird-capable subject detection, plus the system’s big telephoto zoom.
Sony a7 V with FE 200-600mm
The a7 V is Sony’s all-rounder: a 33 megapixel full-frame body with 30 frames a second of blackout-free shooting, in-body stabilisation rated to 7.5 stops at the centre, and subject-recognition autofocus from the same Real-time Recognition family as the a9 III below, driven by a dedicated AI processing unit. It’s the pick if birds are one of several things you shoot rather than the main event.
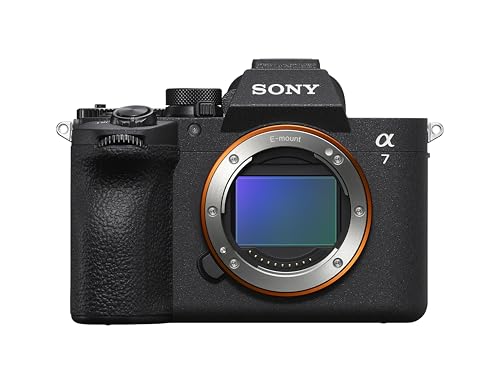
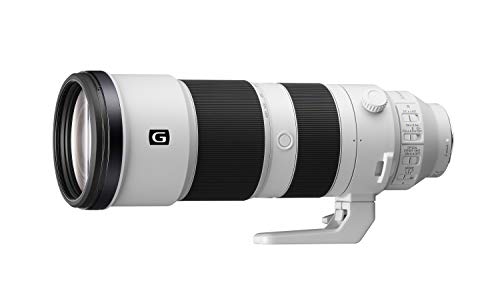
The FE 200-600mm f/5.6-6.3 G is one of the most popular bird lenses ever made, and deservedly: it’s sharp, its zoom is internal so the balance never shifts, and at 2,115g it’s quite manageable on a strap for a long walk. It also takes Sony’s 1.4x and 2x teleconverters, stretching to 840mm or 1200mm if you can live with the light loss.
Check price on Amazon You can buy the a7 V on Amazon here, and the FE 200-600mm here. Check price on Amazon
If the 200-600mm is more lens than you want to carry or pay for, Sony now makes a budget alternative, the FE 100-400mm f/5.6-8. It’s Sony’s answer to the Canon RF 100-400mm in Kit 2, at a similar 654g, and it comes with the same catch: the aperture is already down to f/8 by around 220mm, so it wants good light. On the full-frame a7 V it also frames as a plain 100-400mm, without the reach boost the R7’s cropped sensor gives the Canon version. It accepts Sony’s 1.4x and 2x teleconverters, but at f/11 and f/16 those are for bright days only. Independent reviews rate it as reasonably sharp, a little soft in the corners, and good value rather than exciting.

Check price on Amazon You can buy the FE 100-400mm f/5.6-8 on Amazon here.
Sony a9 III: the Birds-in-Flight Specialist
The a9 III is the world’s first full-frame camera with a global shutter, and for birds in flight that’s a big deal. Every pixel reads out simultaneously, so there’s no rolling-shutter distortion on fast wingbeats, no viewfinder blackout, and it will happily shoot 120 frames a second with full autofocus. Yes, you read that right.
Its Real-time Recognition system has a dedicated bird setting that reviewers have shown holding an eye through foliage and erratic flight.

So what does the (very large) price premium buy you? Speed, purely. The sensor is 24.6 megapixels, a little over half the R5’s, so you get less cropping room, and in ordinary perched-bird photography an a7 V will produce files you’d struggle to tell apart.
You’re paying for the last few per cent of birds-in-flight capability, and the last few per cent is always the expensive bit. If you fill memory cards with terns mid-dive, it’s the best tool ever made for the job. If you don’t, the a7 V gets you most of the way for less than half the money, and I’d put the difference into glass.
Check price on Amazon You can buy the a9 III on Amazon here.
Nikon Z6 III with Z 180-600mm
Nikon’s kit might be the best value full-frame pairing for birds. The Z6 III is a 24.5 megapixel body with a partially stacked sensor, around 20 frames a second in RAW with the electronic shutter, in-body stabilisation rated to 8 stops, and automatic subject detection that includes birds among its nine subject types. It shares its weather-resistance class with the more expensive Z8 and is rated to operate at minus 10°C.

The Z 180-600mm f/5.6-6.3 is the lens that made Nikon birders very happy: fully weather sealed, stabilised to 5.5 stops, just under 2kg, with an internal zoom and compatibility with Nikon’s Z teleconverters up to 1200mm. Together they’re a complete, sealed, do-everything birding kit at a price the equivalent Canon and Sony premium kits can’t match.

Check price on Amazon You can buy the Z6 III on Amazon here, and the Z 180-600mm here. Check price on Amazon
Fujifilm X-H2S with XF 150-600mm
Fujifilm’s birding kit is built around the X-H2S, a 26 megapixel APS-C body with a stacked sensor, 40 frames a second of blackout-free shooting, and deep-learning subject detection that explicitly tracks birds. Being APS-C, it crops the view 1.5x, so the XF 150-600mm f/5.6-8 frames like a 225-900mm lens. That lens is the lightest of the big super-telephotos here at 1,605g, fully weather resistant, and stabilised to 5 stops.
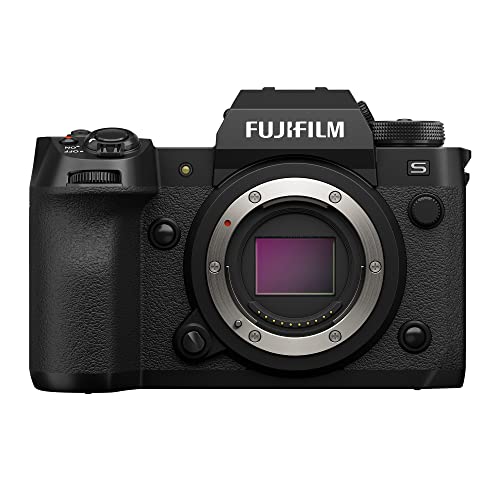
The catch is the aperture: f/8 at the long end means this kit, like the RF 100-400, wants decent light. If your birding happens at dawn in dark woodland, the Sony or Nikon kits will serve you better. If it happens in open country and daylight, this is a light, quick, thoroughly modern kit, and if you already love Fujifilm’s handling, nothing else will feel right anyway.

Check price on Amazon You can buy the X-H2S on Amazon here, and the XF 150-600mm here. Check price on Amazon
Kit 6: The Money No Object Kits
At the top of the market, the premium stops buying reach and starts buying aperture and speed. The exotic super-telephoto primes, the 600mm f/4 class, gather four times the light of the affordable zooms at the same focal length, which means clean files at dawn, faster shutter speeds in gloom, and backgrounds that melt away. A single one of those primes costs more than any complete kit in this guide, which is why I haven’t built a kit around one.
If money really isn’t the constraint, the two combinations I’d actually point you at are ones you’ve already met: the Sony a9 III with the FE 200-600mm and a 1.4x teleconverter for birds in flight, or the Canon R5 Mark II with the RF 200-800mm for maximum resolution and reach. And if you’re set on an exotic prime, buy it used: they hold their value so well that the used market is where nearly everyone, including professionals, actually gets them. More on that below.
How Much Reach Do You Need for Bird Photography?
This is the question that decides your budget, so it deserves a real answer rather than a shrug.
My rule of thumb from years of this: 400mm equivalent framing is the comfortable minimum for bird photography. Below that you can photograph confident garden birds and waterfowl, but you’ll spend a lot of time wishing everything were closer. At 600mm equivalent, most wetland and shoreline birds are workable. Small songbirds, shy species and anything you can’t approach want 800mm equivalent and up, or a feeder and a chair.
All the reach figures here are full-frame equivalents, with crop factor already folded in (the jargon primer near the top explains how, if you skipped it), so 400mm means 400mm as the bird fills the frame, whatever body it’s on.
The reason the affordable reach zooms all have small maximum apertures, f/8 or f/9 at the long end, is physics: an f/5.6 aperture at 800mm needs a front element the size of a dessert plate, and precision glass at that scale is why the exotic primes cost five figures.
The practical consequence is that budget reach is daylight reach. Every kit in this guide takes lovely bird photos in decent light; the expensive glass earns its price in the hour after dawn and the hour before dusk, which, inconveniently, is when birds are most active. If your birding is mostly midday walks and garden watching, don’t pay for aperture you won’t use.
On megapixels: for bird photography, autofocus and reach matter more than raw megapixel count. A camera that nails the eye at 640mm equivalent beats a higher-resolution one that hunts, every single time. Megapixels aren’t worthless, though; they buy you cropping room, which is reach you apply in the edit, and it’s why the 45 megapixel R5 punches above its focal length while the 20 megapixel OM-1 II needs to frame tight in camera. Somewhere around 30 to 45 megapixels is the happy middle ground, with real cropping latitude and file sizes that stay manageable.
Teleconverters are the cheapest reach upgrade, with three caveats:
- A 1.4x converter costs one stop of light and a bit of sharpness; a 2x costs two stops and noticeably more sharpness. On modern mirrorless bodies autofocus keeps working at the resulting apertures, Canon’s R-series bodies focus to f/22 for instance, but it slows in dim light. My general advice: the 1.4x is usually worth carrying, the 2x is situational.
- The budget Canon RF 100-400mm accepts both RF extenders, which is unusual at its price: with the 1.4x it reaches 560mm at f/11, with the 2x it reaches 800mm at f/16. Bright-day tools, but they work.
- Check the fine print on zoom compatibility. The RF 100-500L only accepts extenders at the 300-500mm end of its range, while the RF 200-800 accepts them across the whole range. The OM System 150-600mm takes the MC-14 and MC-20 converters all the way to a 2400mm equivalent frame, at which point atmospheric haze becomes your main creative collaborator.
And zooms versus primes: buy a zoom first. The framing flexibility matters more than the optical edge while you’re learning where birds let you stand, and the modern reach zooms in this guide are sharper than the primes of fifteen years ago anyway.
Buying Used Bird Photography Gear
Bird photography gear is where the used market really shines, for a simple reason: serious telephoto glass is bought by careful people, babied its whole life, and holds its performance for decades. Two of the kits in this guide are ones I’d specifically buy used today.
The first is mine. A used Canon EOS R5 at MPB currently starts from around $1,750, and a used EF 100-400L II starts from just over a thousand dollars, with copies at KEH too. That’s my entire Kit 3, with the 45 megapixel sensor and the bird-eye autofocus, for around half the price of the buy-new Canon flagship kit, sometimes a good deal less. The adapter is the only extra you need, and as I said above, you’ll forget it’s there.
The second is a kit I haven’t covered yet because it’s only available used: the Nikon D500. This was Nikon’s last great APS-C DSLR, a 10 frames a second, 20 megapixel body with an autofocus system that birders still speak about fondly, and a used one at MPB now starts from around $650, with plenty more choice in the used DSLR section at KEH.
Pair it with Nikon’s 200-500mm f/5.6 zoom, another used-market staple, and you have a kit that frames like 300-750mm for around what the FZ80D-to-P1100 crowd spends, with dramatically better image quality. You give up the AI-era eye detection, but the D500’s tracking was the best of its generation and it’s still quick.
Both MPB and KEH grade condition honestly, show you the actual item you’re buying, and back it with a warranty, which removes most of the traditional terror of used camera shopping. I’d still follow two rules: buy bodies used with a shutter count listed, and buy telephoto lenses used with more confidence than anything else, because a telephoto that’s survived to reach the used market in good cosmetic shape has almost always been loved.
Useful Accessories for Bird Photography
Keeping this brief: a few things make life with a big lens noticeably better.
A bean bag is the best value support there is for bird photography: it turns a car window, fence post or hide ledge into a rock-steady rest in about three seconds. I’ve written a whole guide to photography bean bags.
For longer static sessions, a tripod earns its place; the carbon Vanguard Vesta GO 264CB is the travel-friendly one I’d look at first. As a long-time Vanguard ambassador I can also pass on that the code FindingTheUniverse takes 20% off anything bought directly from Vanguard’s own store, which is usually the cheapest way to get one.
Beyond support: a fast, large memory card matters more here than in most photography, because 30 frames a second fills buffers and cards at an alarming rate. And a comfortable way to carry it all helps; see my guide to camera bags for what I actually use.
Frequently Asked Questions About Bird Photography Cameras
What camera do I need for bird photography?
You need two things: at least 400mm equivalent framing, and autofocus you can trust on a small moving subject. The best value way to get both is the Canon EOS R7 with the RF 100-400mm lens, which frames like 160-640mm and has bird-detection autofocus.
On a smaller budget, a superzoom bridge camera like the Panasonic FZ80D covers the reach requirement for a few hundred dollars, with the trade-off of a small sensor and older autofocus.
Is a bridge camera good enough for bird photography?
For perched birds in decent light, yes. Bridge cameras like the Nikon P1100 and Panasonic FZ80D offer more framing reach per dollar than any other type of camera, and thousands of birders use them happily.
Their limits are equally real: small sensors that struggle in dim light, and autofocus a generation behind the bird-detection systems in current mirrorless cameras, so birds in flight are hard work. If you find yourself hooked, an interchangeable-lens kit is the natural upgrade.
Do I need a full-frame camera for bird photography?
No, and for most people full-frame isn’t even the best choice. Cropped-sensor cameras concentrate their pixels on a narrower view, so the same lens frames longer, which is exactly what bird photography needs. The APS-C Canon R7 and the Micro Four Thirds OM-1 Mark II are both better value for birds than most full-frame bodies.
Full-frame earns its price in two places: cleaner files in low light, and, on high-resolution bodies like the Canon R5, enough megapixels to crop heavily in the edit. If you often shoot at dawn and dusk, that’s when full-frame pays.
How much zoom do I need for bird photography?
Aim for at least 400mm equivalent framing as your comfortable minimum. That covers garden birds, feeders and confident waterfowl. For wetland and shoreline birds, 600mm equivalent is where things get comfortable, and small or shy species reward 800mm and beyond.
More reach beats more megapixels, but fieldcraft beats both: a feeder, a hide, or simply learning a bird’s habits will do more for your photos than an extra 200mm.
Do I need bird eye autofocus?
You don’t strictly need it, since bird photographers managed for decades without it, but it’s the single biggest usability upgrade in modern cameras. Bird-detection autofocus finds and holds the eye while you concentrate on composition, and it transforms your keeper rate on moving birds.
Every mirrorless camera in this guide has a subject-detection system that covers birds. The budget bridge cameras don’t, whatever their mode names suggest, with the exception of the Sony RX10 V.
What is the cheapest way to start bird photography?
If you’re starting from nothing, the Panasonic Lumix FZ80D is the cheapest sensible camera, at a few hundred dollars with a 20-1200mm equivalent zoom built in.
If you want better image quality for similar money, buy used: a used Nikon D500 DSLR from around $650 plus a used telephoto zoom outperforms any new bridge camera in image quality, at the cost of some weight and the newest autofocus tricks. And if you already own any camera with a 70-300mm lens, start with that and a bag of bird seed before spending anything.
Is APS-C or Micro Four Thirds better than full-frame for birds?
For most bird photographers, yes, because the crop works in your favour. A 1.6x crop Canon R7 makes a 400mm lens frame like 640mm; a 2x crop OM-1 Mark II makes a 600mm lens frame like 1200mm. You reach further with cheaper, lighter glass.
Full-frame wins at high ISO and gives high-resolution bodies more cropping room, but crop sensors win on reach and value. If I could only pick one for a new birder, I’d pick the crop sensor kit and spend the savings on a trip somewhere with better birds.
Further Reading
If this guide was useful, these are the natural next reads on the site:
- The best safari camera lenses, which covers the same reach problem from the safari side, where dust and vehicle mounts change the answers.
- My safari photography tips, most of which apply directly to birds, including settings for fast-moving wildlife.
- The best bridge cameras for travel, if Kit 1 sounded like your kind of solution.
- The best binoculars for safari and our beginner’s guide to birdwatching, for the watching side of the hobby.
- The best travel cameras and best lenses for travel photography, for kit that has to do more than birds.
- Our photography gear, if you’d like to see everything Jess and I actually carry.
And if you’d like to get better at using whichever kit you choose, my online travel photography course covers everything from camera fundamentals to editing, with personal feedback on your photos.
As always, if you have questions about any of these kits, pop them in the comments below and I’ll do my best to help!
Leave a Reply