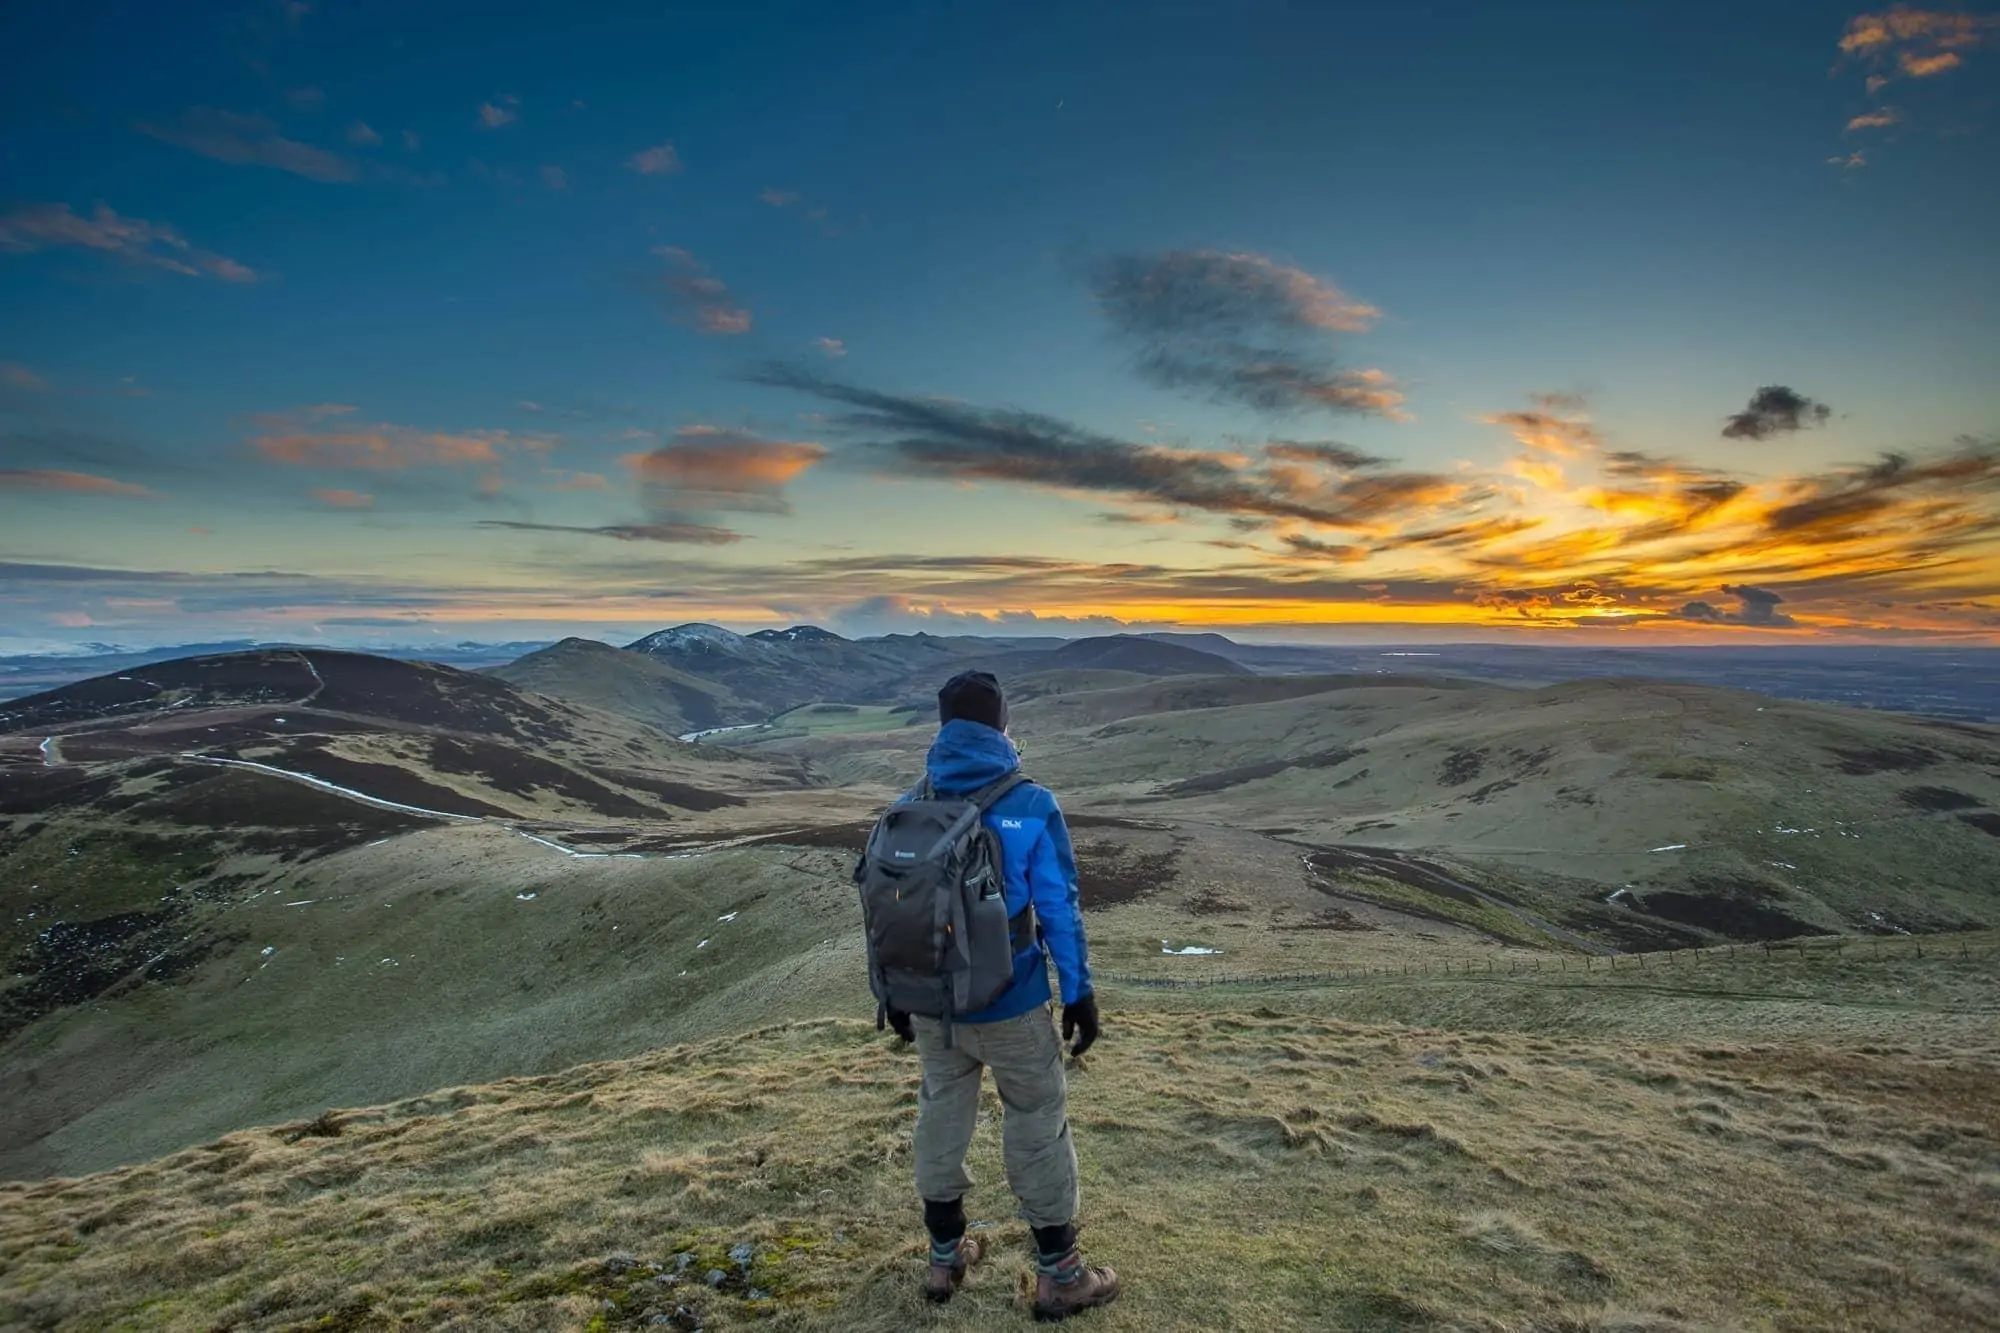
I slipped on ice at Kirkjufell once, scrambling for a sunset shot, and the only reason my camera survived the fall was the bag I happened to be carrying. The dignity, of course, did not survive. Over fifteen years of professional travel photography I’ve put a lot of bags through a lot worse than that.
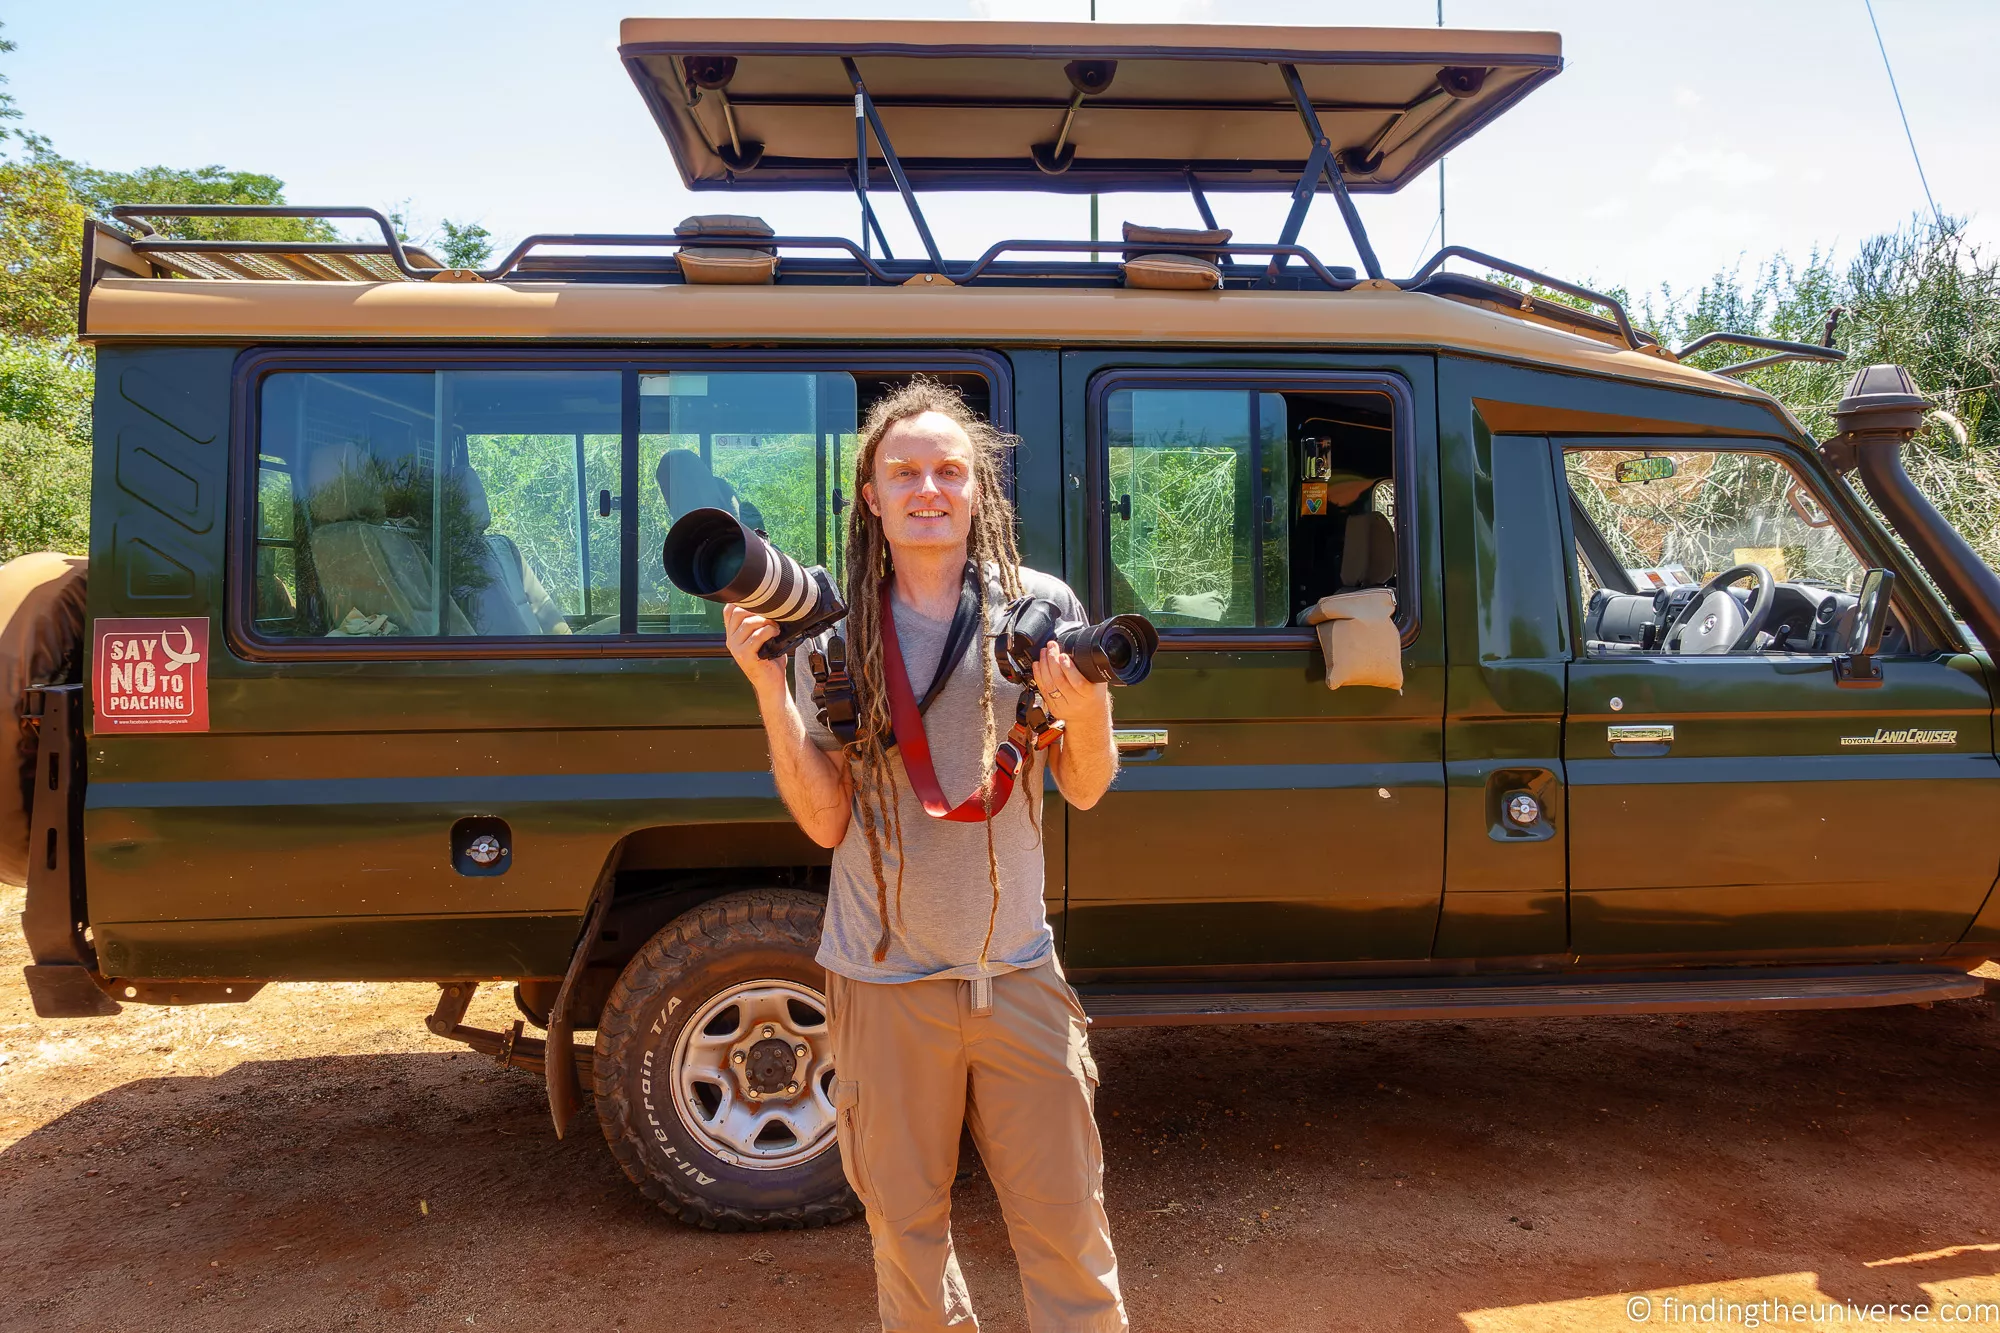
Leopards in fading Kenyan light with a Canon EOS R5 and a 100-400mm balanced on a bean bag. Multiple weeks driving the North Coast 500 in Scotland with the boot of the car looking like a camera shop that had been turned upside down. A fox once chewed through one of my Peak Design straps, which I still don’t have a good explanation for.
Some bags have been brilliant. Others have given me backache, let rain in, or made getting to my camera so slow that the shot was long gone by the time I had it in my hands. The bag is the thing that’s supposed to stop everything else from falling apart, so it’s worth thinking about properly.
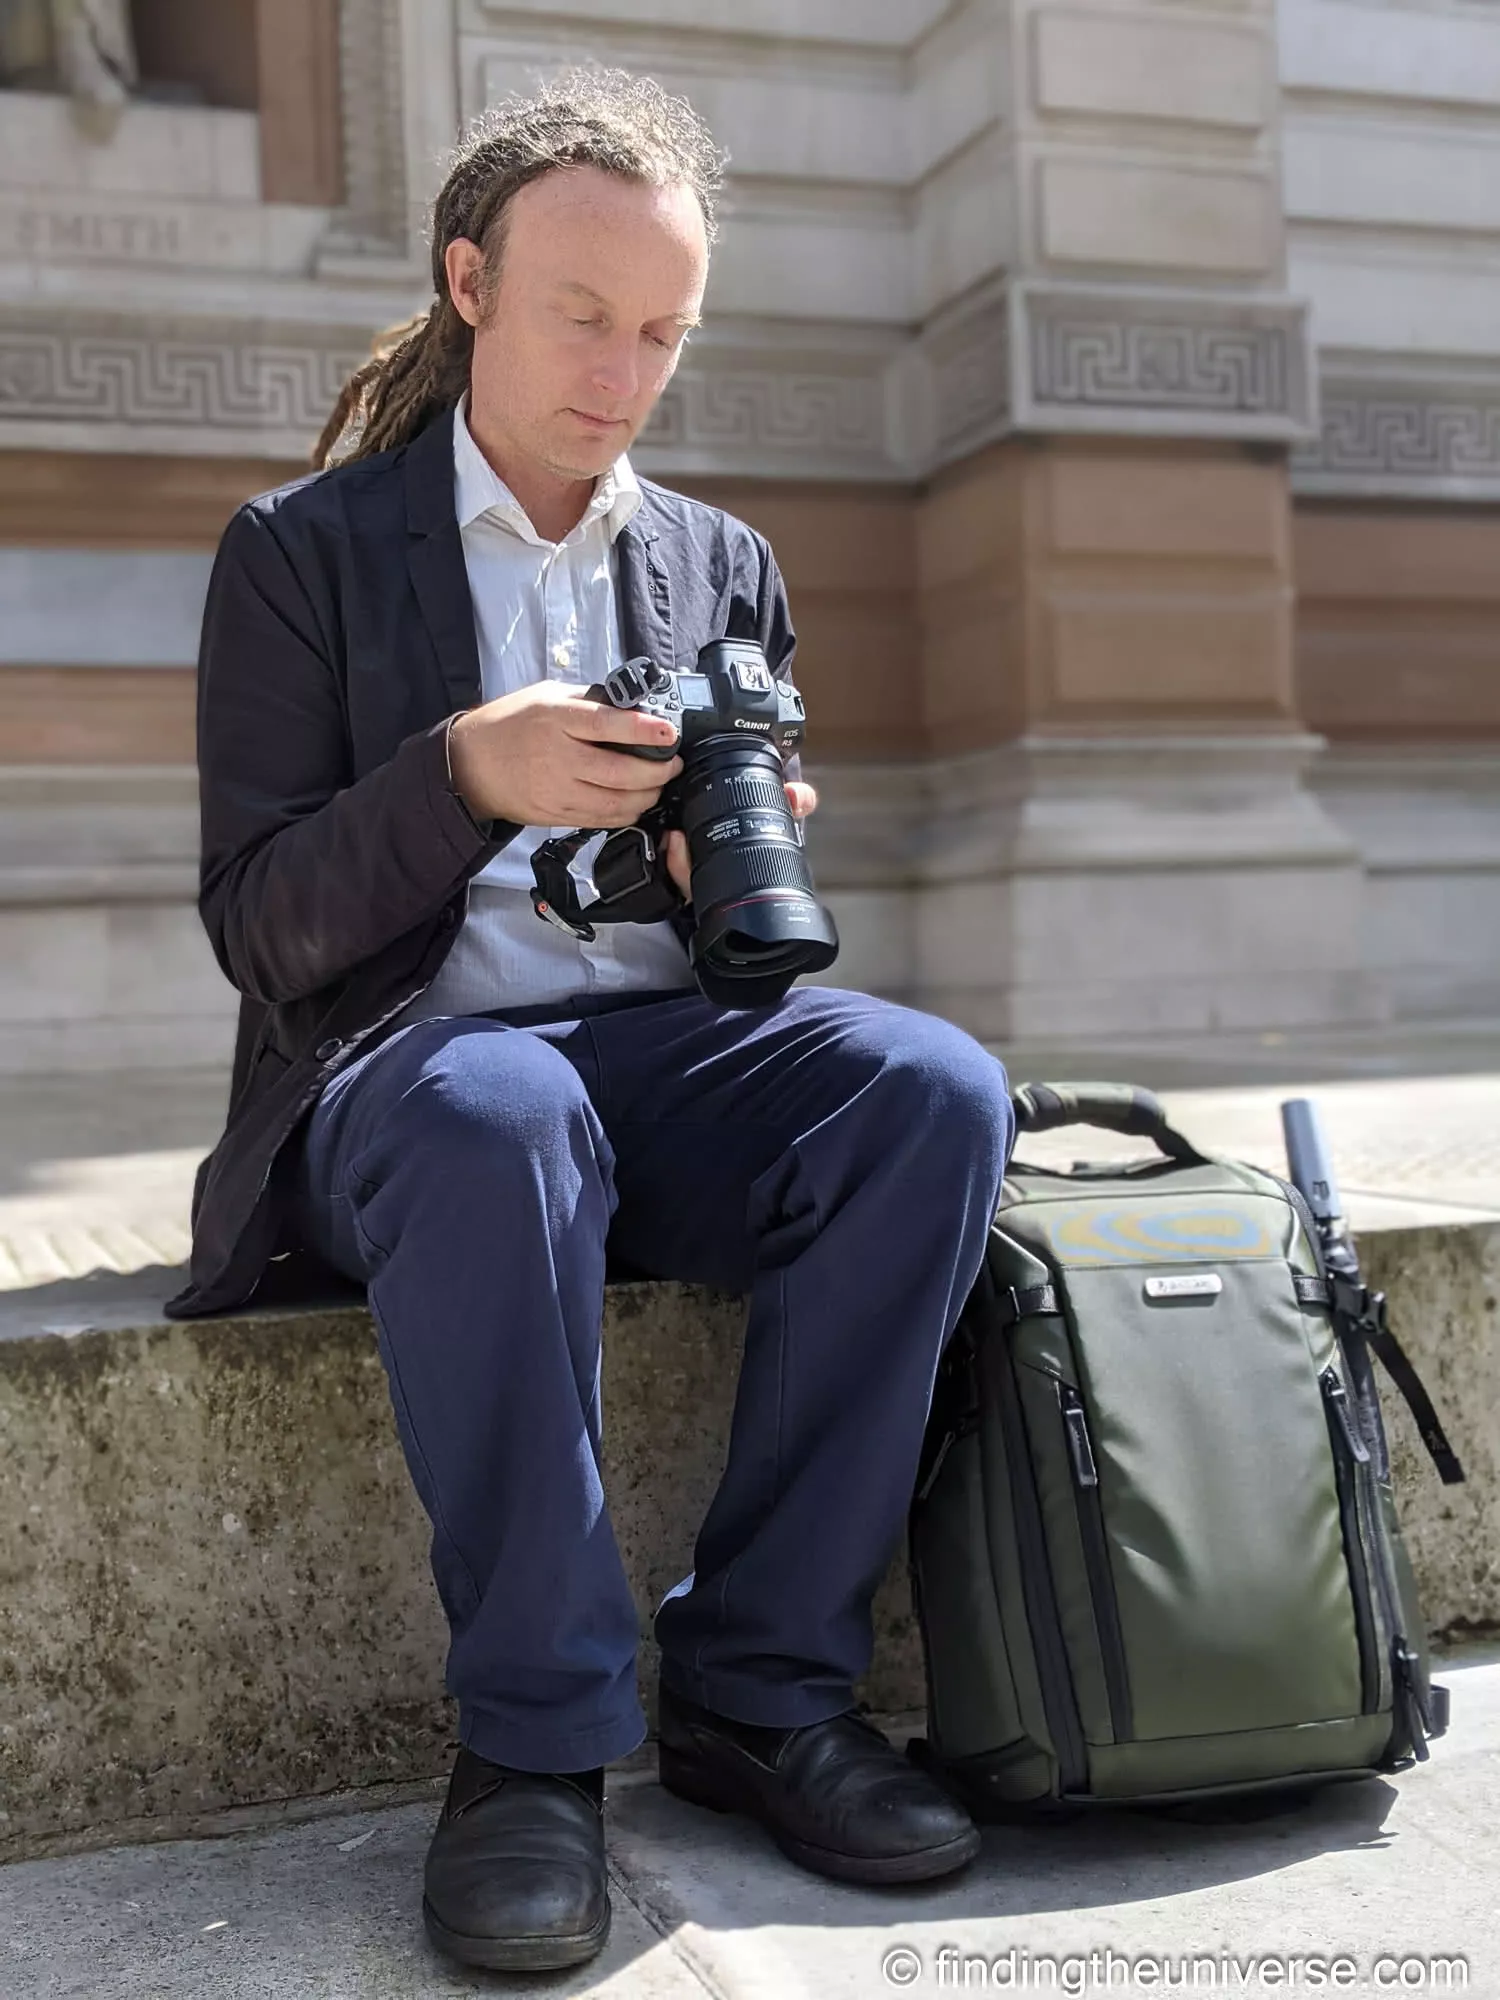
What follows is what I actually use, what Jess uses (her main complaint being that most camera bags are designed by men, for men, and it shows), and what I recommend to the photography students on our online photography course. I’ve been a Vanguard ambassador for a number of years, and I first bought a Peak Design Slide strap back in 2015 and have never used another camera strap system since, so I’ve had a long relationship with both brands. Where I haven’t used a bag personally I’ll say so, and explain why it’s still on the list.
What to Look for in a Camera Bag for Travel
The priorities for a travel bag are different from a studio bag or a local shooting bag, because travel adds challenges that don’t come up when you’re working close to home. A few things to think about before you start narrowing down options.
Weight and Comfort
This is the single biggest factor for travel. A bag that feels fine for a two-hour city walk becomes miserable on an eight-hour travel day. Look for padded shoulder straps, a hip belt (essential for heavier loads), and a ventilated back panel. I’ve carried my Vanguard Alta Sky on multi-day road trips across the Scottish Highlands with a full Canon setup and multiple lenses inside, and the hip belt is the difference between comfort and agony. Without it, by mid-afternoon your shoulders are begging for mercy.
Access Speed
How quickly can you get your camera out? Top-loading bags are secure but slow. Side-access bags let you swing the pack to one side and pull the camera out without putting the bag down. Back-panel access is the most secure (thieves can’t open it while you’re wearing it) but means you need to take the bag off entirely. Think about what you actually shoot. Street photography and wildlife need fast access. Landscape photography, where you’re setting up a tripod anyway, doesn’t.
Airline Carry-On Compliance
If you fly regularly with your gear, this matters a lot. US domestic airlines tend to be generous with carry-on sizes, but European budget airlines like Ryanair and easyJet enforce much stricter limits. A bag that passes as carry-on with British Airways might get you charged extra with Wizz Air, so check the specific dimensions before buying if you fly in Europe a lot. I always carry my camera gear on the plane rather than checking it, so this is non-negotiable for me.
Weather Protection
I’ve photographed in Icelandic rain, Scottish drizzle that seems to come from every direction at once, and tropical downpours in Thailand. A rain cover (included with most good bags) is essential, but look at the base material too. Bags with a water-resistant outer shell buy you time before the rain cover becomes necessary. Waterproof zippers are a nice bonus but add cost.
Dual-Purpose Versatility
Here’s something the gear-review sites rarely mention: on most travel days, you don’t actually want to look like you’re carrying thousands of dollars’ worth of camera gear. A bag that doubles as a regular travel backpack, with removable camera dividers, gives you flexibility. You can use it as a camera bag on shooting days and a normal daypack on travel days. This is one of the reasons I’ll sometimes go for the camera-insert approach instead, which I’ll cover below.
Laptop and Tablet Storage
If you edit on the road, you need a padded laptop compartment. I edit in Lightroom Classic and need my laptop for photo editing with me on longer trips. Make sure the compartment is padded and separated from the camera gear.
The Best Camera Backpacks for Travel Photography
Camera backpacks are the workhorse choice for travel photographers. They distribute weight across both shoulders, carry the most gear, and protect everything well. The trade-off is access speed, and the fact that you generally need to take them off to get at your camera. Here are the ones I’d actually put my own gear in.
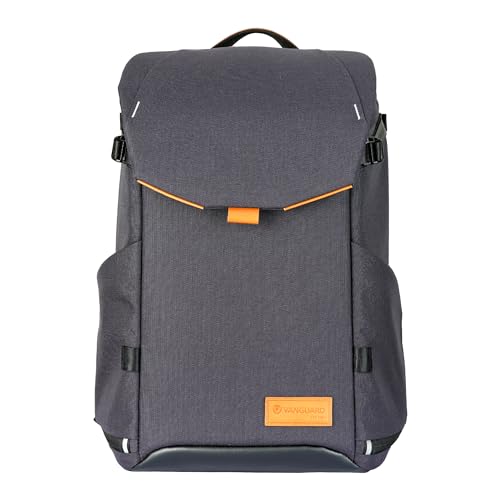
Vanguard Alta Sky 51D
I’ve used the Vanguard Alta Sky range for years. My own bag is the Alta Sky 49 (since discontinued), and the 51D is the current equivalent. These bags have been with me on safari in East Africa, on multi-week road trips around Scotland, and on photography expeditions where I’ve needed to carry two camera bodies, a 70-200mm f/2.8, a wide-angle, and a selection of primes. The Alta Sky is built for photographers who need to carry a serious amount of gear and want it protected properly.
The 51D’s standout feature is its 1/3-2/3 compartment division. The larger top section holds your main camera setup (up to a pro body with a 70-200mm f/2.8 attached, plus three or four additional lenses), while the smaller bottom section can hold a second body, a compact mirrorless, or personal items. You access each section independently, which is brilliant for organisation. The bottom front opens separately from the top rear panel, so you can grab your second body without disturbing your main kit.
The carrying system is where Vanguard really earns its reputation. Padded back panel with the Air System ventilation, contoured shoulder straps, substantial waist belt: combined, they make the bag comfortable even fully loaded with heavy glass. I’ve carried mine on full-day shoots and multi-day road trips without the back pain I’ve had from cheaper bags. I’ve also done long hikes with it when I’ve wanted my tripod and a longer lens on hand, and the hip belt distributes the weight well enough that it doesn’t feel like a punishment.
I’ll say up front that it’s a chunky bag. It’s not winning any style awards, and if you care about looking sleek in a cafe in Paris, it won’t be your friend. This is the Land Rover of camera bags, a professional tool that prioritises capacity and protection over aesthetics. Not pretty, but it’ll get you and your gear anywhere. If you want the Vanguard build quality in a more stylish package, the VEO City B46 below is the answer.
The range comes in multiple sizes (45D, 51D, 53, 66, 68) so you can match capacity to your gear. The 45D works if you carry a smaller mirrorless setup; the 51D suits a full-frame body with a selection of lenses.
Best for photographers carrying serious gear loads who care more about protection and comfort than how the bag looks slung over their shoulder. Road trips, safari, landscape expeditions, long hikes with heavy glass. The 51D is 32L, fits one or two pro bodies plus three to four lenses (up to a 70-200mm f/2.8), flash, and a 15″ laptop. Around $260.

Check the Alta Sky 51D on Amazon, or see it on Vanguard’s site.
Peak Design Travel Backpack 45L
This is one of my two main bags, and the one I reach for when I need to carry camera gear alongside everything else for a trip. The 45L capacity is generous enough for a camera body, three or four lenses, a 15-inch laptop, and still have room for a change of clothes and travel essentials on top. The clamshell opening means you can pack it like a suitcase, which makes a surprising difference when you’re living out of a backpack.
What makes it particularly good for travel photography is the compatibility with Peak Design’s Camera Cubes. You clip in a Small or Medium cube (I have both), and that section of the bag becomes a proper padded camera compartment. Take the cube out and it’s just a travel backpack again. That flexibility is exactly what you want when you’re not shooting every single day of a trip.
The materials are excellent. The outer shell is weatherproof, the zips are smooth and durable, and the whole thing has a clean, professional look that doesn’t scream “expensive camera gear inside.” It meets carry-on requirements for most airlines, though if you pack it to the gills you’ll want to check European budget carriers.
The downsides? It’s expensive. And fully loaded with camera gear plus travel items it gets heavy, because the bag itself isn’t the lightest starting point. For a dedicated camera-only bag, there are lighter options. But for a travel bag that also carries camera gear brilliantly, it’s hard to beat.
Best for photographers who travel frequently and need one bag for both camera gear and personal items. 45L expandable, fits a camera body, three or four lenses, 15″ laptop, plus clothing and travel essentials. Around $300.

Check the Travel Backpack 45L on Amazon, or see it on Peak Design’s site.
Vanguard VEO City B46
This is Vanguard’s answer to photographers who want proper gear protection without looking like they’re about to summit a mountain. The VEO City B46 is a 21-litre backpack that holds a pro DSLR or mirrorless body with up to four lenses (including a 70-200mm f/2.8), a 16-inch laptop, and a tripod. It also comes with a detachable accessories pouch that adds another 1.8 litres of organised storage.
The build quality is classic Vanguard. The outer shell is 1050D nylon with two layers of water-resistant polyurethane and waterproof zips, plus an included rain cover for the worst weather. Inside, the slimline dividers maximise usable space while still protecting your gear. There’s rear access for security (no one’s getting into the camera compartment while it’s on your back) with the option to set up top access for faster shooting.
The design details are what set it apart from the Alta Sky. There’s an RFID-protected pocket in the front flap, USB power passthrough for charging a phone from an internal power bank, a trolley sleeve for airports, and expanding side pockets for a water bottle or tripod. The accessories pouch can be carried separately on its own shoulder strap, so you essentially get two bags in one.
This is the bag I’d recommend for city photography trips, destination weddings, and travel where you want to look like a normal person rather than a walking camera shop.
Best for city and travel photographers who want style without compromising on gear protection. European city trips, urban photography, destination events. 21L (plus 1.8L pouch), fits a pro body, four lenses, 16″ laptop, tripod. Around $220.
Check the VEO City B46 on Amazon, or see it on Vanguard’s site.
Best Camera Sling Bag for Travel
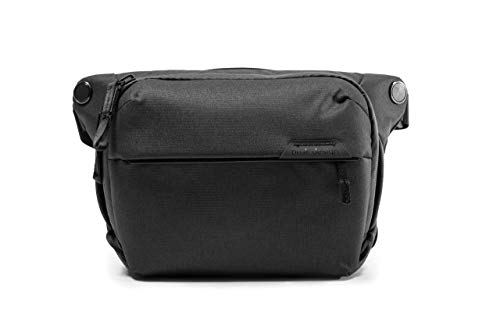
Peak Design Everyday Sling (3L / 6L / 10L)
Sling bags deserve their own mention because they solve a problem backpacks can’t: fast access without taking the bag off. You swing the sling round to your front, unzip, grab the camera, and you’re shooting. For street photography, travel days where you want a camera but not a full kit, or situations where a backpack feels like overkill, a sling is brilliant. We’ve tried a few (here’s Jess testing out a Vanguard Sling bag).
Our favourite though is the Peak Design Everyday Sling, which comes in three sizes. The 3L is tiny and carries a mirrorless body with a single small lens (essentially a padded camera case you wear). The 6L is the size I’d point most travel photographers at, holding a body with two or three lenses plus a few accessories. The 10L is pushing into small-backpack territory and can hold a body, three or four lenses, and a tablet.
The build quality matches the rest of Peak Design’s range: recycled nylon canvas, weatherproof zips, FlexFold dividers that reconfigure in seconds. The strap adjusts quickly between crossbody and hip-pack carry, and the quick-release adjuster lets you loosen the sling for access and tighten it for walking without fumbling with buckles. It’s the same kind of thoughtful engineering that makes their camera straps so good.
Slings have one obvious limitation: they put all the weight on one shoulder. Fine for a mirrorless body and a couple of primes, but if you’re carrying a full-frame body with a 70-200mm you’ll feel it after an hour. For heavy gear, stick with a backpack. For light, fast, urban shooting, though, I haven’t found anything better.
Best for street photography, light travel shooting, casual days where you want a camera but not a full kit. Also excellent as a secondary bag alongside a larger backpack. 3L around $100, 6L around $130, 10L around $170.
Check the Everyday Sling 6L on Amazon, or see it on Peak Design’s site.
Other Camera Bags Worth Considering
I haven’t put my own gear in all of the following, but they appear consistently in professional roundups and have strong reputations. Where I’m going on reputation rather than hands-on experience, I’ll say so.
The Shimoda Explore V2 (25L / 30L / 35L) is one of the first brands to look at if you do a lot of hiking or outdoor photography with camera gear. Shimoda has built a reputation specifically for adventure and travel photography bags, and the Explore V2 series uses a modular core system with removable camera compartments and an internal rigid frame for comfortable weight distribution over long distances. The 30L is sized for European carry-on restrictions, which is a thoughtful detail for international travellers. Around $370-$400. I haven’t used one personally, but enough trusted photography friends have that it’s earned a spot here.
The Lowepro ProTactic BP 450 AW III is the professional travel line from a brand that’s been making camera bags longer than most of us have been taking photos. The III is the current version, with four access points (top, both sides, and back panel), a robust build, and Lowepro’s SlipLock accessory system for attaching extra pouches to the exterior. A solid choice at around $320.
The WANDRD PRVKE V4 has a distinctive roll-top design that gives you expandable capacity, and WANDRD has built a following among content creators and travel photographers for bags that look good and function well. The V4 is the current version, with a robust tarpaulin outer shell for weather resistance, and recently picked up Zip and Pocket variants for photographers who want different access patterns. It’s better suited to mirrorless systems than large DSLRs. From around $234.
The f-stop Tilopa deserves a look if you’re a serious landscape or adventure photographer who covers long distances on foot. This is a hiking backpack first and a camera bag second, with an internal frame, hiking-grade suspension, and a bottom-access camera compartment that keeps your gear separate from everything else. Not ideal for city photography or air travel, but for multi-day treks with camera gear, it’s among the best. Around $350-$450.
The Tenba Axis V2 doesn’t get as much buzz as Peak Design or WANDRD, but Tenba quietly makes excellent bags. The Axis V2 series offers backpacks and slings with clean designs, solid weather protection, and sensible pricing, with the 24L at around $280.
The Vanguard VEO Select range (35 / 45 / 55) is the middle ground between the chunky Alta Sky and the urban VEO City. These are convertible bags that can be carried as a backpack or shoulder bag, or rolled behind you on the larger sizes (the wheels are removable). I actually use the VEO Select 45BFM as one of my city day bags. More on that in the packing section. Around $150-$250.

The Camera Insert Approach: Using a Regular Bag with Camera Protection
Here’s something I think more travel photographers should consider: rather than buying a dedicated camera backpack, you can use camera inserts (sometimes called camera cubes) inside any bag you already own. This approach gives you maximum flexibility.
On shooting days, drop the insert into your favourite travel backpack and you have a camera bag. On non-shooting days, leave the insert at the hotel and use the same backpack for general travel.
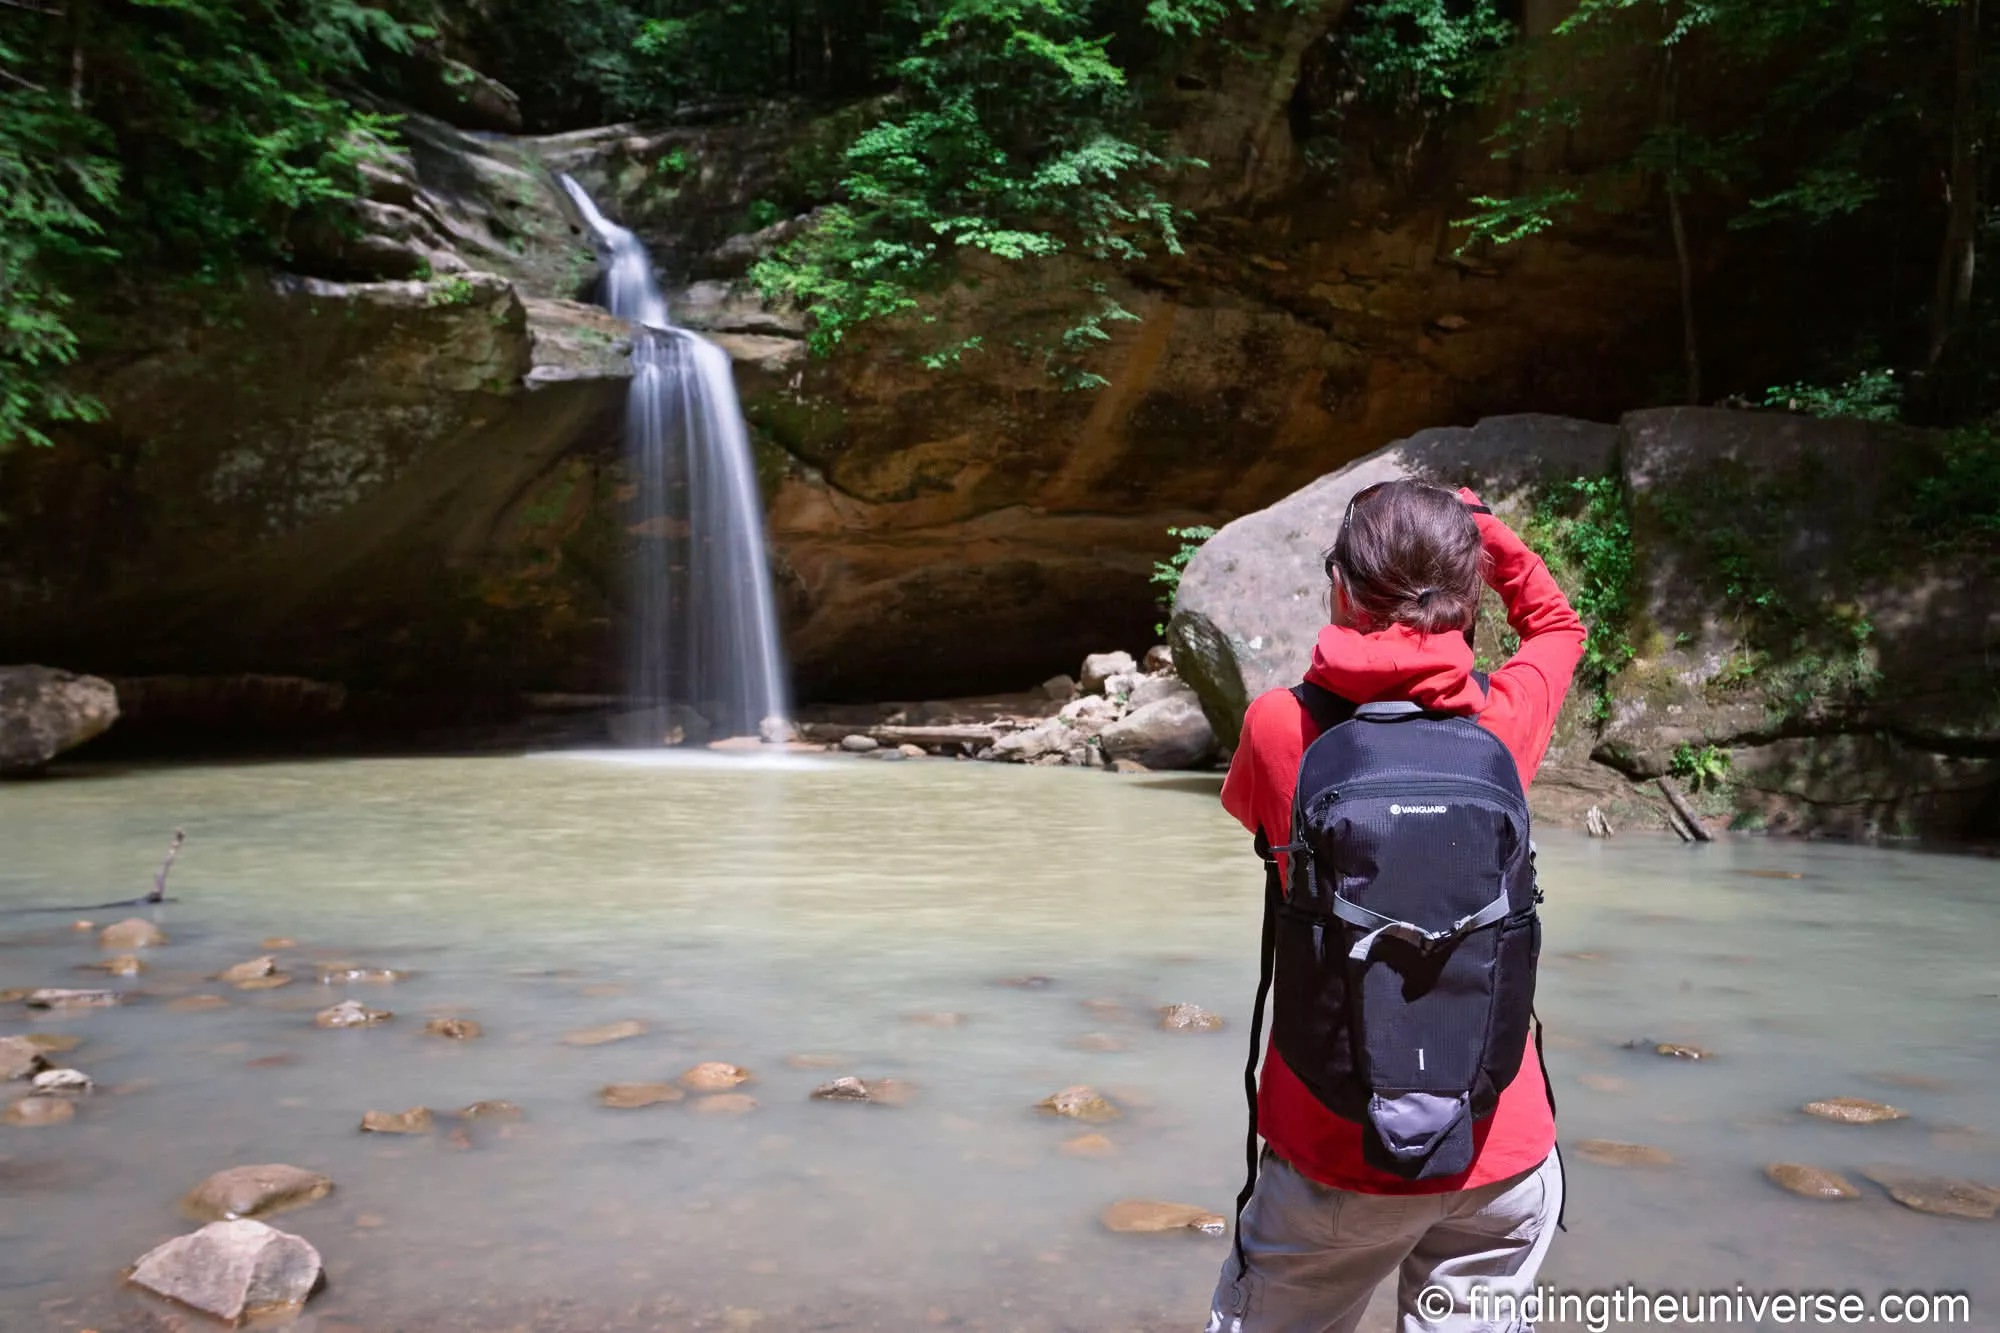
I use this approach regularly, and it’s my preferred method for trips where photography isn’t the sole purpose. I use Peak Design Camera Cubes (Small and Medium) inside the Peak Design Travel Backpack 45L, but they’ll also fit inside many other backpacks, such as my Osprey daypack in the shot below.
Peak Design Camera Cubes
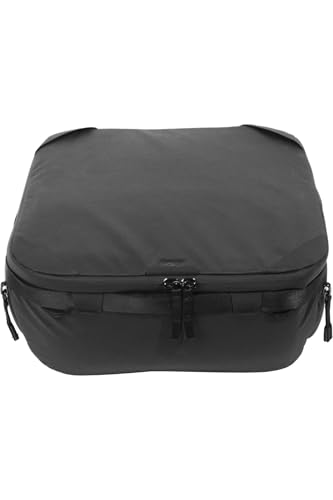
These are the inserts I actually use. The current V2 range runs from extra-small up to XL, with Peak Design’s FlexFold dividers inside (which are brilliantly configurable), and the cubes clip securely into Peak Design bags. They also work perfectly well in non-Peak Design bags as standalone padded cases.
The Small fits a mirrorless body with a short lens attached, plus one or two extra lenses. The Medium fits a body with a longer lens (like a 70-200mm), plus two or three additional lenses. They’re well padded, have a carrying handle on top, and the dividers don’t shift around in transit like cheaper alternatives. Small around $60, Medium around $90, Large around $110-$120.
Check the Camera Cube V2 on Amazon, or see the full size range on Peak Design’s site.
Vanguard VEO BIB System
Vanguard’s take on the camera insert concept is the VEO BIB (Bag-in-Bag) system. These come in two styles: the T-series (top-opening, designed for shoulder bags and suitcases) and the F-series (front-opening, designed for backpacks). Both come with Vanguard’s slimline smart dividers and an included shoulder strap, so they can be used as standalone bags when needed.
I particularly like the F-series for travel. The F27 (the smallest) fits a mirrorless body with a 70-200mm and a couple of extra lenses. The F36 (the largest) is essentially a full camera bag in itself, holding a pro body with up to seven lenses. The dual-opening design (top zip for quick access, full front opening for organising) is practical and well thought out.
What makes the BIB system clever is the dual-purpose nature. Pack it into your suitcase for the flight, pull it out at your destination, clip on the shoulder strap, and you have a camera bag. When you get home, store it with your gear still inside and it’s ready for the next trip. At a fraction of the cost of a dedicated camera backpack, they’re hard to argue with as a budget-conscious starting point.

Check the VEO BIB range on Amazon.
A Note on Camera Bags for Women: Jess’s Take
Most camera bags are designed by men, for men. The shoulder straps are too wide, the back panels are too long, the hip belts sit in the wrong place, and the aesthetic choices tend toward “tactical” rather than anything you’d want to carry through a museum in Florence. This isn’t just a style issue. A bag that doesn’t fit your frame properly distributes weight badly, and that means discomfort and fatigue on long shooting days.
Jess has been through the same search most women photographers face, and her main frustration is that camera bags simply don’t take women’s body shapes into account. She wants a bag that protects gear properly but doesn’t look like a camera bag, that sits comfortably on a smaller frame, and that works as a day bag on non-shooting days without needing to leave it at the hotel. She hasn’t yet found the perfect bag (and frankly, neither have most women photographers we’ve spoken to), but she’s narrowed it down to a couple of options that work better than most.
For backpacks, the Peak Design Everyday Backpack 20L (the smaller version, not the 30L) is one of the better fits she’s found for a smaller frame. Most camera backpacks are designed around a male torso, and the difference in how the 20L sits compared to larger bags is noticeable. The FlexFold dividers mean the interior adapts to whatever she’s carrying, and the clean design means it doesn’t attract attention. If you’re choosing between the 20L and 30L, try both on if you can, because the fit difference on a smaller frame is significant.
For days when she wants something lighter, the Peak Design Everyday Sling 6L is the other option. It carries a mirrorless body with a couple of lenses and sits comfortably as a crossbody. It converts to a hip pack too, which is useful when you want to keep your hands free but still have the camera accessible.
The camera bag market for women has improved in recent years, but there’s still a real gap. Most “camera bags for women” turn out to be handbags with a padded insert, which works for a compact mirrorless and a single lens but falls apart if you carry anything more substantial.
The better approach, in our experience, is to look for well-designed bags in the smaller sizes (20-25L for backpacks, 6L for slings) rather than settling for a “women’s” bag that compromises on gear protection. The VEO City B46 also works well here, since its 21L capacity and slimmer profile sit better on a range of body types than the bulkier Alta Sky.
If you’re a woman looking for a camera bag and the options feel frustrating, you’re not wrong. The industry is slowly catching up, but in the meantime, the inserts approach is worth considering: use a travel backpack that actually fits you properly, and add a Camera Cube or VEO BIB inside it. That way you get the comfort and style you want from the bag itself, with the gear protection handled by the insert.

Check the Everyday Backpack 20L on Amazon, or see it on Peak Design’s site.
What I Actually Pack for Different Types of Trip
One thing I’ve learned after fifteen years is that there’s no single bag solution. What I carry depends entirely on the trip. Here’s how I approach it.
City Photography Day Trip
For a day shooting in a city like London, Paris, or Barcelona, I want something relatively compact that doesn’t scream “camera gear.” My go-to for city days is the Vanguard VEO Select 45BFM. It’s not quite big enough for a full kit, but it’s a lot sleeker than the Alta Sky, and if I’m just packing the wide-angle it does the job well. The other option is a regular daypack (I have a nice Osprey) with a Peak Design Camera Cube inside. That way it looks like any other daypack, which is exactly the point.
For a typical city day I’ll carry my Canon EOS R5 with my 16-35mm f/4 (my most-used lens for travel), and maybe a fast prime for low light. The rest of the bag carries my laptop, a water bottle, and a light jacket. Comfortable for a full day of walking, and doesn’t draw attention.
Multi-Day Road Trip
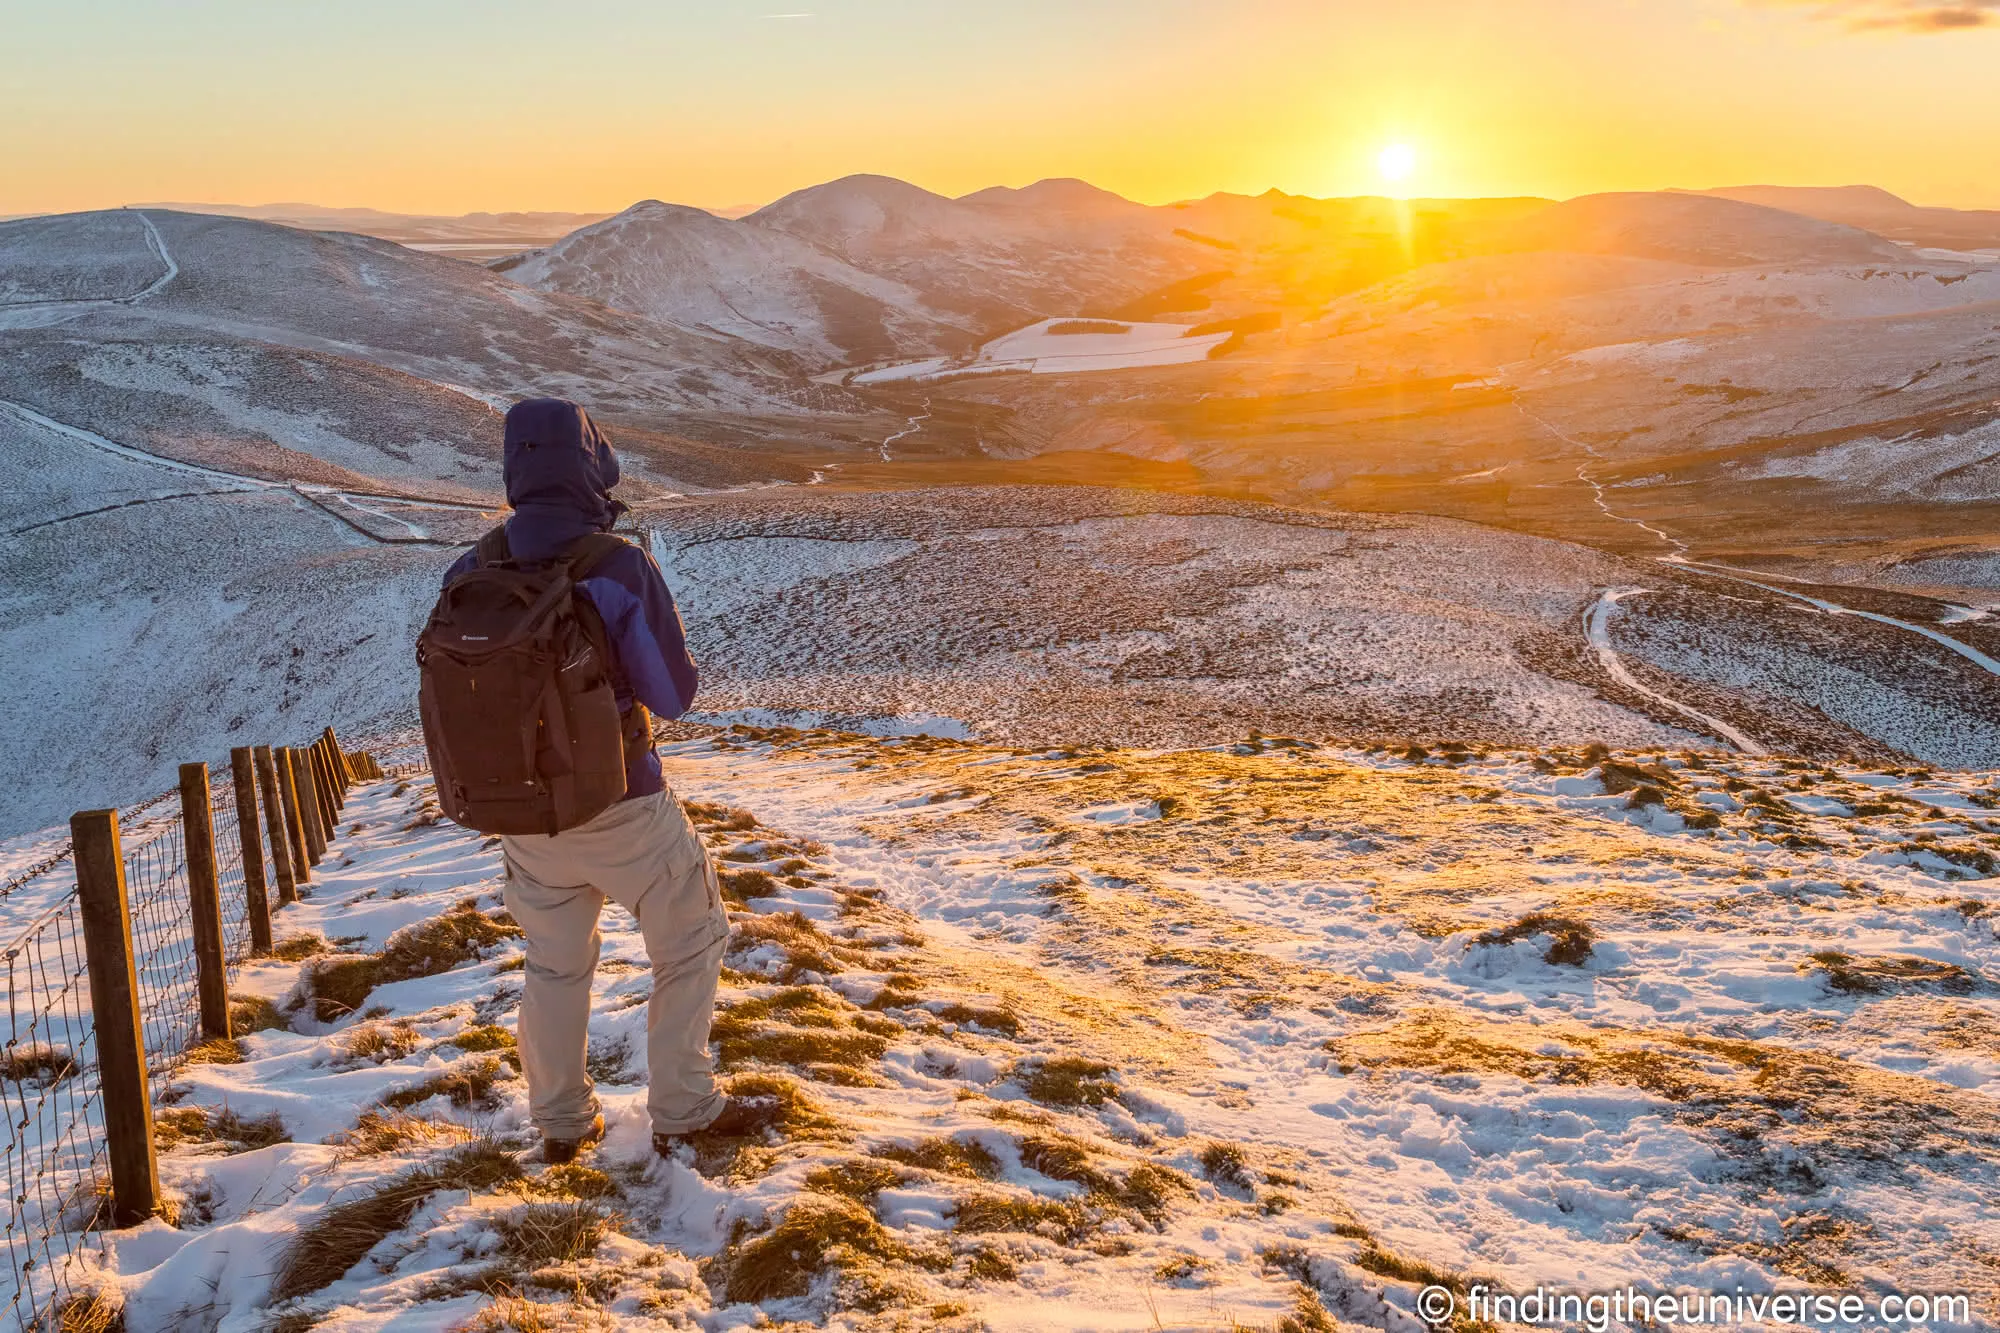
For something like driving the UK or Iceland’s Ring Road, I bring more gear because the car does the heavy lifting. The Vanguard Alta Sky holds my full kit: two bodies, my 16-35mm f/4, my 70-200mm f/2.8, the tripod, and various filters. Then I’ll grab what I need depending on what I’m doing that day.
On days with longer walks, especially landscape photography, I’ll likely take the majority of my gear in the Alta Sky. If there’s a chance of wildlife, I might swap the 70-200 for a 100-400. If I’m more likely to be shooting wide, I’ll transfer a smaller selection to the Osprey daypack with a Camera Cube, or to the VEO Select.
When I know I’ll want my tripod and a longer lens on hand for a proper hike, I’ll take the Alta Sky itself, because the hip belt handles the weight well enough to make it comfortable over distance, plus there’s room for snacks, a water bottle, and other useful hiking accessories.
On the North Coast 500 in Scotland, where we’ve spent between one and three weeks driving the route on various trips, this flexible approach has been perfect. Some days that’s a single body and wide-angle for landscapes at Sandwood Bay. Other days it’s the full telephoto setup for wildlife near Lochinver. Of course Jess has her own opinion about what we’re stopping for and when, which is usually the right one.
Safari
Safari is where you really need capacity and protection. The Alta Sky comes out for this. I’ll use the Canon EOS R5 with my 100-400mm f/4.5-5.6 for wildlife, and my backup Canon EOS 6D with the 16-35 f/4 for wide-angle shots (sometimes the wildlife gets closer than you expect!). Switching lenses on safari is both time-consuming, which means missed shots, and a fast track to dust on the sensor, so I avoid it. Hence the second body.
I’ve written separately about the best camera for safari and photography bean bags for safari, both of which are essential alongside the bag itself. The dust in Africa gets into everything. Fine red dust found its way into bag pockets I didn’t even know I had, so good zips and a rain cover (which doubles as a dust cover) are critical.
Photographing in the Rain
I’m originally from the UK, which means I’ve had a lot of practice photographing in the rain. The bag matters less than you’d think, because the rain cover does the heavy lifting. What matters more is how quickly you can get the cover on when the weather turns, and how accessible your camera remains with the cover in place. The Alta Sky’s rain cover goes on quickly and easily. The Peak Design bags are inherently more weather-resistant, so I often don’t bother with the cover in light rain.
I also pack a camera cover for rainy days. My cameras are technically weather-sealed, but I prefer to keep them as dry as possible, and a camera cover is also handy for shooting things like waterfalls. In Iceland in particular, the waterfall spray got everywhere, so a waterproof bag cover and a waterproof camera cover like this were essential.
Carrying a Drone Alongside Camera Gear
If you fly a drone as well as shoot with a camera, bag selection gets more complicated. I have a DJI Mavic Pro, and fitting it alongside a full camera kit in one bag is a puzzle. Most camera bags don’t have dedicated drone space, but some of the larger options accommodate both.
The Vanguard Alta Sky 51D’s front V-flap is specifically designed to hold a drone, and the dual-colour dividers in the main compartment can be configured for a drone setup. The Shimoda Explore V2 35L also handles a drone alongside camera gear, though you’ll sacrifice some lens capacity. For smaller drones like the DJI Mini series, you can often tuck them into the top compartment of a standard camera backpack. For larger drones, you’re looking at either a 40L+ bag or carrying the drone in its own case separately.
Flying with Camera Gear
I never check camera gear. Ever. That means whatever I carry needs to qualify as carry-on or personal item. For flights, I typically use the Peak Design Travel Backpack 45L as my carry-on, with camera gear in a Camera Cube and everything else packed around it. If I need to bring the full Vanguard kit, it goes under the seat as a personal item (tight, but it fits on most full-service carriers) while a smaller bag goes in the overhead.
A couple of practical tips. Take your camera strap off and store it in the bag rather than letting it dangle, because it catches on everything. And if you’re asked at the gate whether your bag is too big, confidently say it’s your laptop bag. Camera bags are surprisingly compressible when you push the air out.
Camera Bag Accessories Worth Adding
A few extras that make a real difference.
Rain covers. Most good bags include one, but they’re cheap to replace if yours goes missing. I keep a spare in my suitcase, along with a waterproof camera cover for when the weather turns properly nasty.
A good camera strap. I’ve written a detailed review of Peak Design camera straps; the Slide is the one on my cameras. I’ve had mine since 2015 and taken them from far-below-zero temperatures photographing the northern lights to the hot and humid jungles of Uganda on gorilla trekking trips. The right strap makes a bigger difference than most people expect, and it works in tandem with your bag. Mine has also, as mentioned earlier, been chewed by a fox, which I count as a stress test of sorts.
Memory card wallets. Sounds basic, but losing a memory card with a day’s shooting on it is devastating. A small wallet like the Pelican 0915, living in a consistent pocket, means you always know where your cards are.
A travel tripod. Most of the bags I’ve recommended have external tripod attachment points. I use and recommend the Vanguard VEO range and the Peak Design Travel Tripod (also on Amazon). A compact travel tripod that straps to the outside of your bag adds capability without taking up interior space.
A padlock. For hostel travel or situations where you need to leave your bag, a small TSA-approved cable lock through the zip pulls adds a layer of deterrence. It won’t stop a determined thief, but it stops opportunists.
Quick Reference: Which Bag for Which Photographer?
If you skipped to the bottom looking for a one-line answer, here it is. My overall pick for travel photography is the Peak Design Travel Backpack 45L, which is one of the two bags I actually carry. For heavy gear loads where capacity matters more than looks, the Vanguard Alta Sky 51D is what I take.
For city photography where you want something stylish, the Vanguard VEO City B46. For light, fast carry on a single shoulder, the Peak Design Everyday Sling 6L. Of course you can also take the camera-insert route with Peak Design Camera Cubes or Vanguard VEO BIB inserts dropped into a bag you already own.
For smaller frames, the Peak Design Everyday Backpack 20L. For serious adventure or hiking, the Shimoda Explore V2 30L. For versatile carry styles, the Vanguard VEO Select. And if your budget is really tight, a Vanguard VEO BIB T-series insert paired with whatever bag you already own gets you started for very little money.
How to Choose the Right Camera Bag for Your Travel Style
If you’ve read this far and still aren’t sure, here’s the simplified version.
If you travel often and photography is one of many activities, go with the camera-insert approach. Peak Design Camera Cubes or Vanguard VEO BIB inserts paired with your existing travel backpack is the most flexible and cost-effective option, and probably what I’d suggest to most people starting out.
If you want one dedicated camera backpack for everything, the Peak Design Travel Backpack 45L is the answer if you also need it as a travel bag, or the Vanguard Alta Sky 51D if you want maximum gear capacity and don’t mind the utilitarian look. These are the two I rotate between.
If you mainly shoot in cities and want something stylish, the Vanguard VEO City B46 gives you proper gear protection in a bag you’d happily carry into a restaurant. If you do serious outdoor or adventure photography, the Shimoda Explore V2 range is built specifically for this in ways that general travel bags aren’t.
If you want something for a smaller frame, the Peak Design Everyday Backpack 20L or Everyday Sling 6L, or use the camera-insert approach with a travel backpack that fits you properly. And if budget is the priority, start with a Vanguard VEO BIB T-series insert and your existing backpack. You can always upgrade later, once you know which features actually matter to you.
New Camera Bags for 2026: What’s Coming
Peak Design launched four new bags in their Travel Line in March 2026, including the Travel Backpack 2-in-1 ($399.95). This is a modular system: a 34L main backpack zips together with a 16L daypack to create a single carry-on bag, or they separate into two independent bags at your destination. The main pack is compatible with Peak Design’s Camera Cubes.
The 2-in-1 hit full retail in June 2026, so you no longer need to back a Kickstarter to get one. If the concept delivers on its promise, it could be an excellent solution for photographers who want a big pack for travel days and a smaller one for shooting.
Vanguard continues to expand the VEO City range and recently updated the Alta Fly 55T roller bag (the G2 version now has detachable wheels for better longevity and easier storage). If you prefer a roller for airport transit, that’s the one to look at.
I’ll update this article as I get hands-on time with new bags throughout the year.
Frequently Asked Questions
What size camera bag do I need for travel?
It depends on your gear. For a mirrorless body with two or three lenses, a 15-25 litre bag is plenty. For a full-frame body with four or more lenses and a laptop, you’ll want 30-45 litres.
If you’re unsure, start smaller. I’d rather carry a compact, well-organised bag than a half-empty large one.
Can I take a camera bag as carry-on luggage?
Yes, and you should. I never check camera gear.
Most camera backpacks under 45L fit within carry-on dimensions for full-service airlines. The Peak Design Travel Backpack 45L meets most US airline carry-on limits, and smaller bags like the VEO City B46 qualify as hand luggage on most airlines worldwide.
For European budget airlines (Ryanair, easyJet, Wizz Air), check their specific size limits as they’re much stricter than full-service carriers.
Is a dedicated camera bag better than a camera insert in a regular backpack?
A dedicated bag offers more protection and better organisation for your gear. An insert offers more flexibility, since you can use the same backpack for photography one day and general travel the next.
I use both approaches depending on the trip. For photography-focused trips, I take a dedicated bag. For trips where photography is secondary, I use inserts.
What is the best camera bag for a mirrorless camera?
Mirrorless cameras and lenses are generally smaller and lighter than DSLR equivalents, which means you can get away with smaller bags. A sling bag or a compact backpack like the Vanguard VEO City B46 (21L) is usually more than enough.
If you want the insert approach, a Peak Design Camera Cube Small will hold a mirrorless body with two or three lenses comfortably.
How do I protect my camera gear when travelling?
Use a properly padded bag with adjustable dividers to prevent gear from shifting, and always carry camera gear as hand luggage on flights.
Use the included rain cover in wet weather (or a ziplock bag in a pinch). Take camera straps off when packing to prevent them catching on things, and consider a small padlock for the zip pulls if you’re leaving the bag unattended.
For more general travel safety, don’t leave a camera bag visible in a parked car.
Do I need a waterproof camera bag?
Fully waterproof bags exist, but they’re heavy, expensive, and generally overkill for travel photography. A water-resistant bag with a rain cover handles the vast majority of situations.
I’ve photographed in heavy rain across Iceland, Scotland, and Southeast Asia with bags that are water-resistant (not waterproof) and never had gear damage, because I use the rain cover when it gets serious and keep the bag under shelter when possible.
What camera bag do professional photographers use?
It varies enormously by specialism. As a travel photographer, I use a Vanguard Alta Sky for heavy gear loads and a Peak Design Travel Backpack 45L for mixed travel and photography trips.
Wildlife and adventure photographers often favour Shimoda. Street photographers tend toward sling bags or messenger bags. There’s no single “professional” choice because the requirements differ so much.
Are camera bags for women different from men’s camera bags?
Most camera bags are designed as unisex but are really built around a male frame. The main differences women tend to need are shorter back panel lengths, narrower shoulder straps, and hip belts that sit at the right height.
Rather than buying a bag marketed specifically “for women” (which often means a handbag with minimal padding), look for well-designed bags in smaller sizes. The Peak Design Everyday Backpack 20L and Everyday Sling 6L both work well on smaller frames, and the camera-insert approach lets you use any backpack that fits you properly.
Leave a Reply