In this guide I’m going to answer a question that many of you have – namely, what is an ND Filter in photography. An ND filter is also known by its unabbreviated name: a Neutral Density Filter.
If this isn’t a question you had, and you have no idea what I’m talking about, fear not. I’m going to break it down simply for you with this neutral density filter guide. I’m going to explain what an ND filter does, why you might need an ND filter, and give you some tips on the best ND filter brands.
First though, let’s start with the basics, and answer the question – what is a filter?
Table of Contents
What is a Filter in Photography?
A filter is a product, usually made of glass, but sometimes made of resin or other material, which is designed to have some impact on the light hitting your camera’s sensor.
For example, a UV filter is designed to filter out UV light – a throwback from film days, as modern camera sensors tend to have built-in UV filters. A polarizing filter filters out polarized light, good for cutting down on reflections and making blue skies pop.
The majority of filters attach to the front of your camera’s lens, and directly affect the light as it passes through them and enters the lens. Some cameras, particularly newer advanced compact cameras, come with a built in ND filter, for example the Fujifilm X100T and the Sony RX100 V.
We’ll be primarily looking at the attachable filters that can be attached and detached onto the front of your camera lens in this post, although the effect of a built-in ND Filter is the same as the one you attach to the front of your lens.
What is an ND Filter?
An ND Filter is a special filter designed to reduce the amount of light that passes through it and therefore, the amount of light that ends up on the camera’s sensor. It is essentially a darkened piece of glass (or resin) that is designed not to change anything other than the quantity of light that passes through it.
Other factors such as the color of the light or polarization of the light should not be affected.
This allows for creative effects such as using a wider aperture (for depth of field effects) or a longer shutter speed (for time-based effects) than would not be possible otherwise. They are most useful in bright conditions where there is a lot of light available.
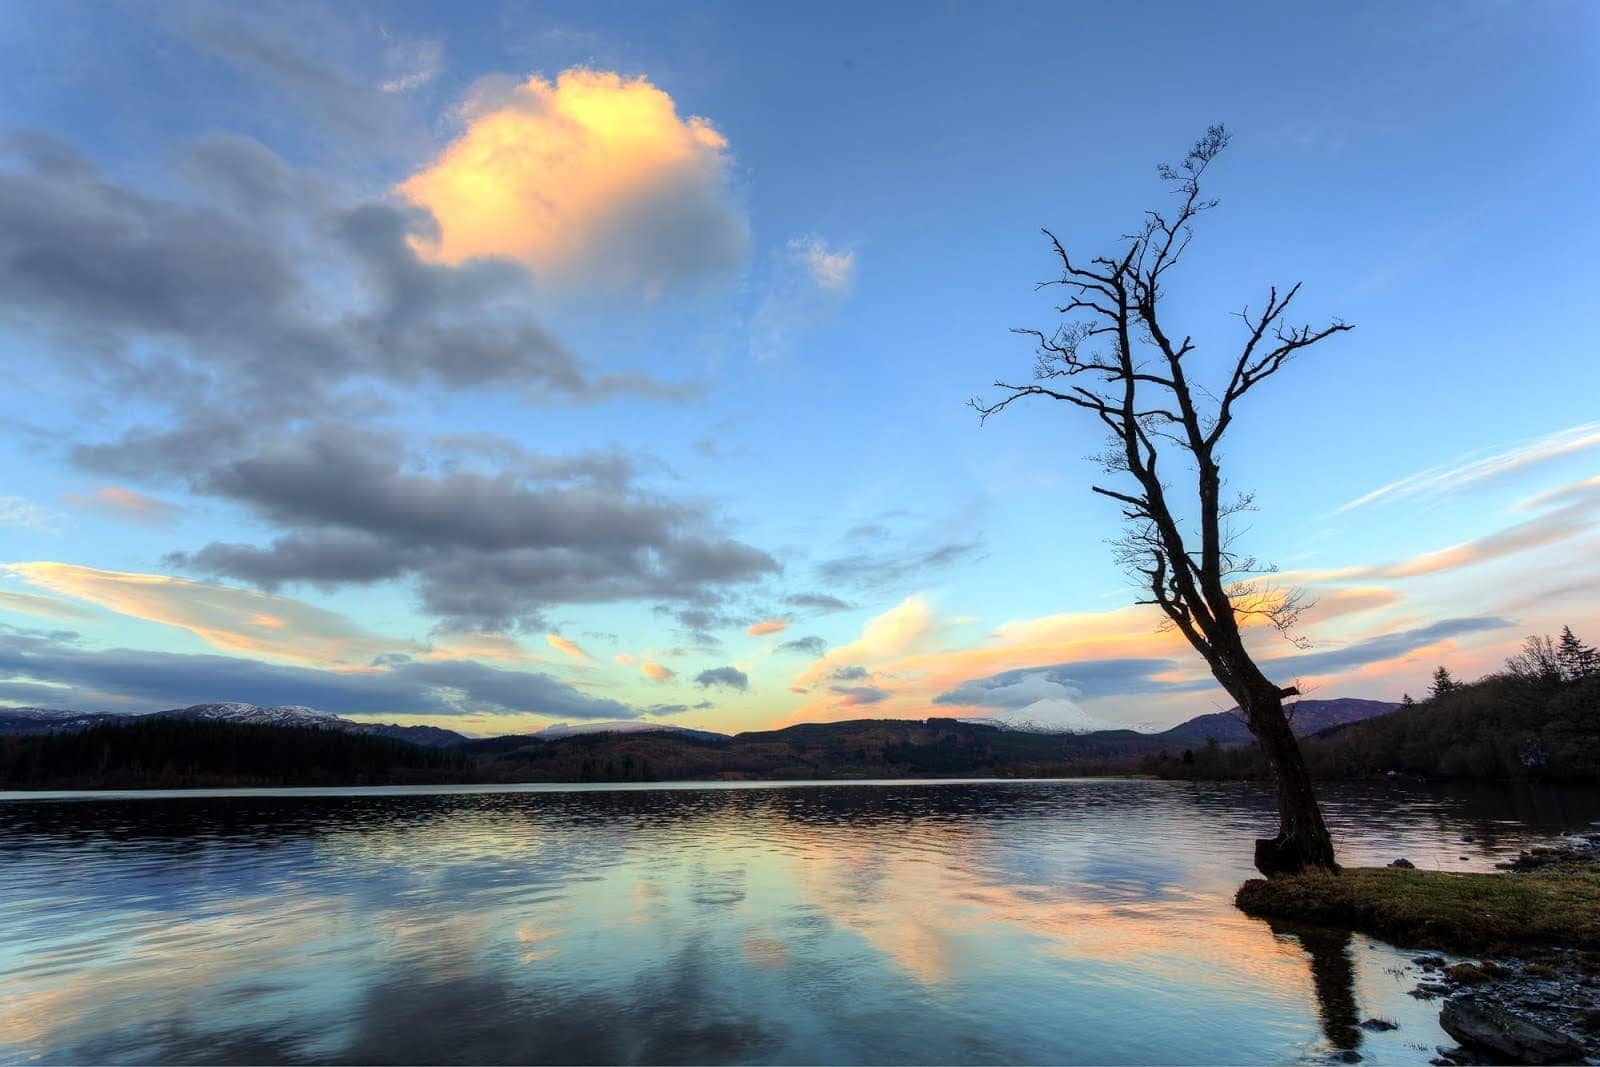
Here’s an example of two similar shots, The first without an ND filter:
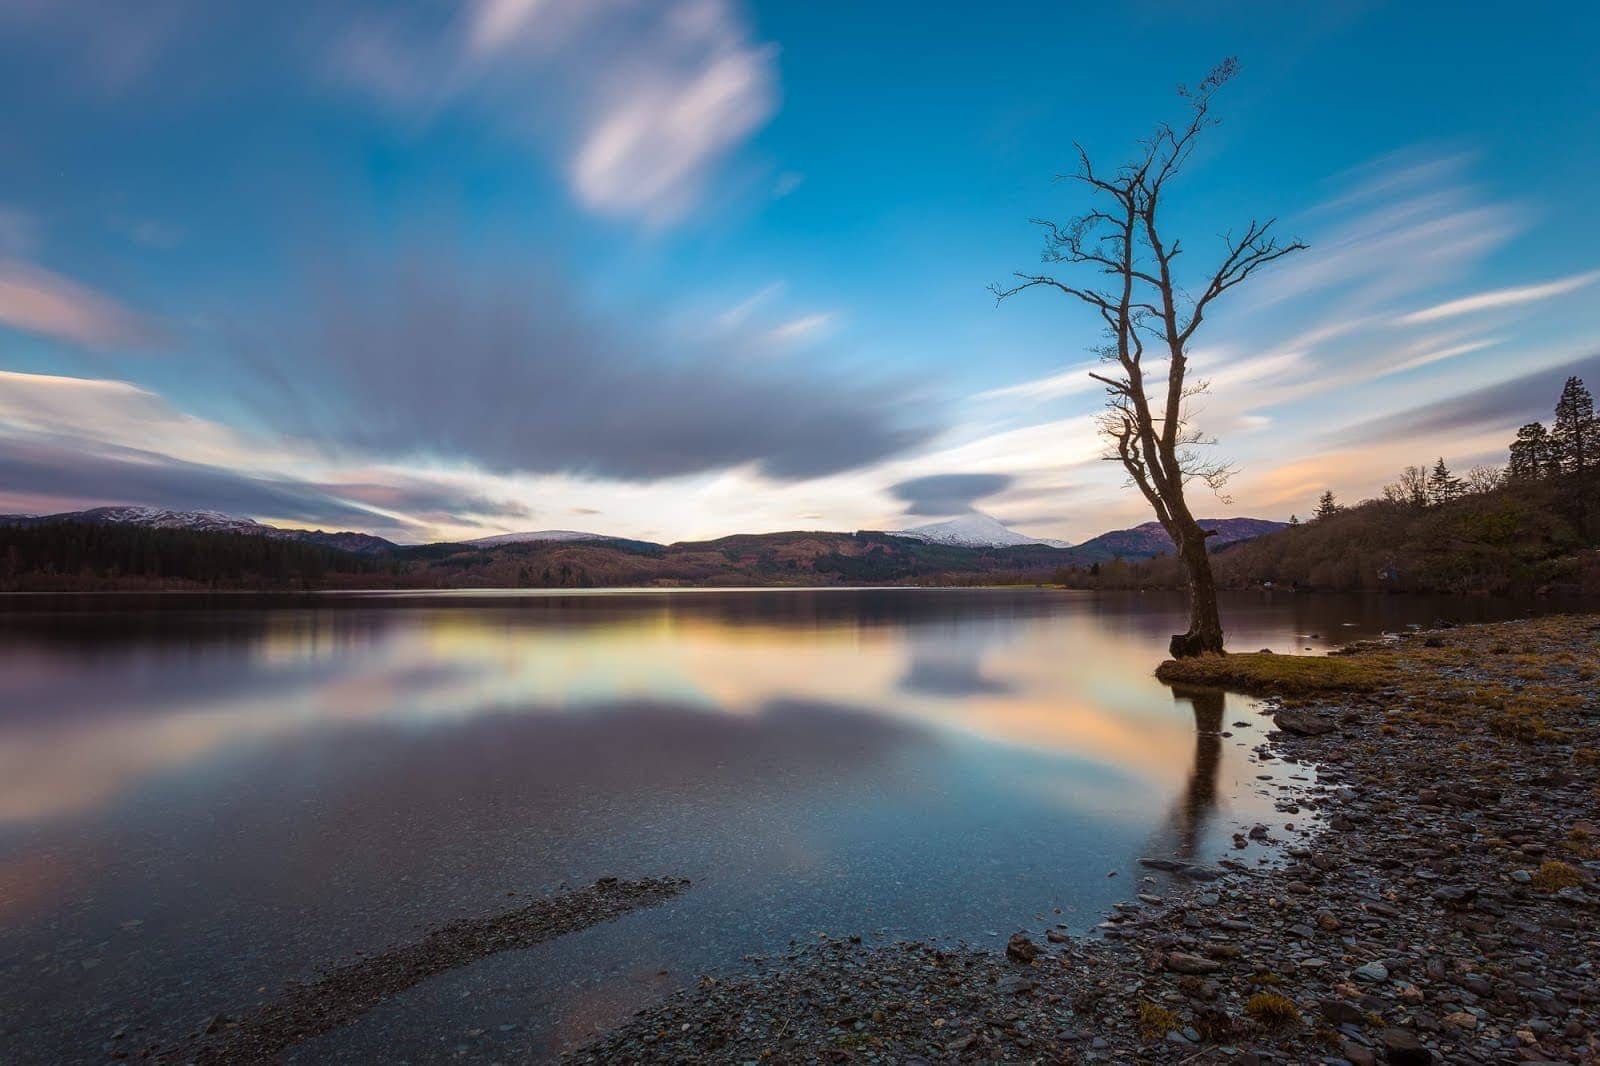
The second with a ND filter:
As you can see, the longer exposure of the second shot has resulted in the water movement in the lake smoothing out, and the clouds blurring across the sky.
More on when to use an ND Filter in the next section.
What Types of ND Filter are there?
There are different types of neutral density filters, and they offer different strengths, depending on how much light you want to block. This is measured using different terms, but the most commonly used term that photographers care about is the number of “stops” of light the filter blocks.
Commonly used filters by photographers are 3 stop filters, 6 stop filters, and 10 stop filters.
To explain, a stop is basically a measurement of the amount of light. If you increment by 1 stop, you are doubling (or halving) the amount of light. So for example, if you go from a shutter speed of 1/250th of a second to 1/125th of a second (twice as long), you are doubling the amount of light. That is what we photographers refer to as a “stop”.
A three-stop filter would let you go from a shutter speed of 1/250th of a second to 1/30th of a second.
A six-stop filter would let you go from a shutter speed of 1/250th of a second to 1/4 of a second.
A ten-stop filter would let you go from a shutter speed of 1/250th of a second to 4 seconds.
Sometimes, filters aren’t actually labelled with the number of stops of light they stop. Instead, they are given a more official designation, which can be either a filter factor number and/or an optical density number. These numbers basically tell you the same thing in a different way – how much light is stopped by the filter.
I correlate these numbers in the next section for easy reference.
ND Filter Table of Stops
Here’s a table to give you an overview of the number of stops of light an ND filter provides, and how this corresponds to the optical density number and the filter factor number.
Note that the Filter Factor Number and the Optical Density Number are sometimes denoted with “ND” before the number. For example, a 10 stop ND filter might be denoted as an ND1024, or an ND 3.0 filter.
| Stops of Light Reduced | Filter Factor Number | Optical Density Number |
| 1 | 2 | 0.3 |
| 2 | 4 | 0.6 |
| 3 | 8 | 0.9 |
| 4 | 16 | 1.2 |
| 5 | 32 | 1.5 |
| 6 | 64 | 1.8 |
| 7 | 128 | 2.1 |
| 8 | 256 | 2.4 |
| 9 | 512 | 2.7 |
| 10 | 1024 | 3.0 |
When Should I Use an ND Filter?
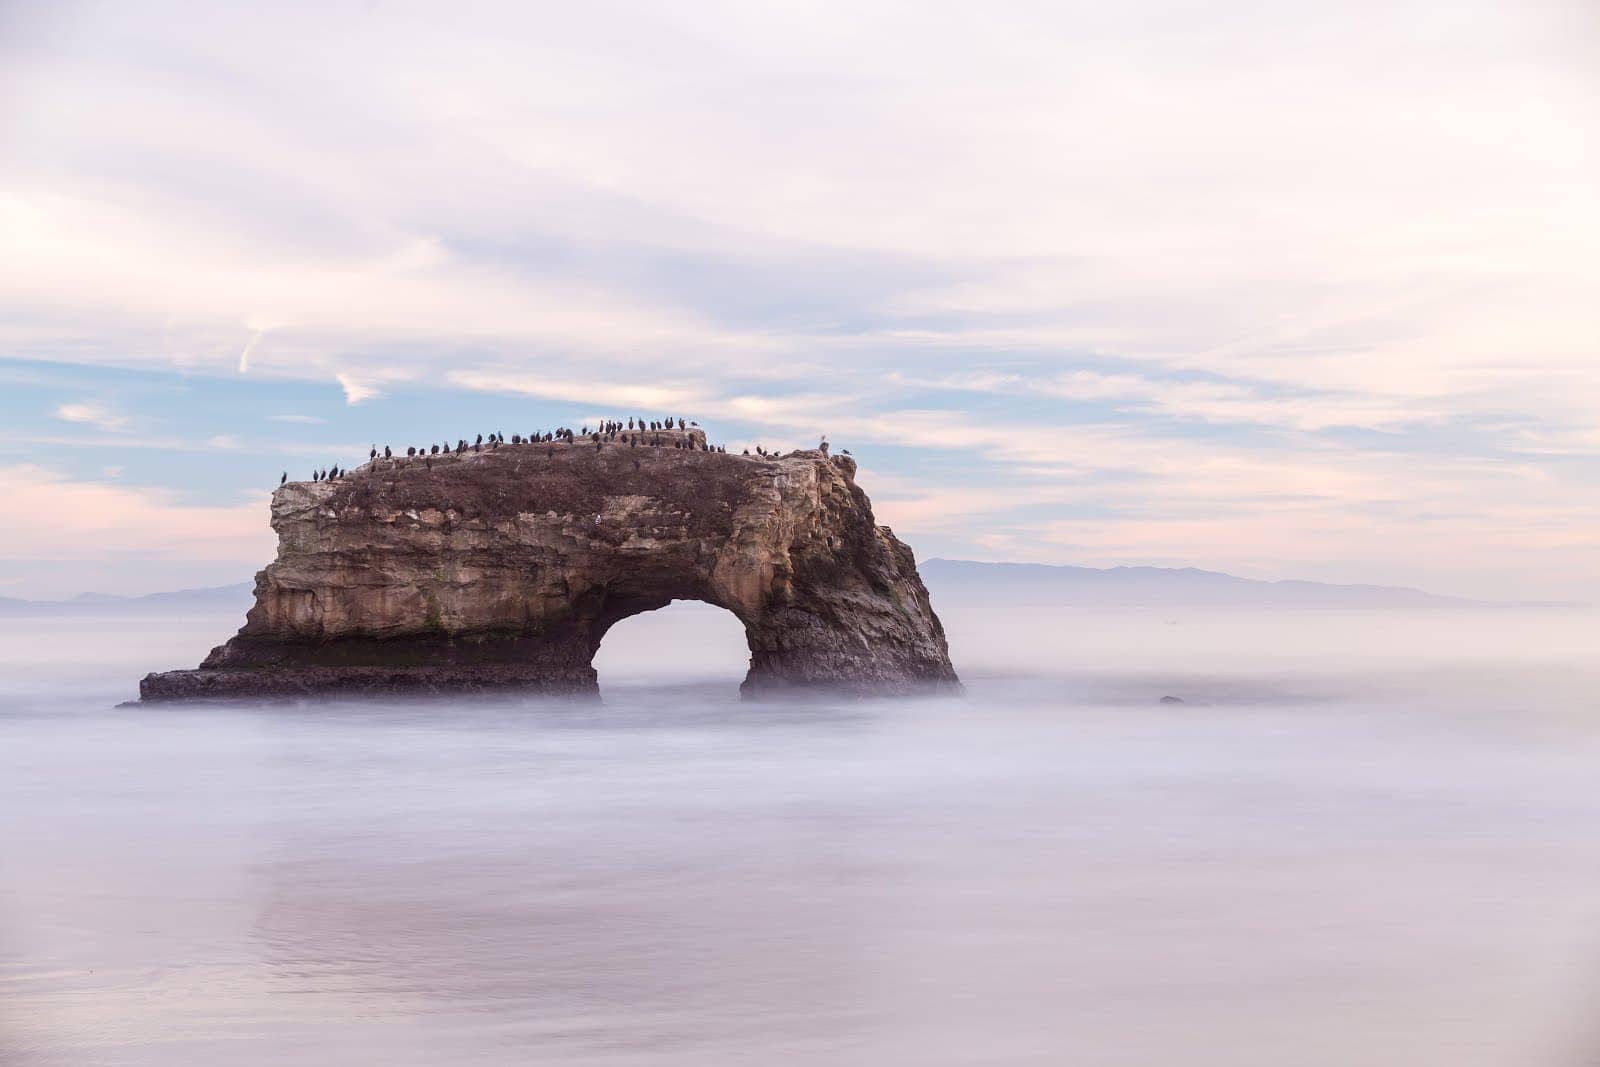
An ND Filter is perfect for use in landscape photography, especially when you want to achieve long-exposure effects such as a milky effect in the water, or to show the movement of clouds in the sky.
Like many things, this is best explained with an example. Here’s the first one:
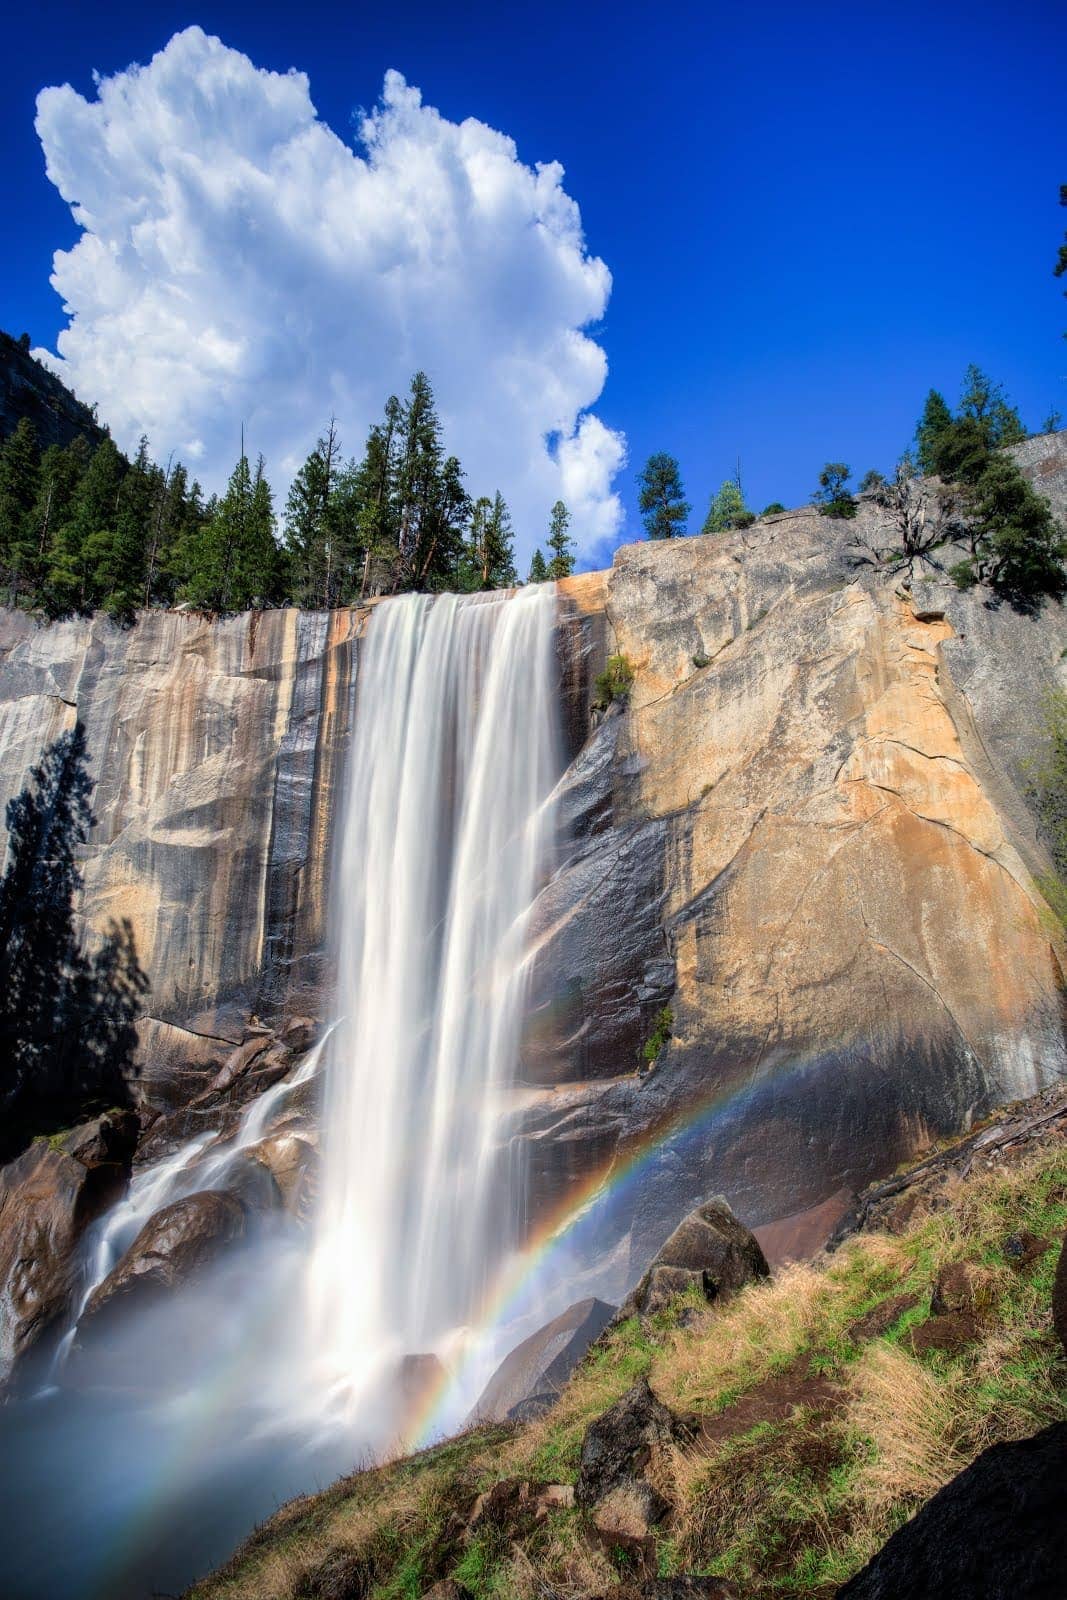
Water, and particularly waterfalls, are perfect examples of when you would want to use an ND Filter. Moving water creates a really nice effect when you use low shutter speeds (1/15th of a second and longer).
Unfortunately, achieving low shutter speeds in the day time, especially with all that water reflecting the light, is basically impossible. Even if you close the aperture to as small a hole as possible, and use an ISO 100 setting, in most cases you’ll struggle to shoot at shutter speeds slower than 1/30th of a second.
Thankfully, with an ND filter, we can cut down on the light and shoot for longer shutter speeds without having to resort to crazy-high apertures. Shooting at apertures above f/16 is generally not recommended as an effect called diffraction can reduce the quality, notably the sharpness, of our images.
In the waterfall shot above for example, I shot with a 10-stop filter, meaning I could use a four second shutter speed. Without that 10-stop filter, the shutter speed would have been 1/250th of a second, which would have given the image a totally different look. Now let’s look at another example:
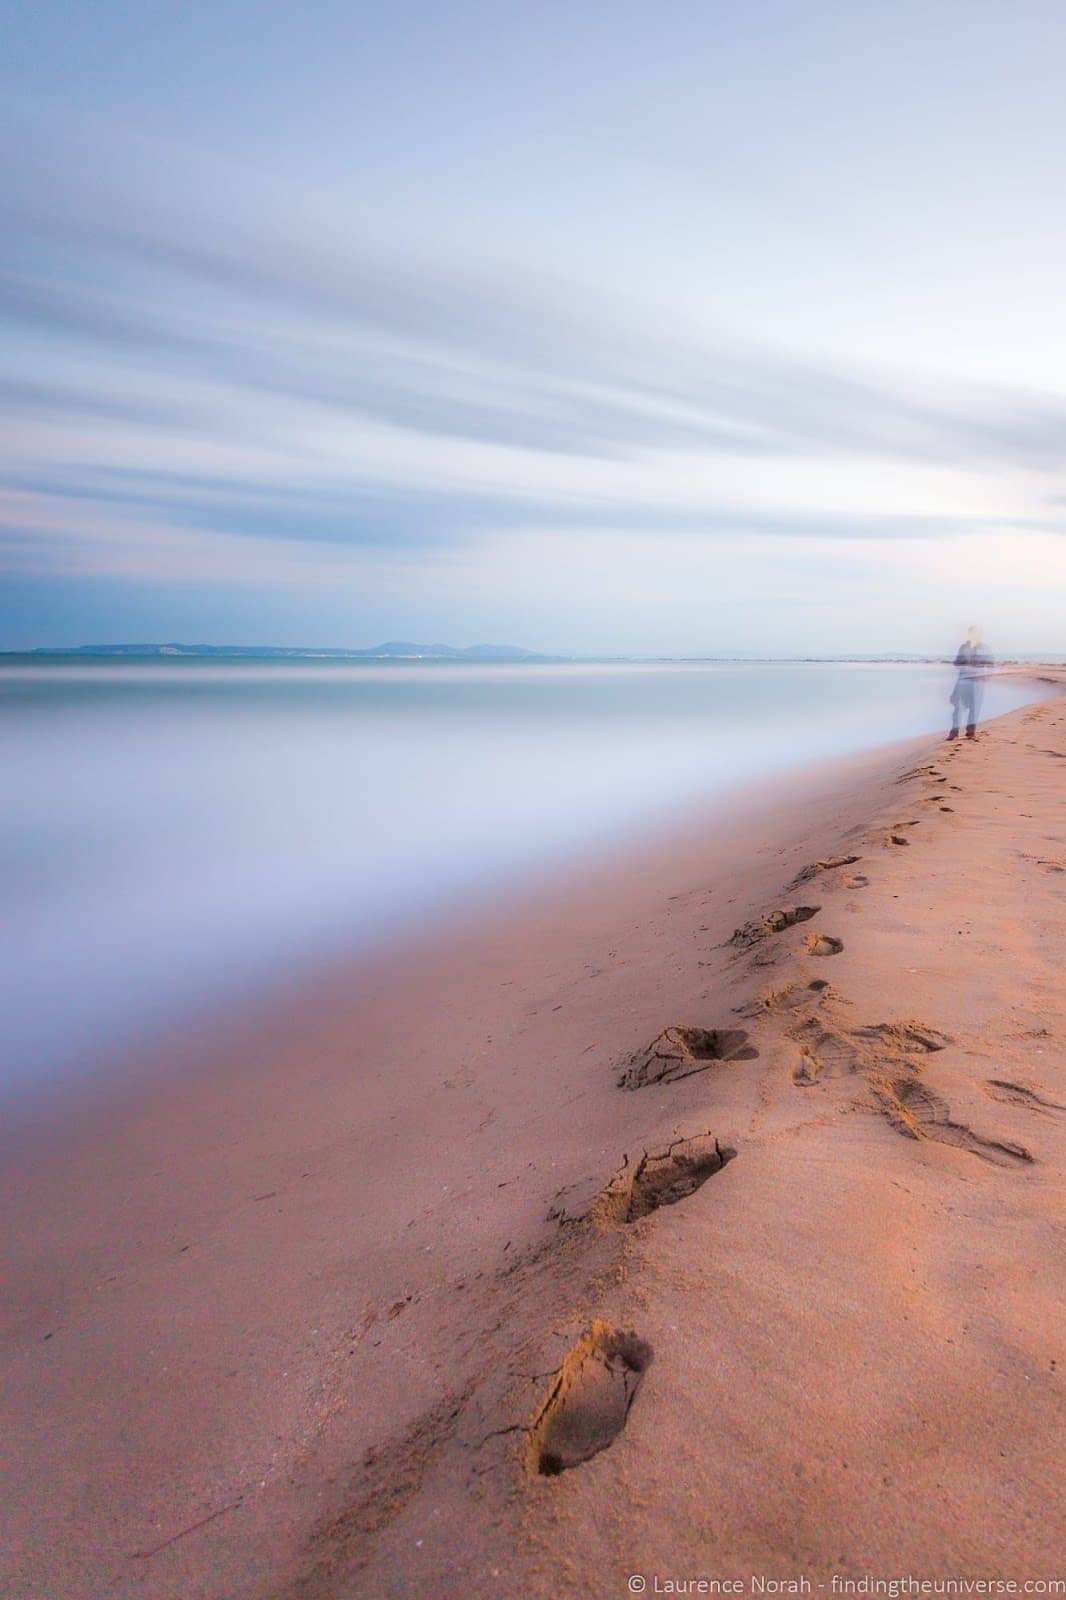
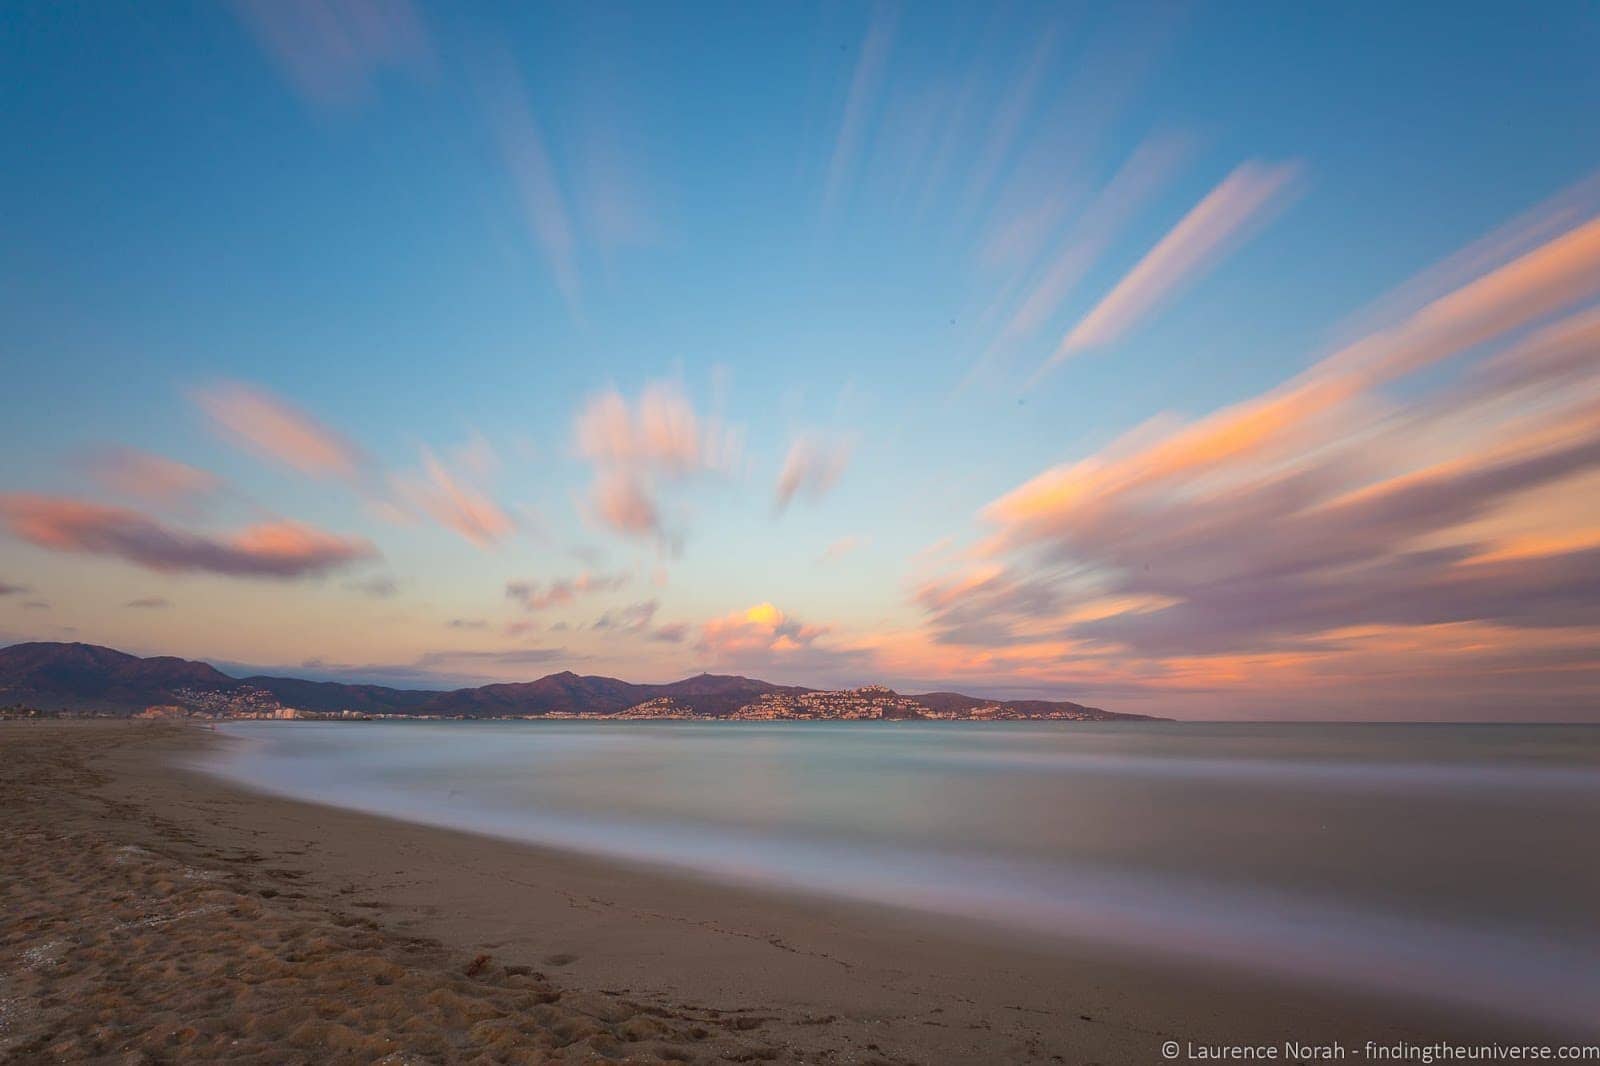
This sunset on the beach in Costa Brava was taken using a 10 Stop ND Filter. This allowed me to use a shutter speed of 120 seconds. If I’d not been using an ND Filter, that shutter speed would be been 1/8th of a second.
What Do I Need to Look for When Buying an ND Filter?
There are a number of different features to look for when buying an ND Filter.
Filter Attachment. There are two main options for how a filter attaches to a camera. They can either screw directly onto the lens (screw-in), or they’ll slot into a mount (a filter holder) on your lens (slot-in). Each filter type has its own pros and cons.
Screw-in filters can be easier to put on and remove, but as different lenses have different thread sizes, if you have a number of lenses, you’ll need different size filters for all of them.
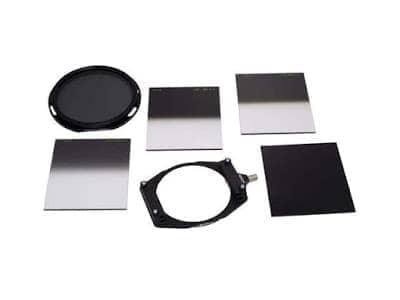
Slot-in filters allow you to stack filters more easily, and as they attach to the lens body, once you have bought the mount, you can use the filters across lenses.
In addition, individual filters are generally less expensive than individual screw-in filters, after the initial investment in the mounting system. The initial attachment of the mount can take longer than with a screw-in filter, but once set up, filters are quite easy to drop in.
Filter Type. ND filters come in a number of types. The two most common are standard, and graduated.
A standard ND filter just reduces the light coming into the camera across the whole image. A graduated neutral density filter, which is darker in a part of the filter, allowing you to reduce the brightness in a part of the image, but not all of it – particularly useful for high-contrast scenes with a lot of light in the sky.
Filter Size: If you’re buying a screw-in filter, you need to make sure it is the same size as the screw thread on your lens.This will be a number measured in mm, and may even be written on the lens. If not, your manufacturer will be able to provide it. A common size for dSLR cameras is 77mm – so you would need a 77mm ND filter to fit onto a 77mm size lens.
Strength: As previously mentioned, ND filters come in different strengths, with some of the common strengths being 3, 6 and 10 stop filters. Some systems allow you to stack filters, for example if you stack a 10 stop and a 6 stop filter, you’d end up with a 16 stop filter.
It’s also worth mentioning at this point that you can also purchase variable neutral density filters, which allow you to adjust the strength of the ND filter, usually between a range of say 2 and 10 stops. This sounds ideal, and certainly has the advantage that you need less filters. However, these filters are usually more expensive and can cause issues such as strange cross-hatch patterns and vignetting in images due to their thickness.
Color-shift: The last thing to be aware of when buying an ND filter is that whilst the goal is to reduce the amount of light entering the camera without effecting the look of the image (hence “neutral”), some filters can cause a color cast – particularly at the higher stops, or if you stack them. This can usually be corrected in post-processing, but it is something to be aware of – check online reviews before purchasing to see if this is a common issue with the filter you are interested in.
Do I Need Anything Else with My ND Filter?
There are two accessories that I would suggest you need when picking up an ND Filter. These are:
A Tripod. A tripod is a critical accessory for using an ND filter. One of the main reasons to use an ND filter is to cut down the light and increase the exposure time – something that will result in shutter speeds that are too low to hand hold your camera. To solve this problem, you’re going to need a tripod. Don’t worry, I have a whole post on the reasons you need a tripod, and advice on picking the best tripod for you.
ND Calculator App. This is more of a nice thing to have than a necessity, but it sure can be handy in the field when you realize that figuring out the math for those long exposures is a bit tricky.
An ND calculator app lets you enter in values for your shutter speed, aperture and ISO, and then choose an ND filter strength. It will then show you the appropriate new values for your shutter speed based on that strength, taking the guesswork out of your exposure calculation.
This means you can set up a shot without the ND filter, check the camera’s exposure settings, pop the filter on, and then use the app to calculate the correct settings.
Recommended ND Filters
Now, down to some recommendations. These are a mix of my favorites, and brands I know fellow photographers swear by. There are a lot out there though, so be sure to get the right pick for you.
My advice would be to get a 10-stop ND filter and work from there – my 10-stop filter is the one I use the most often.
1 – Kolari Vision Filters
These days I primarily use Kolari vision neutral density filters, and I also use their UV filters. The reason for this is that they are designed to be tough, using gorilla glass, meaning they are less susceptible to damage from drops or scratches.
As someone who can be a bit rough on their gear, and who has dropped filters in the past with rather disastrous results, I’ve found this to be an ideal solution.
Of course, being tough is no good if the filters aren’t up to scratch optically. I’m pleased to report the Kolari Vision filters hit the mark in this regard to, I’ve not noticed any color shift using these, and they compare very favorably to other ND and UV filter brands I’ve used in the past.
Available on Amazon here and direct from Kolari here.
2 – Kase Filter Kit
Kase are a well known brand in the ND filter world, and they produce a range of filters. This kit has all the filters you should need. Screw-in filters make for easy changes and you can even stack a number of them to increase the effect.
We’ve been using a 77m screw-in filter kit for years, and love the that they are super portable and that you can stack them. Other thread sizes are also available.
3 – Formatt-Hitech Filter System
If you want to go down the slot-in road, these are a good place to start.
4 – Lee Filter Kit
Stepping up somewhat in price, Lee are amongst the best known names when it comes to filters. Their “Big Stopper” 10 Stop ND filter is the go-to filter of choice for a great many photographers, and for good reason. These are high quality filters that should last for a good long time.
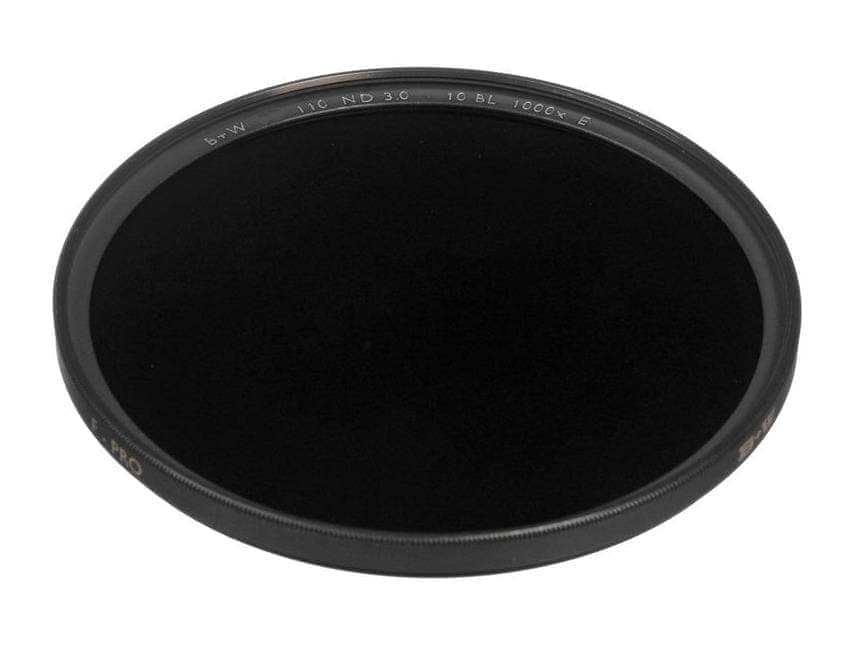
5 – B+W ND Filters
I’ve used a number of B+W polarizing and UV filters across my lenses for many years now, and have always been impressed by the build quality and durability. Again, a premium option, but a good one.
Further Travel Photography Reading and Resources
Well, that sums up my guide to Neutral Density, also known as ND Filters. I hope you found it useful – don’t forget to fire any questions at me in the comments. I’ve also put together a number of other photography related guides and resources that you might find useful. These are:
- My always expanding series of Photography Location Guides, to help you get the best shot in locations around the world.
- An overview of my Travel Photography Gear, in case you wondered what a professional photographer has in his bag
- If you’re in the market for a new camera, we have a detailed guide to the best travel cameras, as well as specific guides for the best cameras for hiking and backpacking, the best compact camera, best mirrorless camera and best DSLR camera. We also have a guide to the best camera lenses.
- Our always updated guides to the best travel camera lens, and the best compact camera for travel
- A Beginners’ Guide to Improving your Travel Photos
- Our photography gift guide, in case you were looking for a gift for the photographer in your life
- My series of Photography Tips, which I am always expanding and updating with posts like this one. See our guides to Northern Lights photography, long exposure photography, fireworks photography, tips for taking photos of stars, and cold weather photography to get you started.
- Ever wondered how to easily replace the sky in an image? Check out our guide to sky replacement in photography for an easy process anyone can do.
Looking to Improve Your Photography?
If you found this post helpful, and you want to improve your photography overall, you might want to check out my online travel photography course.
Since launching the course in 2016, I’ve already helped over 2,000+ students learn how to take better photos. The course covers pretty much everything you need to know, from the basics of how a camera works, through to composition, light, and photo editing.
It also covers more advanced topics, including astrophotography, long exposure photography, flash photography and HDR photography.
You get feedback from me as you progress, access to webinars, interviews and videos, as well as exclusive membership of a facebook group where you can get feedback on your work and take part in regular challenges.
It’s available for an amazing one-off price for lifetime access, and I think you should check it out. Which you can do by clicking here.
And we’re done! Thanks for reading – if you’ve got any comments, feedback or suggestions, just let me know in the comments below.


Sean Mooney says
Great report. The amount of topics covered on the home page is a bit daunting. Perhaps less is more?
Regards
Sean
Laurence Norah says
Hey Sean,
Thanks for your comment. Do you mean the different categories on the home page?
Cheers
Laurence
Sean Mooney says
Hi Laurence,
Yes, the photographic home page. I don’t want to come across as too critical because I think the work you and your partner do is excellent. You have so much useful and valuable information that I wonder if its value is lost in putting it out there in one blast rather than a topic e.g. a week?
Best Wishes
Sean
Laurence Norah says
Hi Sean,
No problem at all – feedback is wonderful. I get so used to the site how it is but I am always keen to hear from fresh eyes as to how it can be improved 🙂
So just for my clarity, when you say the photographic home page, do you mean:
The blog homepage: (https://www.findingtheuniverse.com/)
The photography homepage: (https://www.findingtheuniverse.com/category/photography/)
The Photo Tips section (https://www.findingtheuniverse.com/category/photography/photography-tips/)
The fact I have to clarify is probably also not a good sign. Your feedback is much appreciated!
Thanks
Laurence
Sean Mooney says
Hi Laurence,
Link to the location I’ve been referring to; https://www.findingtheuniverse.com/category/photography/photography-tips/
Best Wishes
Sean
Laurence Norah says
Hey Sean,
Great, thanks for the clarification. Let me see if I can come up with a better way to display these posts so they are easier to navigate!
Laurence
Paul Todd says
Thanks Lawrence on your above article,
Would it please be possible to email a data sheet detailing your article, I am an intermediate photographer and never used any type of filters but I am interested in purchasing the Lee 100 filter system.
Please note
I cannot receive emails on my phone but would appreciate your response via email which I can read on my laptop.
Thanks and happy new year to you.
Paul Todd
Laurence Norah says
Hi Paul,
You can access a printable version of the page which doesn’t have the images in it via the print button on every article. On mobile this is at the bottom of each page, and on desktop it floats down the side of the screen. This will give you a nicely formatted version which you can e-mail to yourself, or save as a PDF for future reference 🙂
Best
Laurence
Zack says
Thank you for this in depth article- you covered all aspects and it was very helpful for someone learning and just getting started! I appreciate your insights! Keep up the great work!
Laurence Norah says
Hey Zack – my pleasure! I really appreciate you taking the time to share your feedback – it gave me a big smile. Have a great day, and let me know if you have any questions I can help with!
Ernie Russell says
A great help as I delve into ND work. Thanks for being so clear.
Laurence Norah says
My pleasure Ernie, let me know if you have any questions as go 🙂
Nicolas says
Thank you for this helpful guide. I understand a lot more about filters and cannot wait to try them out.
I already tried long exposure and night photography thanks to your other guides.
Laurence Norah says
My pleasure Nicolas, I’m delighted to have been able to help you with some different types of photography 🙂 Let me know if you have any questions!
Laurence
CS Tan says
Your ND filter guide is really simple and easy to understand. It is really useful and informative for a newbie like me… Thanks!!!
Laurence Norah says
My pleasure – thanks for taking the time to let me know you found it helpful 😀
Abhay Bhalme says
Really helpful tips .
Laurence Norah says
Thanks Abhay
Mark says
This is fantastic. Very helpful. Thank you. As someone who is still at an amateur level but investing in good/very good quality equipment for the future, I try to do a lot of research to educate myself before making my purchases. Your review is incredibly helpful and opened my eyes not only to the need for an ND filter but also the different systems available. Keep it up.
Laurence Norah says
Hey Mark – my pleasure! I’m trying to write content that is accessible to everyone, about photography (and travel!), and it’s great to hear that this post has helped you 🙂 I hope you enjoy your new filters, whichever ones you choose!