Today I’m going to share some basic photography tips, as part of my series of photography tips. This post will cover depth of field in photography.
First, we’ll look at what depth of field is, then we’ll cover how to achieve it with your camera, and finally look at situations where you might want to use depth of field.
Let’s get started.
Table of Contents
What is Depth of Field?
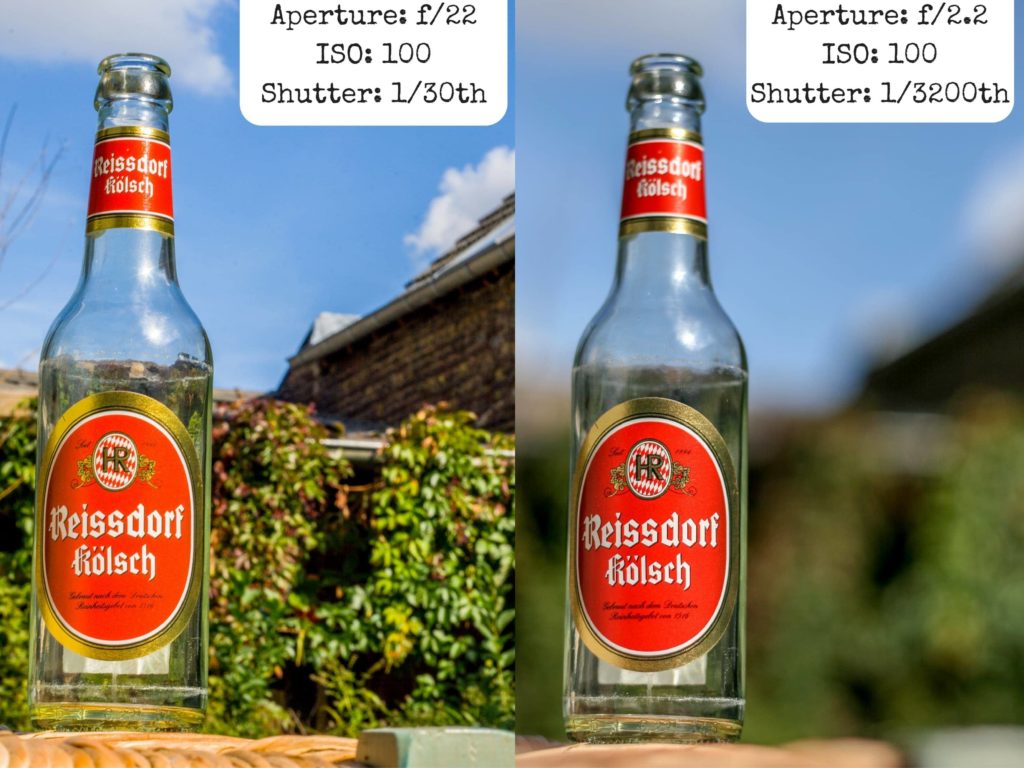
The first question is – what is depth of field? Put simply, it’s all about how much of the shot you are taking is in focus. The best way to demonstrate what I mean is with a couple of photographs.

As you can see, these images are essentially the same in terms of framing and light, with the key difference being the focus.
The image on the left is largely in focus, whereas the image on the right has only the beer bottle clearly in focus.
In the image on the right, nearly everything in front of and behind the beer bottle is blurry and out of focus. This is why this effect is known as “depth” of field, as it relates to how “deep” the plane of focus is.
As a side note, the blurry area is known in photography terms as bokeh – you can read all about it in my guide to bokeh in photography here.
How to Control Depth of Field
So how do we control depth of field then? Some basic camera knowledge for you first. A camera works by capturing visible light. Much like an eye, the camera can control how much light it captures to ensure that the shot is correctly exposed.
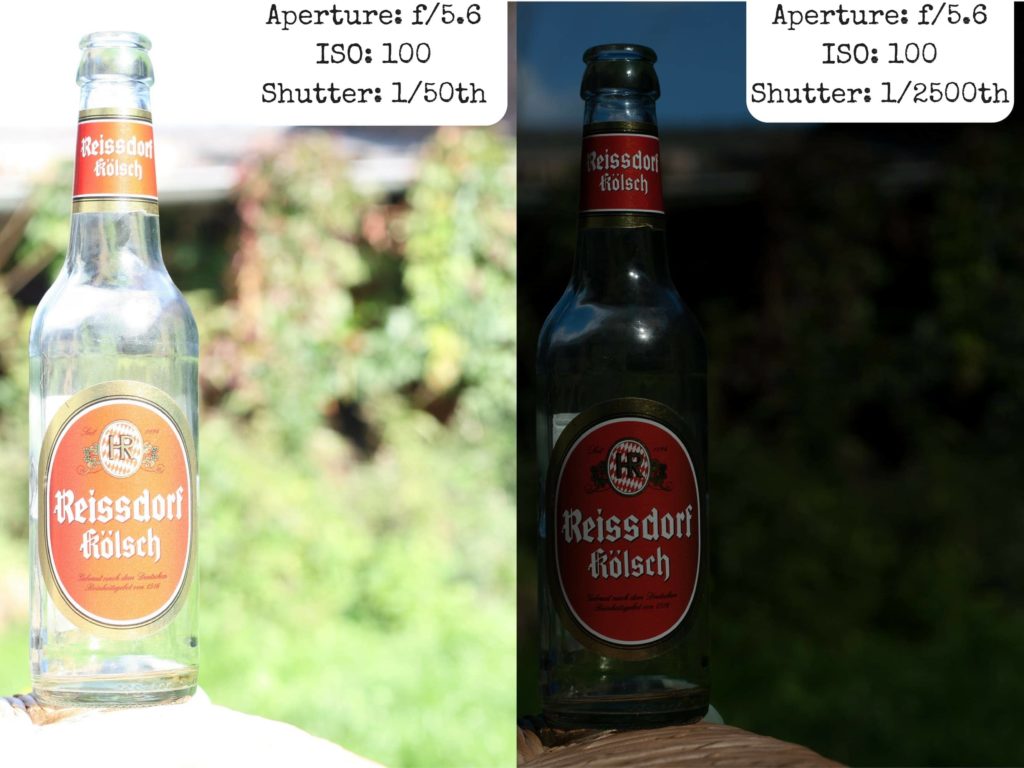
Too much light, and you end up with a photo that is just washed out whiteness, too little light and the image will be too dark to use. My beer bottle kindly consented to posing for examples of under and over exposure, as can be seen below.

The image on the left is “over-exposed”. The image on the right is “under-exposed”.
The camera has two mechanisms for controlling the amount of light it lets in. The first is the shutter speed, which controls how long the camera shutter is open. Imagine this like the eyelid – you can control how long you open your eye for. The longer the shutter is open, the more light will get in.
The downside to this is that you need to hold the camera still, so unless you have a tripod you don’t want to leave the shutter open for too long or the image will end up blurry. As a general rule of thumb, you can’t hand hold a camera for shutter speeds slower than 1/60th of a second.
The second mechanism for controlling the amount of light that the camera captures is the size of the hole that the camera opens to let the light in, which is known as the aperture.
Again, using the eye as an example, this can be thought of as the pupil of the eye. When it is darker, your pupil is bigger to let more light in, when there is more light, the pupil is smaller.
A camera can use different settings of aperture and shutter speed to control how much light is let in. If you increase one, you decrease the other, and vice versa. A fast shutter speed would result therefore in a larger hole, and a lower shutter speed would result in a smaller hole.
The aperture on a camera is measured in “f” stops, a number system that goes from a smaller number to a larger number. Slightly confusingly, the smaller number means that the hole is bigger, and a larger number means that the hole is smaller. So a camera set at say f/1.8 would be letting a lot more light in than a camera set at f/22.
At this point you may be thinking, well, why not just leave the hole as big as possible which would let you use higher shutter speeds to avoid image shake? And the answer is: depth of field.
Depth of field is directly controlled by the size of the aperture. More depth of field (more objects in focus) can be achieved by having a smaller hole (high f-stop number), and less depth of field is achieved with a larger hole (low f-stop number).
If you have an SLR, you should be able to set the camera to “Av” mode, which allows you to set the aperture manually, and the camera will set the shutter speed according to the amount of available light. If you play around with this, you will see how changing the aperture will change the shutter speed, and the results will be images with differing depths of field.
When to Use Depth of Field in Photography
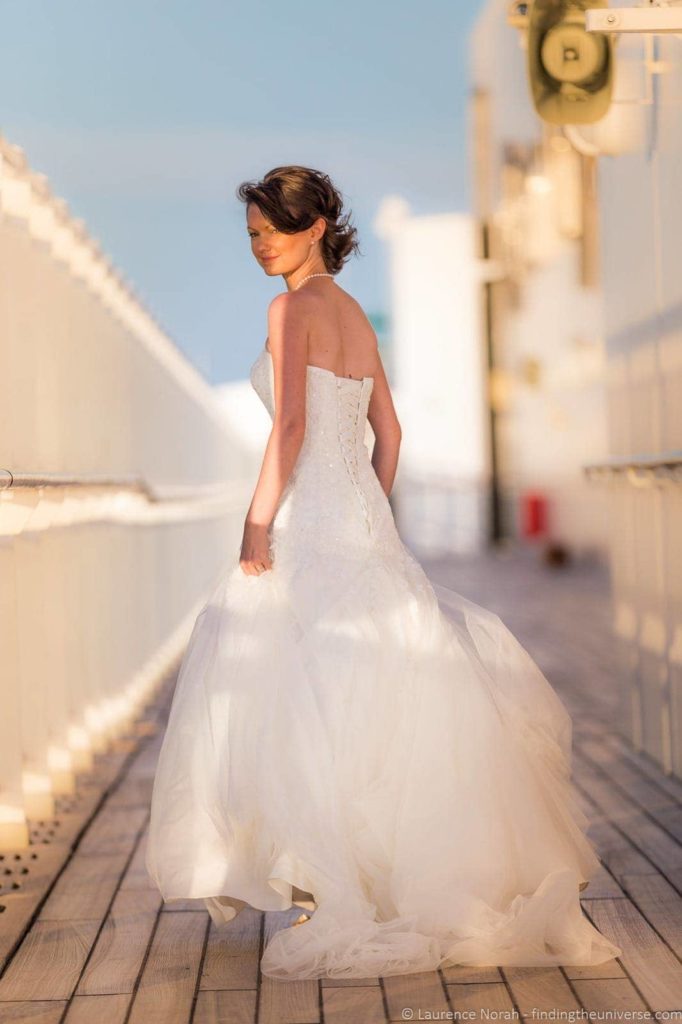
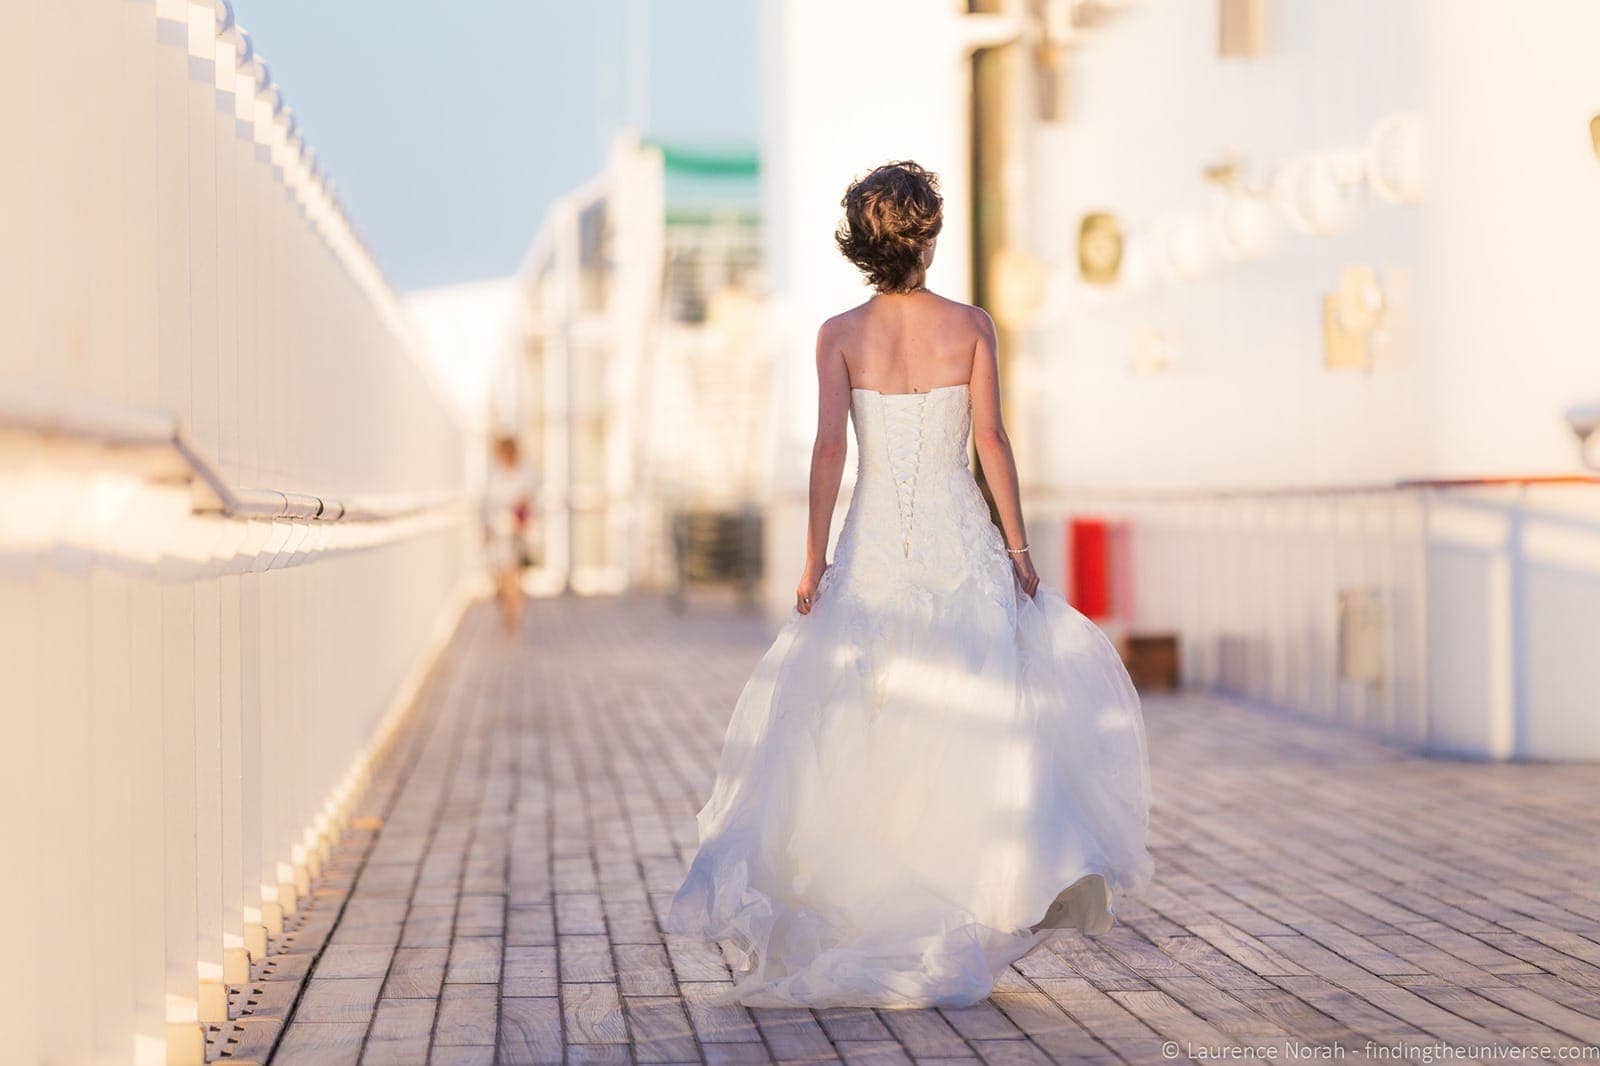
Depth of field is a really important tool to master as a photographer. It allows you to isolate your subject from the background, and is particularly useful for portrait and wildlife photography. Wedding photographers will often use this technique to isolate a bride for example from her surroundings.

Essentially, when you are taking a picture where you only want your subject to be in focus, you would choose a higher shutter speed and a lower aperture.
This is not something you can directly control on many cheaper point and shoot cameras, but as you move to more expensive options you will find that you can control these options more fully. DSLR cameras, for example, should let you have full control over the aperture settings.
Further Reading on Photography
Well, that sums up my guide to depth of field in photography! I hope you found it useful – don’t forget to fire any questions at me in the comments.
I’ve also put together a number of other photography related guides and resources that you might find useful. These are:
- My always expanding series of Photography Location Guides, to help you get the best shot in locations around the world.
- An overview of my Travel Photography Gear, in case you wondered what a professional photographer has in his bag
- A guide on how to pick the best camera for travel photography, along with recommendations for every budget
- Our always updated guides to the best travel camera lens, the best compact camera for travel, best DSLR camera for travel, best action camera, and best mirrorless camera for travel. We also have a beginner guide to DSLR cameras.
- A guide to neutral density filters, cold weather photography and tips for taking pictures of stars
- A Beginners’ Guide to Improving your Travel Photos
- My series of Photography Tips, which I am always expanding and updating with posts like this one
- And, if you’re serious about improving your photography, I run an incredibly comprehensive online travel photography course, which will teach you everything you need to know about photography. Check that out here.
And that’s it for my post on depth of field! Hopefully you found it useful. If you have any questions about what I have posted, feel free to post below in the comments and I will do my best to answer!

R. Bird says
Good afternoon,
I just stumbled on your website today and wanted to say THANK YOU!
I am new to Digital Photography and have been getting frustrated with all of the print “How To” books in the universe.
After only reading one of your articles, I have bookmarked your site and started to read everything! I have learned more this “Depth Of Field” post, than in any other source, because of your use of well written explanations and examples!
I look forward to learning more from your knowledge and experience!
Thank you,
🙂
Laurence Norah says
Thank you very much for taking the time to leave a comment and let me know you found my site helpful – it is most appreciated! If you have any questions as you go, do let me know, I’m happy to help 🙂 Enjoy!
Jasper says
I love your writing and breaking down key terms on photography,keep up the good work,you’re a lovely couple too♥
Laurence Norah says
Thank you very much Jasper, I’m delighted to have been able to help. Do let me know if you have any questions at all 🙂
Tasos says
Thank you very much for the valuable information ! I am new in photography and English is not my native language. However, your descriptions is so clear and detailed I have little problems in understanding everything. I bought recently a Nikon D3500 and trying to learn how to use it…
Keep up the good job !!!
Laurence Norah says
My pleasure Tasos, I am delighted to have been able to help. Enjoy your new camera!
Juntos Worldwide says
Great tips thanks for sharing.
Craig Beaumont says
Good post.
I like the way you’ve used the same subject multiple times to explain the different settings. I’m surprised you didn’t mention framing, especially when you’re cunningly using the bottle to frame the picture 😉
What happened to the old “i just point and shoot” line that you give me whenever i ask how you took a shot eh?
Laurence says
Thanks Craig. I thought if I focused on one topic it would be easier to explain it. As the post has proven fairly popular (already in the top 10 on the site!) I suspect more posts in this vein will follow, where I can tackle more topics (like framing :)).
Much like a magician, I was bound by the photographers code of practice not to reveal my tips. I then realised this wasn’t a real code, so could reveal my secrets to the world! Hopefully men in black coats won’t come to get me…