Have you ever heard photographers talking about bokeh in photography, and wondered what bokeh actually is?
Well, in this post, I’m going to share with you everything you need to know about bokeh. I’ll tell you exactly what it is, how to get bokeh in your photos, and share some tips on the setup you need for great bokeh.
By this end of this post, you’ll be ready to get out and shoot your own bokeh filled photos. Let’s get started by answering the obvious question.
Table of Contents
What is Bokeh in Photography?
Bokeh in photography refers to how the out of focus parts of an image look. Usually, bokeh appears as small rounded shapes in the out of focus part of the image, although different lenses produce different bokeh styles. These can vary from precise geometrical shapes with distinct edges through to blurry circles. Some of which are considered to be more pleasing than others, depending on who you ask!
Bokeh is caused due to an optical effect that depends on the lens. It is a result of how the light passing through the lens interacts with the various glass elements, as well as the aperture inside the lens.
Here is an image to demonstrate bokeh.
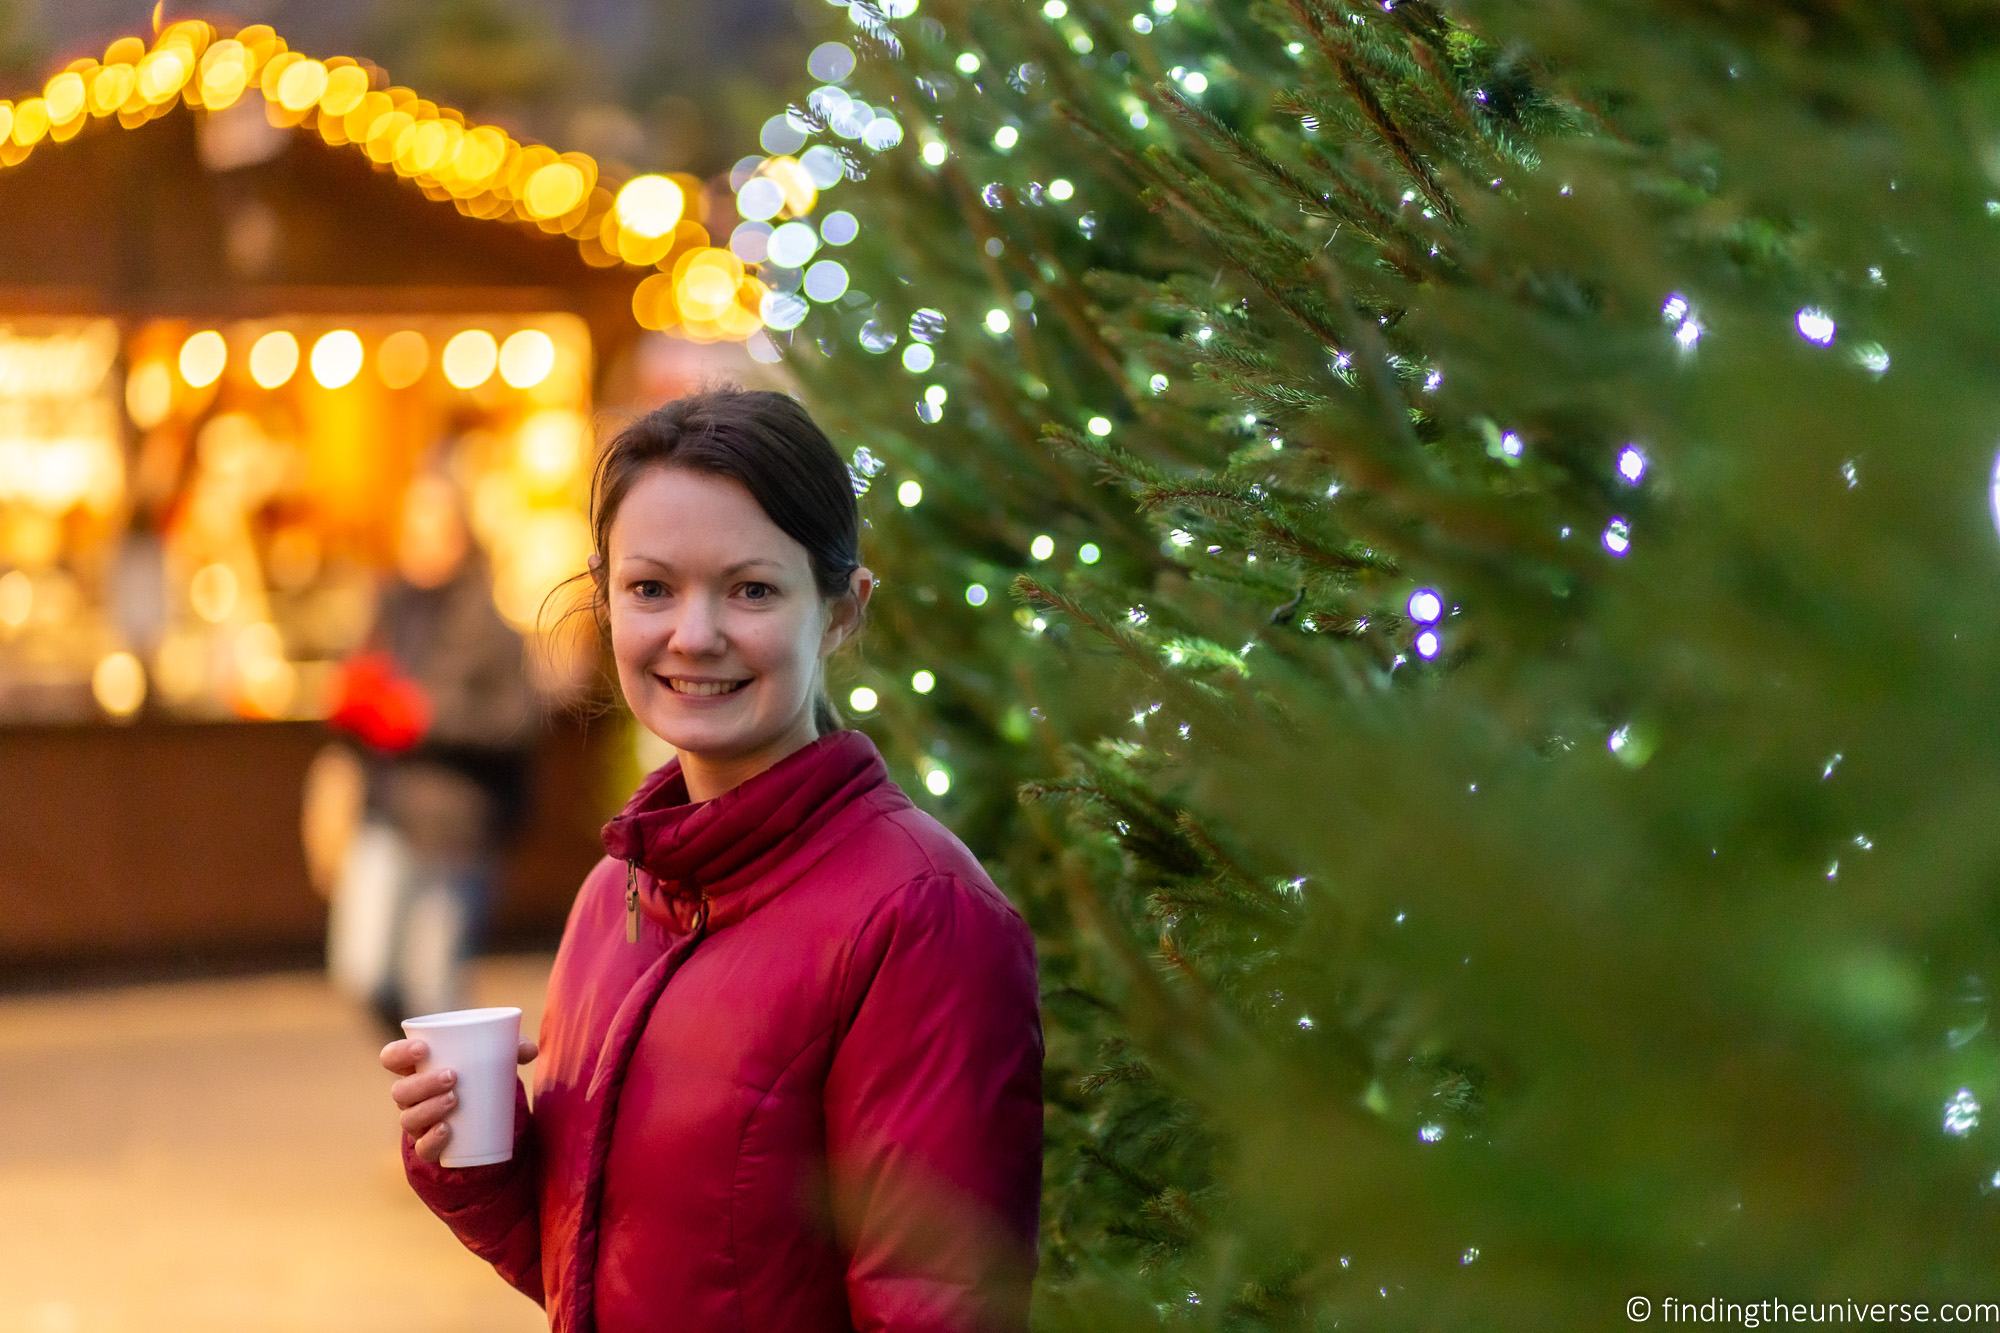
In the shot above, the bokeh is particularly apparent in the string of yellow lights in the top left corner, which have become circular blobs, as well as the white fairy lights in front of and behind the subject (relative to the camera).
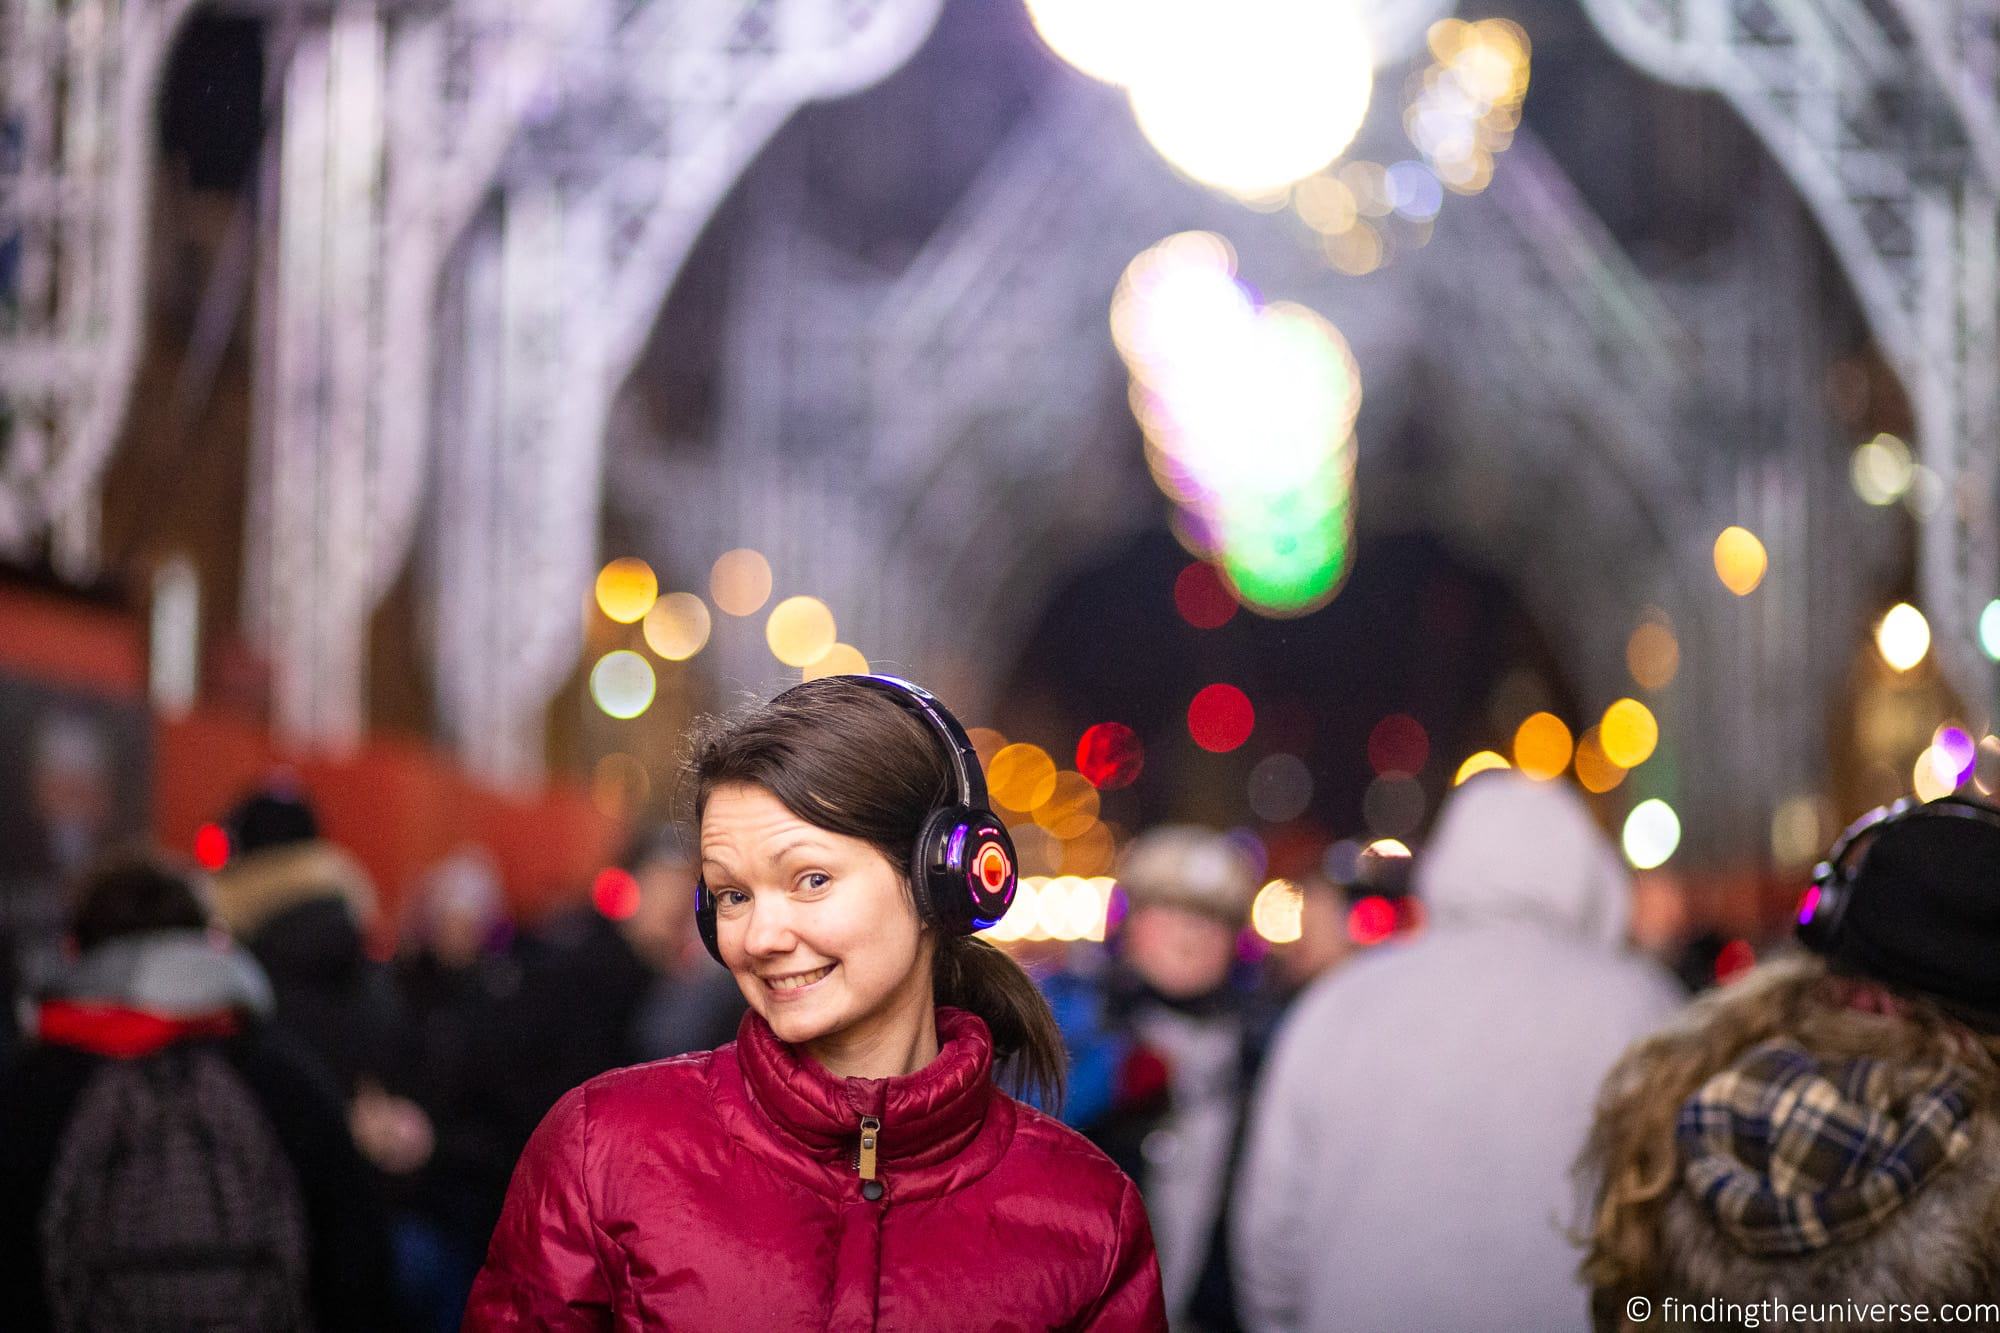
When people refer to bokeh, they are most commonly thinking of these blurred circular shapes. However, bokeh actually refers to the look of all the out of focus areas, whether they form shapes or not.
Now, you might be wondering why you would care about the parts of the image which are out of focus – surely it’s the elements which are in focus which matter?
Well, of course, the subject being in focus and the image being nicely composed are of course important, unless you are doing more abstract photography. In my shot above, if I had blurred out the main subject rather than the background, then the image above wouldn’t work.
However, if you can achieve both a sharp image, and a pleasing look to the out of focus parts, then this can result in a more pleasing image overall. The other option would be to have the whole image sharp and in focus, but this would not isolate and highlight the subject quite so well.
Why is it called Bokeh?
The term “bokeh” originates from the Japanese word “boke”, which translates to blur, as well as the Japanese term “boke-aji”, which translates to blur quality.
The term became popular in English photography terminology in 1997, when it was used in a photography magazine, and the editor decided to alter the spelling of the word from “boke” to “bokeh” to be closer to the pronunciation. Many books and articles on photography started to use the term shortly afterwards. It has also been spelt as “boke”, but these days the most common spelling in English is “bokeh”.
In terms of the pronunciation, there are a variety of thoughts on the subject. In fact, there is much discussion online regarding how to properly pronounce the word bokeh, with suggestions including bo-key, boh-key and bo-kay.
According to Wikipedia, Mike Johnson (the editor who popularized the term) has said the correct pronunciation is bo-key. “Bo” is pronounced how you would say the start of bone, and “Ke” is pronouced how you would start Kenneth. There is equal stress on both syllables.
The pronunciation in English is quite simple, it’s two syllables, the first syllable sounding like “boh” and the second like “ke” as in Kennedy. There’s also a video here where you can hear the word being pronounced.
How do You Create Bokeh in Photos?
Since bokeh appears in the out of focus parts of the image, creating bokeh just requires you to have parts of the image which are out of focus. The more out of focus the elements are, the greater the bokeh effect.
First, let’s go over a quick overview of focus and how it works in photography. When you point your camera at a subject, you will usually focus on that subject. Everything in the shot that is the same distance from the camera as the subject will also be in focus. In practice, this usually means everything to the left and right of the subject will be sharp.
Elements that are closer to the camera then the subject, or further away from the camera than the subject, will have varying degrees of focus. The closer they are to the subject, the sharper they will be, the further away from the subject, the blurrier they will be.
For example, if you are taking a picture of a person standing in a street, the street behind the person and in front of the person will be out of focus. The further behind or in front of the person the section of street is, the blurrier it will be. However, if someone is standing to the side of the person, even a few metres away, as they are the same distance from the camera, they will be in focus as well.
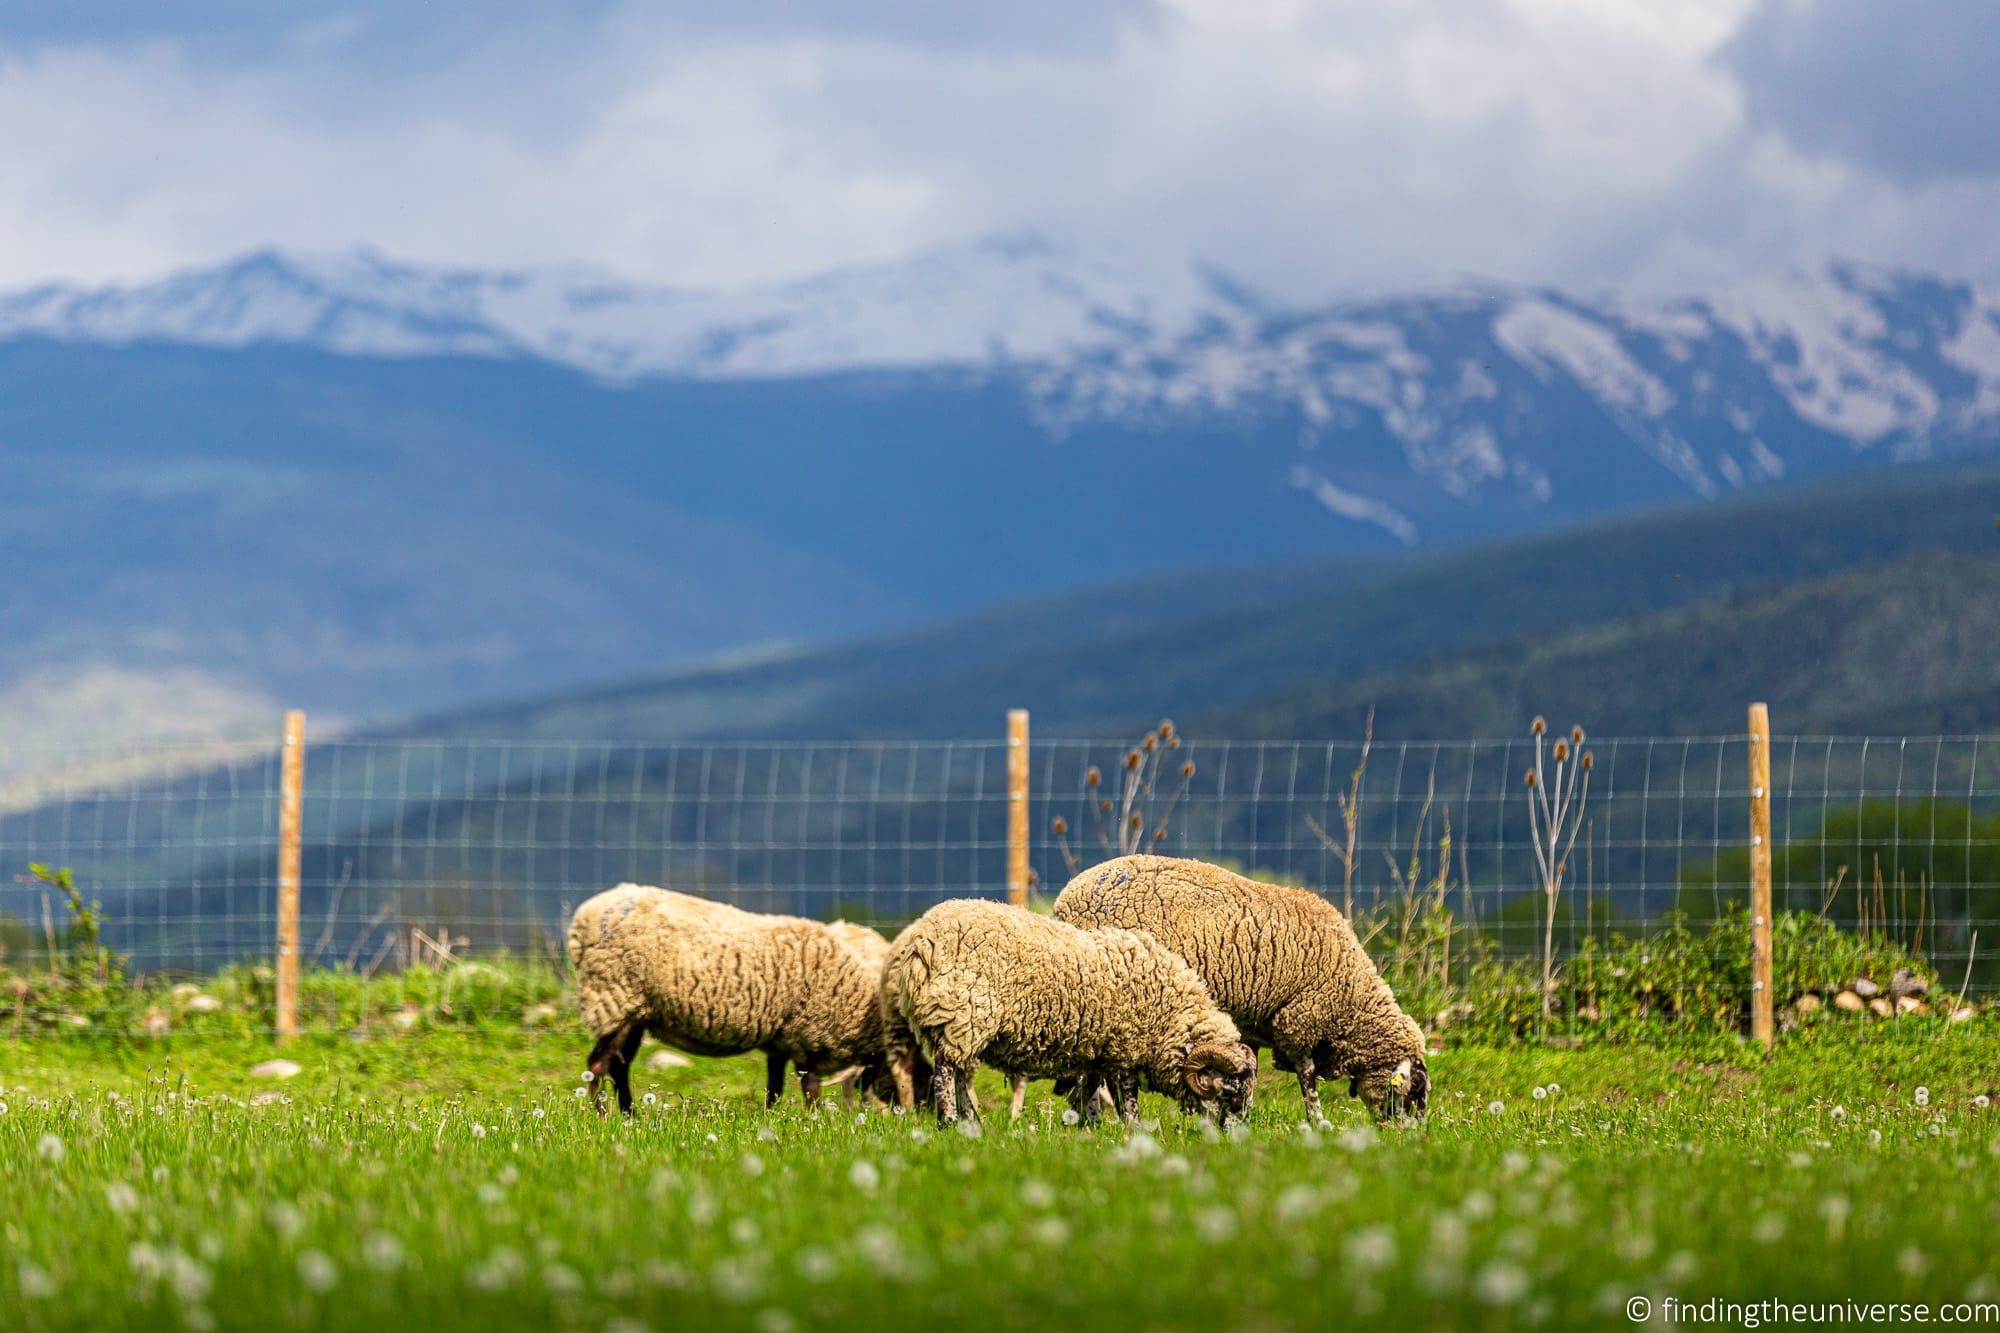
In the above example, you can see that the sheep are clearly in focus, as is the grass to the left and right of the sheep. However, the foreground grass and background mountain are out of focus.
There is another thing to consider, which is depth of field. I have a full explanation of depth of field here, but a brief recap is relevant to this topic.
Depth of field dictates how much of the scene in front of and behind the subject is in focus. A shallow depth of field means that only a small part of the scene will be in focus, whereas a wide depth of field means more of the scene will be in focus. Here’s another animal based example to demonstrate different depths of field.
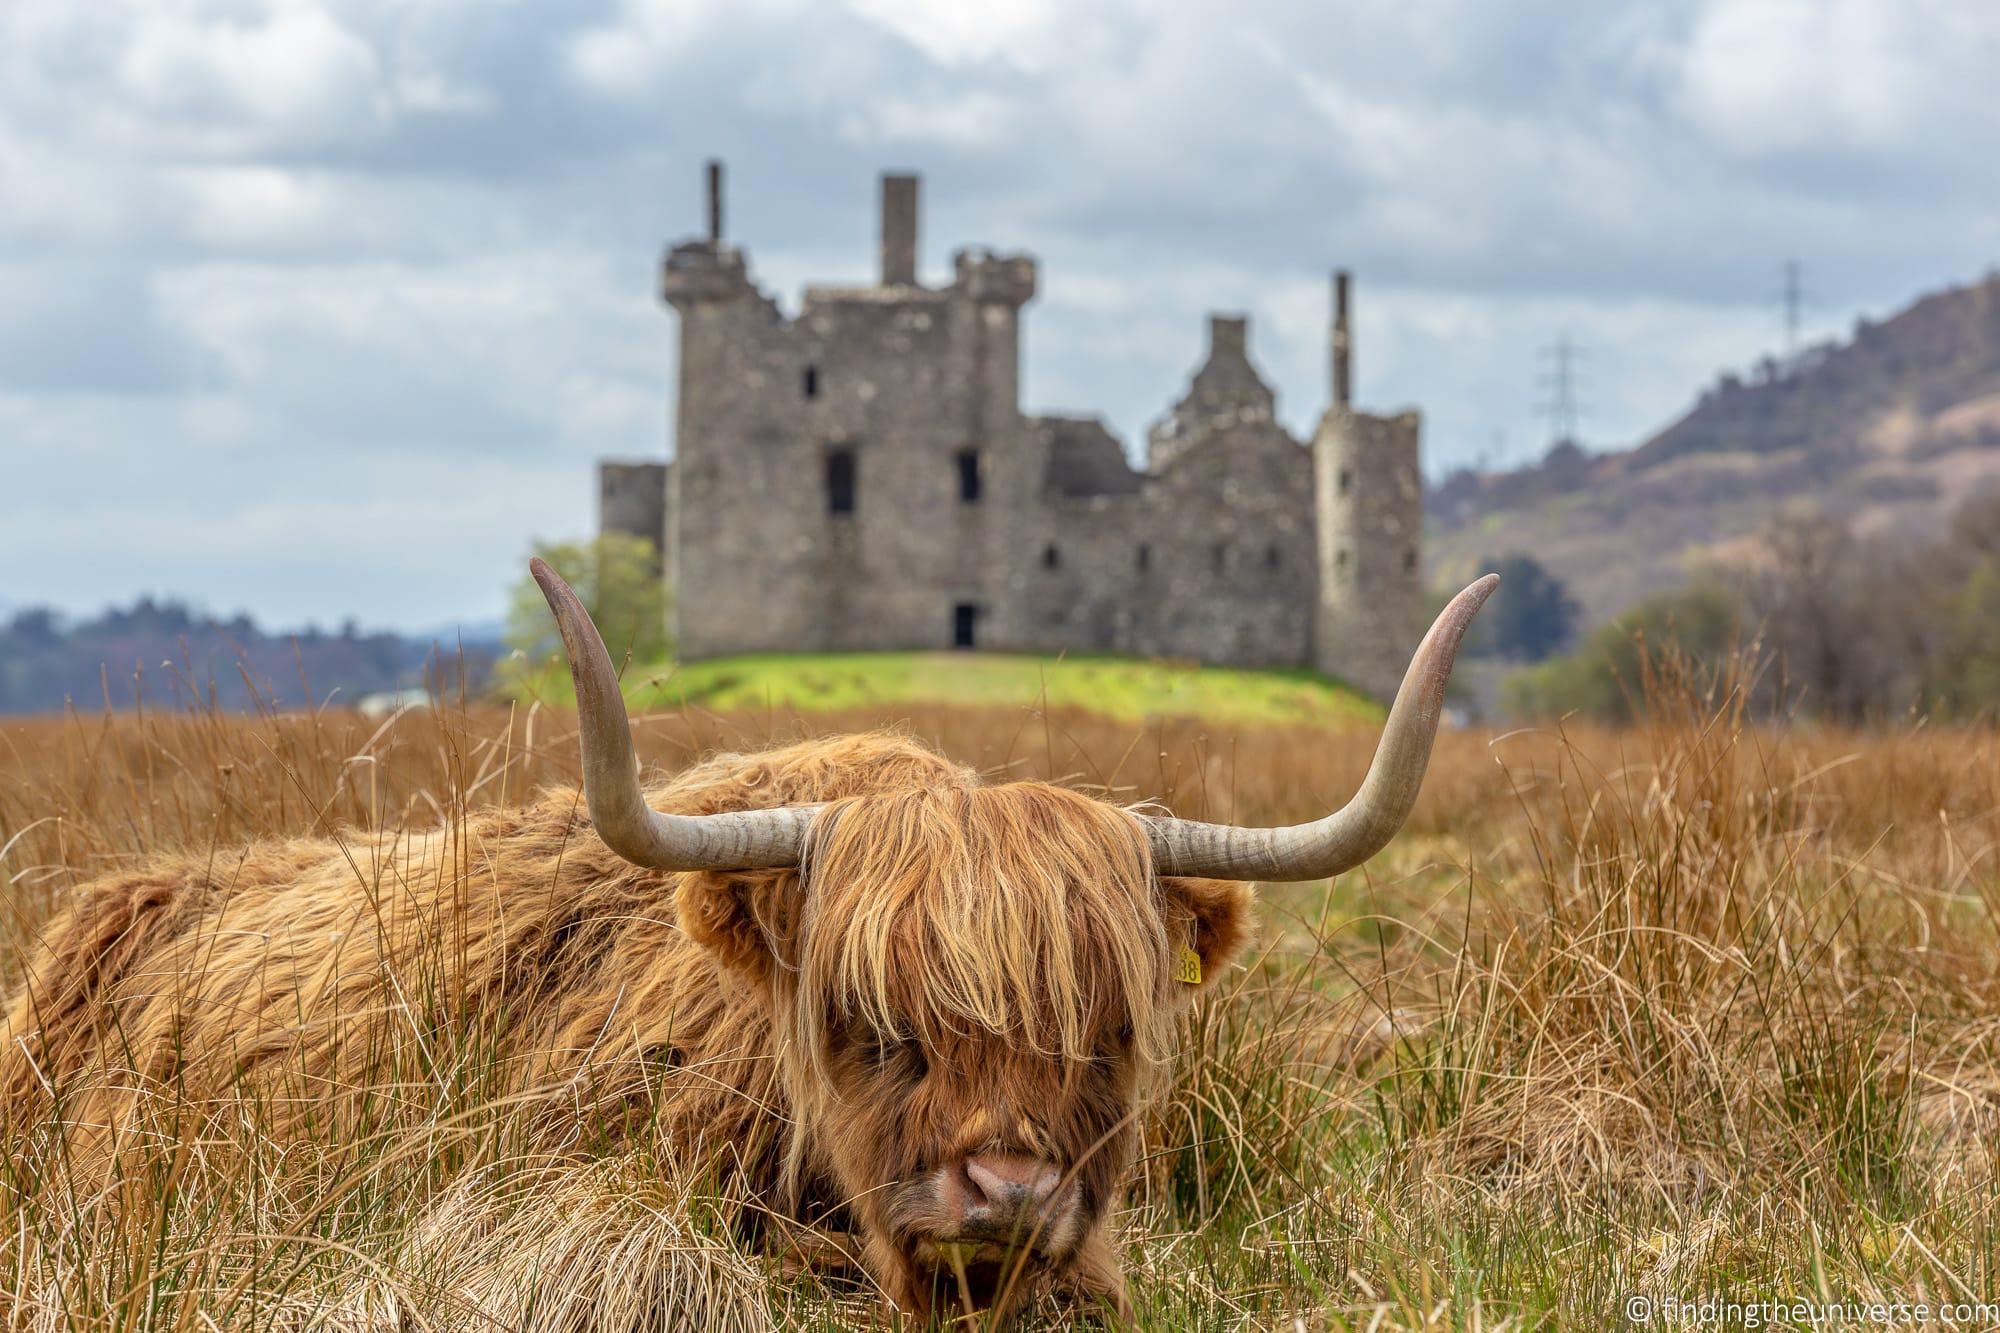
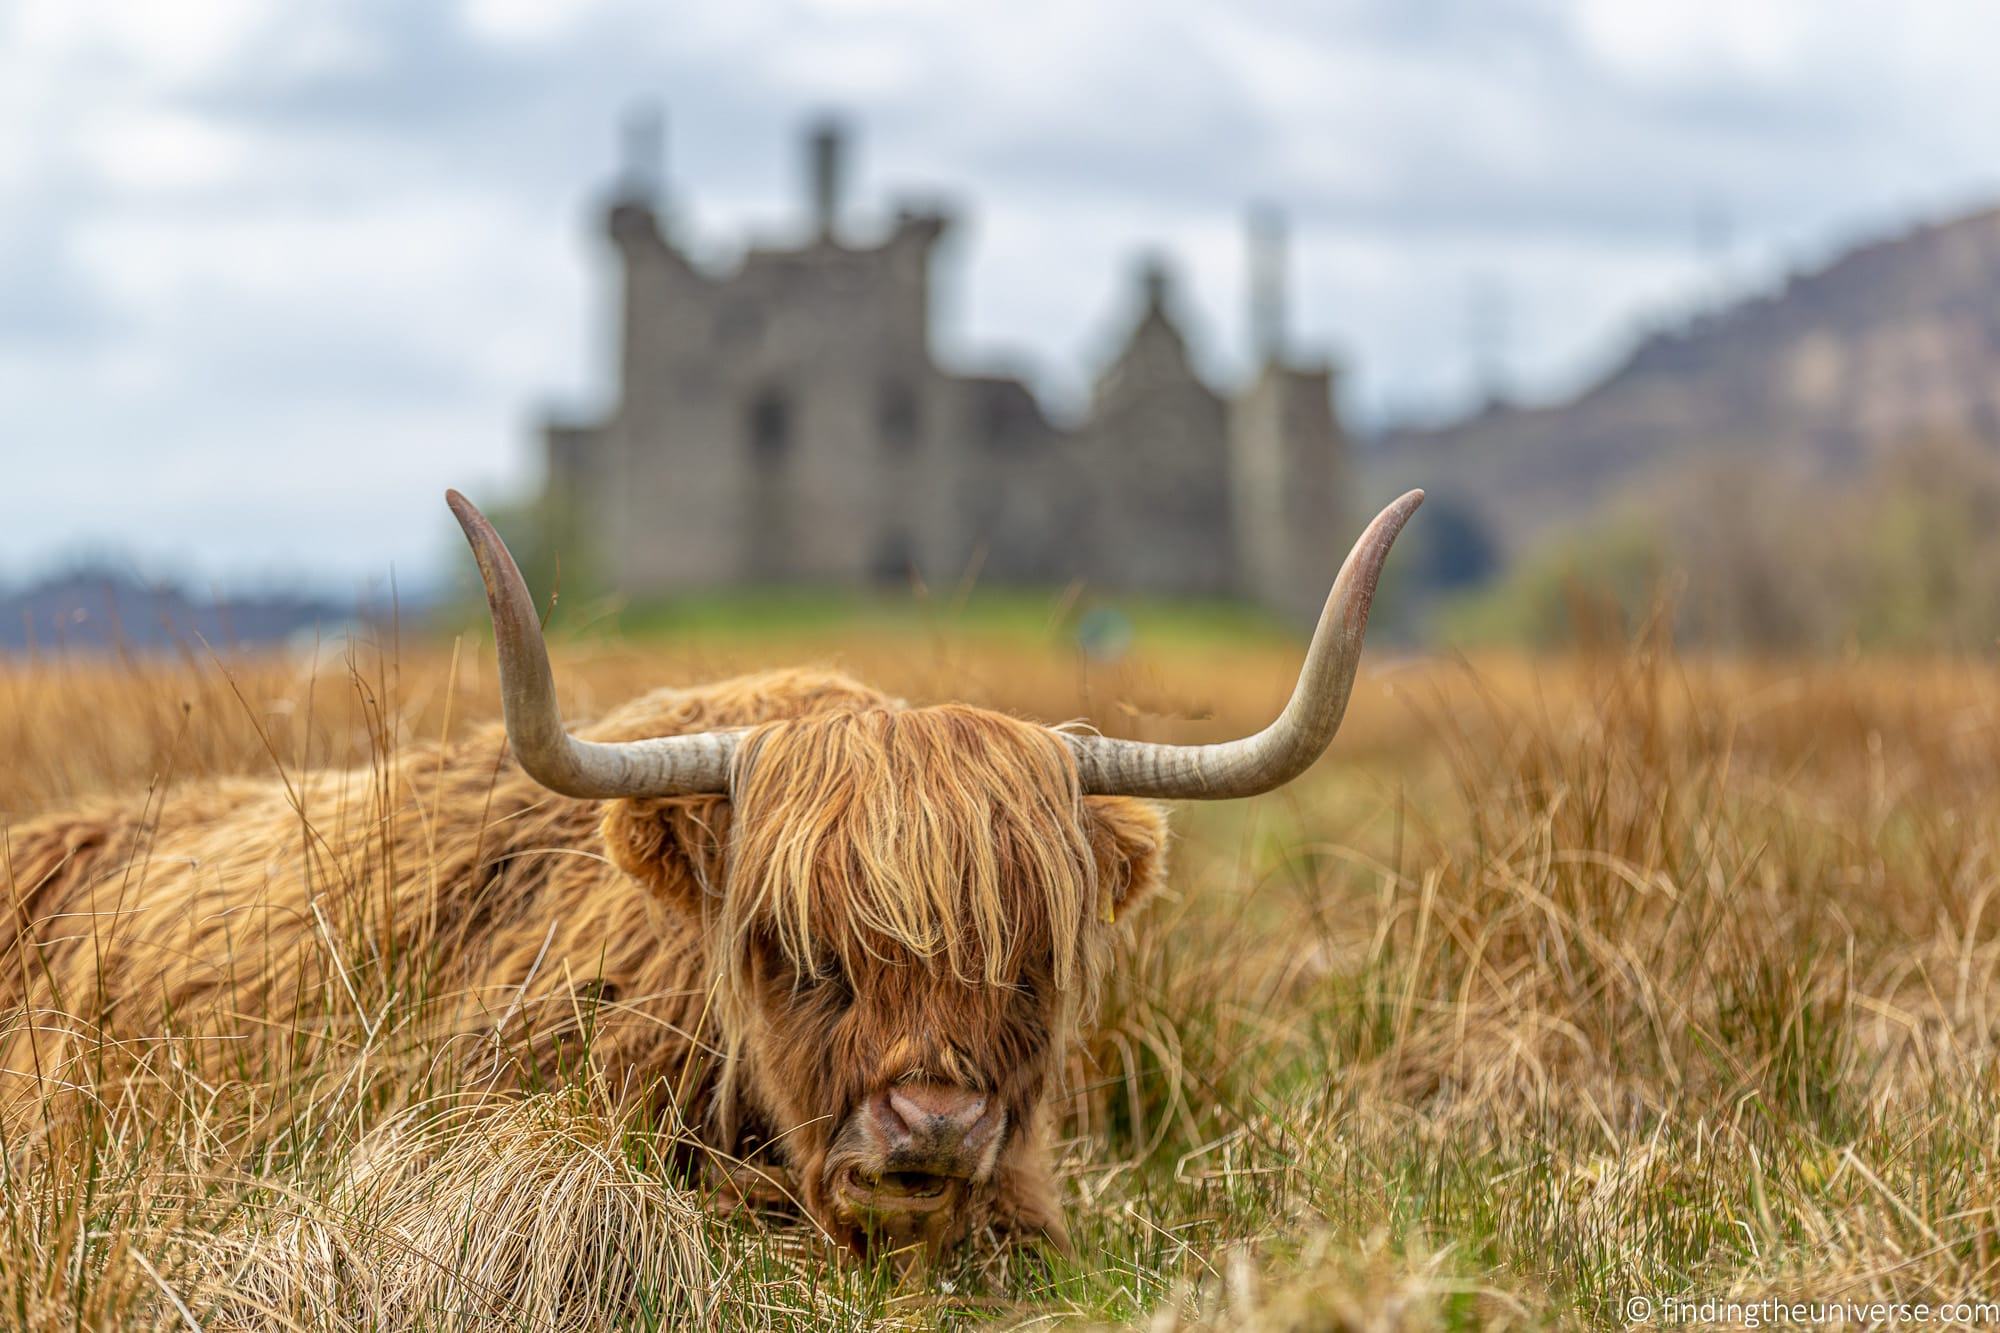
You can see how the castle in the background is sharper in the first shot than the second shot, due to a different depth of field.
You manipulate depth of field by adjusting the aperture on your camera, which will require you to have a camera with an adjustable aperture.
Whilst most cameras have an adjustable aperture (with the exception of most smartphones), you can usually only adjust it yourself on some advanced compact cameras, as well as bridge, mirrorless and DSLR cameras.
If you put all the above knowledge together, you can see that shooting a subject with a shallow depth of field is going to be the best way to achieve a bokeh effect. To do this, you will want to set your camera so you can adjust the aperture, and use as wide an aperture as possible. Ideally an aperture of f/1.8, but anything between f/4 and f/1.8 should show some bokeh effects.
Can You Create Bokeh with a Phone Camera?
Bokeh is difficult to achieve naturally with a smartphone camera. This is because bokeh is related to both the physical size of the sensor and the physical size of the aperture in the lens, both of which are very small in a mobile phone.
So whilst bokeh will be present to a degree, and you can indeed can get a depth of field effect with a smartphone, the bokeh will usually just be blur rather than pleasing shapes.
The good news is that you can emulate both depth of field and bokeh effects using smartphone apps. Smartphones with a multiple camera setup, which allows them to calculate depth in an image, are generally better at creating natural looking bokeh, although some single camera phones like the Google Pixel range also do a good job.
To create depth of field shots in the smartphone camera, you will usually need to put the camera app into something called portrait mode or similar for a shallow depth of field. Alternatively, you can apply the effects after taking the shot, using an app like AfterFocus or Bokeh Lens.
You can see an example of depth of field generated by an app in the shot below. This is the same image, but the second version with the blurry background was created using the portrait mode on my Google Pixel smartphone.


Photography Gear You Need for Bokeh
To achieve bokeh with your camera, all you need is a camera and lens combination that will let you capture a shallow enough depth of field.
This is possible with everything from a compact camera through to a mirrorless or DSLR camera. You can even do it with some smartphone cameras as we discussed above. However, cameras with larger sensors allow for physically larger apertures, which creates more pronounced bokeh and depth of field effects.
As such, we would recommend using either a mirrorless camera or DSLR camera with an APS-C sized or full frame sensor. Thankfully, most DSLR or mirrorless camera bodies fall into this category. If you are in the market for a camera like this, see our guide to the best DSLR cameras and the best mirrorless cameras.
Then you need a lens with a wider aperture. See more in the section below on recommended lenses for bokeh.
If you do have a compact camera, you can still use it to get bokeh. The best results will come if you are able to set the camera to a wide open aperture. If that isn’t possible, try setting it to a portrait mode. Then, ensure your subject is close to the camera, with background objects in the far distance.
Recommended Lenses for Bokeh
If you want to achieve bokeh yourself, the best way to do this is with a mirrorless or DSLR camera with a lens that has a wide aperture. Bokeh can be achieved at narrower apertures of course, but having a wide aperture will allow you to achieve more impressive depth of field effects, and thus better bokeh.
The good news is that you don’t need to spend a lot of money to get a lens that will create a bokeh effect. What you want is a lens with a wide aperture, ideally at least f/1.8. Most lenses with apertures this wide are known as prime lenses, which means they have a fixed focal length. In other words, you can’t zoom in or out with these lenses.
However, this lack of zoom actually works in your favour when it comes to price. Less moving parts means these lenses are less expensive than lenses that do zoom with wider apertures.
A sweet spot for lenses is around the 50mm mark, and most lens manufacturers have an inexpensive lens available, usually in the $100 – $200 price range, that offers an f/1.8 aperture and a 50mm focal length. This is ideal for portrait and street photography, and most photographers have what is often referred to as a “nifty fifty” in their kit bag. It’s inexpensive but still capable of great results.
Of course, there are other lenses at different focal lengths, and also at much higher prices. Here are some to consider, which feature wide apertures allowing you to create a shallow depth of field and bokeh.
- the Canon 50mm f/1.8, compatible with all of Canon’s DSLR cameras, as well as their mirrorless cameras with the correct adaptor
- the Nikon 50mm f/1.8, compatible with Nikon’s DSLR cameras, as well as their mirrorless cameras with the correct adaptor
- the Yongnuo 50mm f/1.8, which is available for both Canon and Nikon cameras, and may be an option for those on a small budget
- the Canon 50mm f/1.4, offering an even wider depth of field at a higher price point. Also compatible with all of Canon’s DSLR cameras, as well as their mirrorless cameras with the correct adaptor
- the Sony FE 50mm f/1.8, compatible with Sony’s mirrorless cameras
- the Canon EF 85mm f/1.2L lens, expensive and heavy, but produces spectacular portraits! Compatible with all of Canon’s DSLR cameras, as well as their mirrorless cameras with the correct adaptor
- Panasonic Lumix 42.5mm f/1.7 – compatible with micro four thirds cameras including those from Panasonic and Olympus.
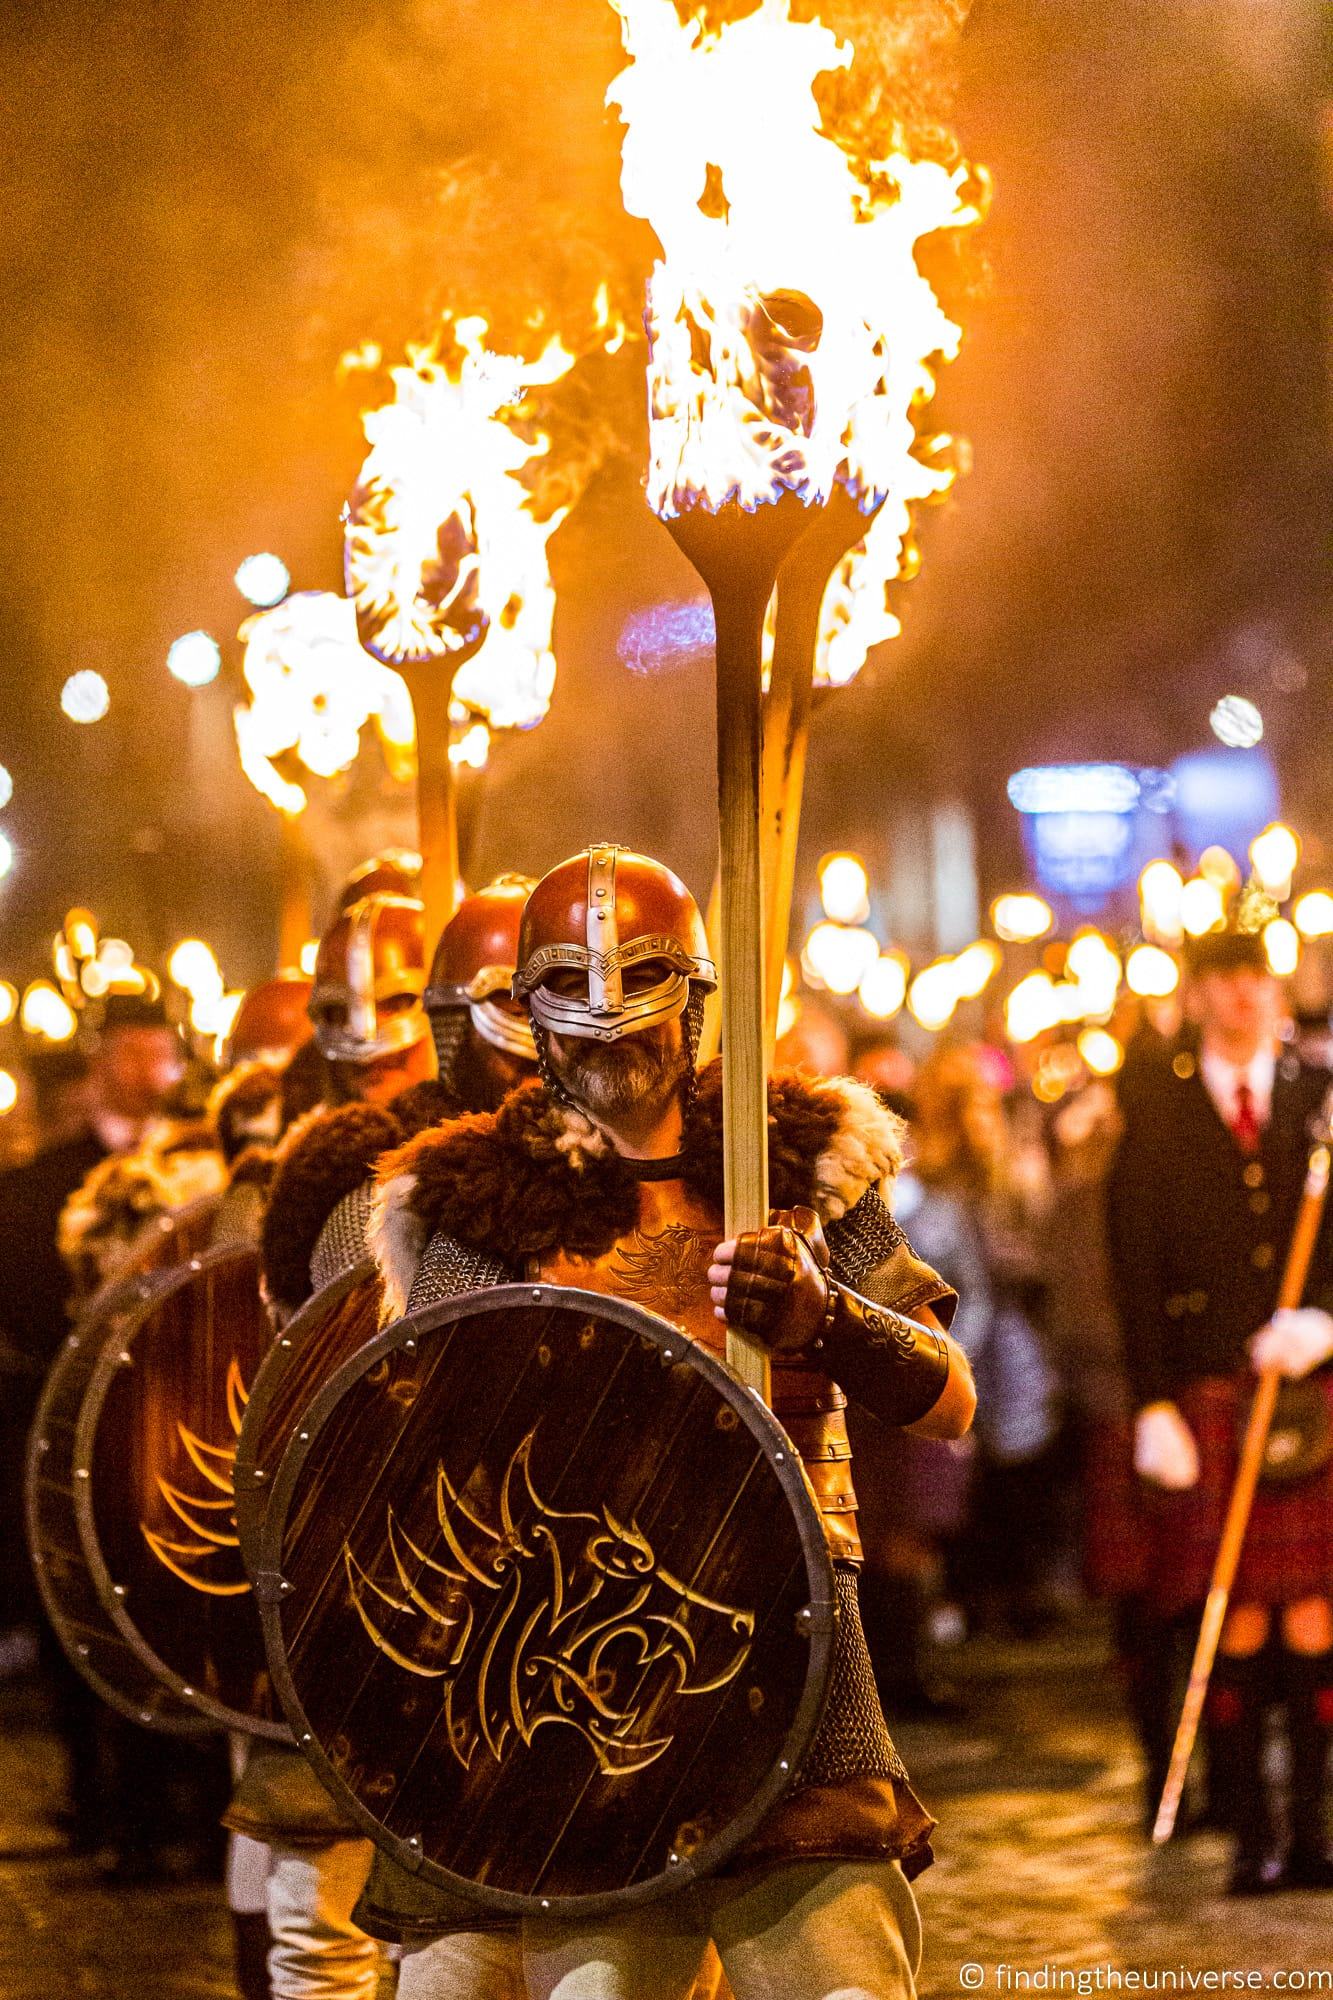
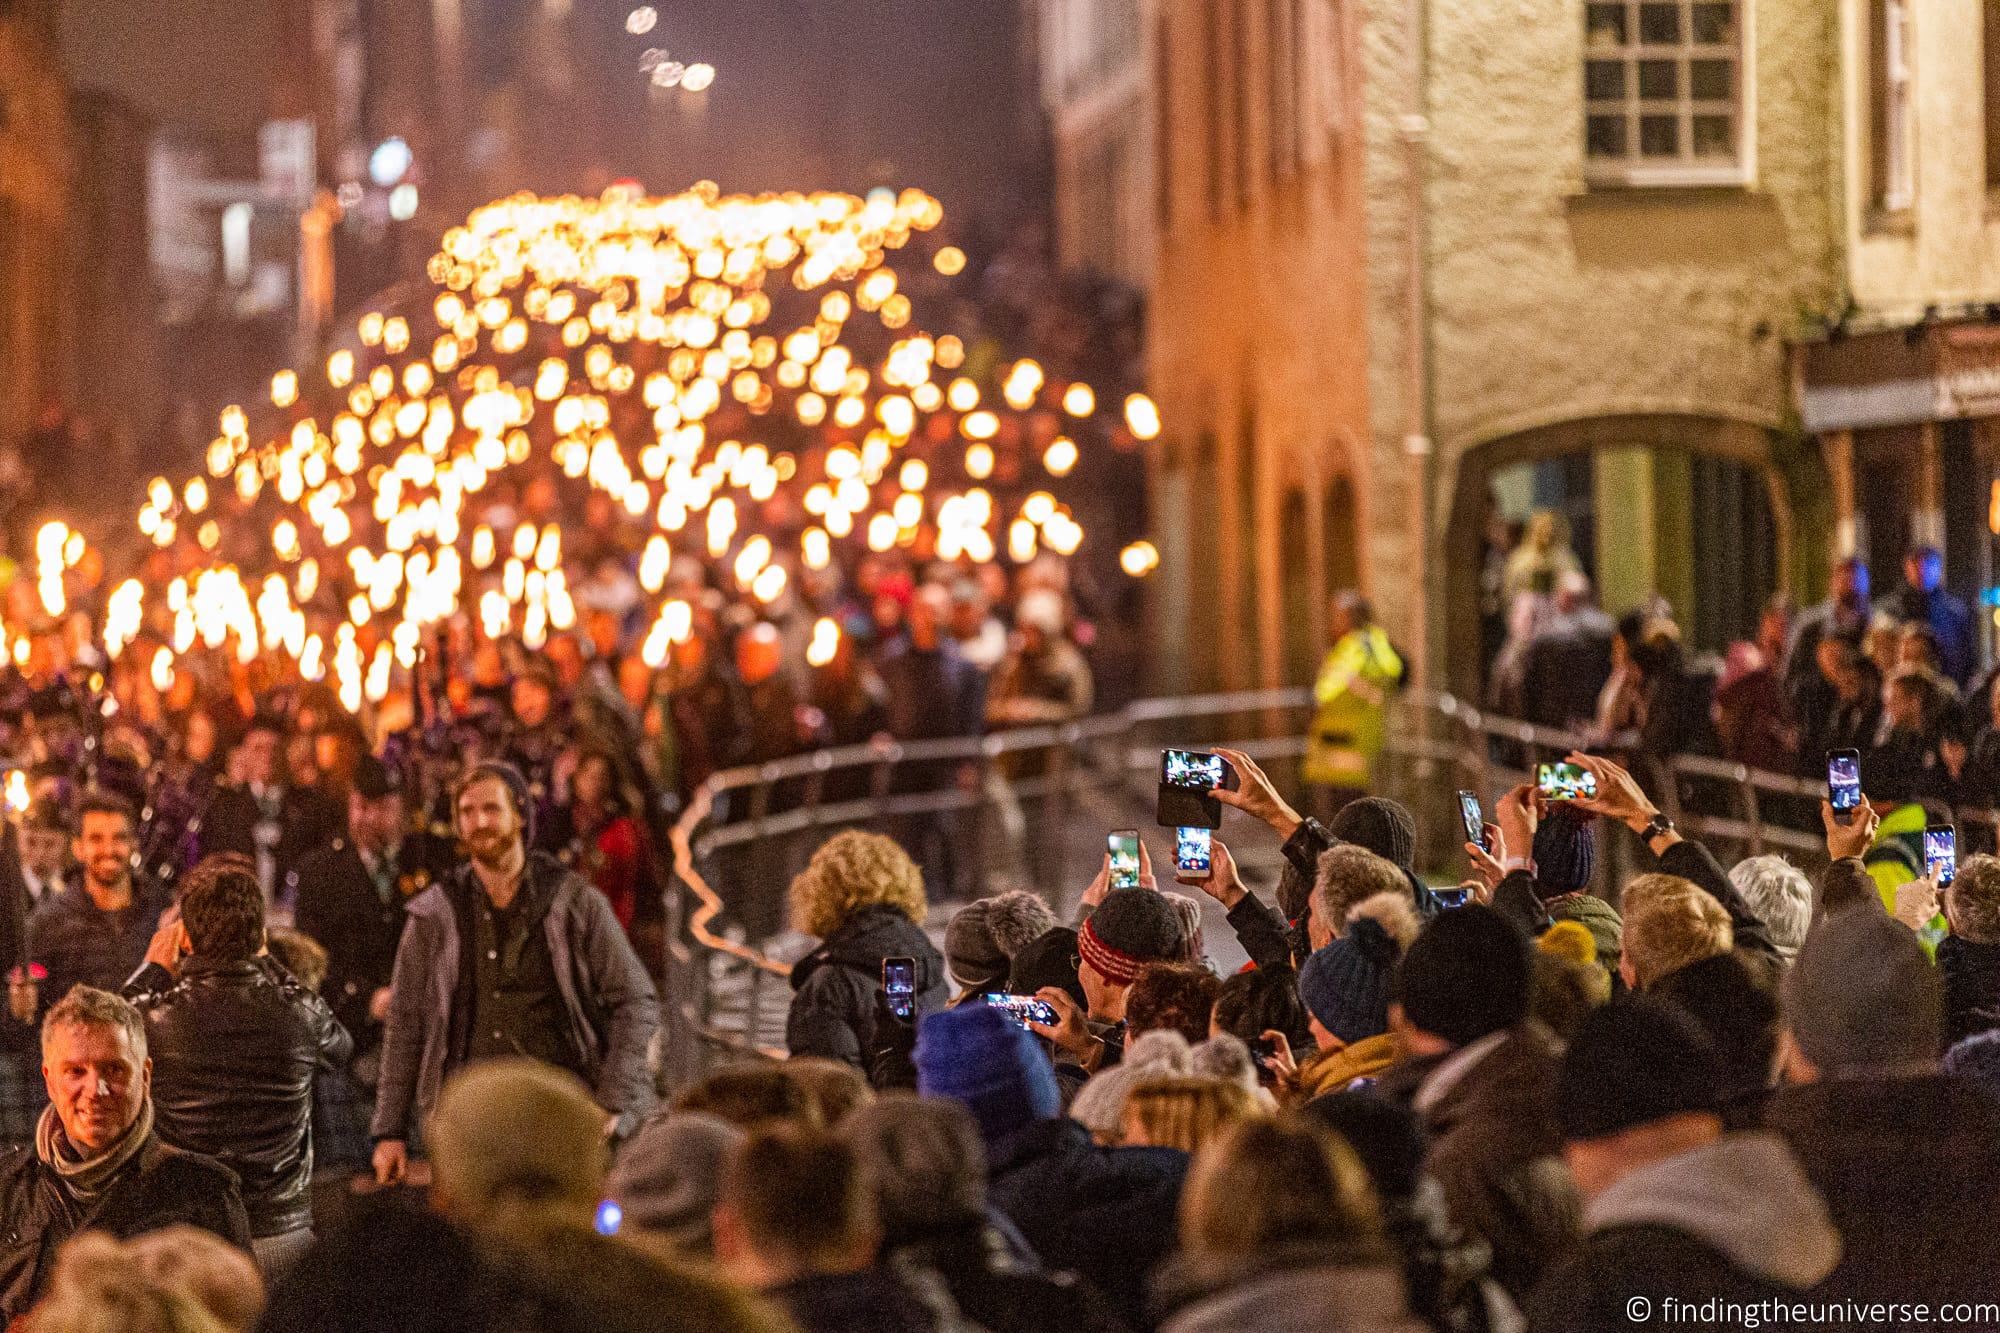
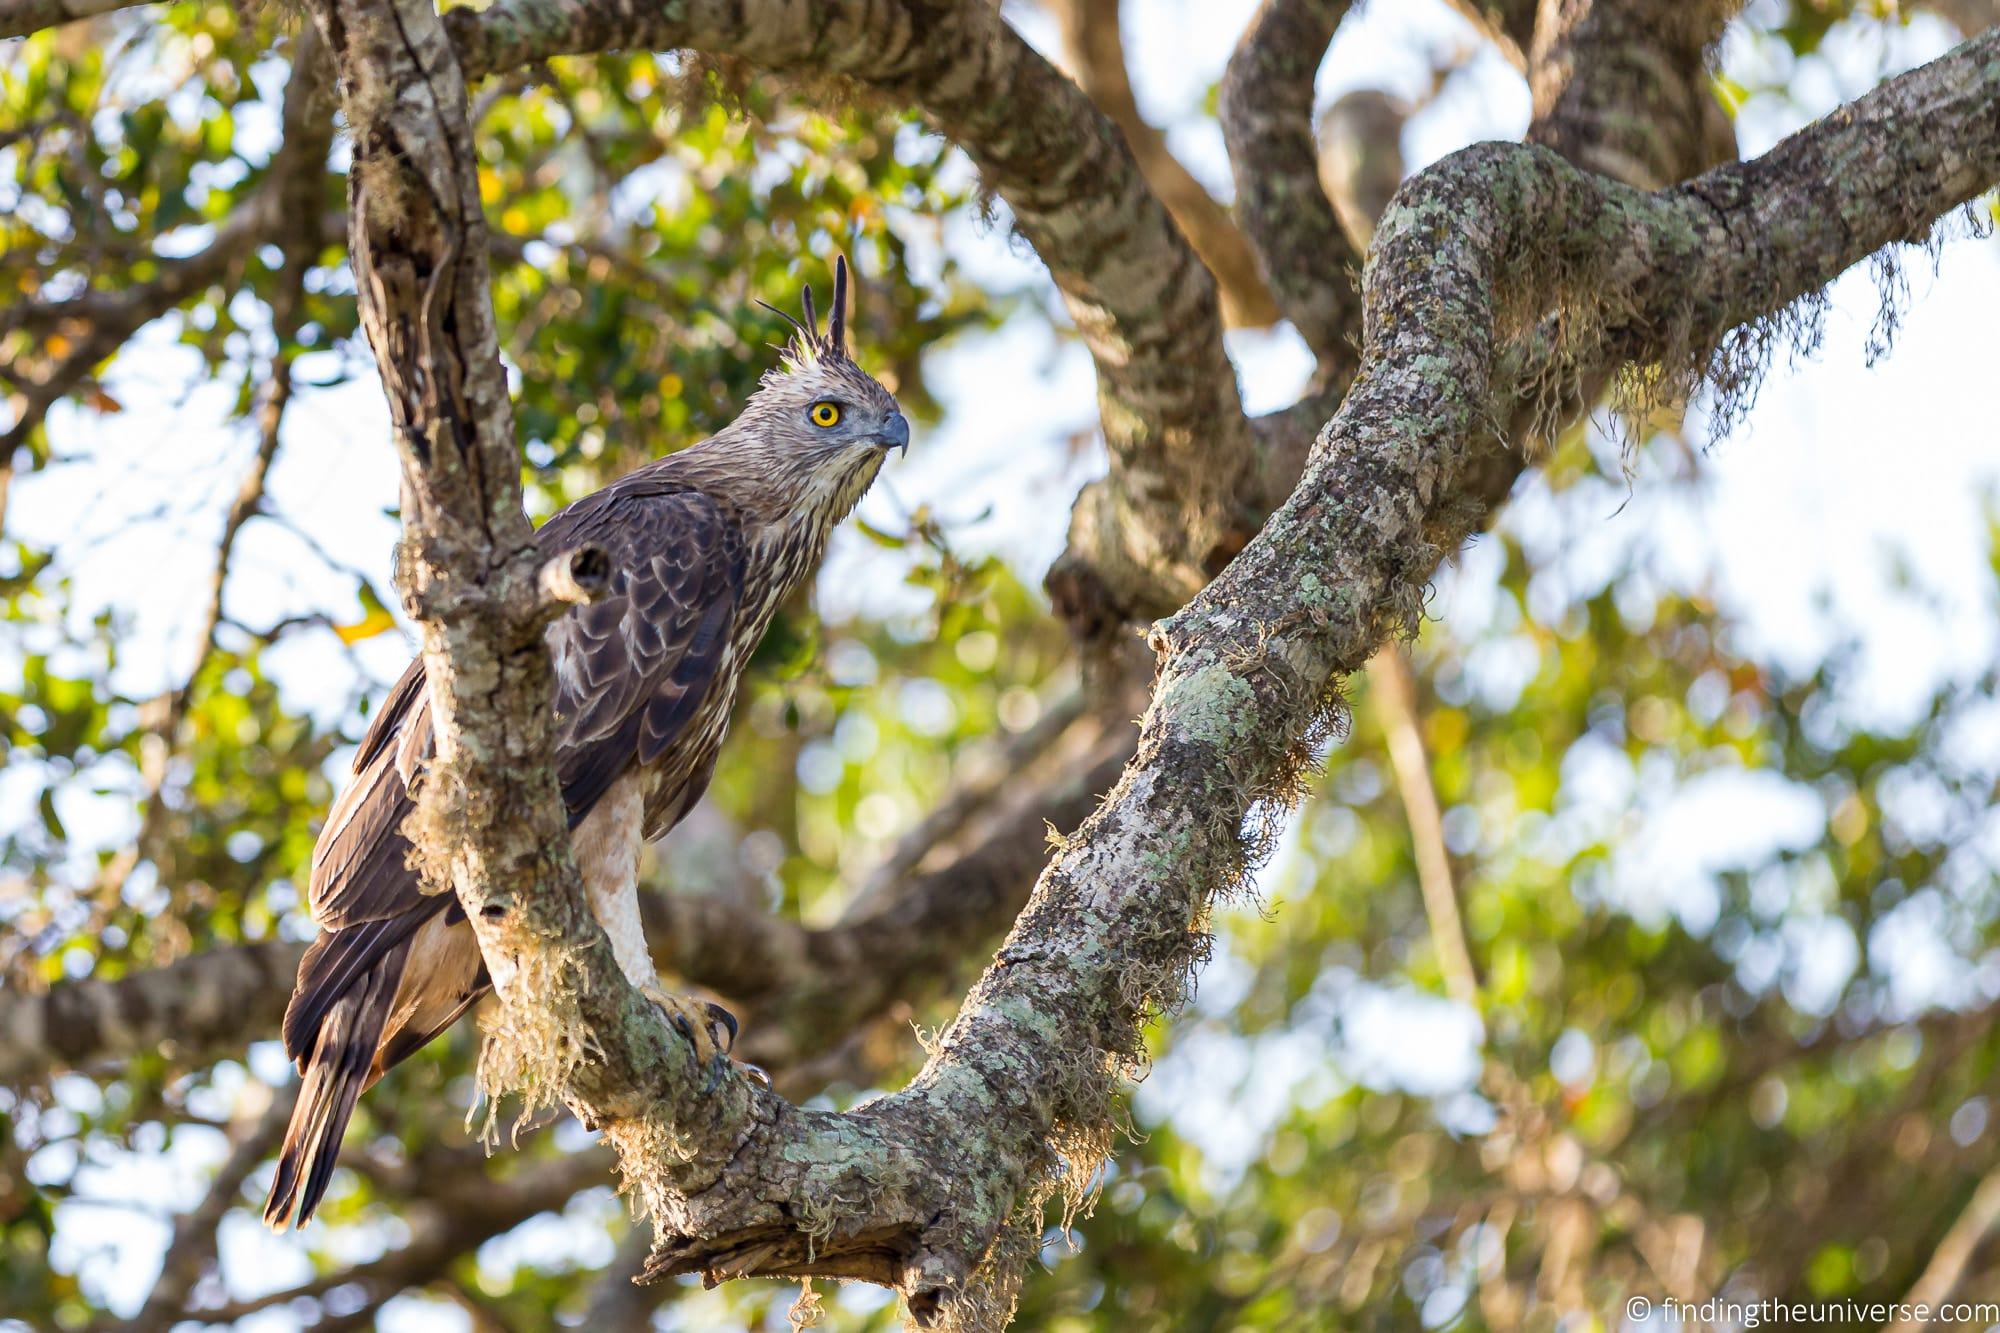
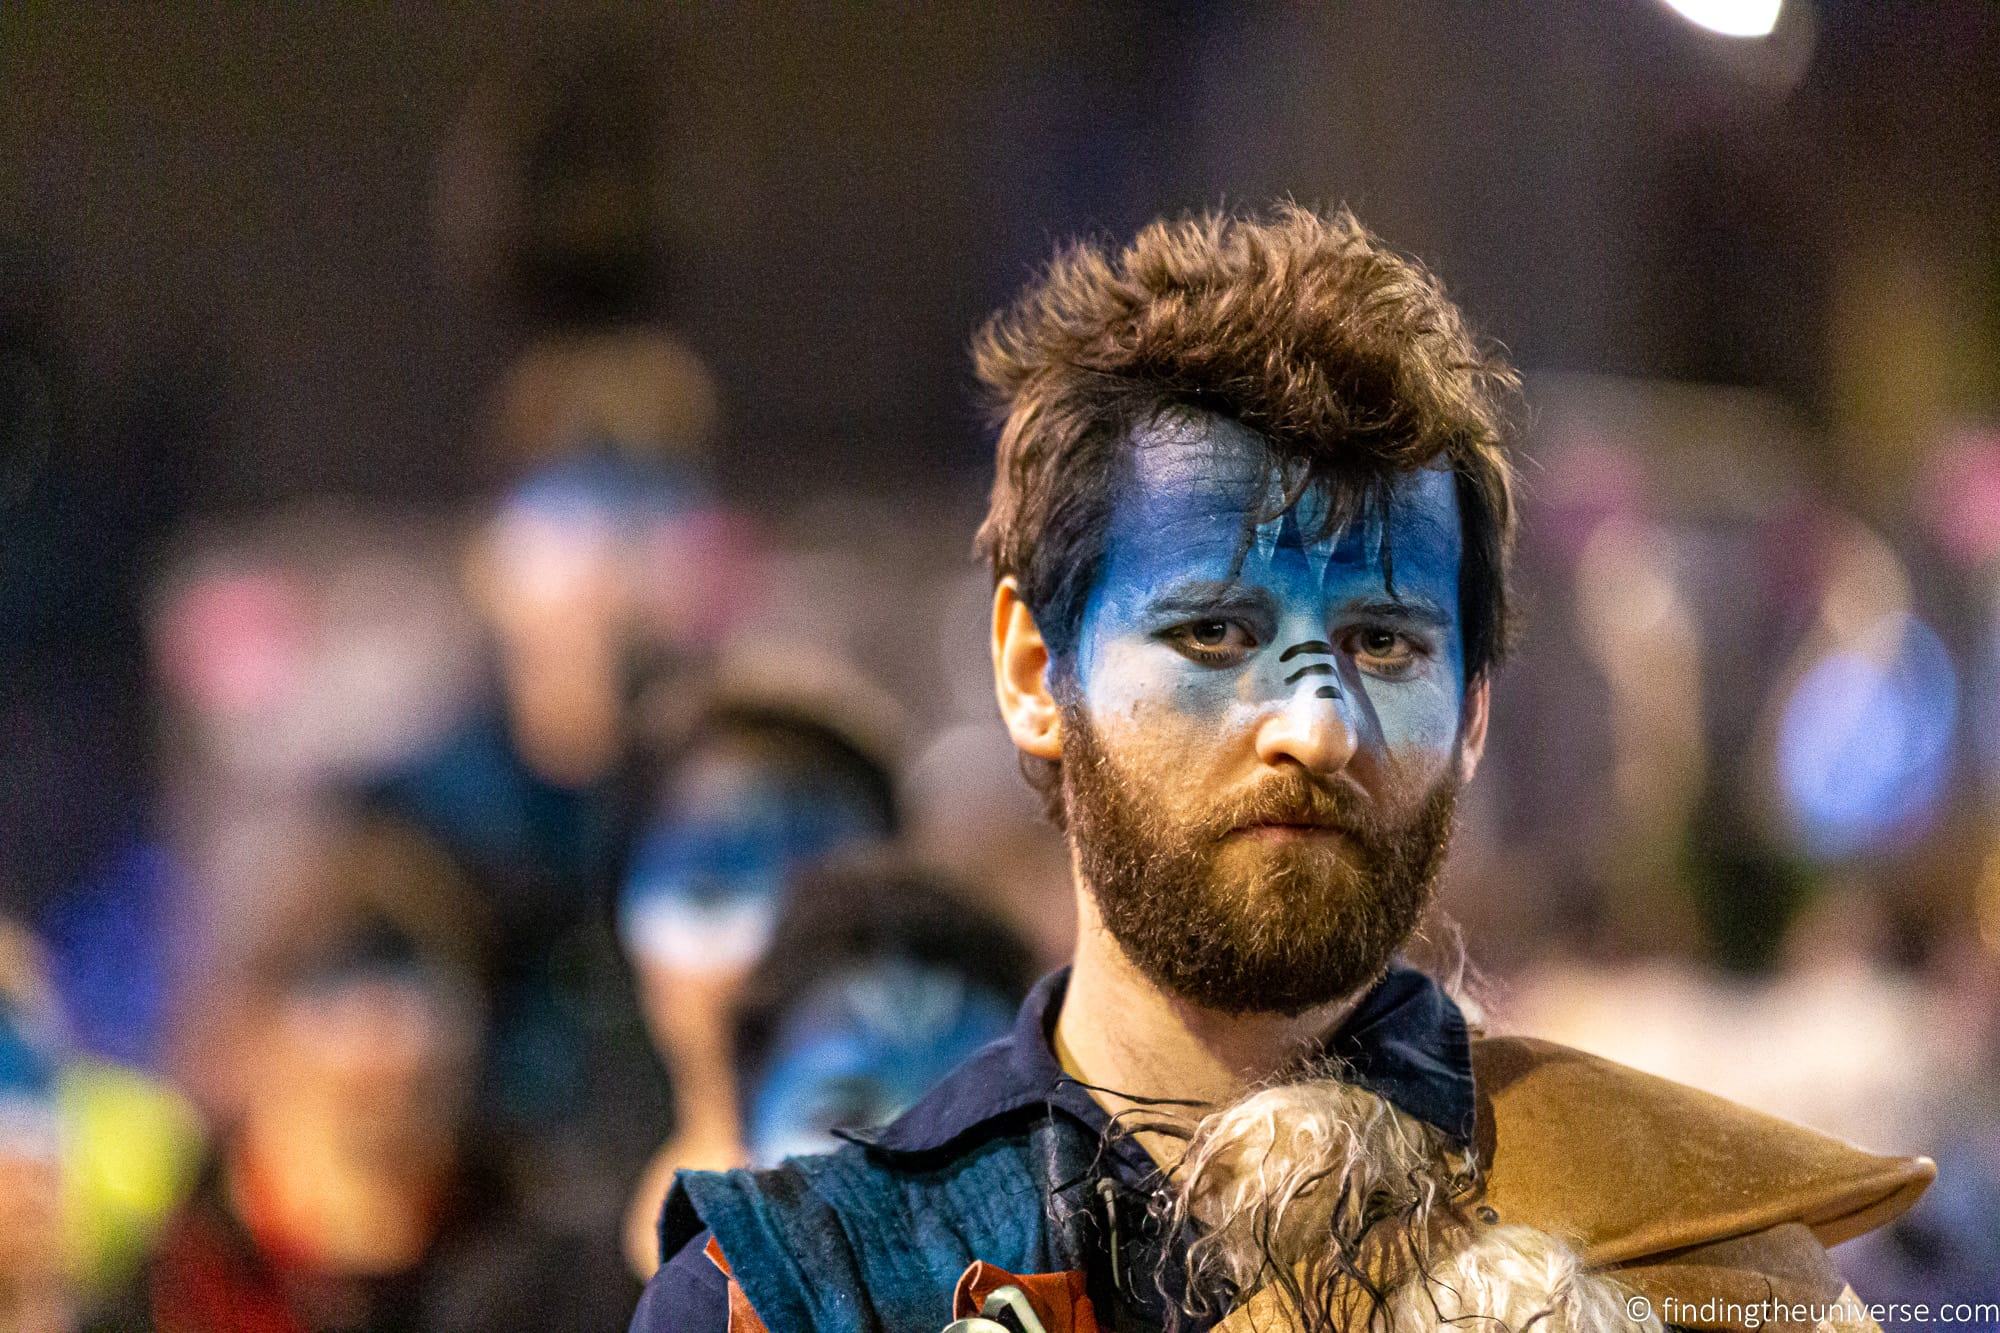
Personally I’ve used the Canon 50mm f/1.8 as well as a Canon 85mm f/1.8 and found they both produce excellent results. I’ve also gotten good results with my 70-200mm f/2.8 Canon lens, which was used for the below shot.
Tips for Bokeh
If you’re trying to achieve some bokeh effects in your photos but are not getting the results you want, or just want some general tips, here are some suggestions.
First, ensure there is enough depth in your image. What do I mean by that? Well, a common mistake when trying to achieve bokeh effects, or depth of field in general, is shooting a scene which is relatively two dimensional.
For example, imagine you are shooting a person standing directly in front of a wall. If all that is in the shot is the person and the wall directly behind them, then the shot does not have very much depth. For the best results, a shallow depth of field effect and in turn bokeh, requires there to be some distance between the subject and any foreground or background objects.
Instead, consider composing your images so there is plenty of depth behind your subject.
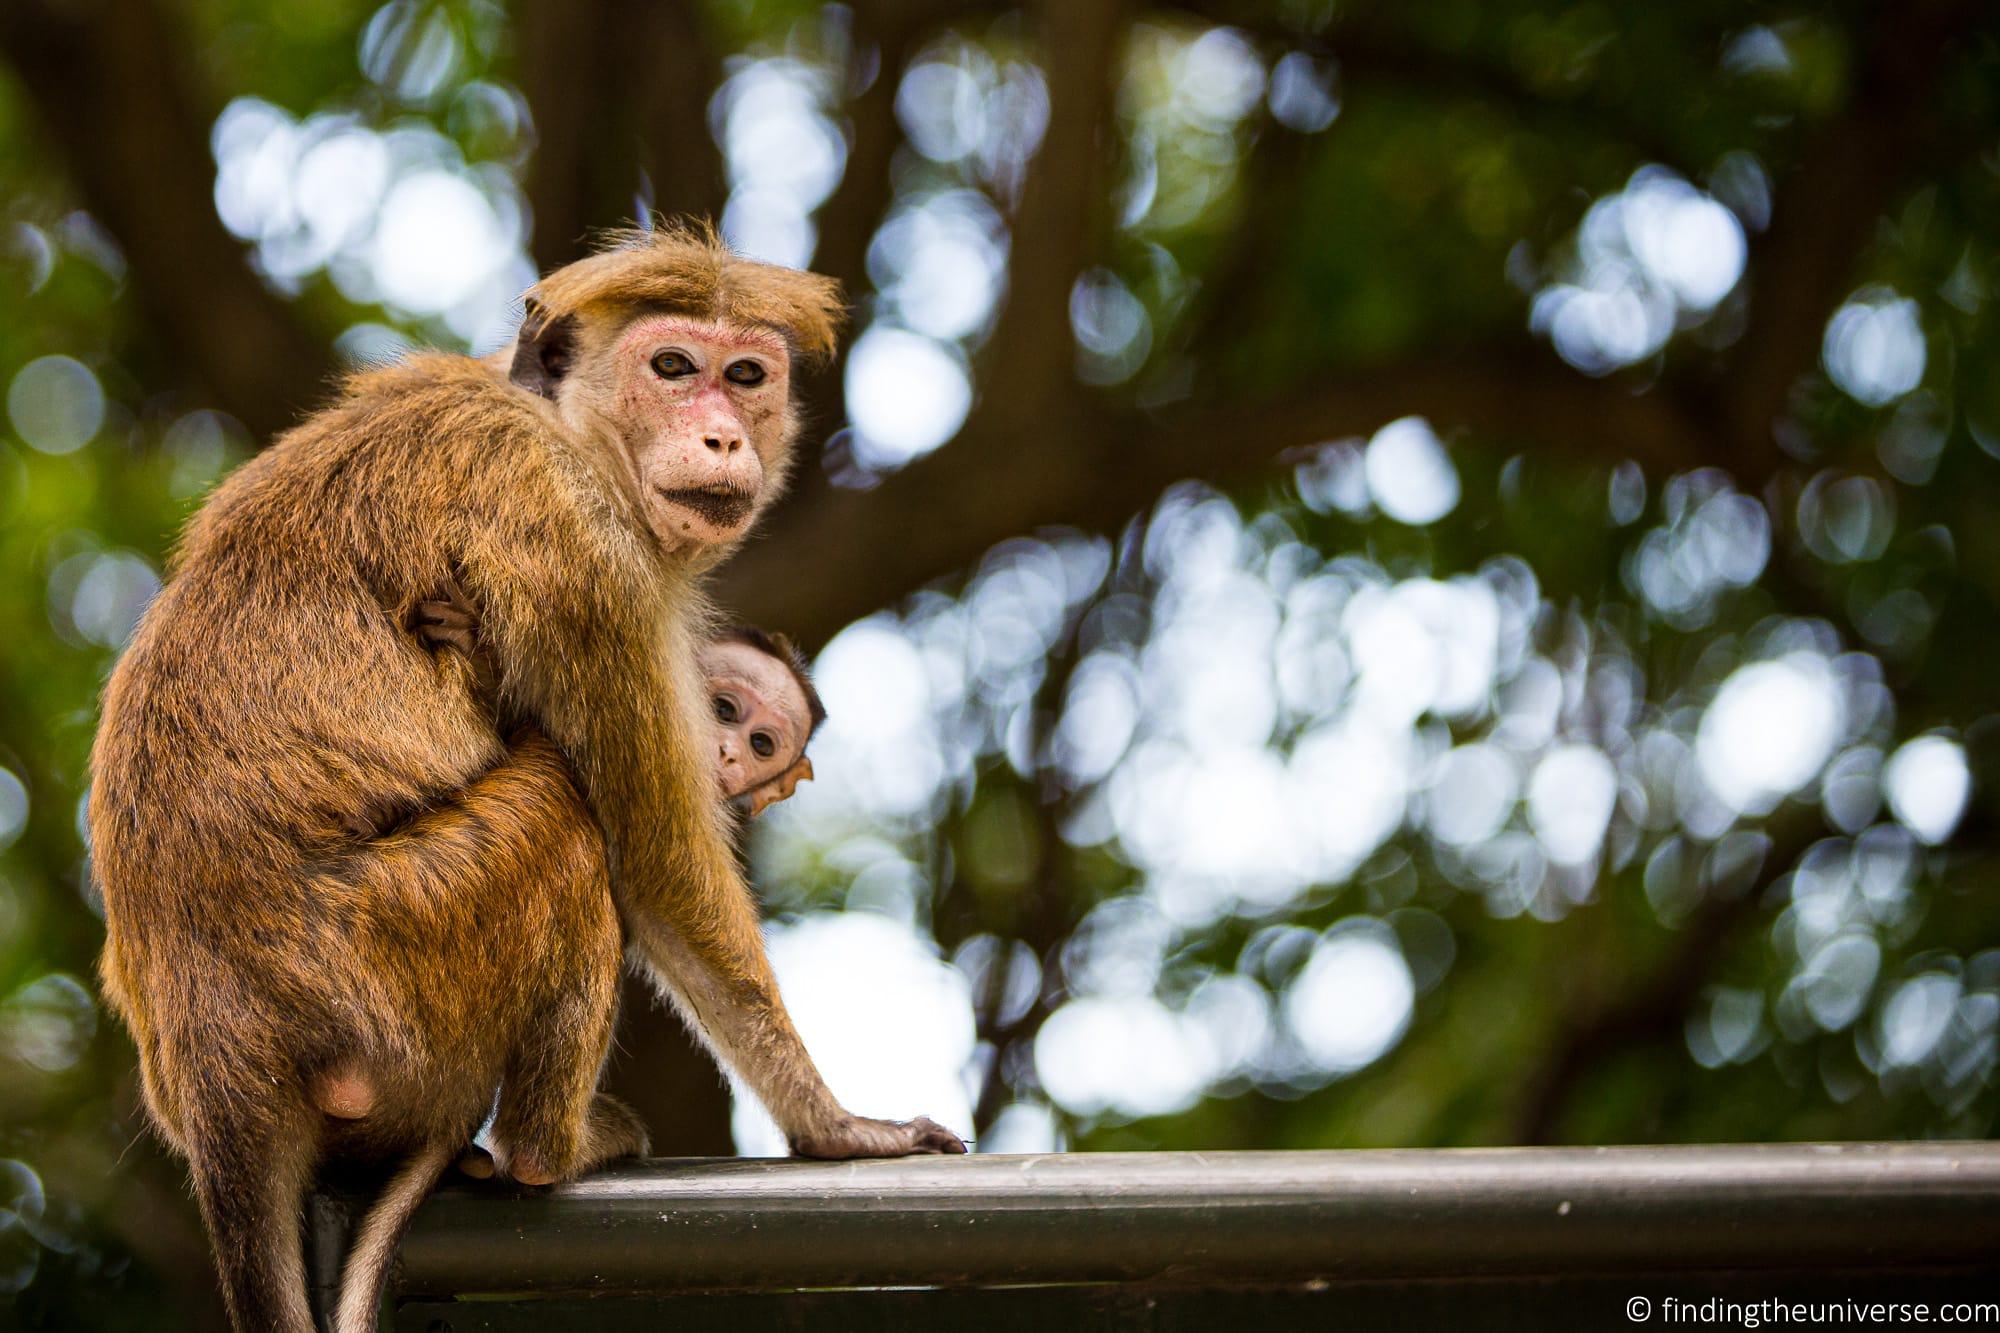
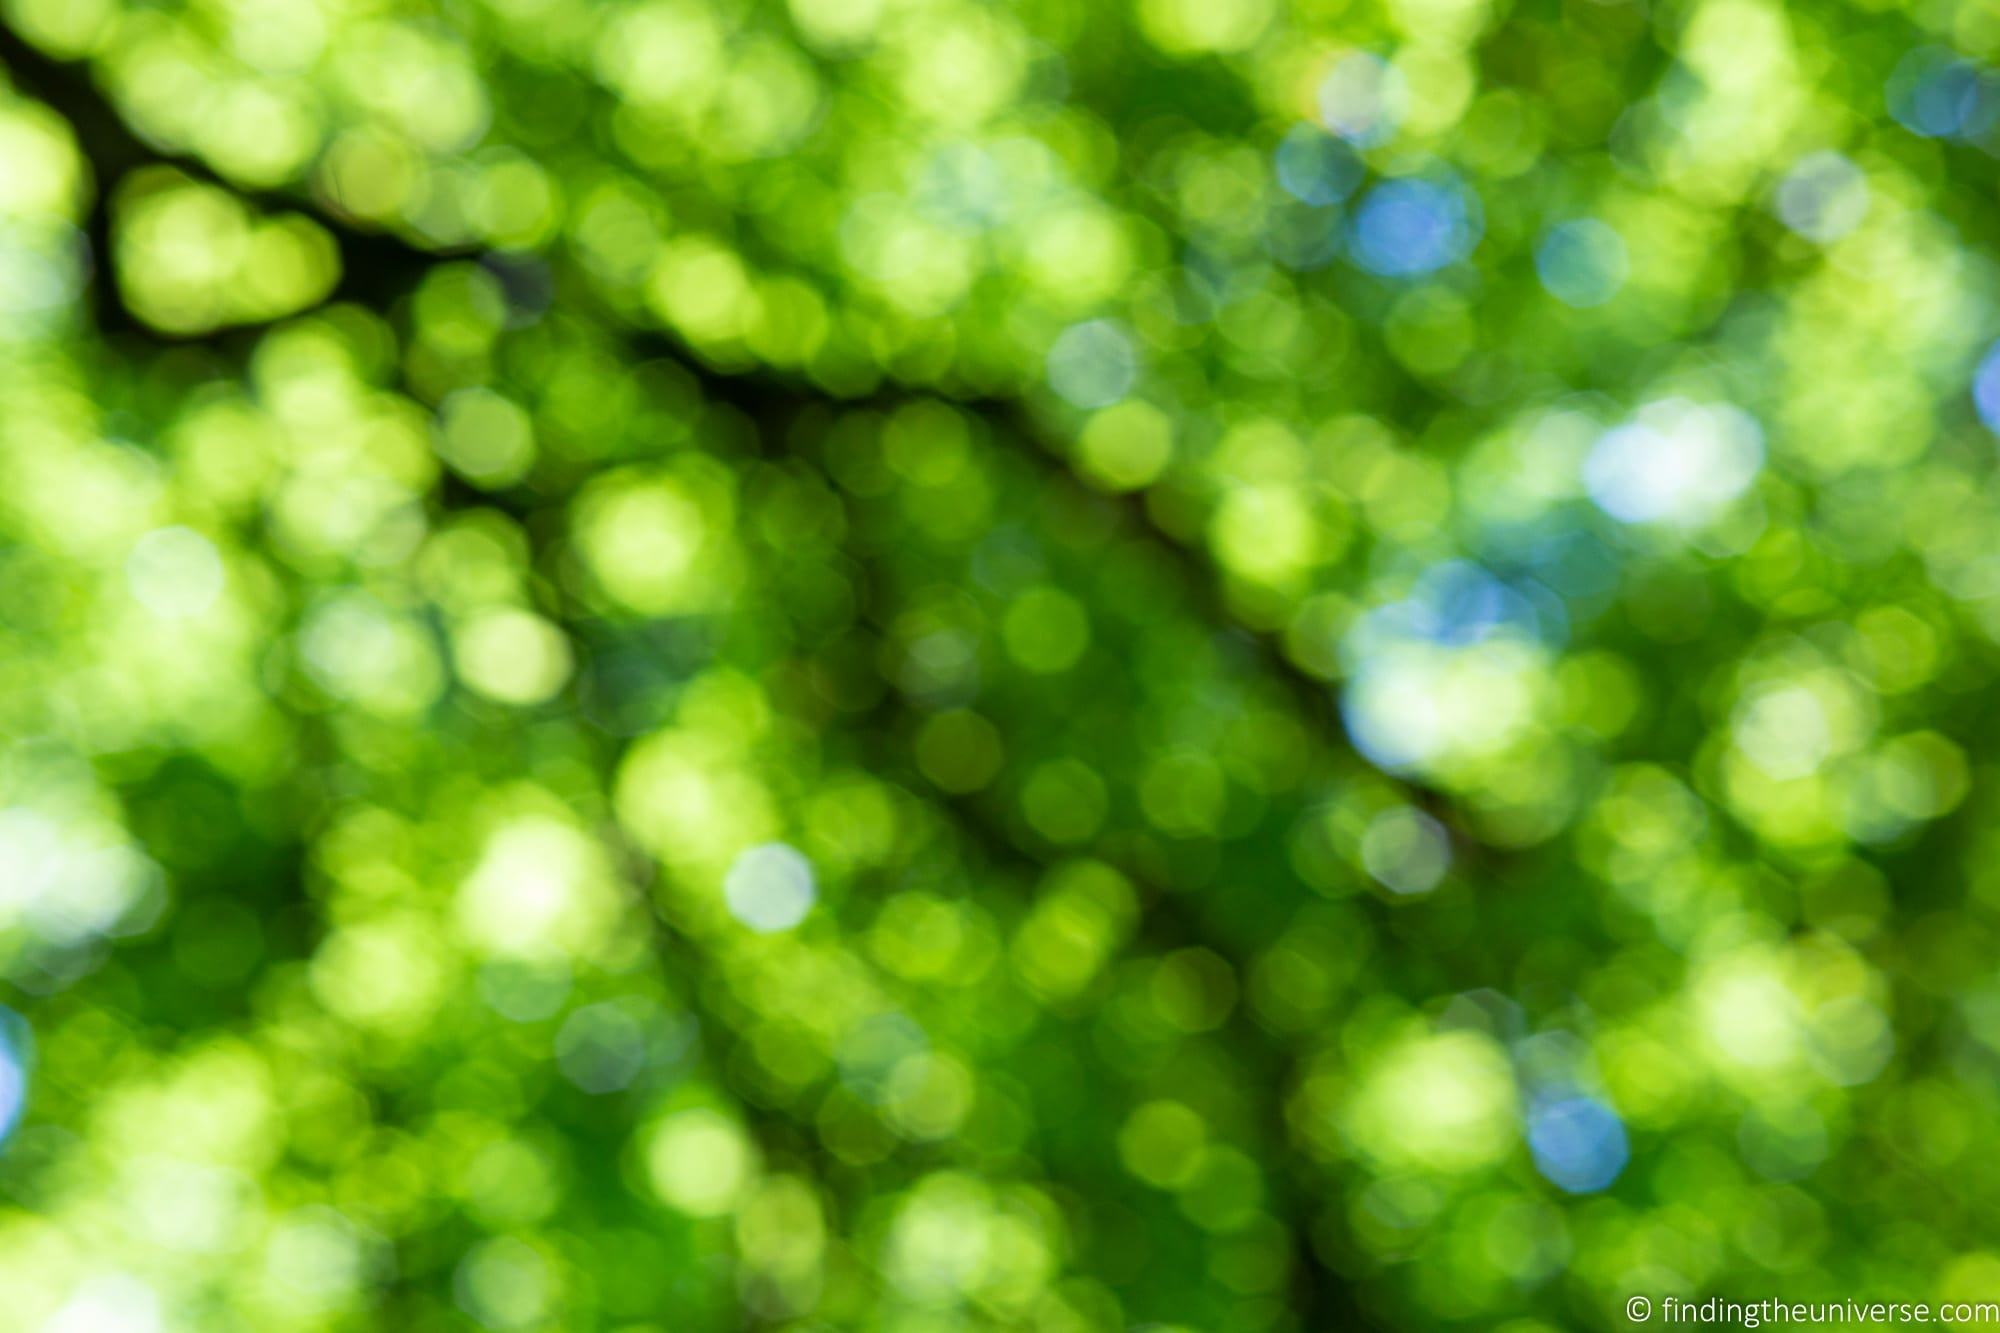
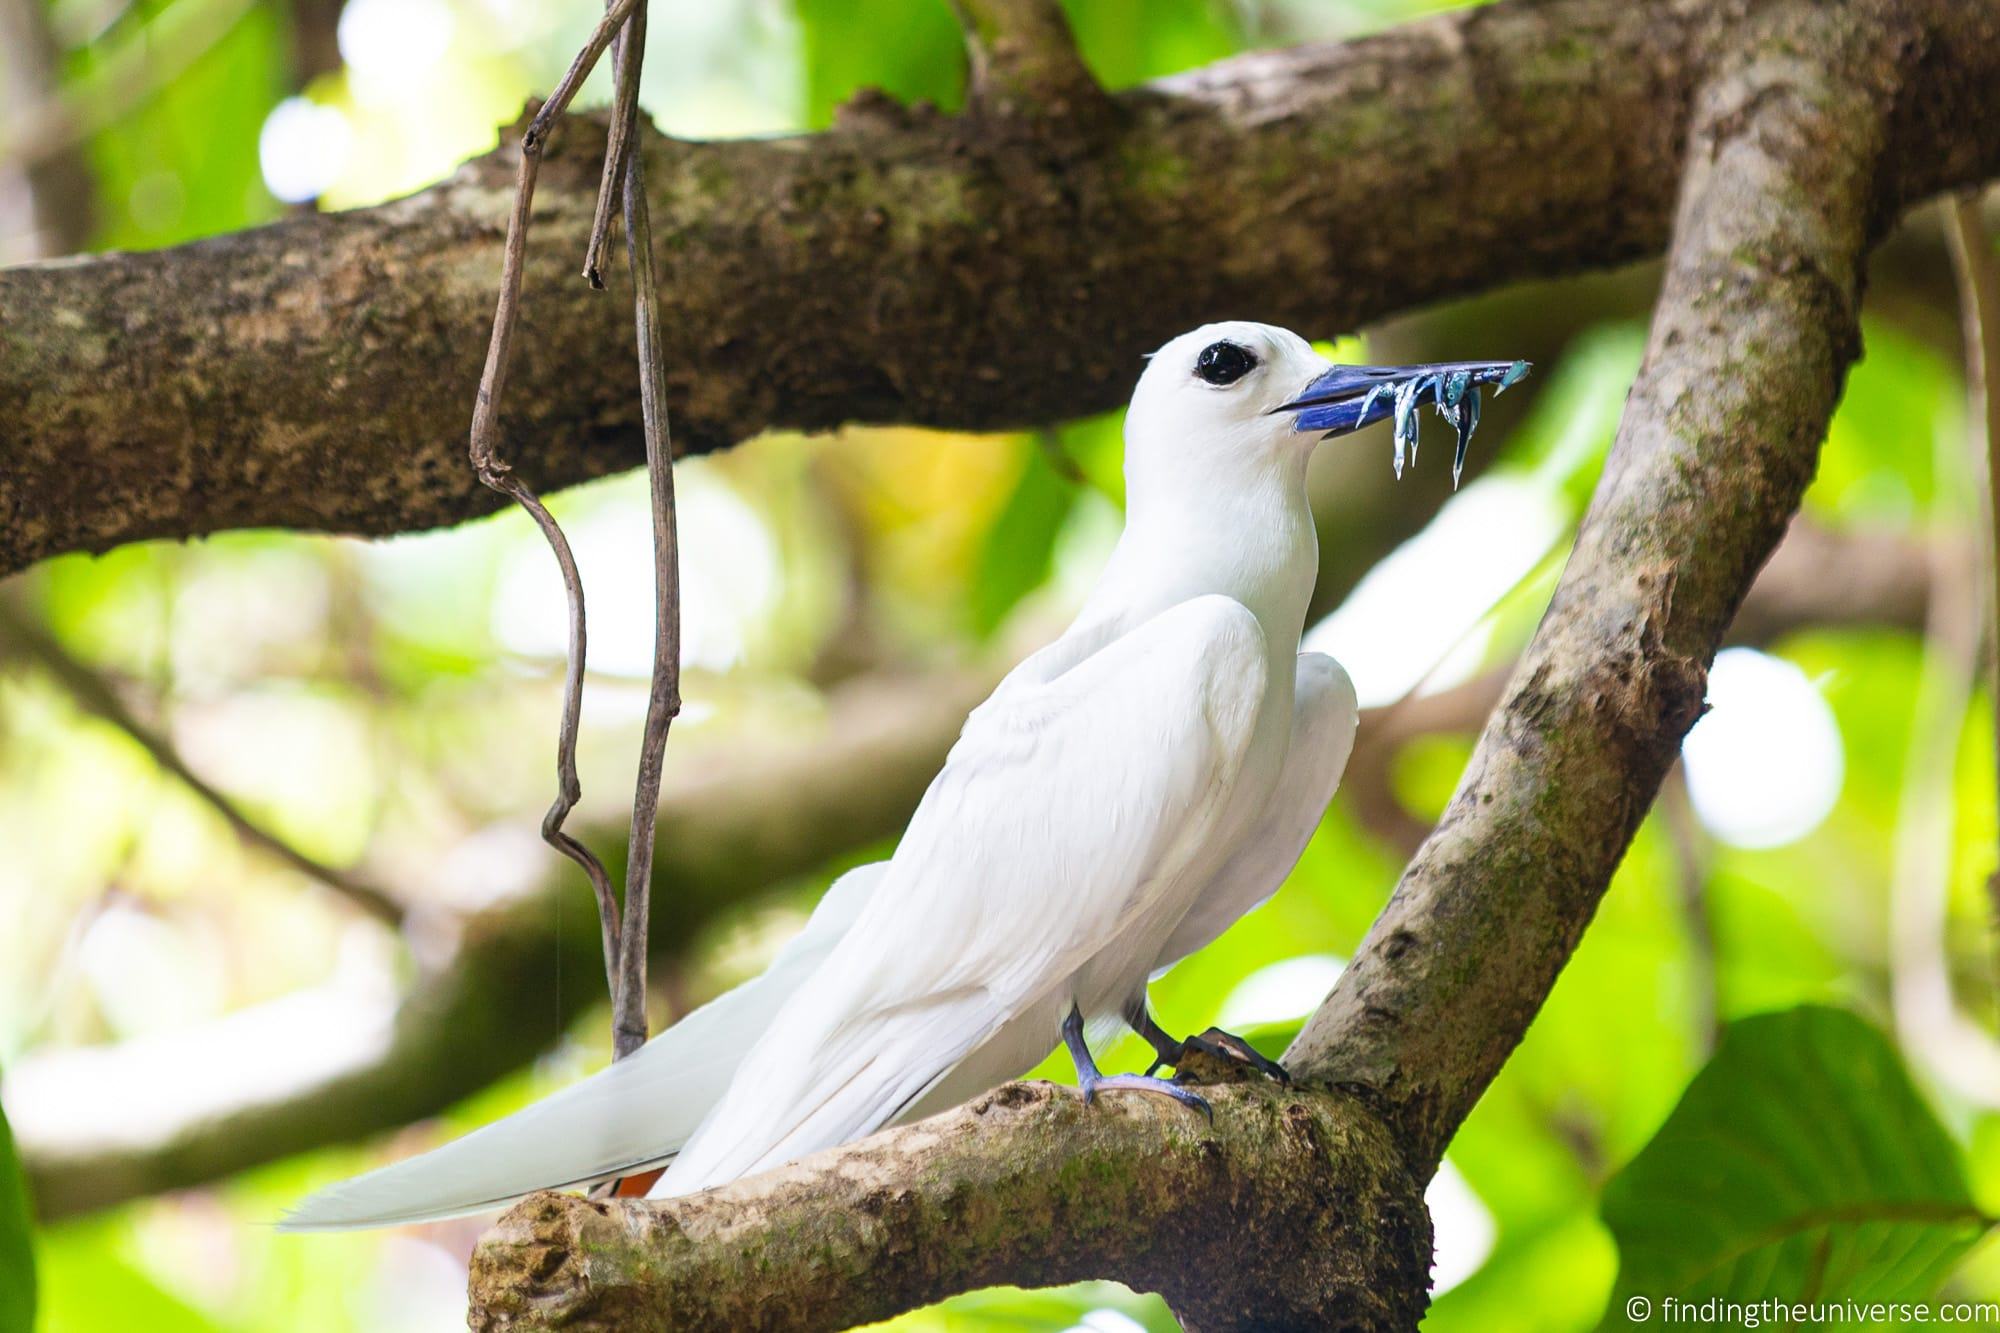
In terms of what makes for good bokeh, this varies. However, some subjects are better than others. A plain blue sky for example will likely not result in good bokeh, as you need some elements to create the effect. Good subjects for background that will create pleasing bokeh are foliage such as tree leaves, and background lights.
For your main subject, a shallow depth of field with nice bokeh works well with a portrait of a person or animal as your main shot. You can also take abstract shots which are just bokeh if you are feeling artistic!

Camera Settings for Bokeh
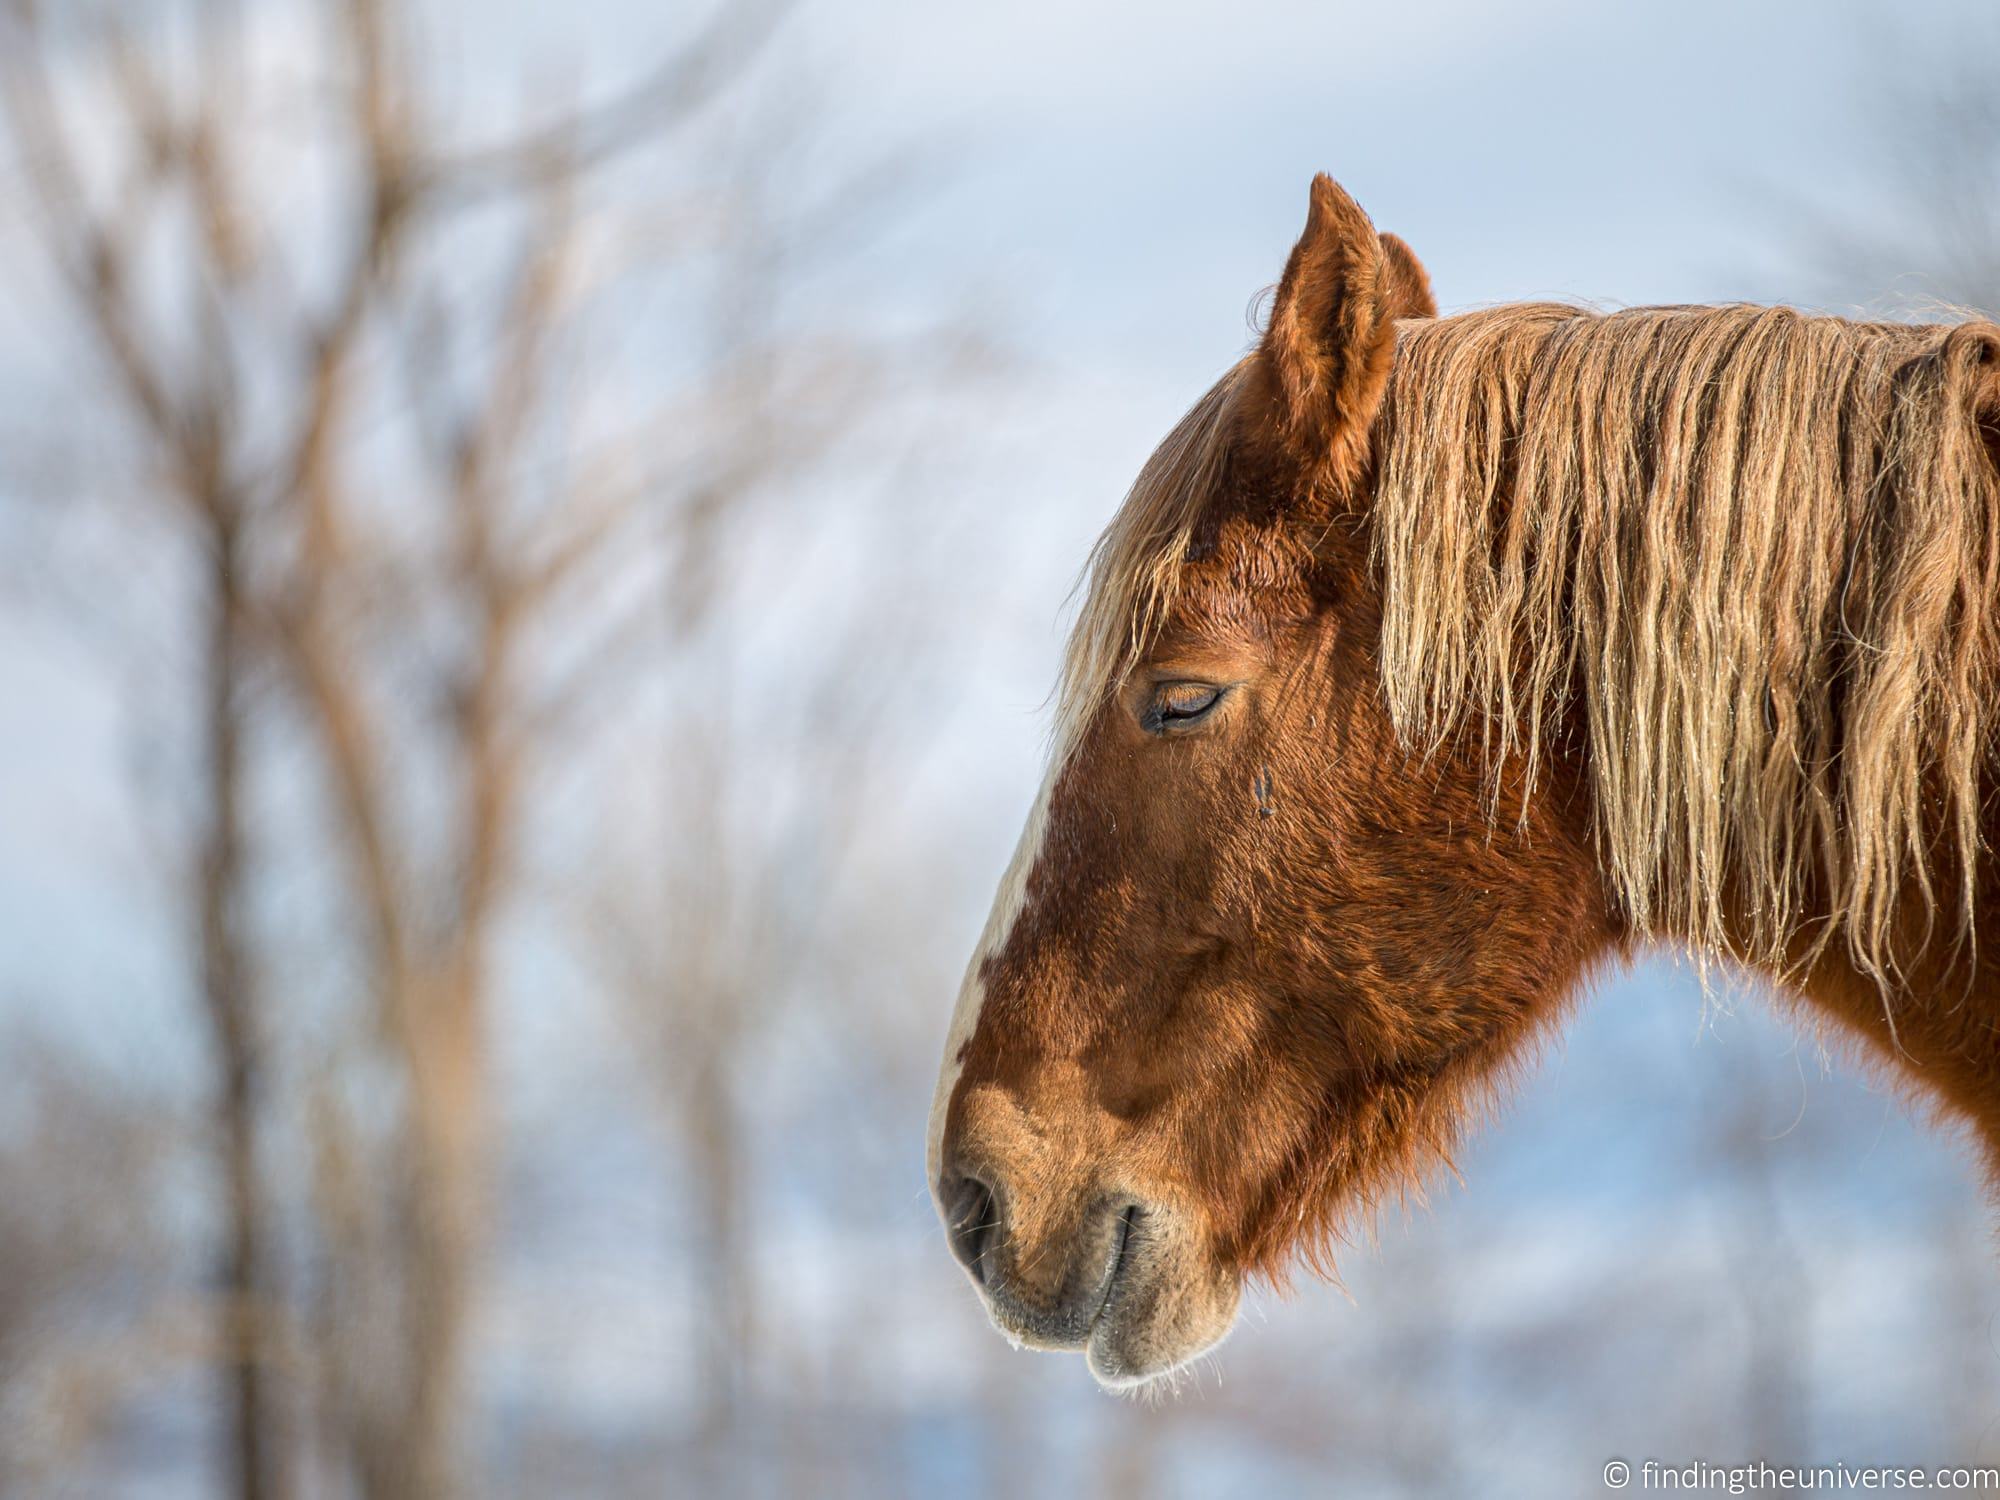
Bokeh requires you to control the depth of field, which means controlling the aperture. You want a wide open aperture, basically, the widest your camera lens will allow for.
Settings wise, if your camera has an aperture priority mode I would use that, as this will let you set the aperture whilst the camera controls the other settings. You can read more about the key controls your camera gives you to control exposure in my guide to the exposure triangle.
Manual mode will also work if your camera has that, however it’s not necessary to shoot in manual to achieve the bokeh effect.
If your camera doesn’t have an aperture priority or manual mode, then look to see if is has a portrait mode. In portrait mode, most cameras will endeavour to create a shallow depth of field, so this can also work.
Other than the aperture, the other settings on your camera are not so important for bokeh. Just ensure you set your camera up for a nicely exposed and well composed image, and you should be good to go!
Creating Bokeh when Editing your Photos
Whilst ideally you would be able to achieve bokeh when you take your photo, this might not always be possible, depending on conditions and your equipment.
However, you can simulate depth of field to a degree, and also bokeh effects, using popular photography editing apps like Photoshop or Luminar. You can also do it using smartphone apps as previously discussed in the earlier section on getting bokeh in smartphones.
The process will vary depending on the tool, but will usually require you to select the background area and apply some sort of blur effect. On Photoshop for example, bokeh can be simulated with the Field Blur tool, found within the blur gallery.
Further Reading
Well, that’s it for our guide to bokeh in photography! I hope you found it useful.
Before you head off, I wanted to share some more photography tips and advice that I’ve put together in the years of running this site.
- We have a guide to how to use a compact camera, how to use a DSLR camera, and how to use a mirrorless camera. We also have a guide to how a DSLR works
- Knowing how to compose a great photo is a key photography skill. See our guide to composition in photography for lots of tips on this subject
- We have a guide to what depth of field is and when you would want to use it.
- We are big fans of getting the most out of your digital photo files, and do to that you will need to shoot in RAW. See our guide to RAW in photography to understand what RAW is, and why you should switch to RAW as soon as you can if your camera supports it.
- Color accuracy is important for photography – see our guide to monitor calibration to ensure your screen is set up correctly.
- We have a guide to the best photo editing software, as well as a guide to the best laptops for photo editing for some tips on what to look for.
- If you’re looking for more advice on specific tips for different scenarios, we also have you covered. See our guide to Northern Lights photography, long exposure photography, fireworks photography, tips for taking photos of stars, and cold weather photography.
- If you’re looking for a great gift for a photography loving friend or family member (or yourself!), take a look at our photography gift guide,
- If you’re in the market for a new camera, we have a detailed guide to the best travel cameras, as well as specific guides for the best cameras for hiking and backpacking, the best compact camera, best mirrorless camera, best bridge camera, and best DSLR camera. We also have a guide to the best camera lenses.
- If you want a camera or lens, but the prices are a bit high, see our guide to where to buy used cameras and camera gear for some budget savings options.
- We have a guide to why you need a tripod, a guide to choosing a travel tripod, and a round-up of the best travel tripods.
Looking to Improve Your Photography?
If you found this post helpful, and you want to improve your photography overall, you might want to check out my online travel photography course.
Since launching the course in 2016, I’ve already helped over 2,000 students learn how to take better photos. The course covers pretty much everything you need to know, from the basics of how a camera works, through to composition, light, and photo editing.
It also covers more advanced topics, including astrophotography, long exposure photography, flash photography, and HDR photography.
You get feedback from me as you progress through assignments, access to webinars, interviews and videos, as well as exclusive membership of a Facebook group where you can get feedback on your work and take part in regular fun photo challenges.
It’s available for an amazing one-off price for lifetime access, and I think you should check it out. Which you can do by clicking here.
And that’s it for our guide to bokeh in photography! If you have any questions or feedback, I’m here to listen and do my best to answer. Just pop them in the comments below and I’ll get back to you as soon as I can.
Marius D says
Hi Laurence,
nice and well-written article, very informative….
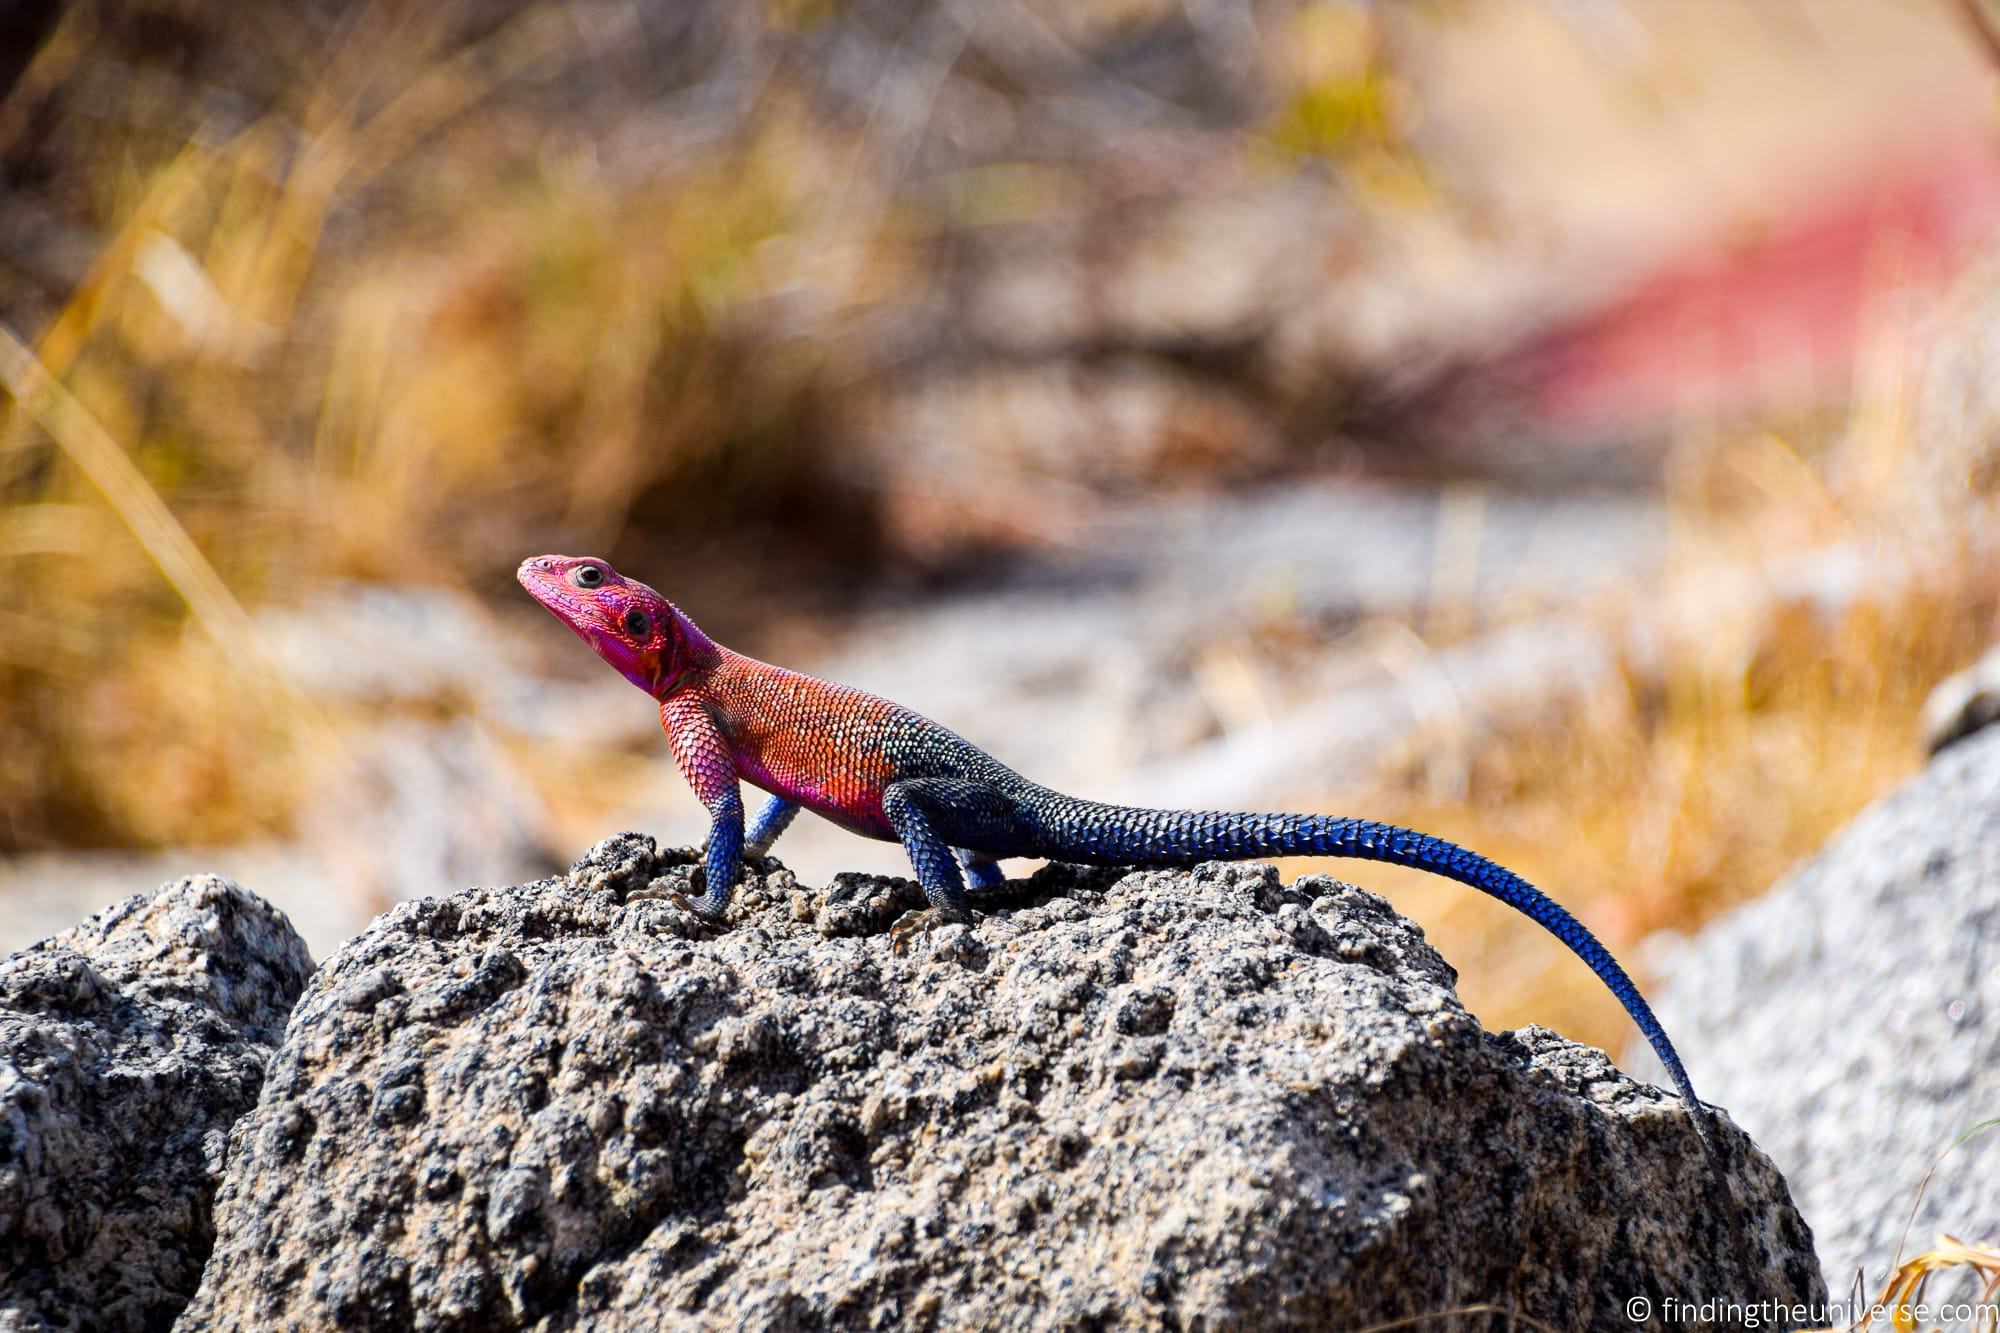
You say that you cannot get a bokeh effect with a smartphone, but newer smartphones, the onew with quad-camera on back have a depth sensor with the help of which you can get a bokeh, of course it is not as high quality as with a camera or as the one you have in your lead picture (the one with the lizard). I can get bokeh for instance with my Xiaomi phone which is not an expensive one, it only cost like 200 USD. I can send you a picture if you wish to get a glance at my effect.
But once again very nice article.
Laurence Norah says
Hey Marius – thanks for your comment and e-mail! In the article I said that Bokeh is difficult to achieve with a smartphone, but I do say that it’s possible, particularly with a multi-camera smartphone like you mention 🙂