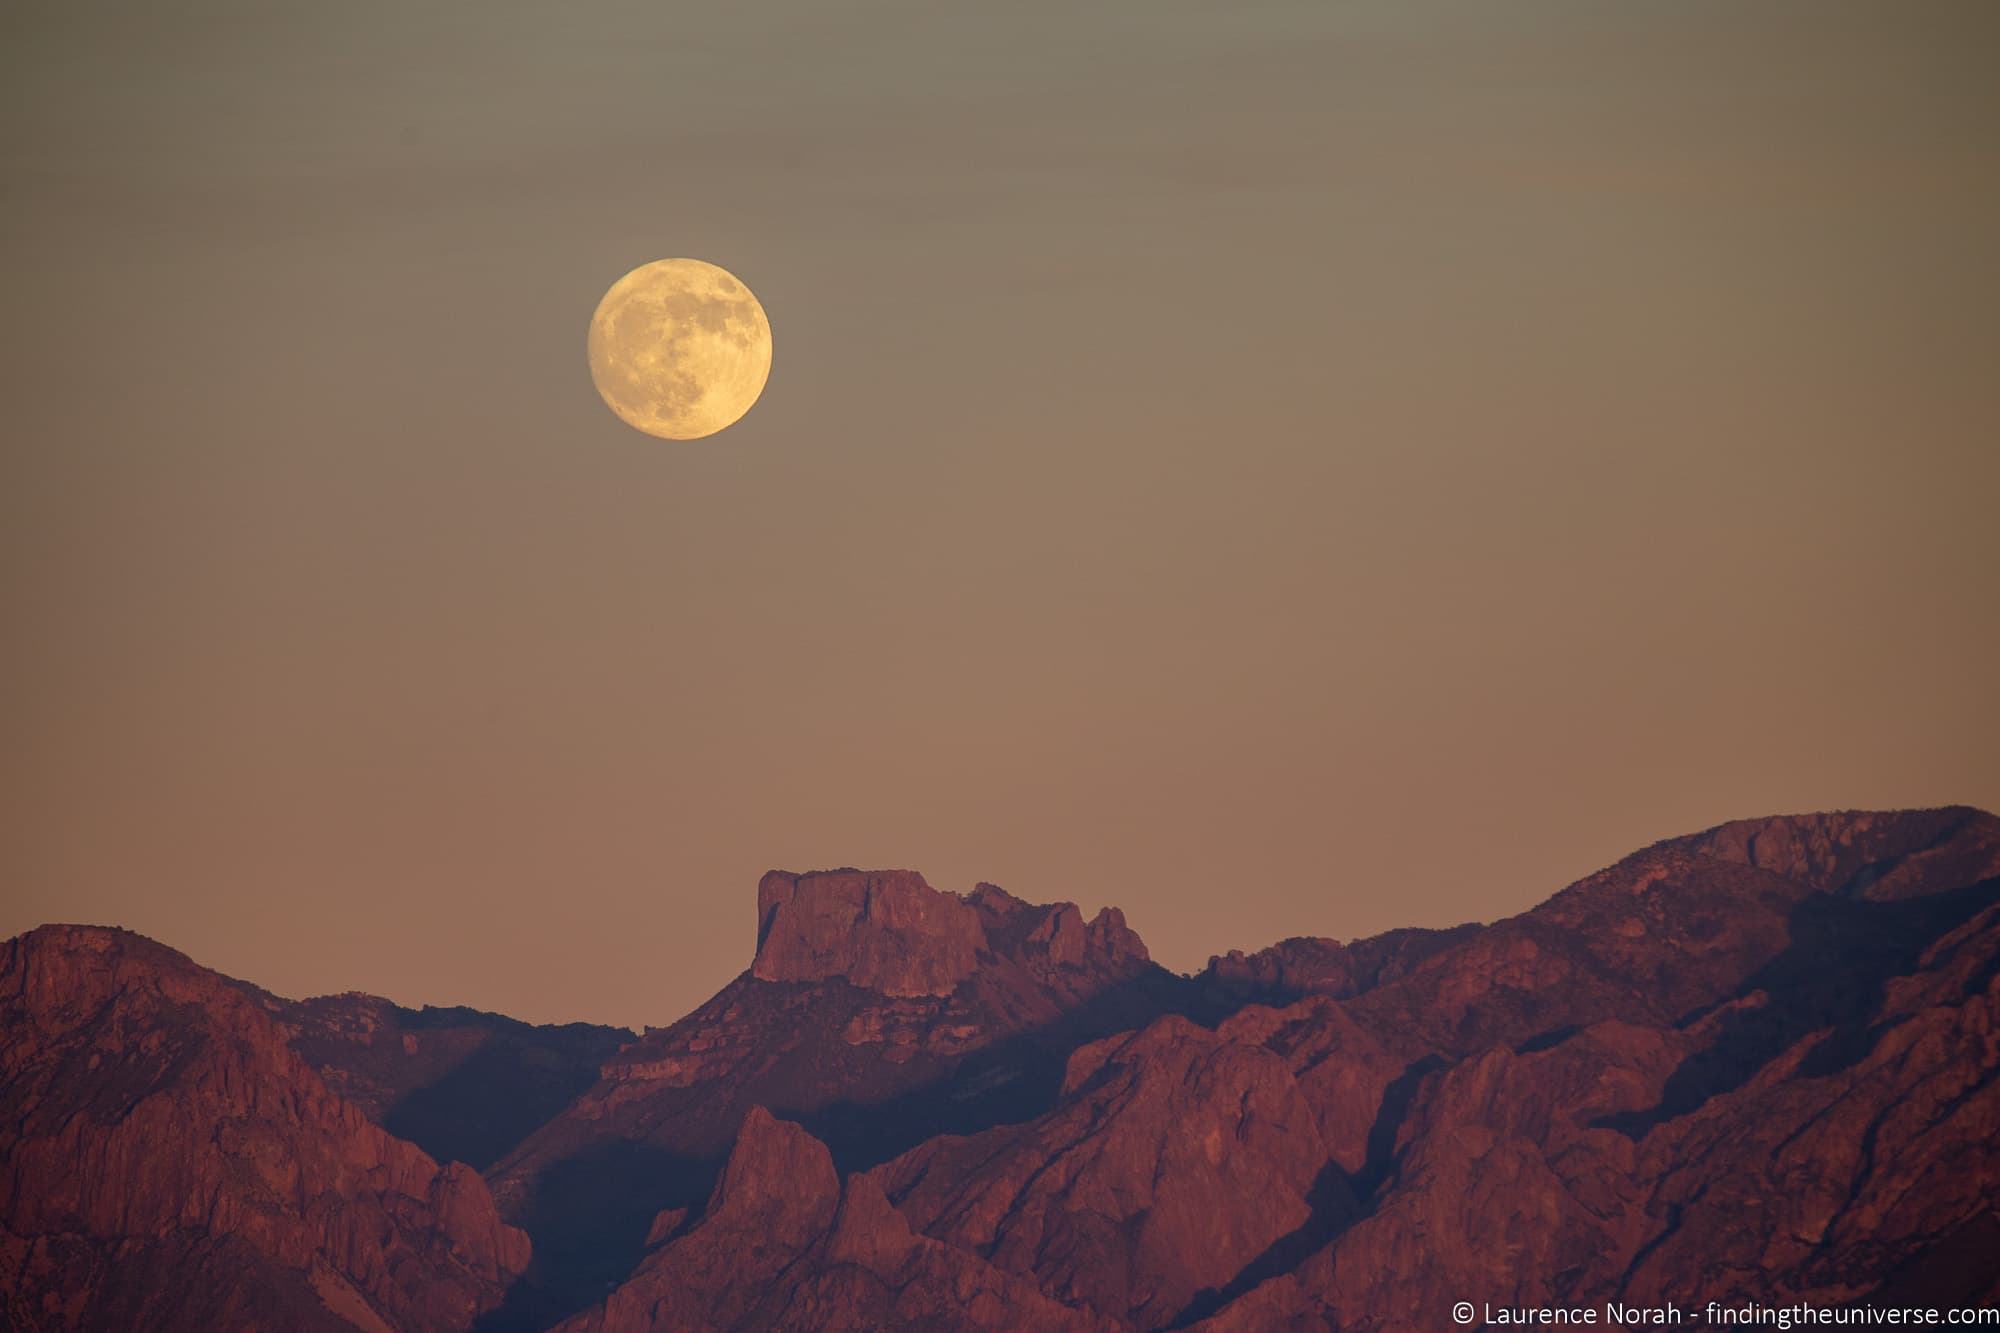
Have you ever wondered how photographers are able to make their subjects seem so close to objects in the background? Perhaps you’ve seen photos of a moon that seems impossibly big against a skyline, and thought it must be “photoshopped”.
Well, you can actually achieve this effect without any computer manipulation, using a technique known as lens compression.
In today’s post, I’m going to share with you everything you need to know about lens compression in photography. As a travel photographer, I find it to be a really useful bit of my photography toolkit.
I’m going to tell you exactly what lens compression is, what equipment you need to achieve the effect, and the camera settings you need to use. I’ll also give you some tips on the type of photos that work best with lens compression.
Let’s get started!
Table of Contents
What is Lens Compression in Photography?
Lens compression is an effect that comes about by moving the position of the camera in relation to the subject you are photographing. As you move further away from the subject, you will usually zoom in on your subject to make it larger. For example, if you are taking a portrait of a person from further away, you will want them to fill more of the frame, so you will zoom in.
This will create a lens compression effect. Here are a couple of examples to give you an idea.
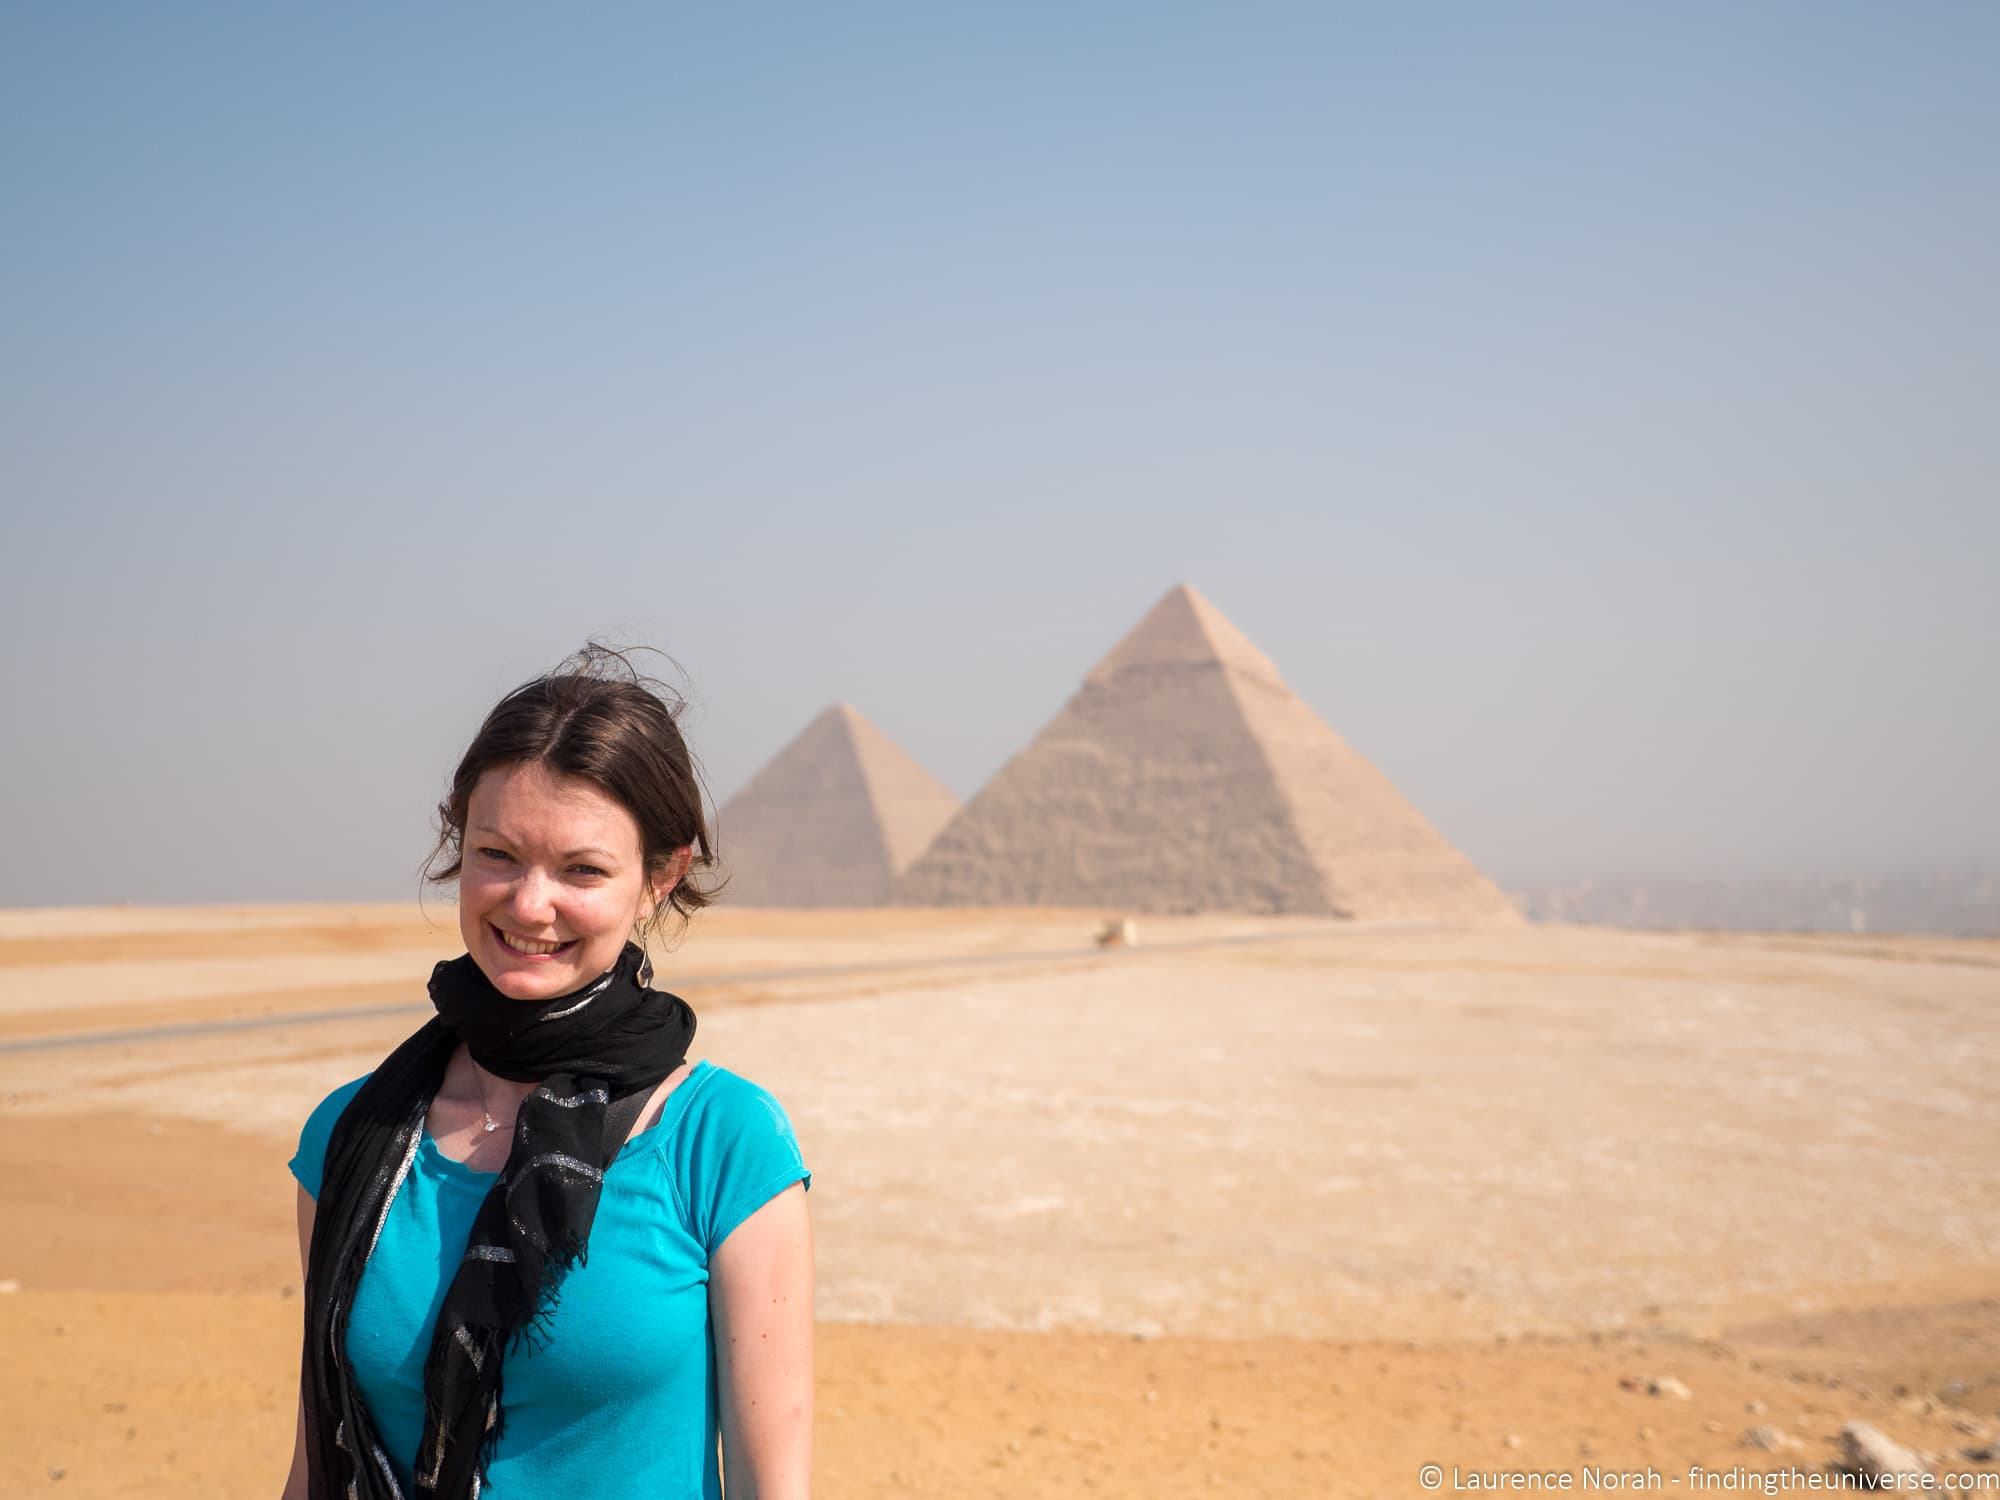
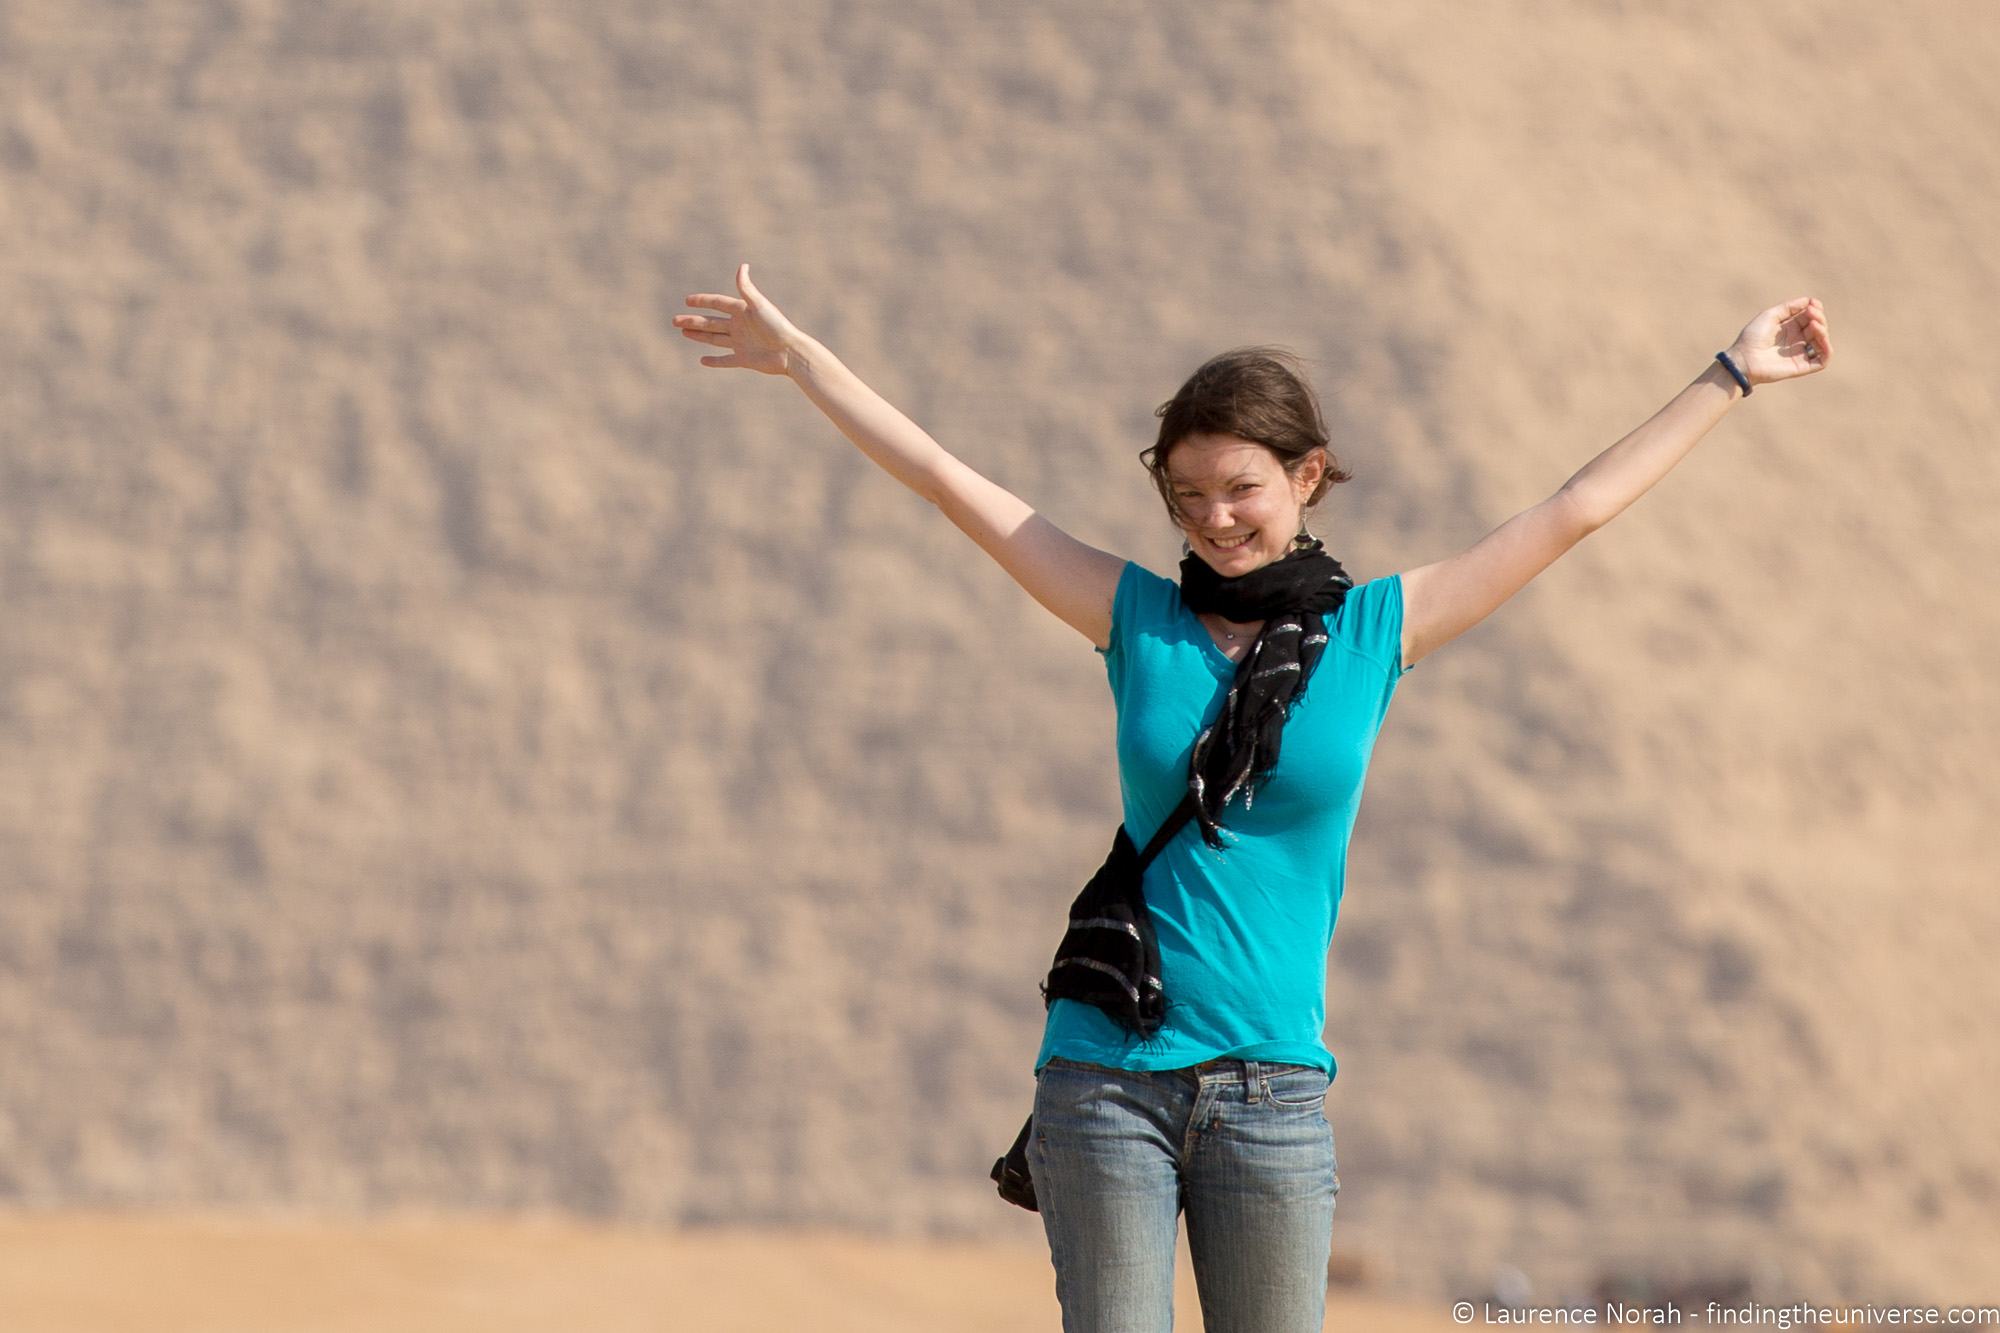
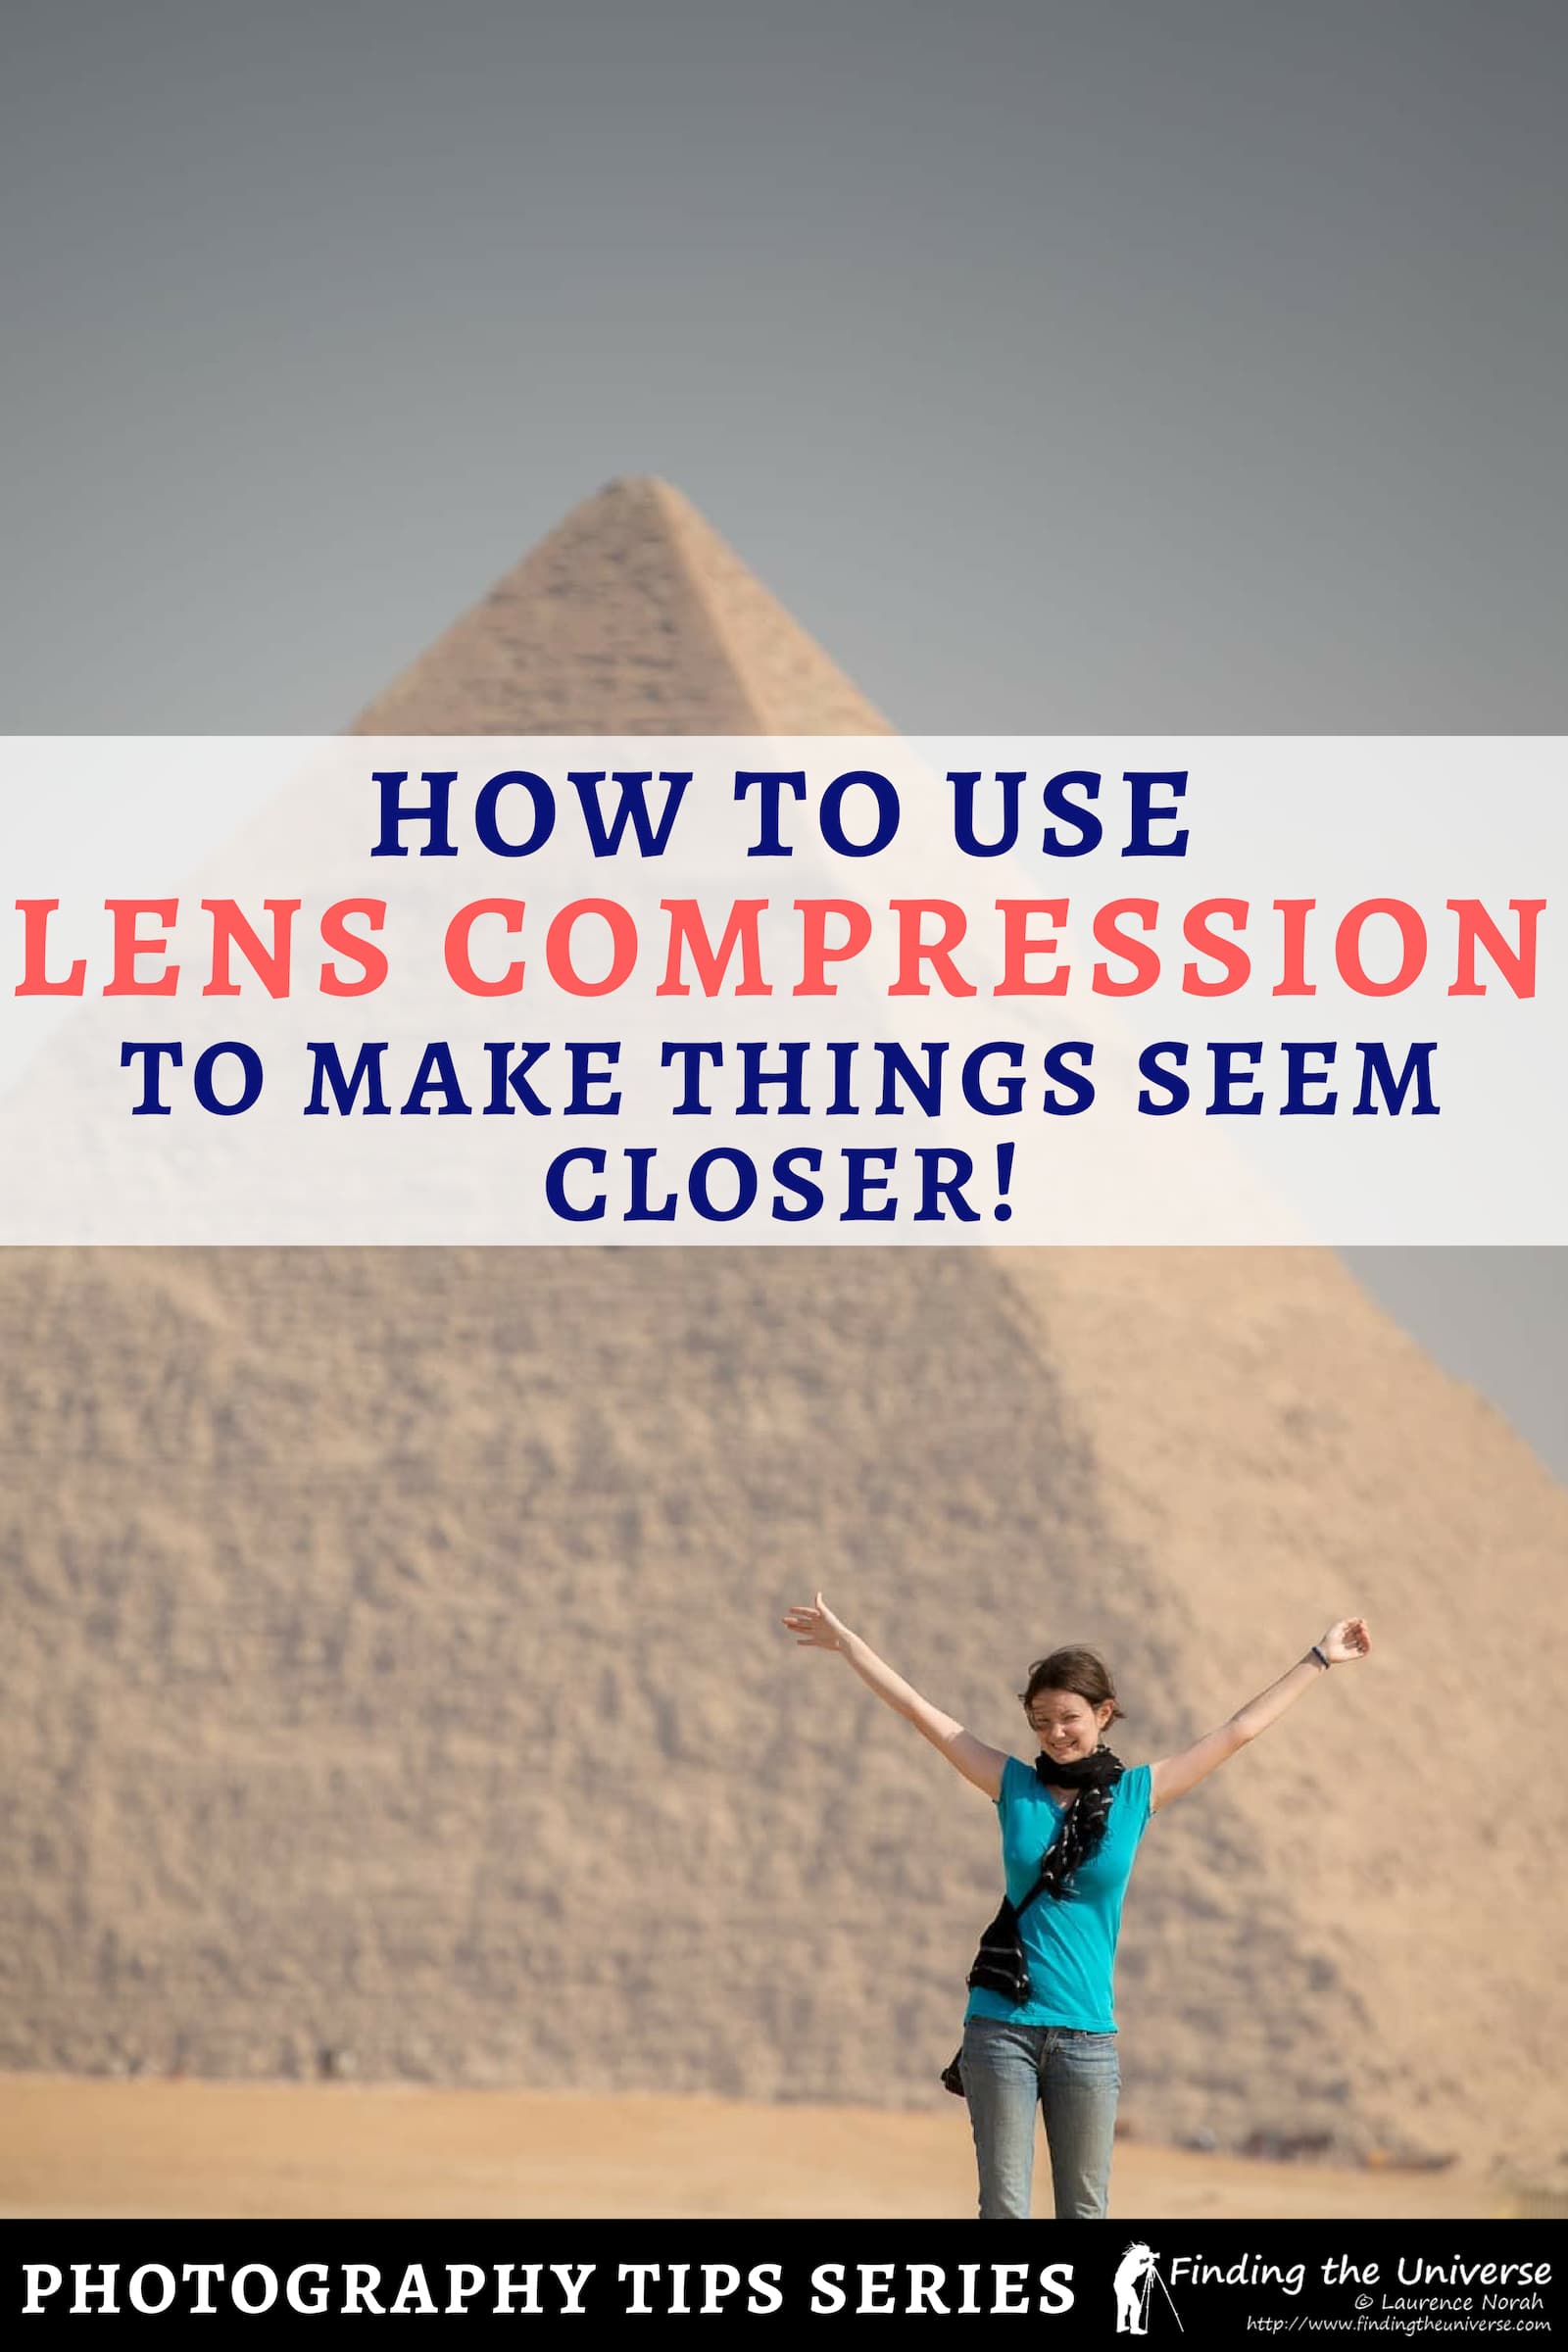
In both of these shots, the subject (Jess) is standing in exactly the same place. However, you’ll notice that in the first shot, the travel photographer (that’s me!) is standing closer to Jess, and she seems quite far from the pyramids. That one is taken at a focal length of 48mm.
In the second shot, the photographer is around 100 yards from Jess, but you can’t tell that because the shot is taken at a focal length of 200mm.
This creates the lens compression effect, whereby she seems to be much closer to the Pyramids of Giza that she actually is. Here’s another version of that 200mm shot to give you the full effect.
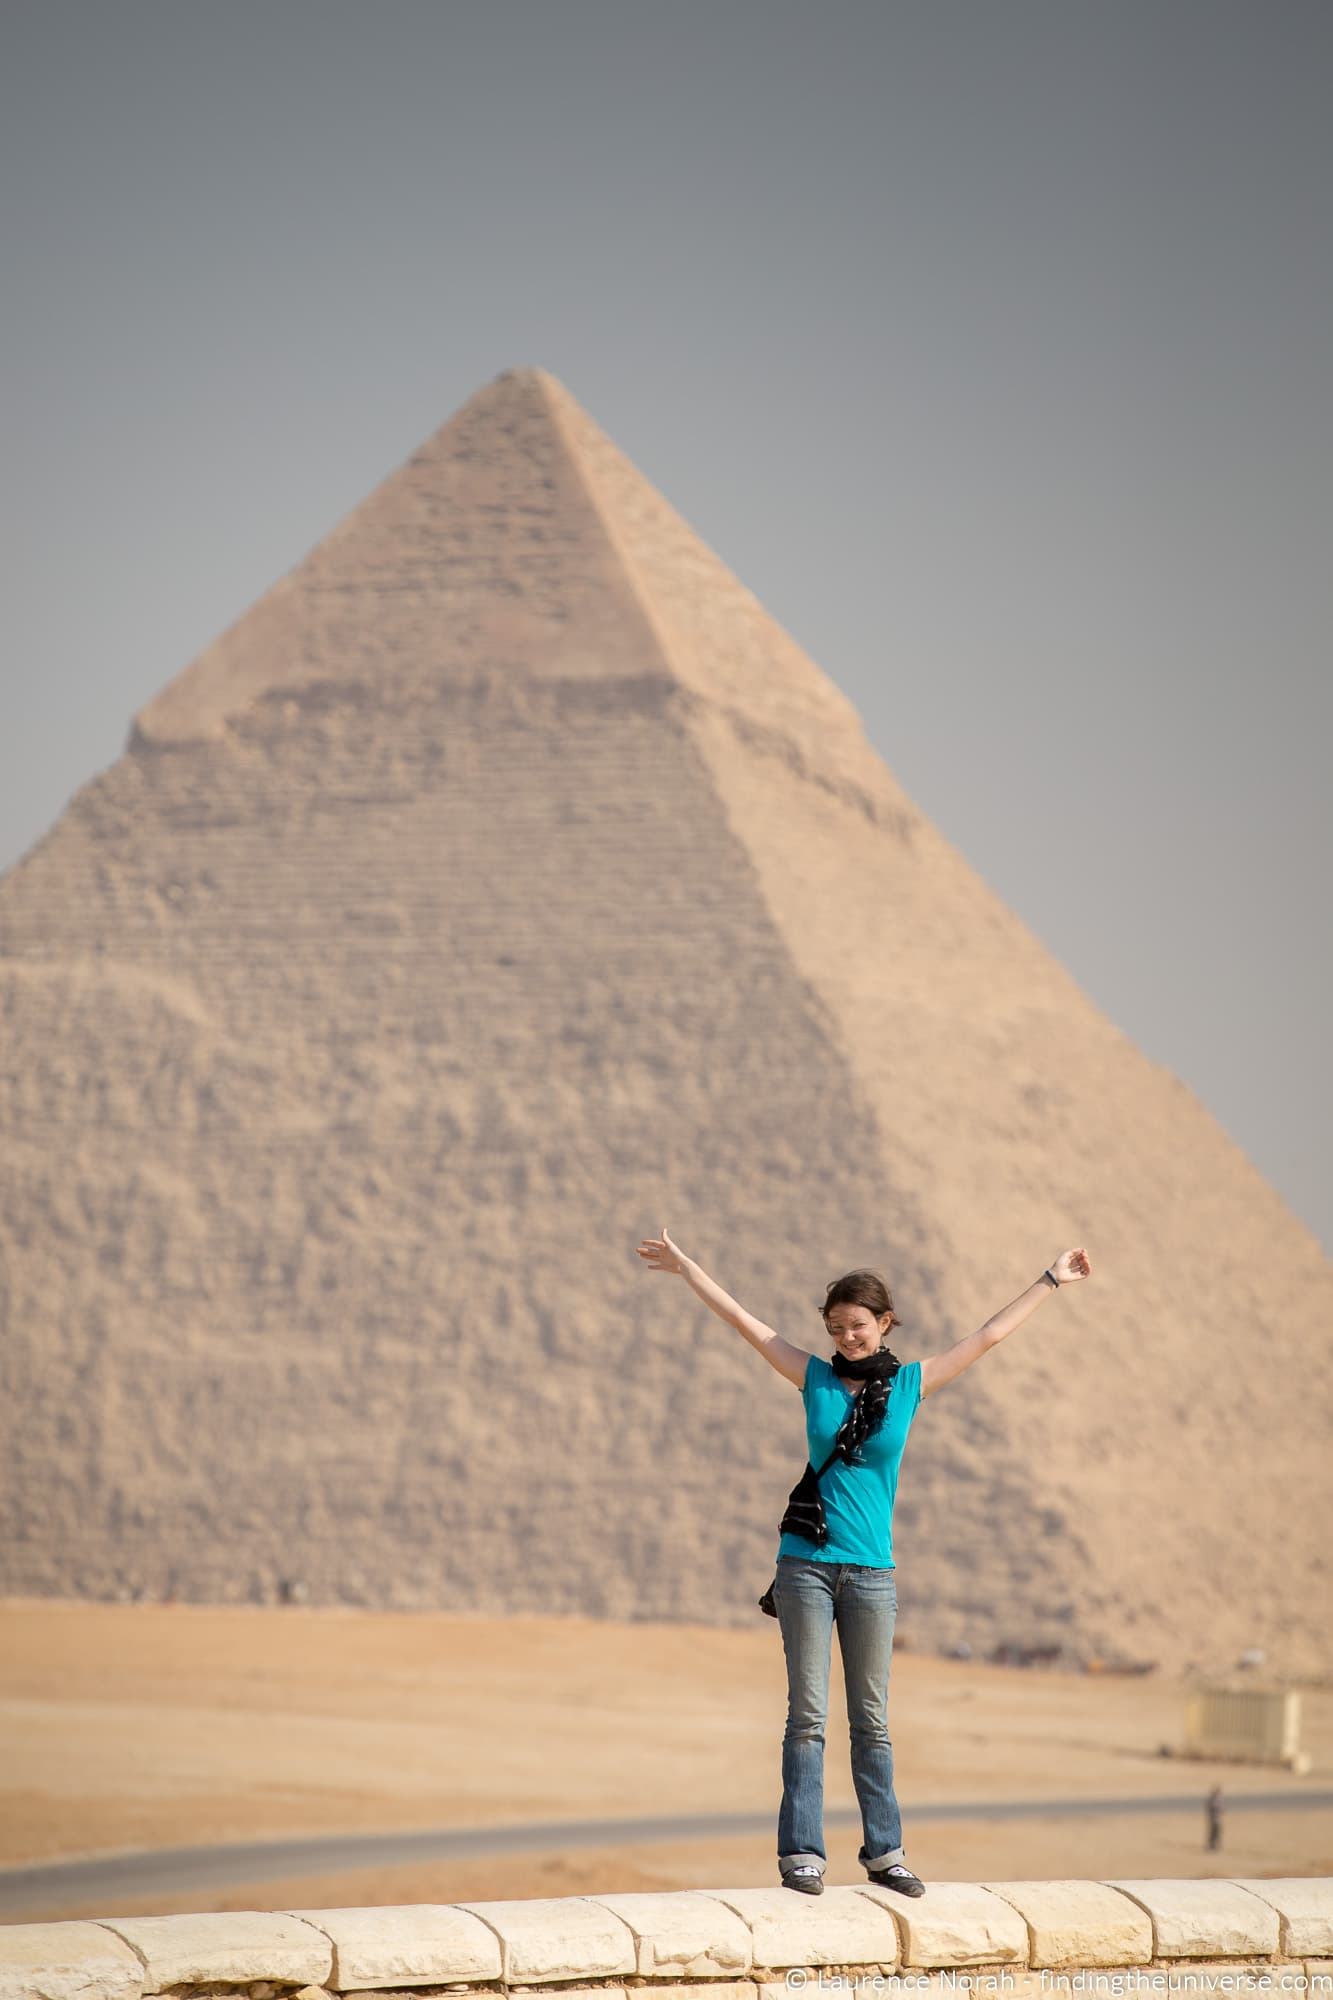
Now, before explaining why we get this lens compression effect, let’s look at some quick photography terminology, starting with focal length.
In photography terms, we refer to zooming in as changing the focal length. A focal length, measured in millimeters (mm), is essentially a measure of how much the lens enlarges the image. A wide angle lens for example, which gets a lot of the scene in the frame, might have a focal length of 17mm.
A telephoto lens for shooting wildlife might have a focal length of 400mm. The bigger the focal length number in mm, the greater the magnification. On compact cameras, this is usually referred to as an optical zoom, with a number like 3x optical zoom or 10x optical zoom. But the underlying process is the same – the focal length of the lens increases to increase the optical zoom.
So what does focal length have to do with lens compression?
Well, when you shoot objects that are close to your camera, these will appear larger than objects that are far away. Pretty obvious, right? Closer objects seem bigger to you.
As you move further away from an object, it gets smaller, and starts to blend in and become part of the background.
Extending this thinking, if you move further away from your subject, but then zoom in, the subject will fill the frame, but it will also seem closer to the background.
Here’s another slightly more subtle example to give an idea of lens compression in action. Notice how much closer the trees seem in the top image.
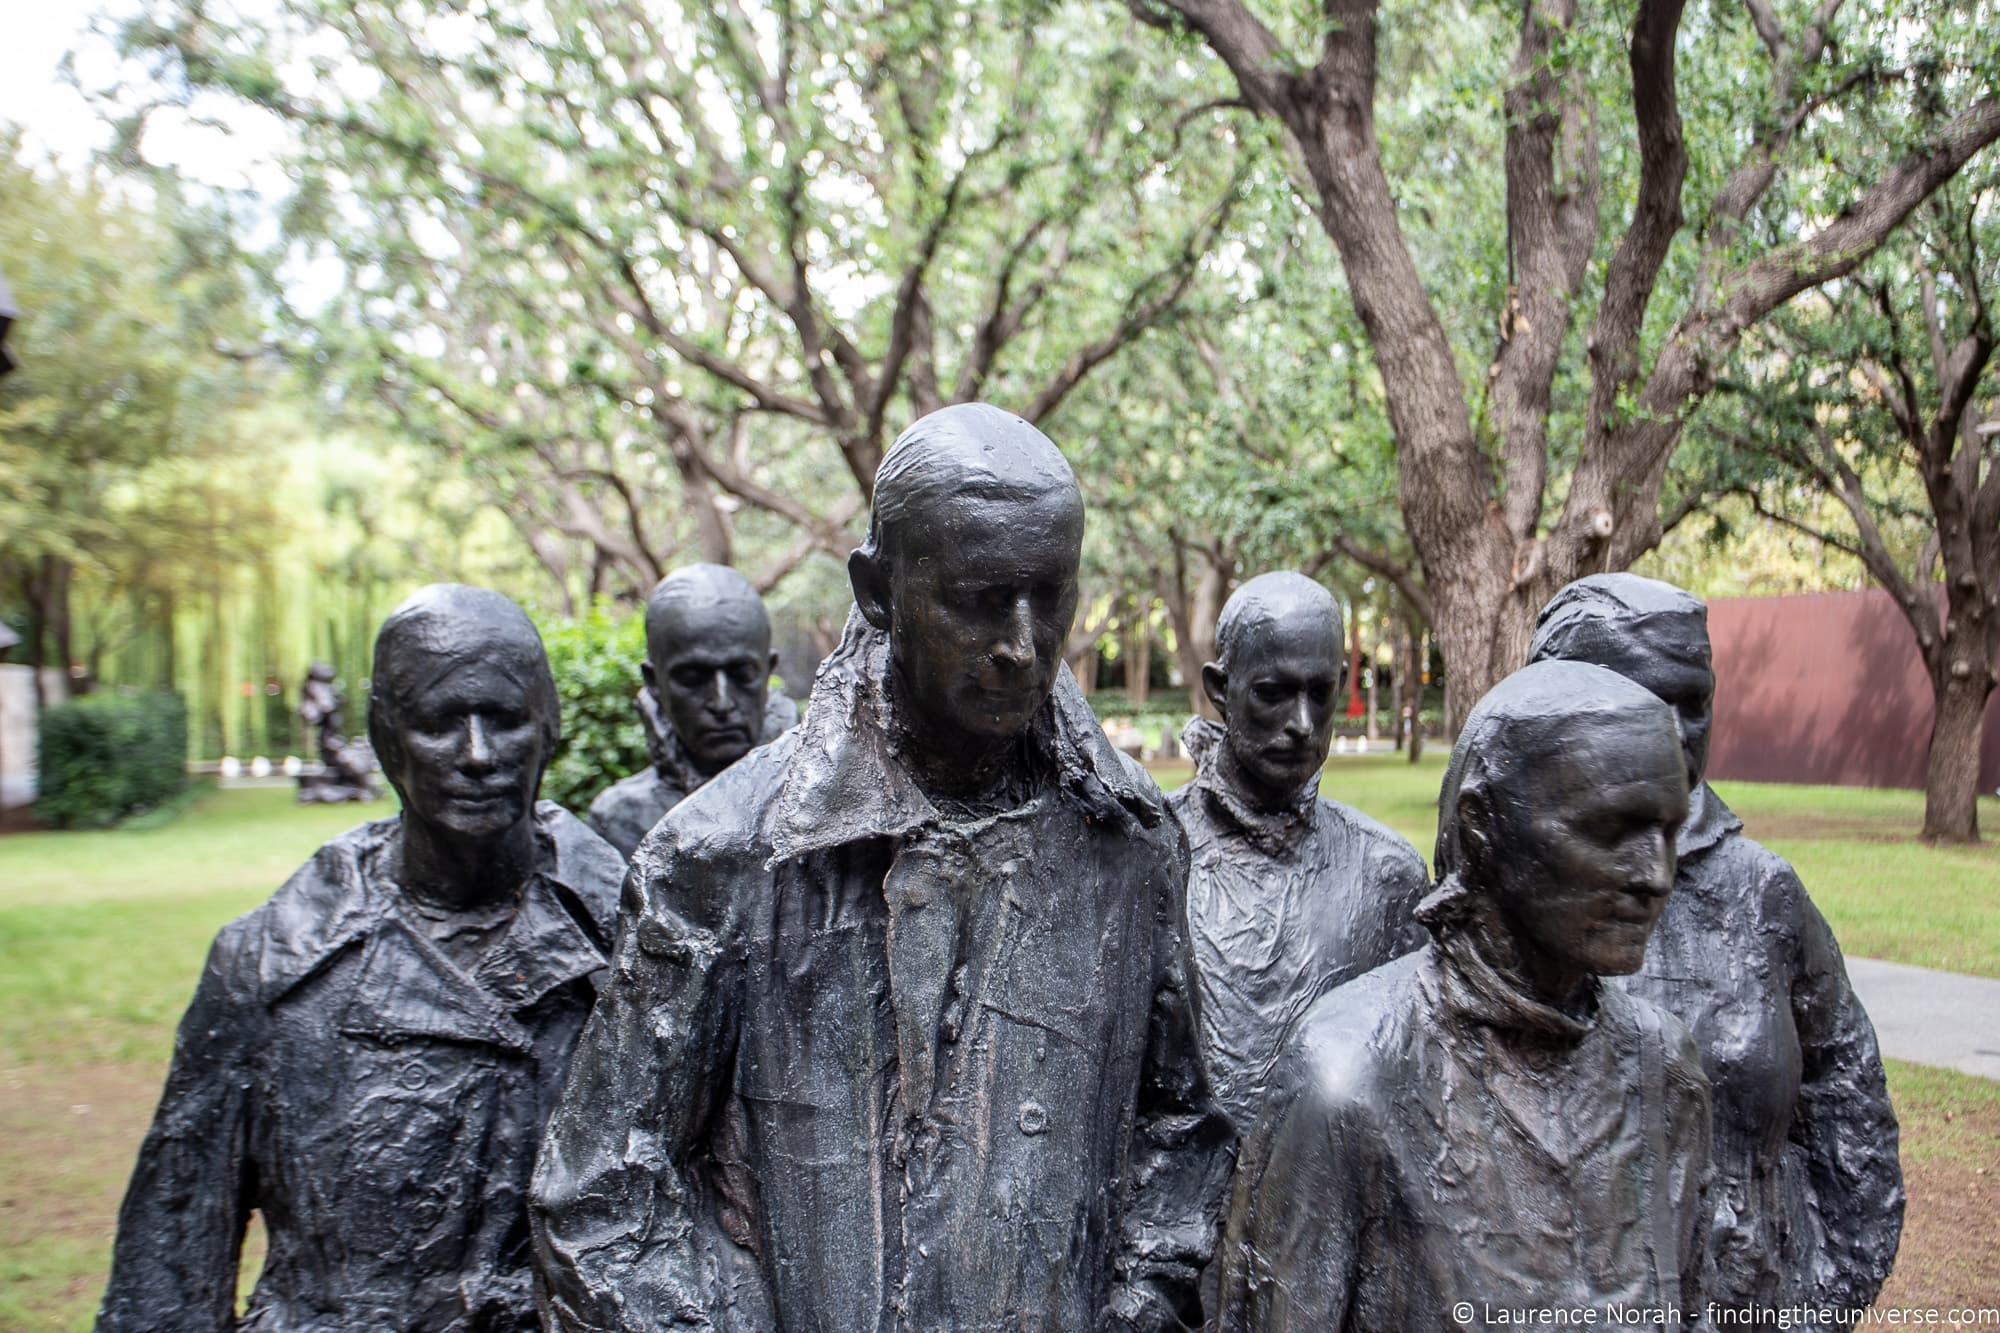
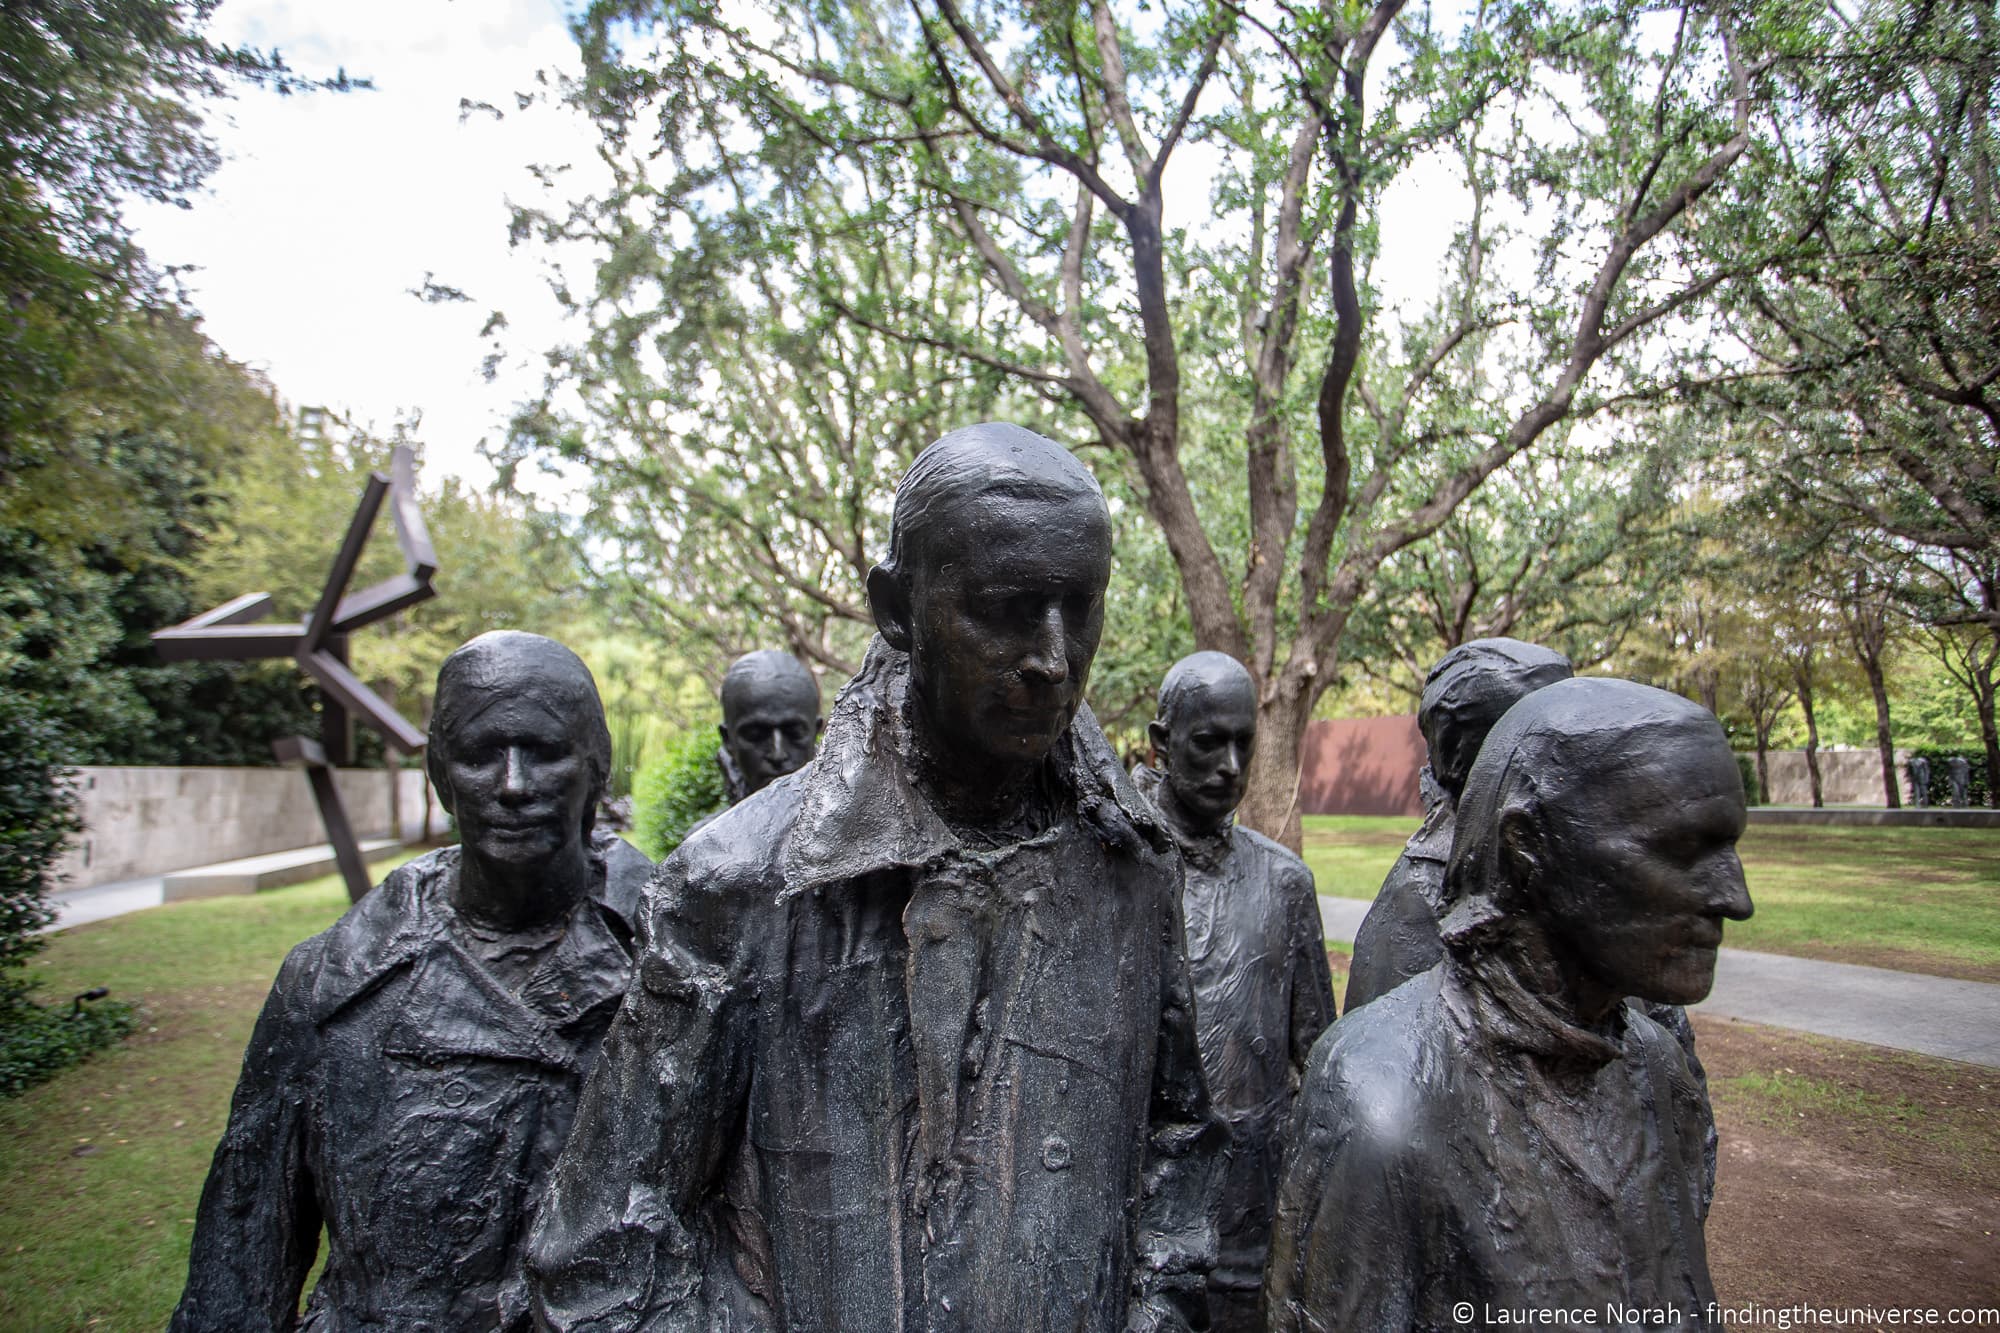
This also shows how facial features can distort at wide angles, which is why portraits are usually not recommended at wide angle focal lengths! In particular, the statue of the lady at the bottom left seems to have a much larger nose, this is because the nose is closer to the camera and so seems bigger in relation to the rest of the statue’s head.
What Equipment Do You Need for Lens Compression?
The main thing you are going to need is obviously a camera. The good news is that you don’t need an expensive, high-end camera to achieve lens compression, in fact a point-and-shoot will do.
What you really need is a camera with a good zoom. On a mirrorless or DSLR camera you’d want a lens with a focal length equivalent of at least 100mm. On a point and shoot, I’d say a lens with at least a 3x optical zoom, but the higher the better.
Most smartphones don’t have optical zooms, so this effect is harder to achieve. More recent high end models however do have optical zooms, and this feature will likely start to spread to more models as time progresses. At the time of writing though, most smartphones don’t have the necessary zoom capabilities to make this effect work that well.
If you want to invest in a camera that will let you achieve this effect, check out our guides to the best travel cameras, best point and shoot cameras and best mirrorless cameras for some inspiration.
If you already have a mirrorless or DSLR camera, but your lens isn’t quite sufficient, we also have a guide to the best travel lenses you might want to check out.
Is Lens Compression Real?
You can achieve the lens compression effect without a long zoom. All you have to do is change your position and then crop the resulting image.
Lens compression is an “effect”, sort of an optical illusion, which is not actually related to the zoom, but is instead based on your relative distance to the subjects.
This difference has led to much internet debate as to whether or not lens compression is a real thing. Using a zoom lens isn’t magic, and it obviously doesn’t change how far your subject is from the background elements of the shot.
What is happening is that by moving further away from your subject, you end up shifting the perspective. When you stand further away and zoom in, such that your main subject is the same size in the frame as if you were zoomed out and standing closer, this gives the appearance of the background being closer.
If you were to stand further away from your subject and shoot them with a wide-angle lens, then cropped the image down so the subject and background are the same size, the end result would be the same as using a zoom lens and not cropping.
However, the cropped image would be lower resolution and therefore less useful.
It is therefore a lot more practical to use a long zoom when wanting to give the impression of a subject being closer to the background.
This is because cropped versions of images don’t look so great in most cases. So whilst lens compression might not be a “real” thing, in practical terms you can adjust the look of an image by adjusting the distance from your subject and using your zoom, and this effect is generally referred to as lens compression.
What Camera Settings Work Best for Lens Compression?
The two main settings you need to consider for lens compression are the focal length (or optical zoom) of the lens, and the aperture (if you have a camera that supports changing the aperture).
The other important thing is where you as the photographer are standing in relation to your subject, you need to be a good distance away to achieve the effect, whilst still be able to compose a great image that incorporates your subject.
In terms of focal length, generally anything over 100mm should be fine. If you are struggling to get your subjects in frame, just keep moving away from them until you can. The further away you are, and the greater the focal length you use, the more pronounced the lens compression effect, and the closer your subject will seem to the background.
If you are using a compact camera, I’d advise zooming to at least 3x optical zoom as a minimum.
In terms of aperture – aperture controls the depth of field of your image, or how much of the scene is in focus. Generally, you will want both your foreground subject and your background subject to be in focus if possible, so you will want a wide depth of field. You can achieve this with a narrower aperture, generally in the range of f/11 – f/16.
Of course, you’ll need to consider other factors including available light, acceptable shutter speeds, and ISO levels, as well as whether or not you are shooting on a tripod and if motion is something you want to capture in your shot.
These are all beyond the scope of this article, however you can read our guides to depth of field, long exposure photography and reasons why you need a tripod as a starting point.
What Scenes Work Well for Lens Compression?
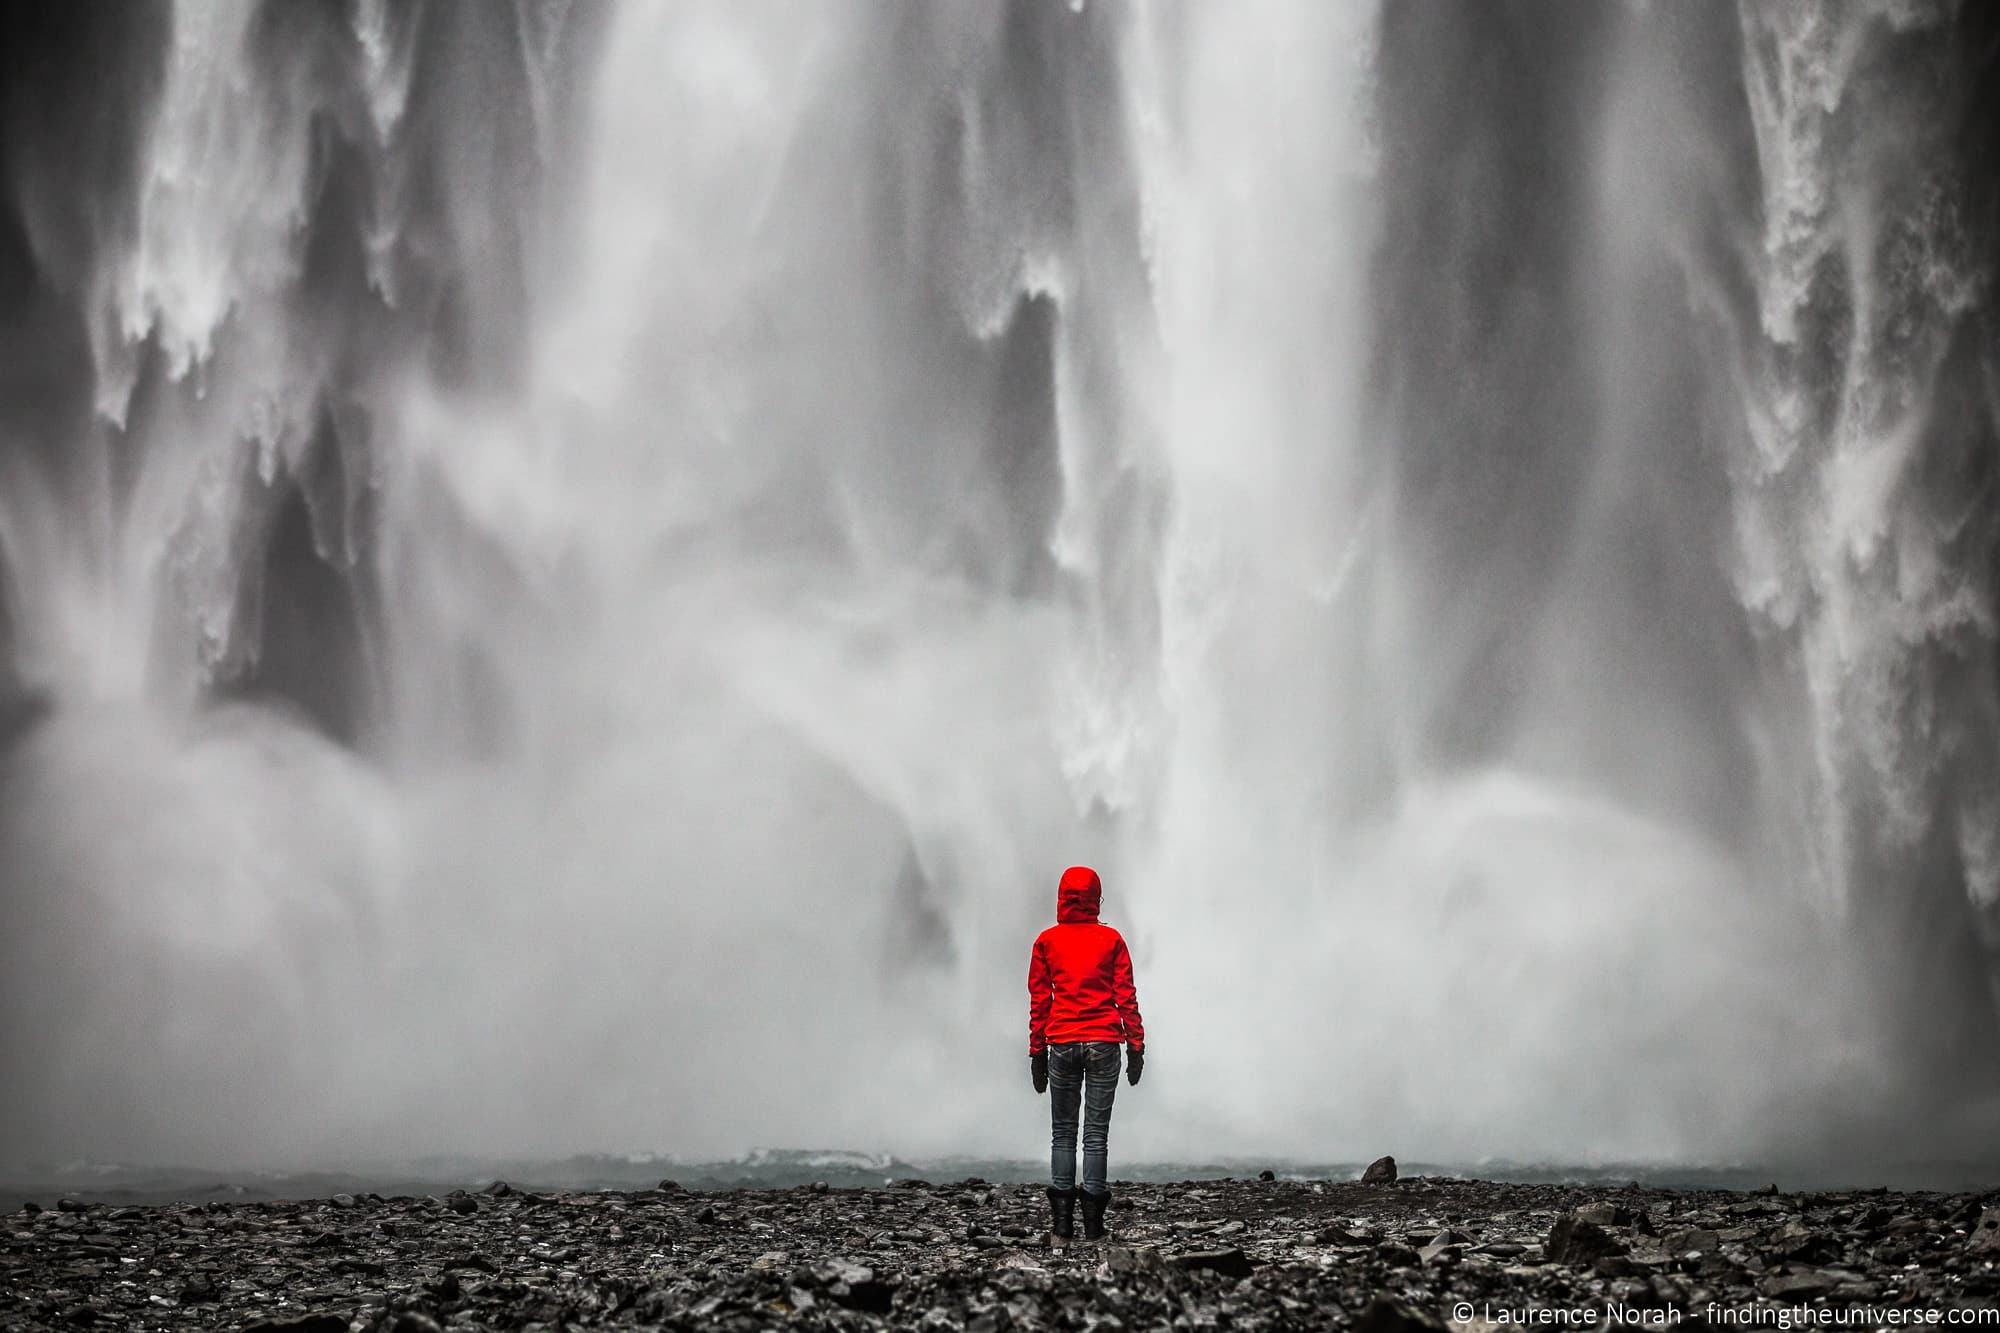
Any scene that has two subjects that you want to try and make seem closer together than they are. This will usually be something like a person against a landmark or similar scenic feature, such as a waterfall.
Moonrises and moonsets, as well as sunrises and sunsets can also work well – for example a yacht floating in the sea with a large sun setting behind it can look very cool.
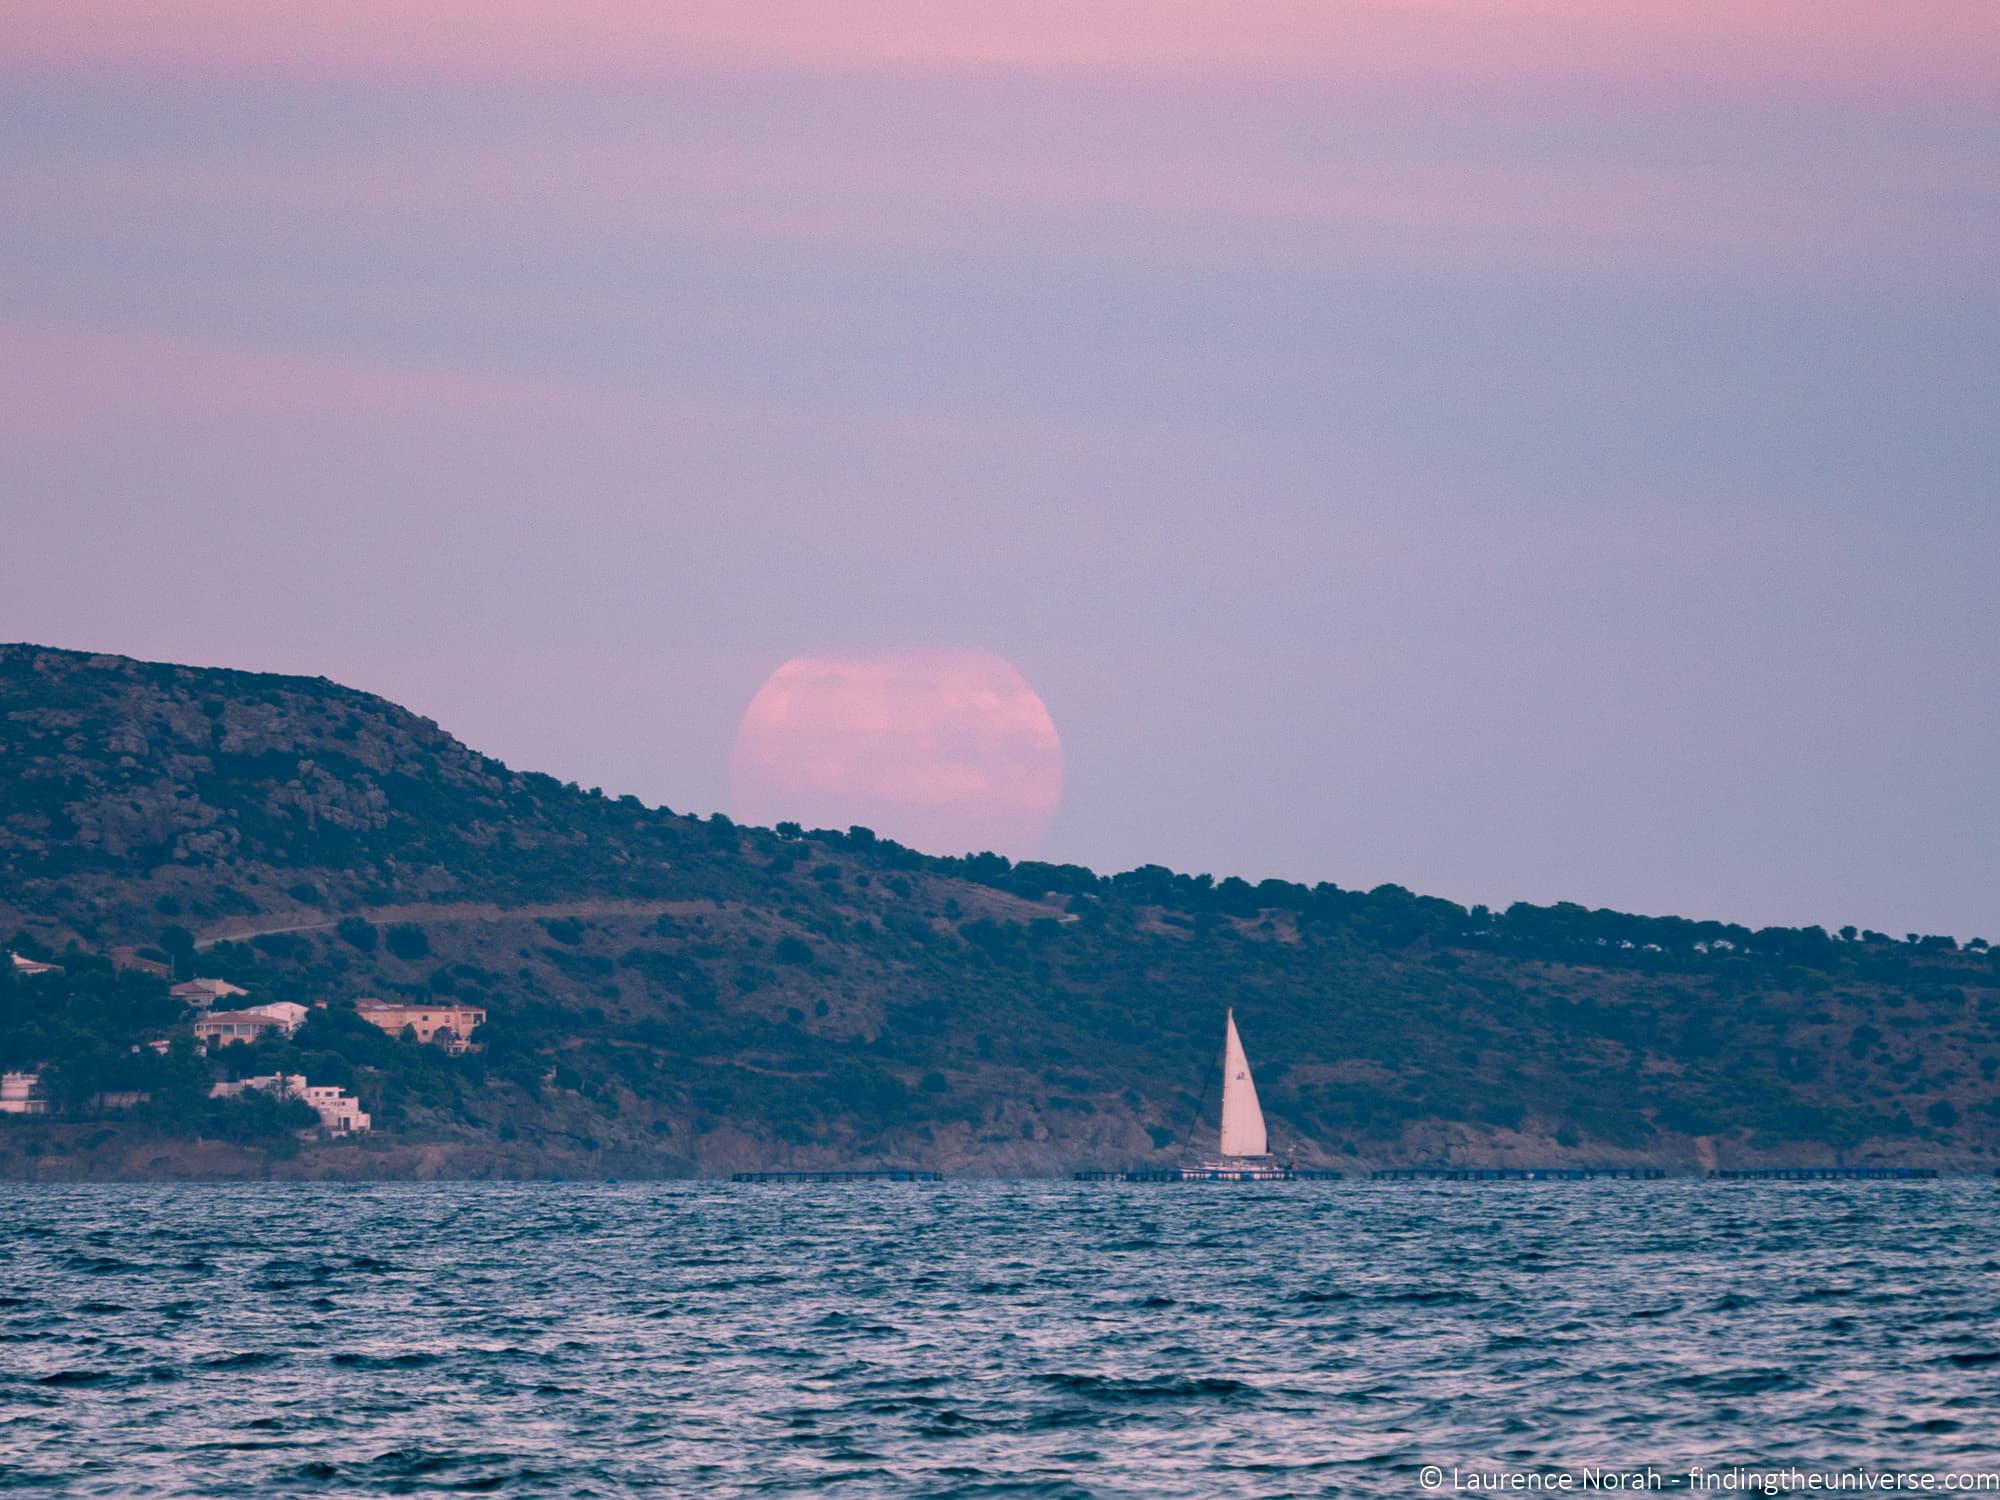
Things you need to think about are how to position your subjects in relation to each other, and that there is going to be sufficient space for you to get far enough away from your nearest subject in order to make the effect work.
The technique is also going to be less effective in crowded spaces, because you need to be able to get a clear shot of your subjects, and if there’s large number of people or objects between you and your subject, you are unlikely to be able to get a clear shot.
Of course, it’s important not to forget the rules of composition. Whilst lens compression is a great tool, it’s not a standalone way to make great photos – you always need to consider the composition of your shot. So think about everything you usually would – subject placement, the rule of thirds, use of colour, leading lines, and so on.
Further Reading
Hopefully today’s post has answered the question you may have had about how to make your subject seem closer to a background object by using lens compression. It’s definitely a fun technique, and one that is fairly accessible and easy to implement.
We’ve also written a lot more about photography if you’re keen to learn more, we definitely suggest you check out the following resources.
- We have a series of photography location guides, to help you find out where to get the best photos in locations all around the world
- We have detailed guides to long exposure photography, RAW in photography, back button focus, depth of field, composition, and taking photos as a couple, to name but a few of our photography guides
- We also have guides to photography gear, including ND Filters, a guide to travel tripods, best compact cameras, best mirrorless cameras, best travel cameras and best lenses for travel, all of which we keep up to date with the latest technologies and releases
- For those of you looking to get more out of your photography, we also run a detailed online travel photography course, which has everything we know about photography in one place, from using a camera through to composition and editing. It’s an 8 week online course with 1 on 1 feedback, which you can take at your own pace, entirely online.
And that’s it! As always, if you have any questions related to this post, or photography in general, feel free to pop them in the comments below and we’ll get back to you!
Sheilah Lewis says
Thanks for the info. I am actually watching a video of a photo class I paid for. Being a newbie I have to often get the bigger picture of what is being said so I pause the video google a lot to figure out a more detailed explanation. Researching Bokeh eventually lead me here and I am so thankful it did. There is so much to learn in photography. I got a DX camera for shooting my son’s sports (Nikon D500) but I also enjoy taking photo’s of family get together’s. I have a 50 mm 1.8 lens, a 70-200 2.8 (and a Tokina 100 that I don’t remember why I purchased)…..I was doing really well the first 8 month’s I got all my equipment but then my 7 yr. old was diagnosed with a fatal brain tumor with 9 month’s to live. That’s been 3 years ago and I am just now able to pick up my camera. I remember very little and my memory is affected due to Chronic depression and PTSD. Sorry for all that but what lens would give me the best Bokeh and what would I use the token for?
Laurence Norah says
Hi Sheilah,
It’s my pleasure and thank you for sharing your story, I am sorry to hear about your loss. So of the lenses you have both the 50mm f/1.8 and the 70-200 f/2.8 would give you good bokeh. The 100mm I am not sure as I don’t know what the aperture is, but if it is a fixed focal length then it is likely also going to have a nice wide aperture and so also a good bokeh. 100mm is also a popular focal length for a macro lens, so that might be why you bought that.
I am happy to answer any more questions you have, sorry about my slow response, we’re on a trip in Morocco with limited internet so I have been a unable to respond more quickly!
Best
Laurence
Michael C says
There’s no such thing as lens or focal length compression. There is only perspective compression. The ratio of the distance from the camera to the subject and from the camera to various other things determines “compression” or “expansion. ” If one backs up to the same distance one would normally use a 400mm lens, uses a 40mm lens and crops the result to 1/10 the original linear size, the result has the exact same amount of compression as if one had used a 400mm lens.
Laurence Norah says
Thanks for the input Michael!
Chris says
It’s true, but in general you’d want to avoid cropping most of your capture. Nonetheless, if you have a 50 Mp camera and no Tele at hand (or don’t wanna expose the sensor in winds), cropping a 50mm shot down could work. Especially if it’s mainly for social media and not a bus wrap.
That “compression” is kind of an optical illusion, a natural phenomena, not a feature built into a lens, could have been clarified.
Speaking to photo students (not physics students) though, it makes sense to just say you want longer glass – a tele – to work the effect.
Laurence Norah says
Hi Chris (and Michael!)
Yep, I am definitely aware that lens compression is an effect rather than something a longer focal lens does physically. I should probably make it clearer in the post somehow. I do call it an “effect” at the start of the post, but I didn’t want to confuse the issue too much as I’m not sure most people are too interested in the semantics – it’s more about how to achieve a look with the gear people are likely to have.
That said, I do take feedback on board and I have revised the post some to make it clearer that this is an effect / optical illusion rather than a magical property of longer focal length lenses 😉
Carmen Quesada says
Hi! Laurence and Jessica, I always enjoy reading your blog posts. I am already a subscriber and I would love to recieve your FREE 10-part photography course. Wishing you all the best!
Laurence Norah says
Hey Carmen! Thanks very much 🙂
FOr the free photography course, you can sign up at the end of every post, or on the blog home page 🙂 There’s a form, you just need to put in your e-mail address and name, and then the course will be e-mailed to you over the next few weeks 🙂
Let me know if you have any problems!
Laurence
Carmen Quesada says
Will do, thanks!