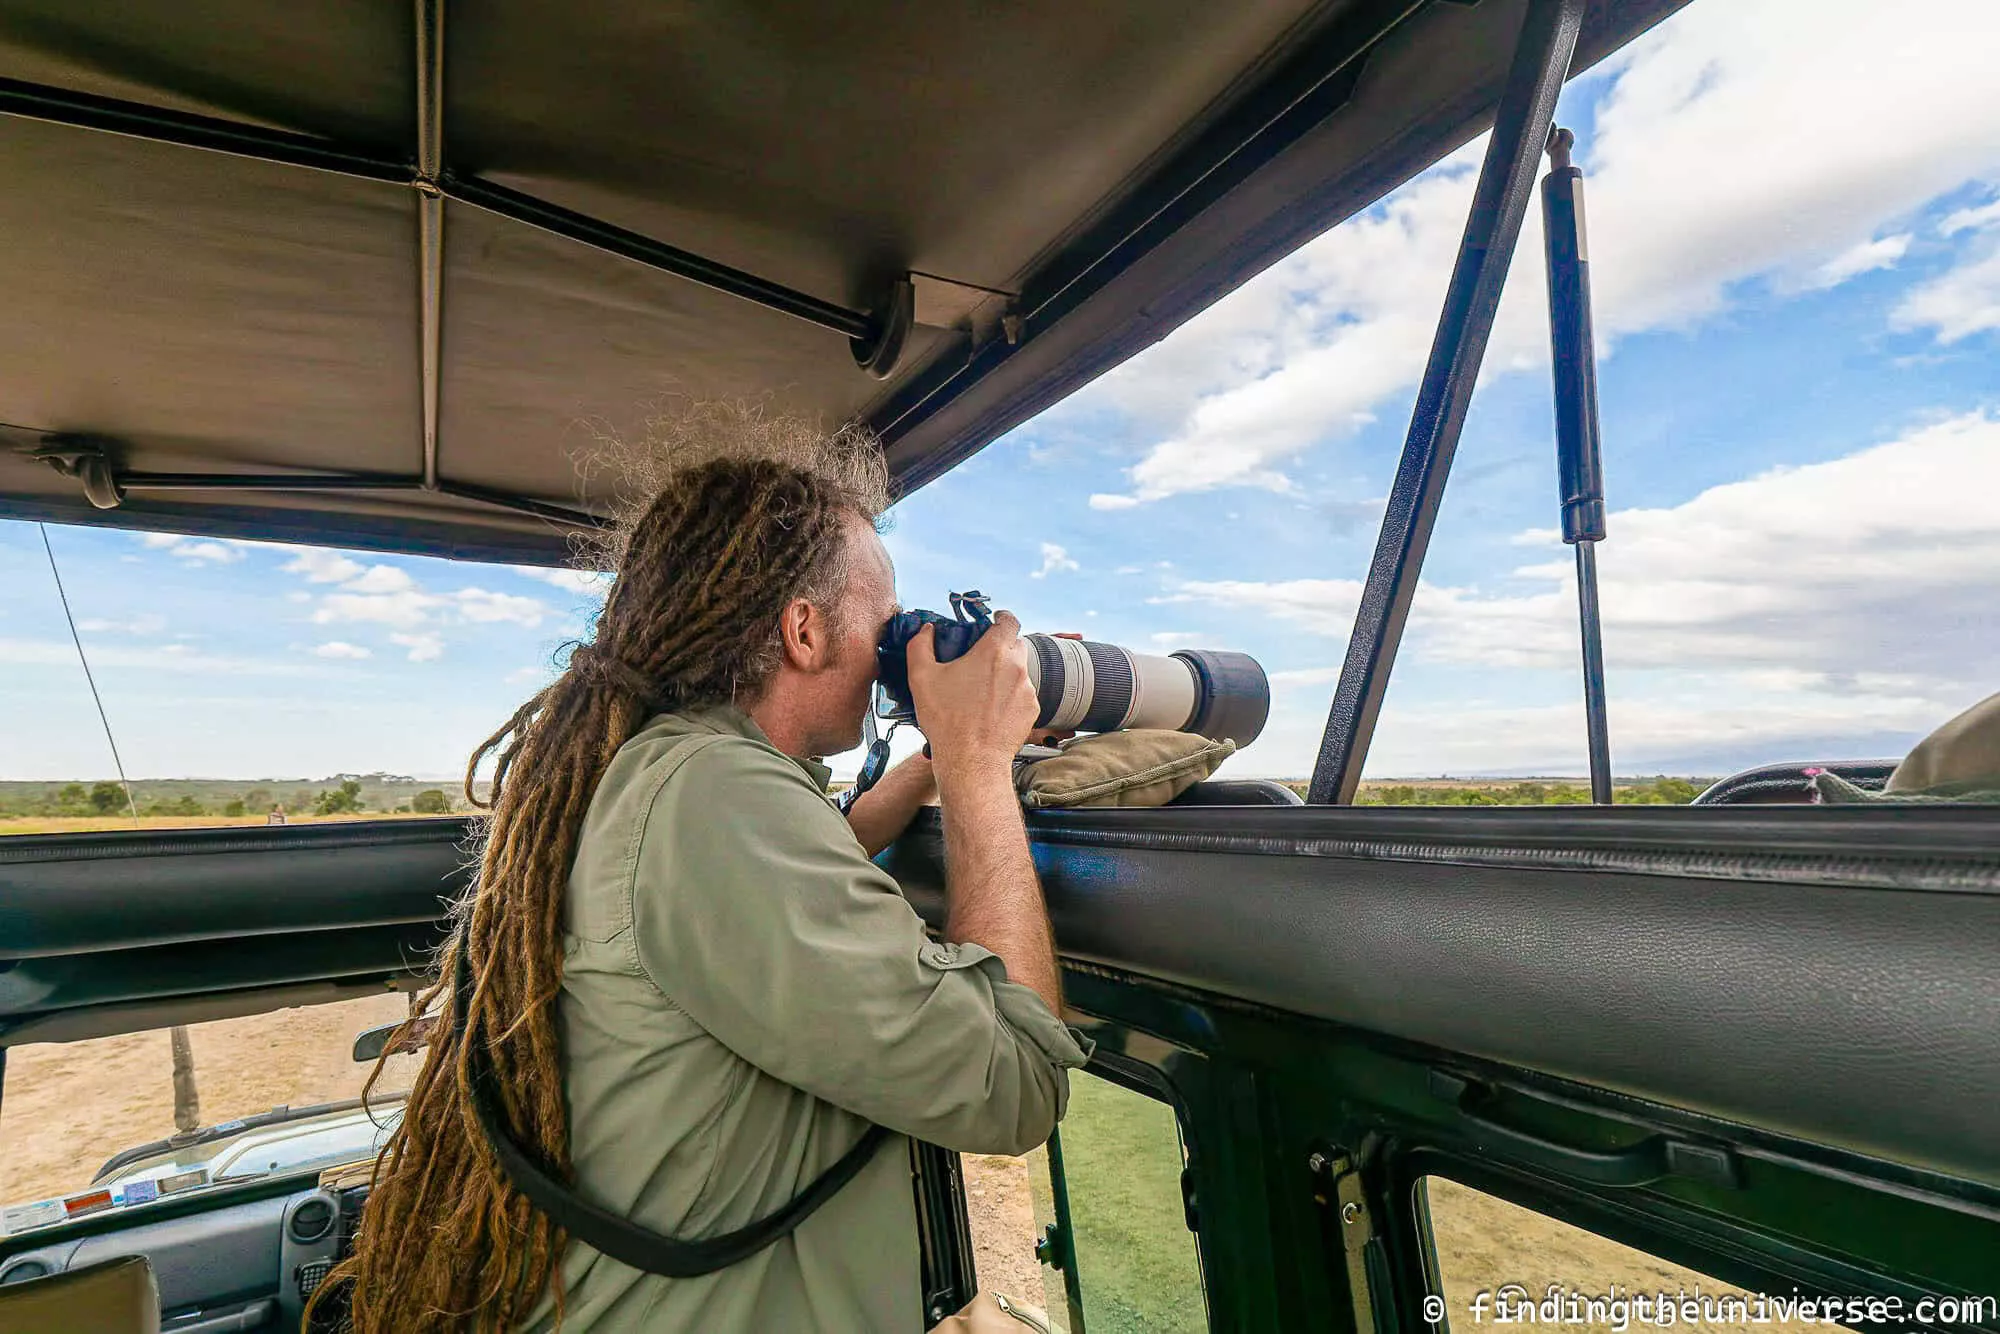
I’ve been a professional travel photographer since 2010, and in that time my camera bag has been on African safaris, out in the Arctic night in Finland and Iceland waiting for the northern lights, and around more European cities than I could sensibly list.
I’ve also been a Vanguard ambassador for a number of years and a Peak Design user since 2015, so a lot of bags, straps and tripods have passed through my hands on the way to the kit I use now.
What I actually pack changes completely from trip to trip. The bag I take on safari has is not the same as the one I take to Rome for a weekend, and packing for a northern lights trip is a different exercise again. So rather than give you one long list of everything I own (that list exists if you want it, over on our photography gear page), I’ve broken my kit down by trip type.
The four loadouts below are the ones I most commonly pack: safari, European city break, northern lights, and the quick weekend away. For each one I’ve listed what goes in the bag, what each item is doing there, and what deliberately stays at home. Lift whichever loadout matches your next trip and adapt it from there.
Everything here is gear I own and use, and it’s the kit I’m travelling with in 2026. Where my exact model has been discontinued (I tend to chase photos, not gear), I’ve said so and linked the current version instead.
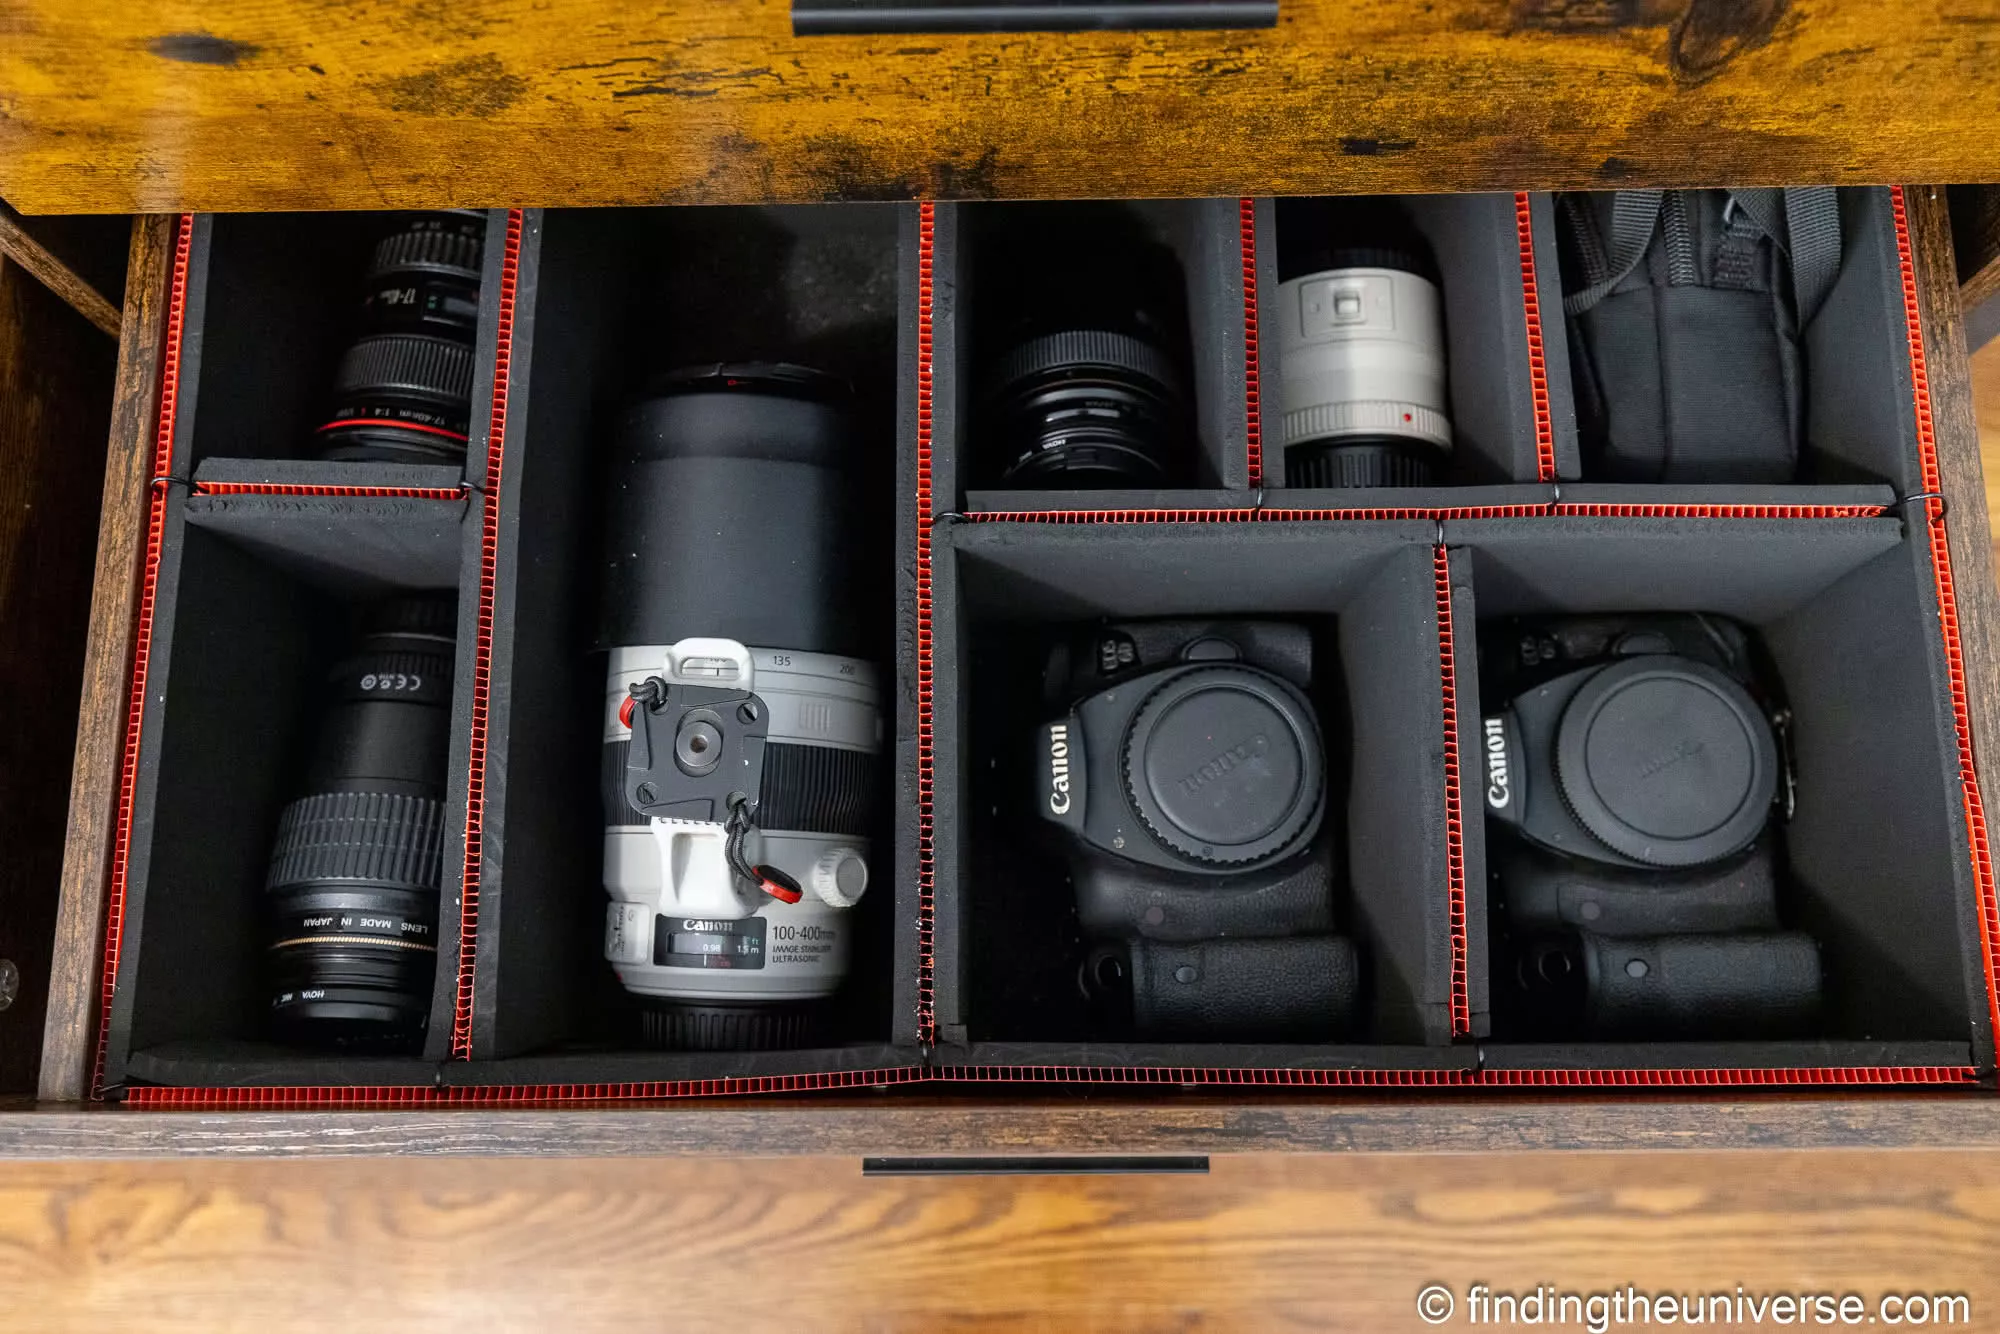
Table of Contents:
My Travel Photography Kit at a Glance
If you just want the contents of each bag, this is it. The reasoning behind every choice follows below.
| Trip type | Camera and lenses | Support | Bag | Power and extras |
|---|---|---|---|---|
| Safari | Canon EOS R5 + EF 100-400mm (wildlife); Canon 6D + EF 16-35mm f/4 (wide) | Bean bag (no tripod) | Vanguard Alta Sky | INIU P63 power bank, double spare batteries, extra cards |
| European city break | Canon EOS R5 + EF 16-35mm f/4 | Peak Design Travel Tripod (only if I’m shooting at night) | Peak Design Travel Backpack 45L, small daypack for days out | INIU P63, Epicka travel adapter |
| Northern lights | Canon EOS R5 + EF 16-35mm f/4 | Sturdy full-size tripod (Vanguard Alta) | Vanguard Alta Sky | Double spare batteries kept warm, headtorch, remote release |
| Weekend away | Canon EOS R5 + one lens (usually the 16-35mm) | None | Whatever daypack I’m travelling with | INIU P50 power bank, one spare battery |
My Camera: Canon EOS R5
Every loadout starts with the same body. I shoot a Canon EOS R5, a full frame weather-sealed mirrorless camera with a 45 megapixel sensor, and it’s the one piece of kit that comes on every single trip. It handles safari dust, Arctic cold and city drizzle without complaint, and the in-body stabilisation means I can hand-hold shots I’d once have needed a tripod for. It travels alone most of the time, too; only safari and the occasional event shoot get a second body alongside it.
Canon has discontinued the original R5 now, so if you’re buying today the equivalent is the Canon EOS R5 Mark II, the current version of the same camera. I haven’t upgraded, partly because my R5 still does everything I ask of it, and partly because I’ve seen what the Mark II costs.
Of course, the R5 isn’t the only sensible choice. If you’re weighing up camera options more broadly, my guide to the best travel cameras covers the full range from compacts upwards, and Jess has a good round-up of the best mirrorless cameras over on our sister site.
Alongside the body, a few things are in the bag before I’ve even thought about the trip: two spare batteries, memory cards, a cleaning cloth, and my Peak Design Slide strap. More on those further down.
My Safari Photography Kit
Safari is the heaviest bag I pack, and the one where the packing decisions matter most. You can’t nip back to the lodge for the lens you left behind, and the subjects have a habit of appearing exactly once.
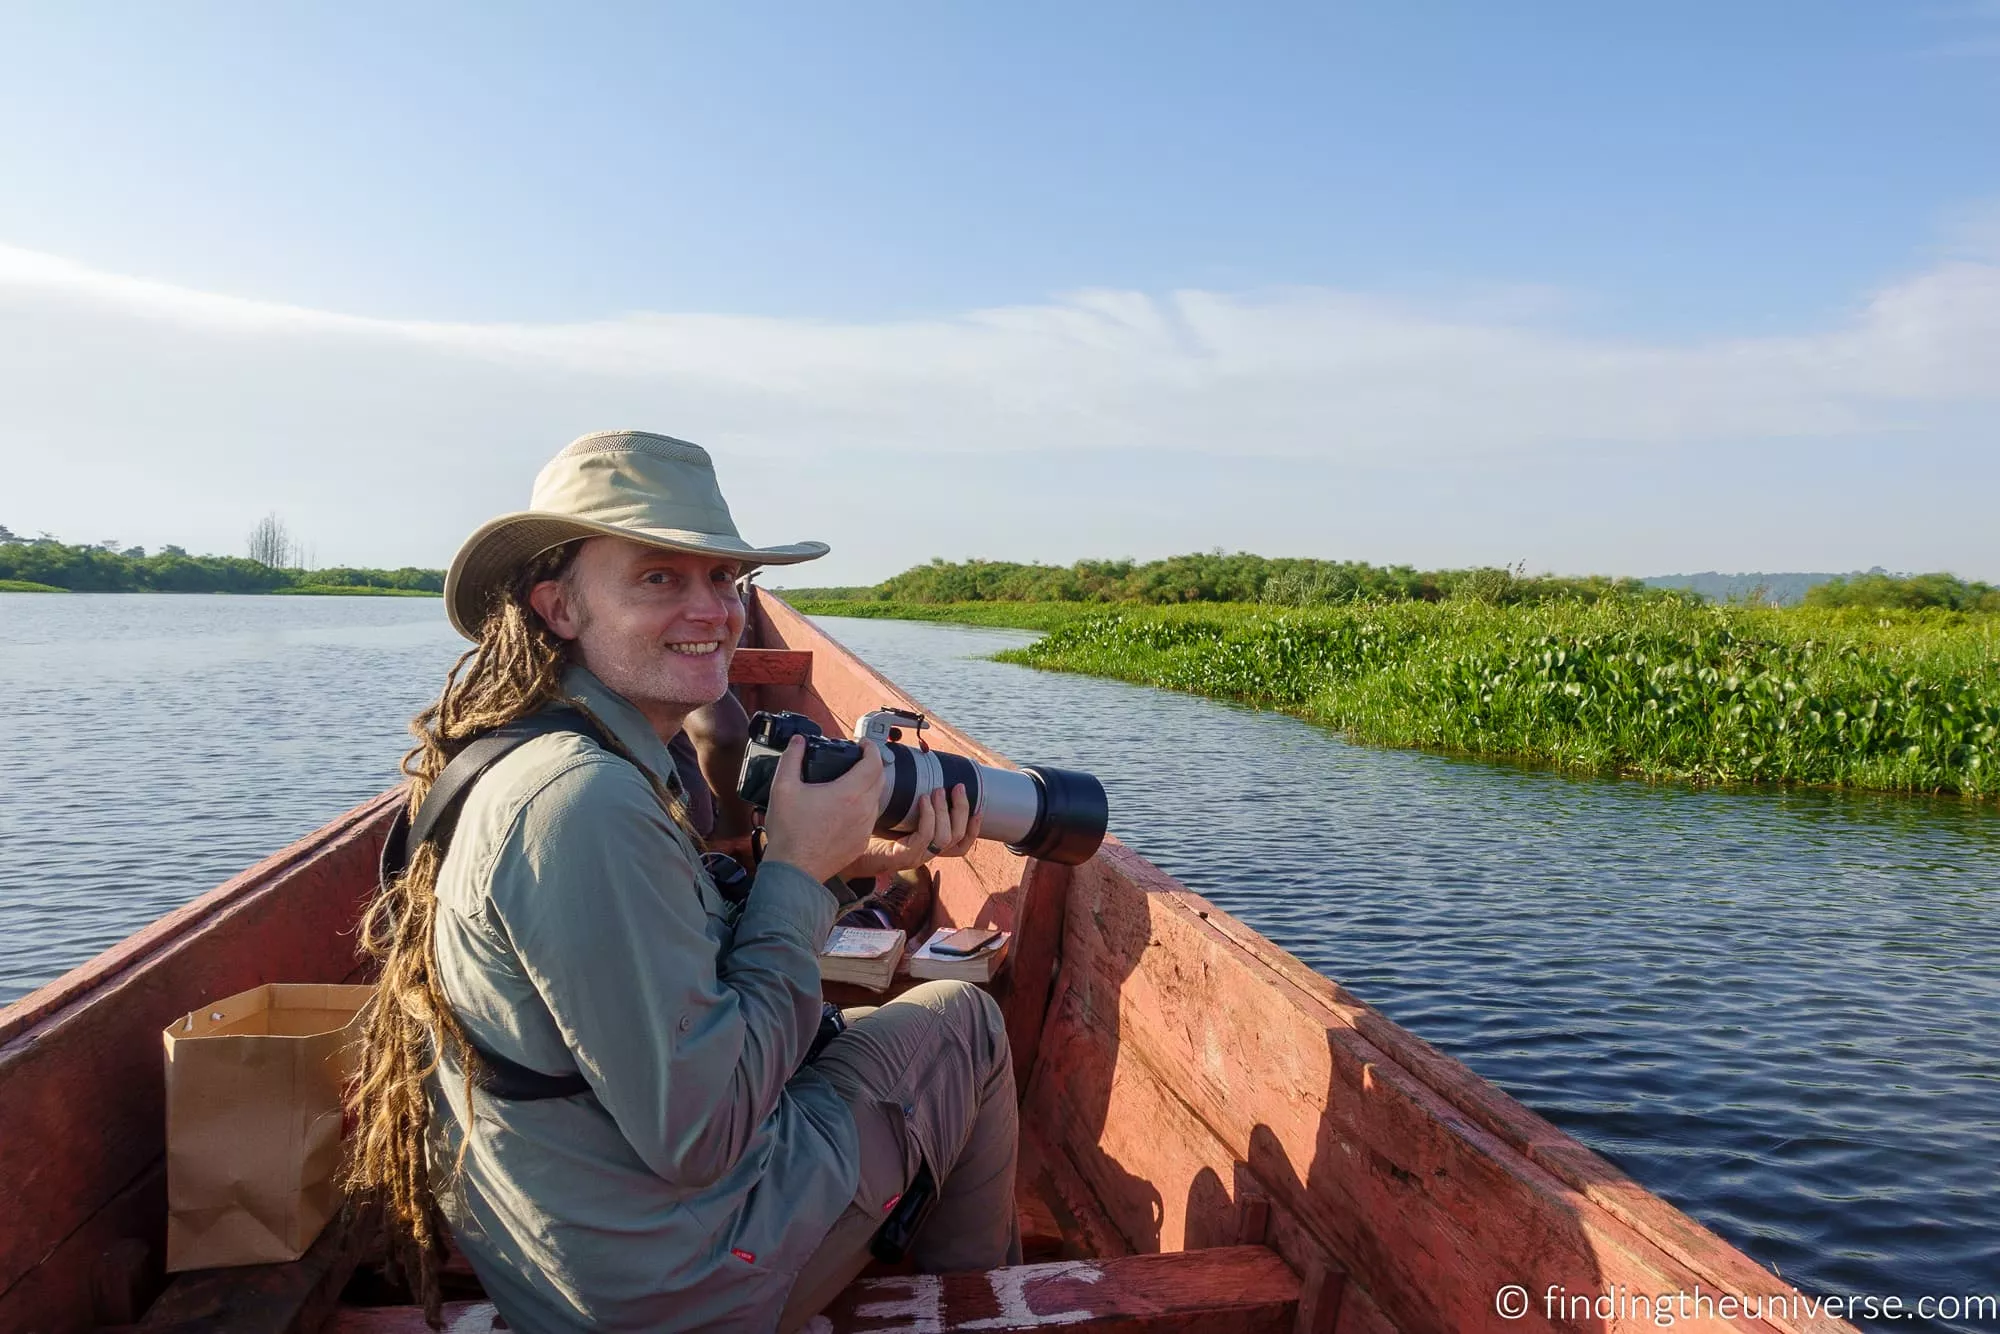
It’s also the one trip where I deliberately carry two bodies. I run my Canon R5 with the 100-400 for wildlife, and a second body wearing the 16-35 for the wide, landscape and camp shots. The reason is dust as much as speed: I’m never unscrewing a lens on a dusty plain with a leopard doing something interesting fifty metres away, and my sensor never sees open air out in the field. Two bodies, two jobs, no lens changes.
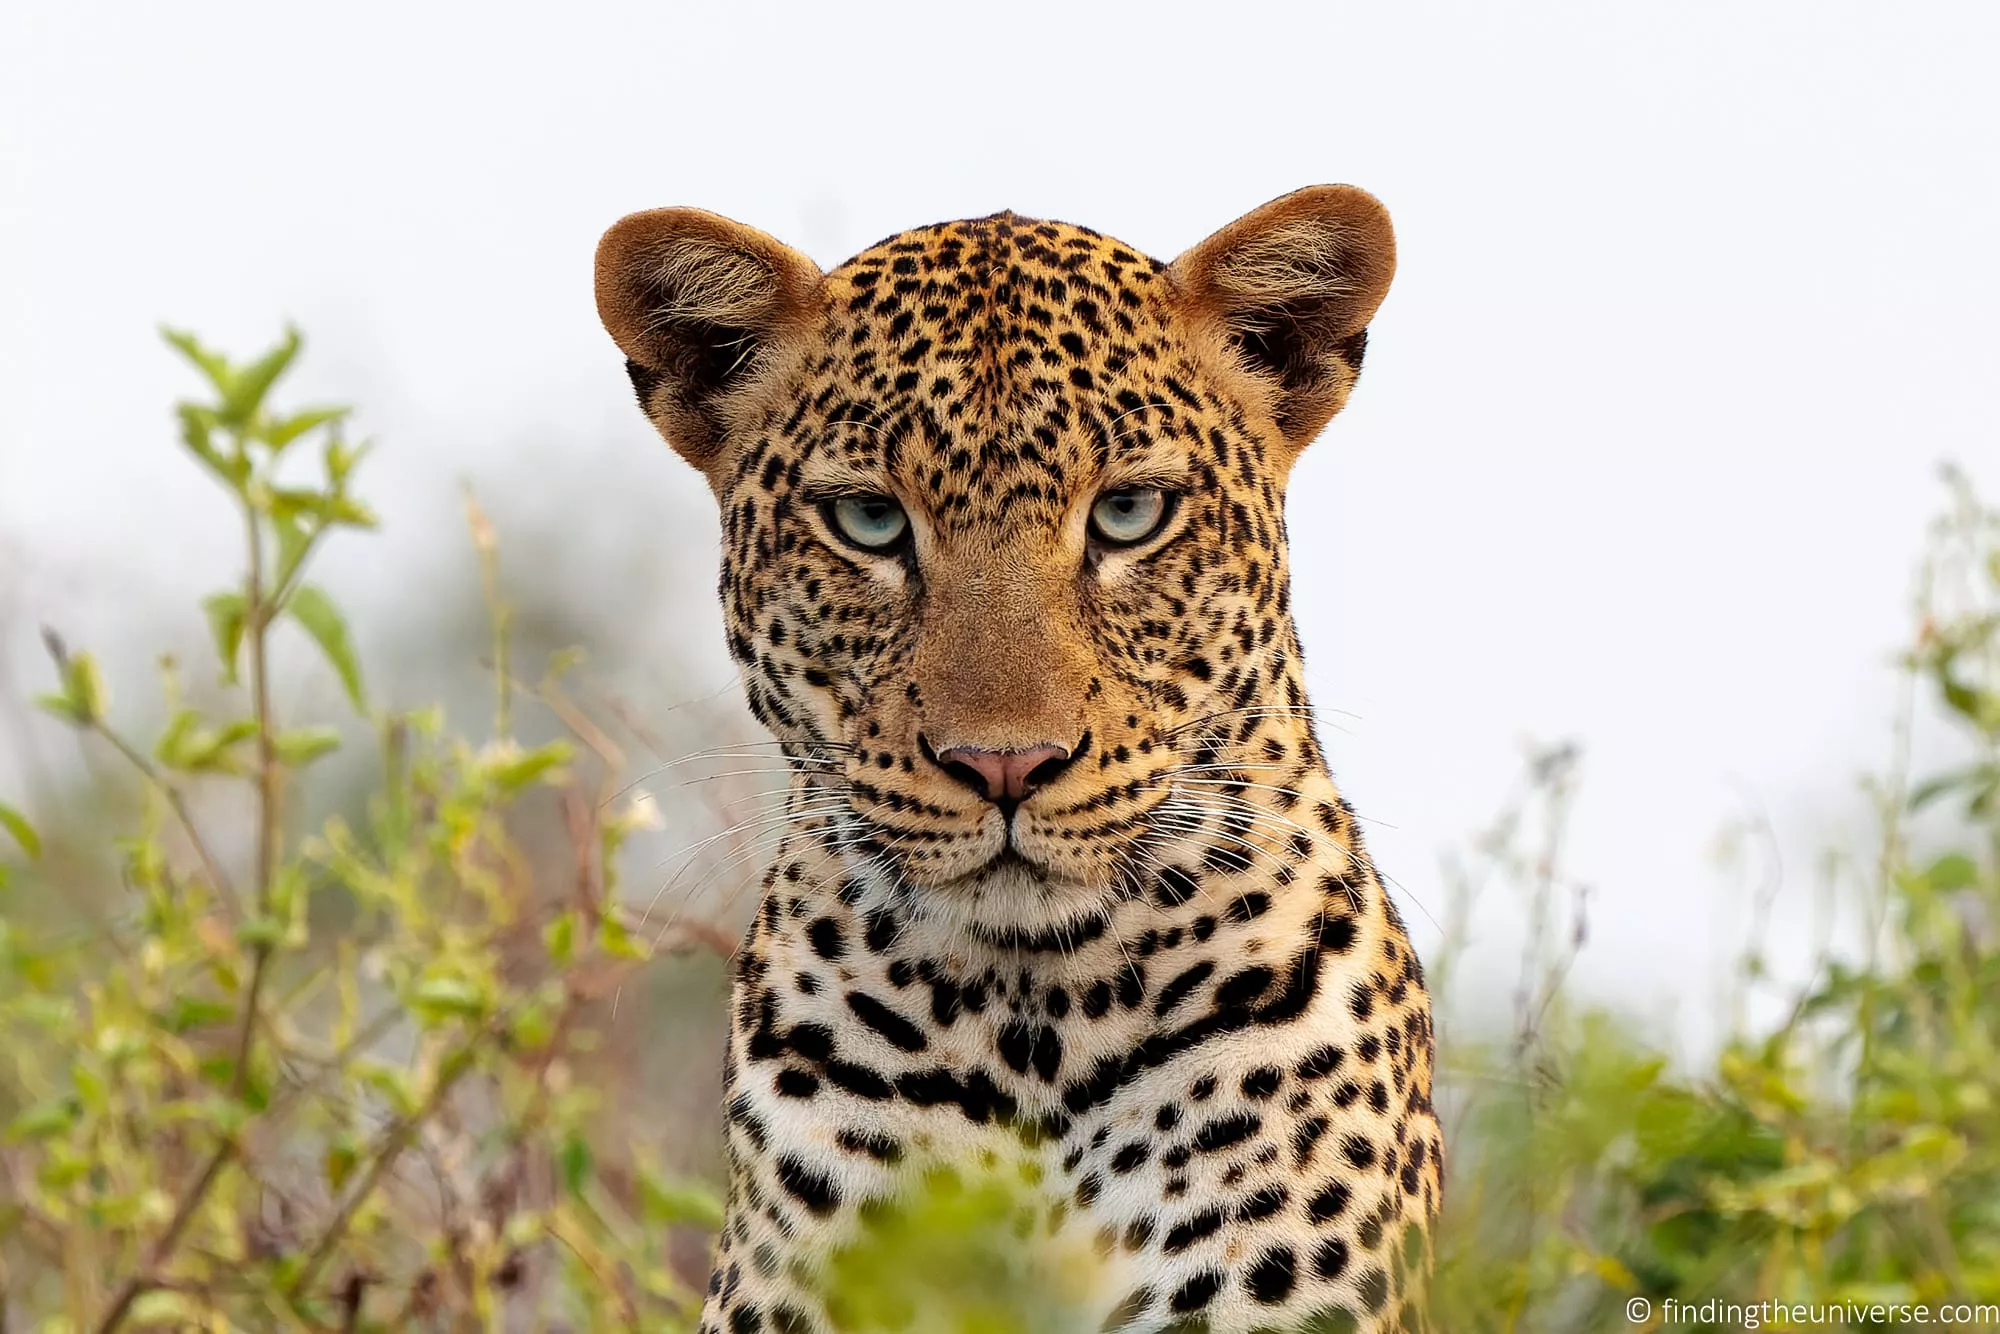
On the R5 sits the lens that does almost all the wildlife work, the Canon EF 100-400mm f/4.5-5.6L IS II. Reach really is everything on safari, and 400mm on a full frame body is about the minimum I’d want. It’s sharp, the stabilisation is superb, and because it zooms with a twist rather than a push-pull action, it doesn’t pump dust into itself the way older long lenses do. Mine has earned every scratch on it (I don’t treat my gear particularly kindly).
Canon no longer makes this lens and new copies have all but dried up, so that link goes to used copies at MPB. If you’d rather buy new, the current Canon equivalent is the RF 100-500mm f/4.5-7.1L, which is the lens I’d buy if I were starting from scratch with Canon’s mirrorless system.
The second body is an older Canon 6D, which is a camera Canon stopped making years ago. I’ve actually got two of them. They were my main bodies for a long time, Jess shot one too, and when I finally moved to mirrorless I couldn’t bring myself to sell cameras that still take a lovely photo.
I wouldn’t tell you to rush out and buy one new today, the point is that a second body doesn’t have to be new, or be the same as your main camera, or cost you anything at all if it’s already on a shelf at home. On safari my 6D wears the EF 16-35mm f/4, the same wide I use in cities and under the northern lights, which makes it my landscape and “animal in its setting” camera, always ready in the other hand.
My reach didn’t start at 400mm, either. For years it was my EF 70-200mm f/2.8 (I shoot the Mark II; the current version is the EF 70-200mm f/2.8L IS III) with a 2x extender screwed onto the back, a cheap way to stretch a lens I already owned out to 140-400mm, albeit at f/5.6 and down two stops of light. It got me shots I’m still proud of, puffins in Iceland most memorably.
When I realised how much I loved photographing wildlife, I bought the 100-400, and the 70-200 went back to being the event lens it is for me today. If you already own a 70-200, an extender is a smart (and cost-effective) way to find out whether you want the reach before spending on a dedicated long lens. Plus you can throw the 2x extender on the 100-400 for when you want a very slow 800mm (great for moon shots!).
The bag is my Vanguard Alta Sky 49D, which has carried this kit for years, up hills, through mud and rain, and in and out of many dust coated safari vehicles.
Vanguard has discontinued the 49D, so if you’re buying now, the Alta Sky 51D is the closest current bag in size, and the Alta Sky 45D is closest to mine in design if you carry a bit less. As a Vanguard ambassador I can also give you 20% off anything bought direct from vanguardworld.com with the code FindingTheUniverse.

Two safari-specific items round it out. The first is a bean bag instead of a tripod: there’s no room for legs in a safari vehicle, and a bean bag resting on the window frame or roof rail is steadier anyway. It packs flat and empty, you fill it with rice or beans from a local shop when you arrive, and I’ve written a full guide to photography bean bags for safari if you want the detail.
The second is more power and more cards than feels reasonable. Game drives are long, charging between them isn’t always guaranteed, and my INIU P63 power bank plus double the usual spare batteries covers it.
Choosing safari glass from scratch is a bigger decision than copying my bag, and I’ve covered it separately: my guide to the best safari camera lenses goes through the options at every budget, and my safari photography tips cover how to actually use it all out there.
My European City Break Photography Kit
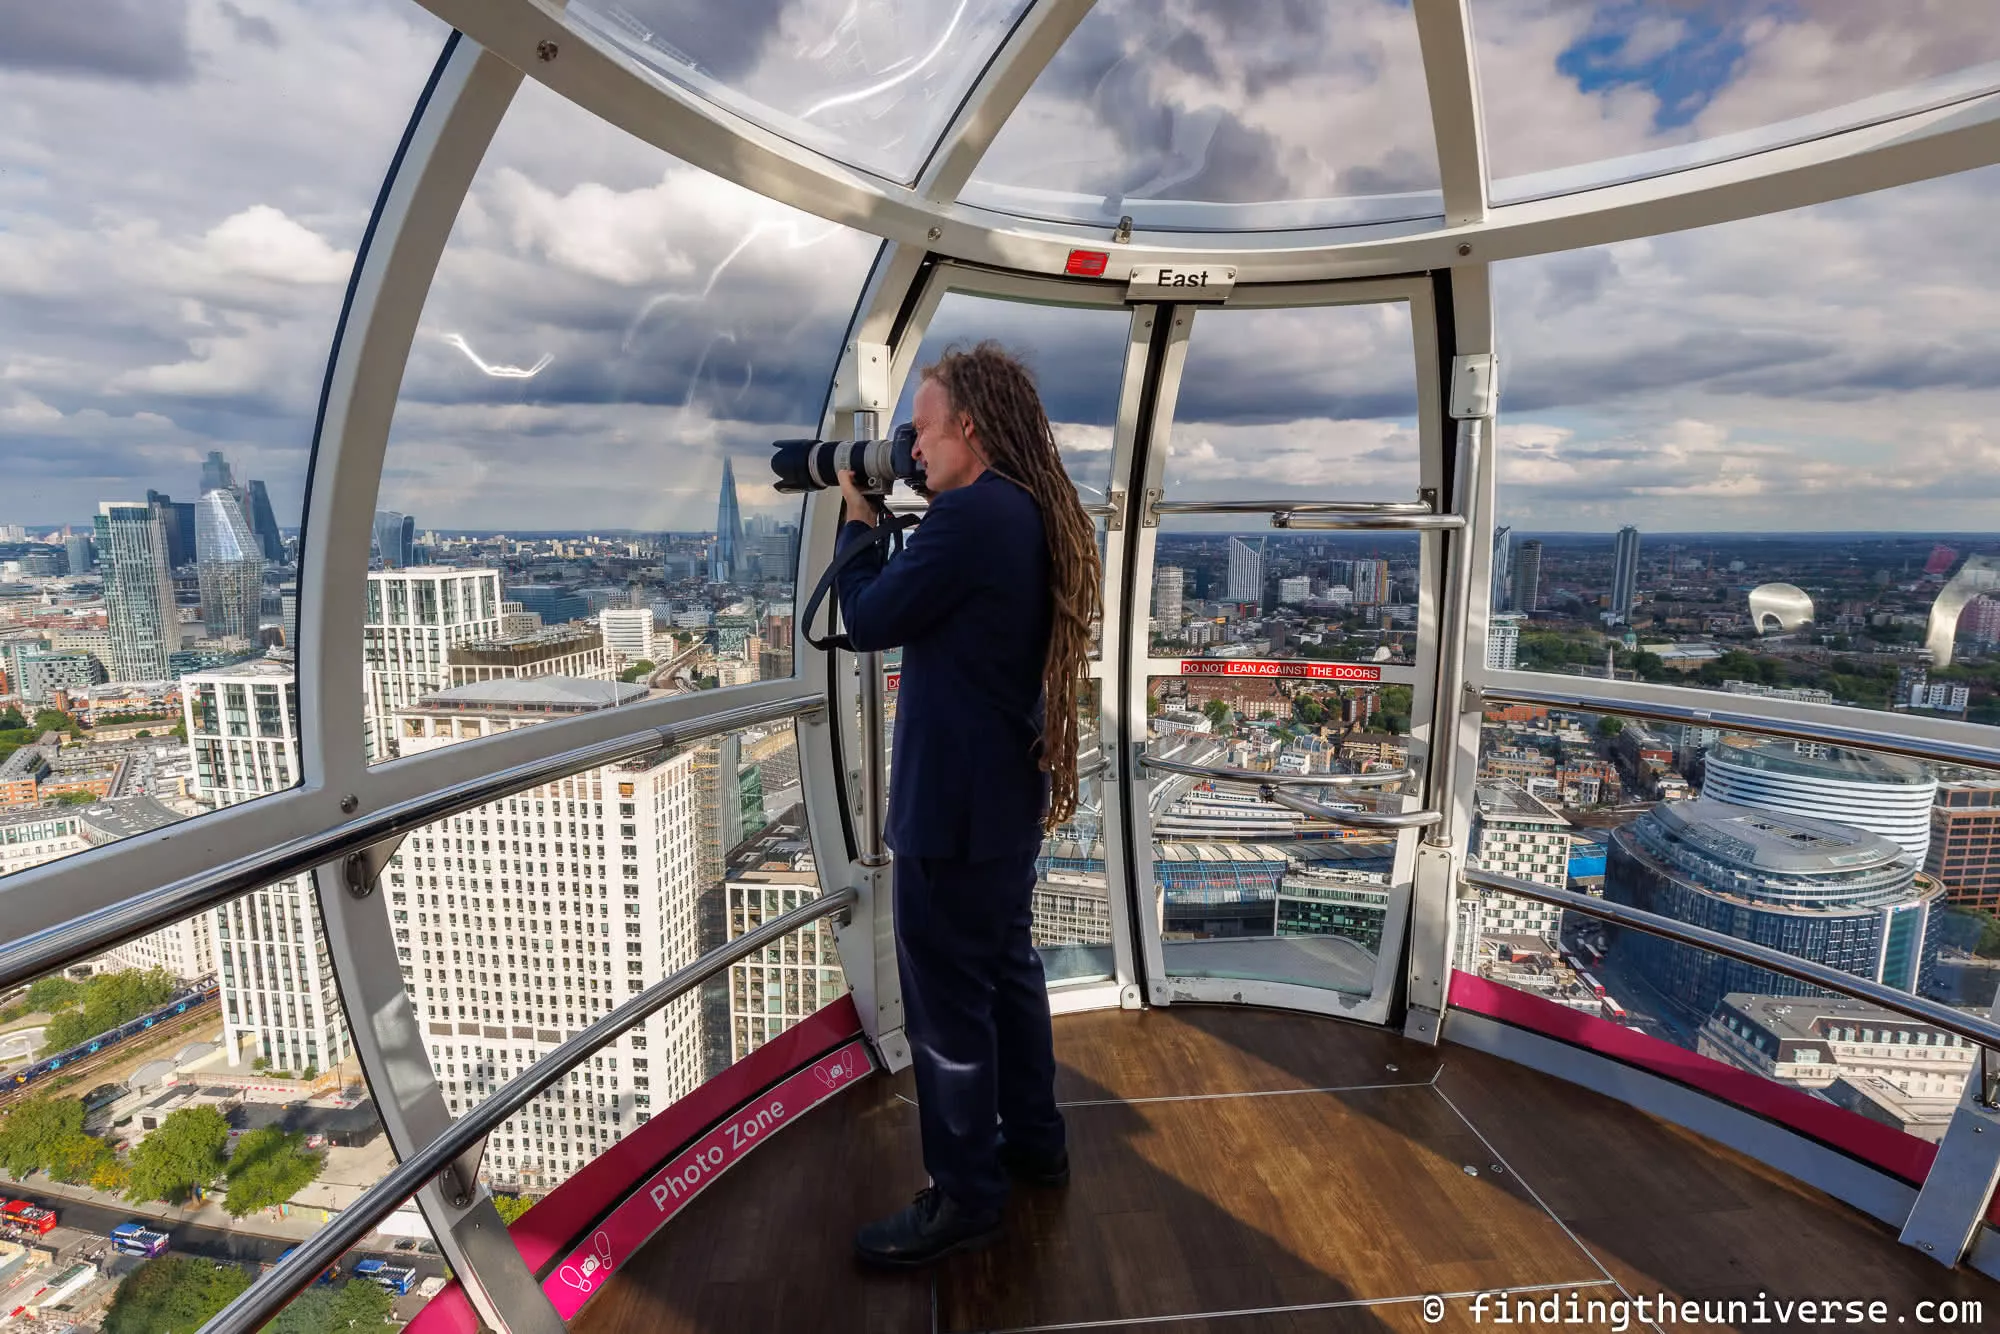
City breaks are where the 100-400 stays at home, and it doesn’t get a vote. The photography is wide: streets, squares, church interiors, viewpoints across rooftops. It also involves carrying everything on your back for eight hours a day, which shrinks the packing list fast.
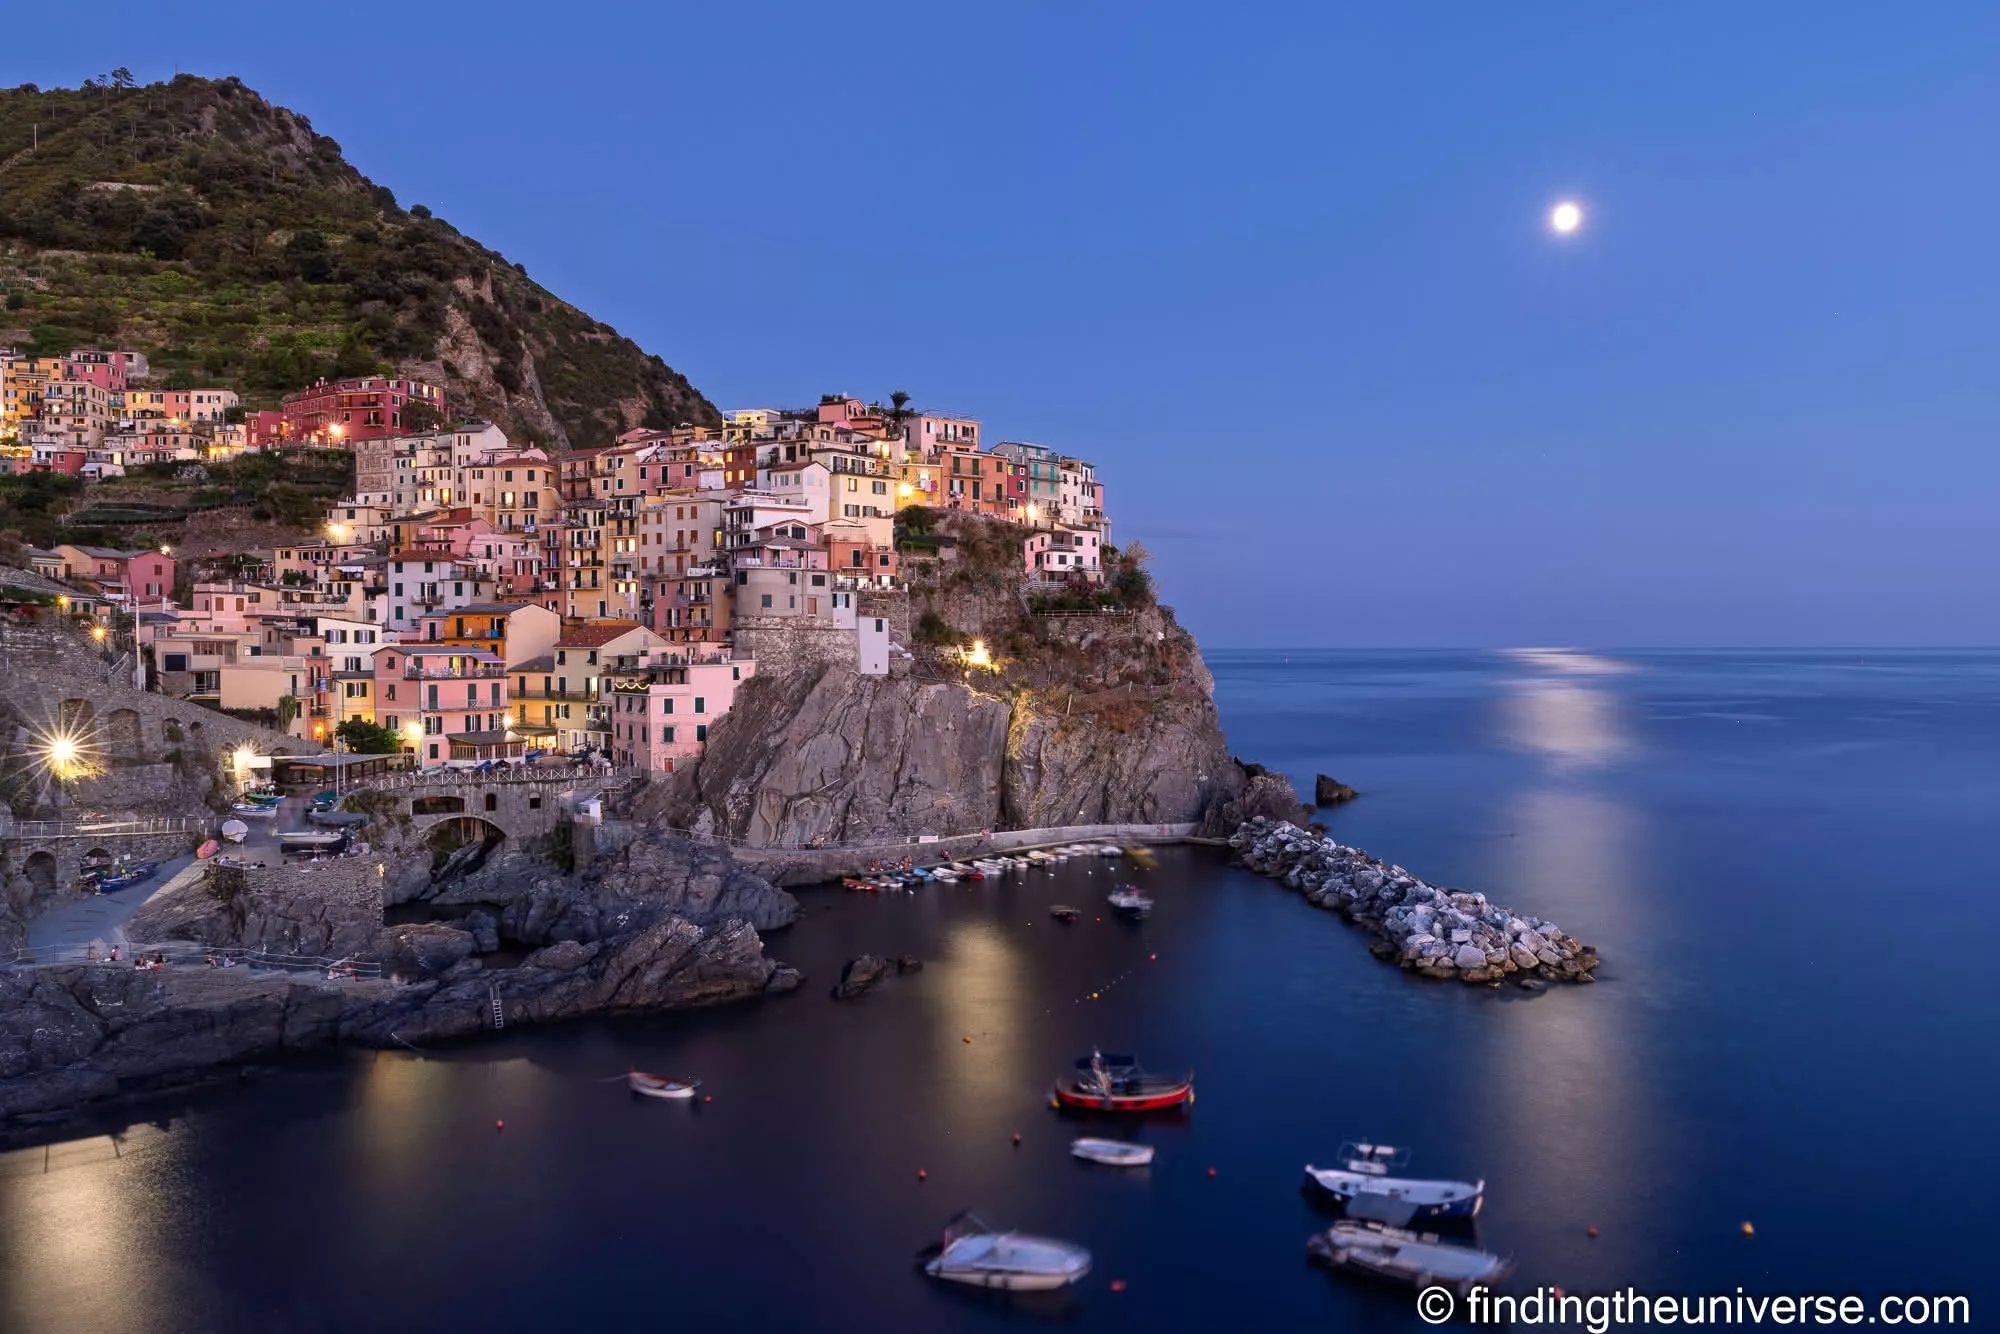
My lens for cities is the Canon EF 16-35mm f/4L IS, which is my primary wide angle for every kind of trip. It’s sharp into the corners, the stabilisation lets me shoot interiors hand-held, and at 16mm it can make a cramped medieval alley feel like a boulevard.
If I know I’ll want reach for detail shots or rooftop views, the 70-200 comes as a second lens. More often than not it stays in the hotel safe, and I don’t miss it.
For getting there, my travel bag is the Peak Design Travel Backpack 45L, which swallows camera kit and clothes for a short trip in one carry-on.
For the actual days of wandering I prefer something smaller and less obviously full of camera gear. Vanguard’s VEO Metro B20L is the one I’d point you at: it fits a body with a lens attached, converts to an everyday daypack, and doesn’t shout “expensive camera inside” on a crowded metro. The same 20% Vanguard code applies, and my full guide to the best camera bags for travel compares plenty more.

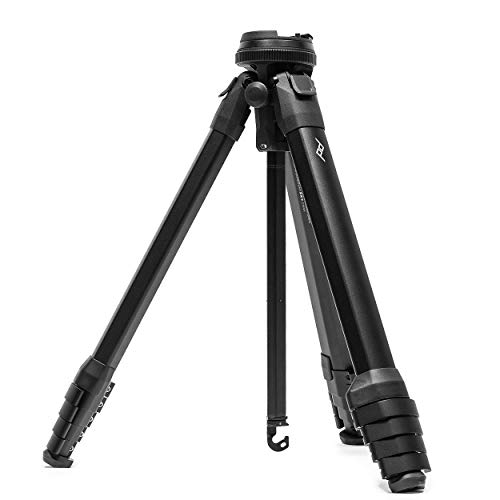
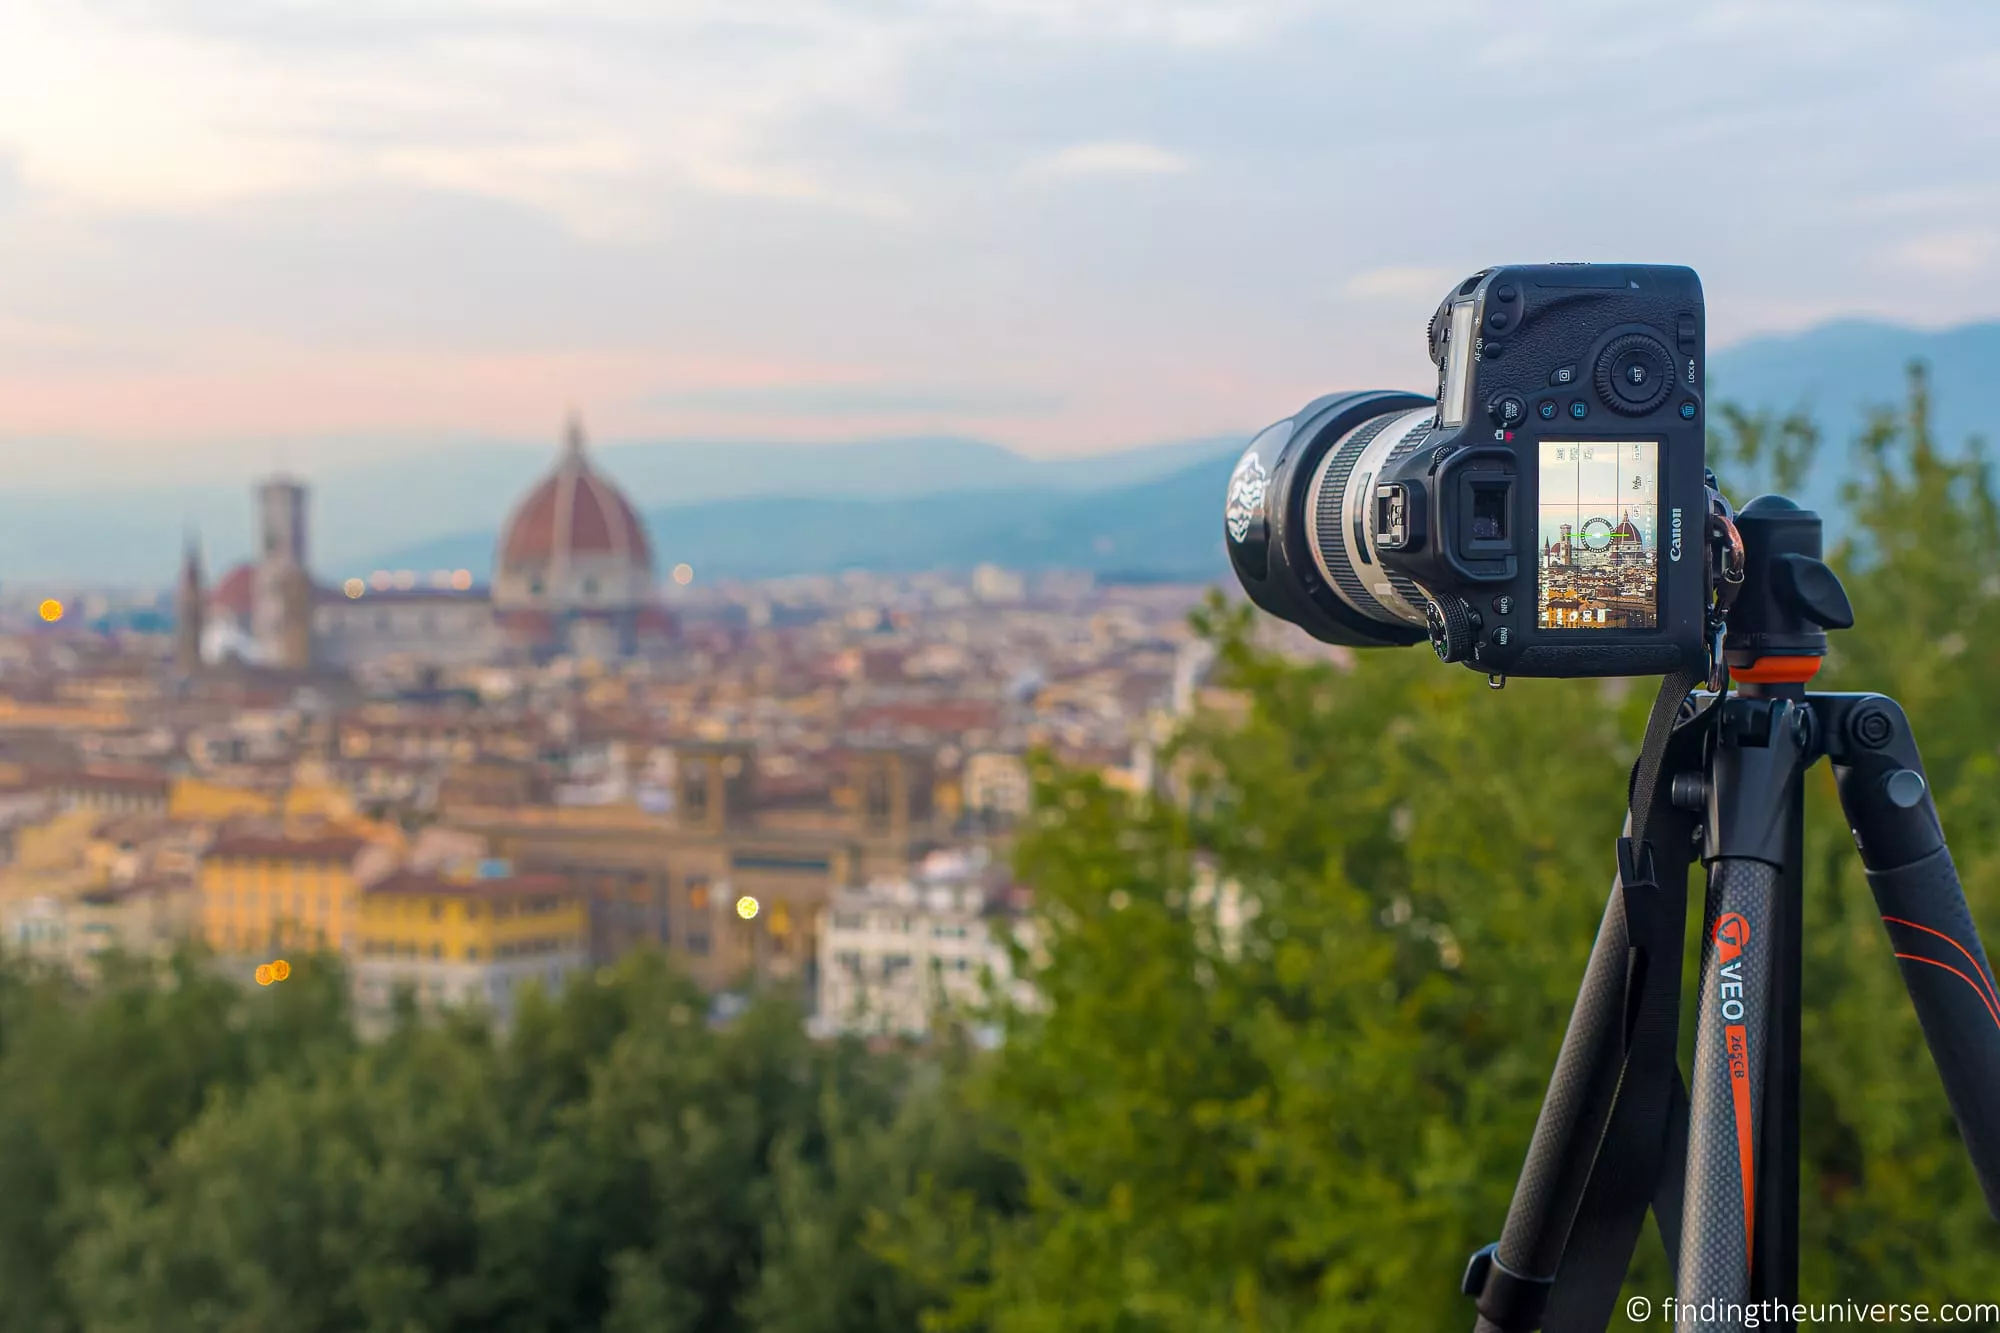
The tripod question depends on whether I’m planning any blue hour or night shooting. If yes, my Peak Design Travel Tripod comes along. It folds down to the diameter of a water bottle, so it slips down the side of a daypack rather than announcing itself. I reviewed it fully here.
If the price makes you wince, the Vanguard Vesta GO 264CB is a carbon travel tripod at around half the cost, and my best travel tripods guide covers the rest of the field. If you fancy silky daytime long exposures of fountains and crowds, you’ll also want a neutral density filter, and I’ve a full guide to ND filters for travel photography too.
The last city essential is charging. European sockets plus a UK photographer plus camera batteries, a phone and a laptop used to mean a pouch full of adapters.
Now it’s one Epicka Pulse Duo, a universal travel adapter with enough output to charge the laptop and camera batteries at the same time. There’s a full round-up of options in our best travel adapter guide.
My Northern Lights Photography Kit
Northern lights trips have the shortest kit list of the four, but the least forgiving conditions. Everything gets used in the dark, in the cold, usually wearing gloves, so each item has to be simple and reliable.
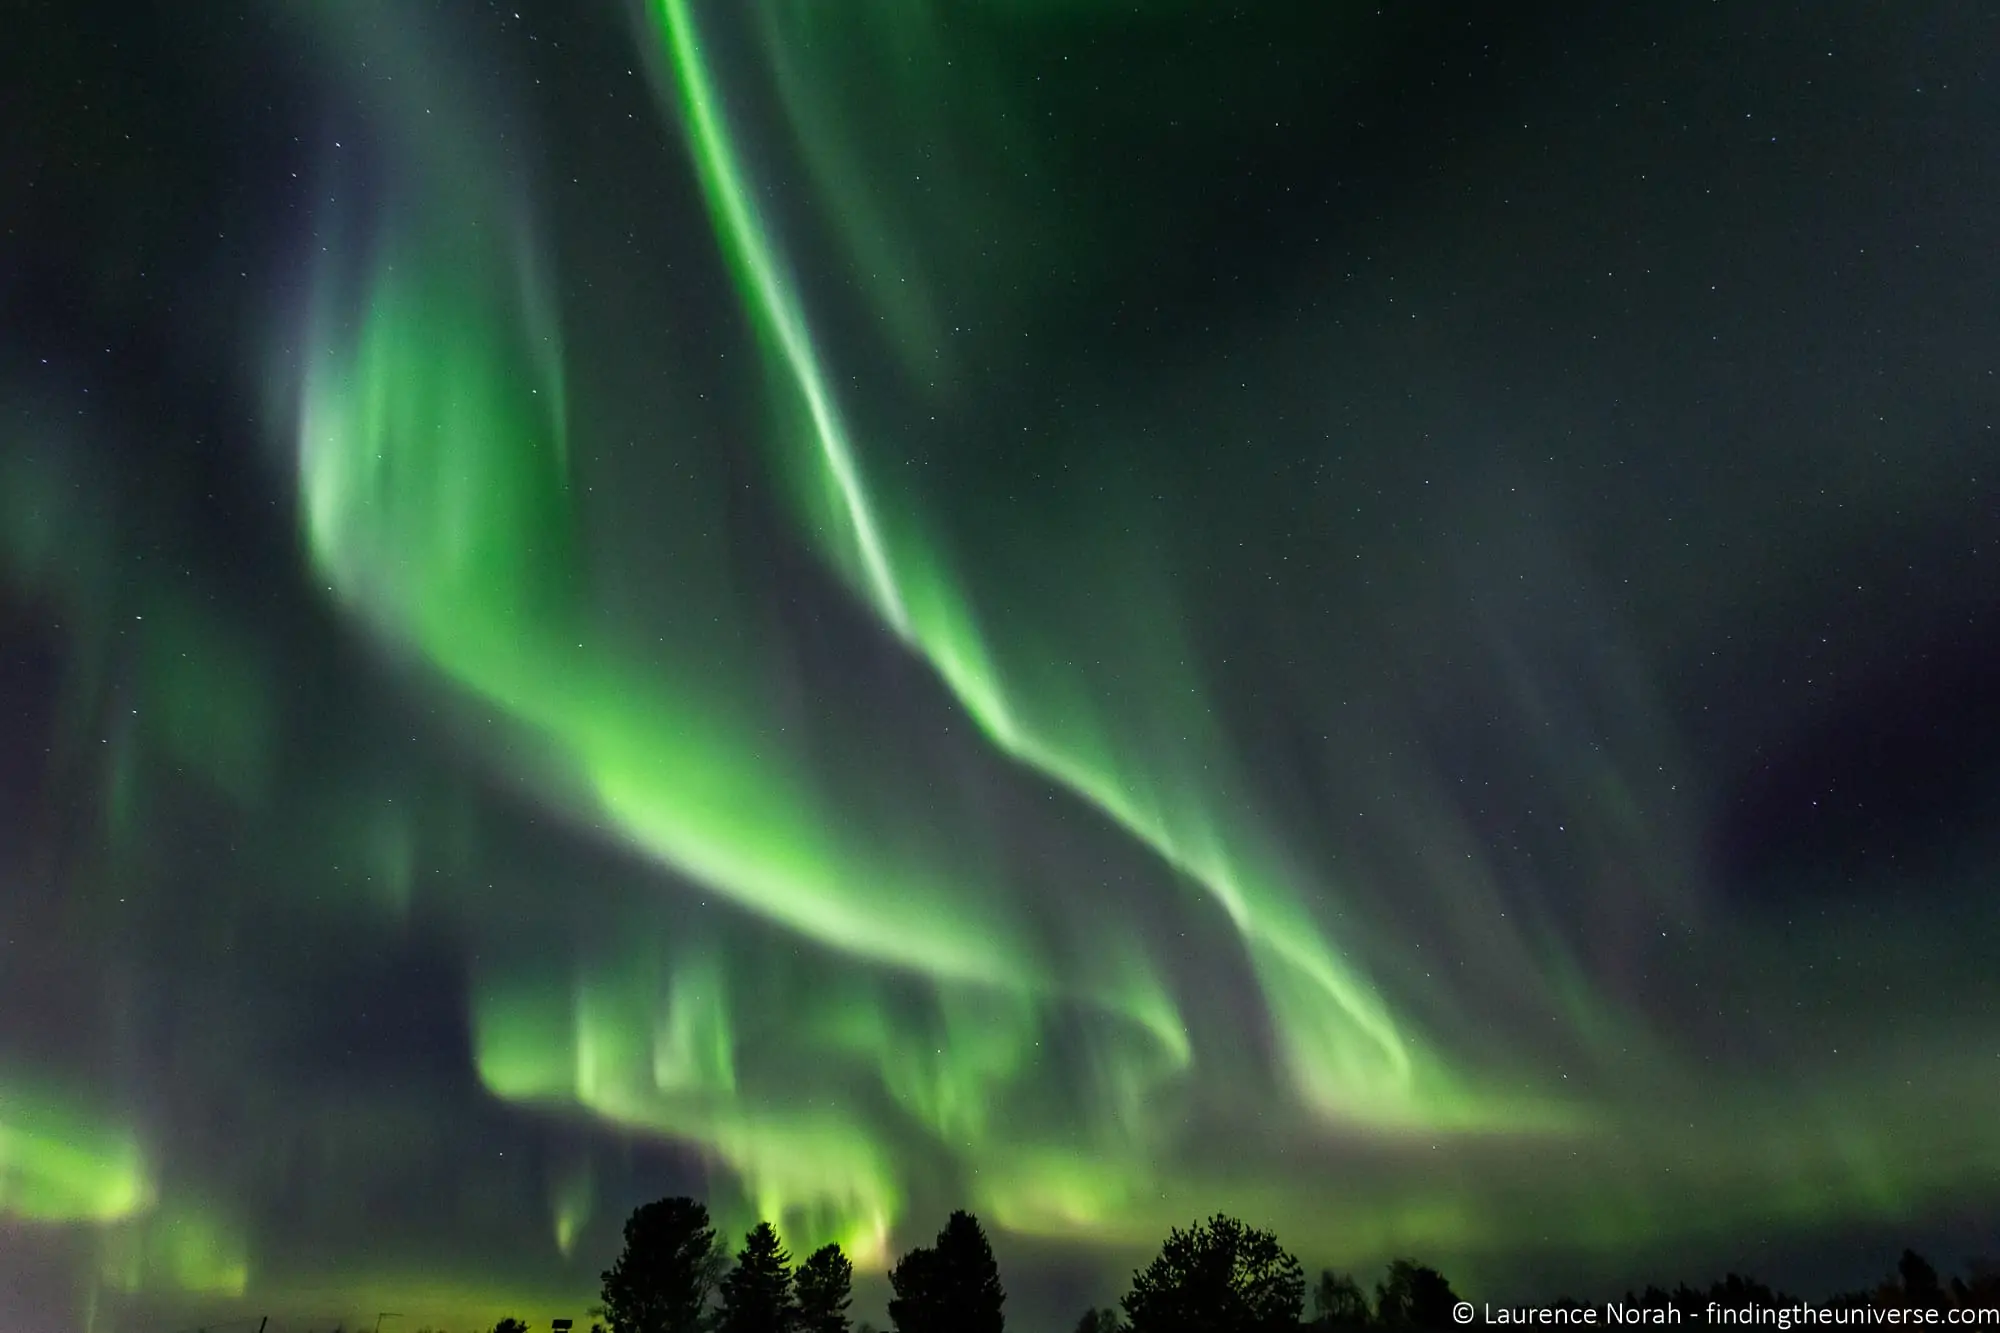
My aurora lens is the same 16-35mm f/4 I use for cities, pushed harder on ISO than it would like. An f/4 lens isn’t the classic choice for aurora, and a faster wide angle would make life easier.
If I shot the northern lights every winter I’d buy one; for the amount I’d actually use it, I can’t justify the cost, and the R5’s high ISO performance covers the gap. If you’re tempted to buy a fast lens for a single aurora trip, run that same maths first.
The tripod, on the other hand, is not the place to save weight. Aurora photography means long exposures in wind, often with the legs planted in snow, and I’ve shot the northern lights from a sturdy full-size Vanguard Alta rather than my travel tripod for exactly that reason.
Something like the Vanguard Alta Pro 263AB G2 is what I’d recommend: aluminium legs, a proper ball head, and enough mass that a gust doesn’t shake the legs mid-exposure. The Peak Design is fine for a calm city evening; it’s not what I want holding my camera in an Arctic wind. The Vanguard code works here too, direct from vanguardworld.com.

The rest of the aurora bag is small but non-negotiable. Cold kills batteries at a startling rate, so I carry double my usual spares and keep them in an inside pocket where body heat keeps them warm, swapping them into the camera as needed.
A headtorch is next (ideally with a red mode, which preserves your night vision and the goodwill of everyone standing near you). And a remote release, or at minimum the two-second timer, because at these shutter speeds even pressing the button moves the camera.
Camera settings for aurora are their own topic, and I’ve covered them in detail in my guide to photographing the northern lights, with the wider night-sky techniques in my astrophotography guide.
My Weekend Away Photography Kit
The weekend kit is really an exercise in restraint: one body, one lens, one spare battery, and a power bank. That’s the whole list. After years of packing for every eventuality, I’ve learned that for a two-day trip the eventualities mostly don’t happen, and the lighter bag means the camera actually comes out more.
The one lens is usually the 16-35mm f/4, because it covers the shots a weekend actually produces: places, streets, food, people. If I can’t take the picture with that, I probably wasn’t going to take it anyway. The camera rides in my Peak Design camera cube inside whatever daypack I’m travelling with, and the only concession to gear is the INIU P50, a pocket-sized power bank that tops up phone and camera batteries.
For contrast, I also own the Canon EF 100mm f/2.8L Macro. It’s a lovely lens. It has also never once made the cut for a weekend bag.
If even a full frame body feels like too much for a weekend, a good compact or a small mirrorless camera is a perfectly sensible answer, and Jess has guides to the best compact cameras and best mirrorless cameras that cover those options in depth.
The Gear That Goes on Every Trip Regardless
Four bits of kit don’t care which trip it is. They’re in the bag before I’ve decided where I’m going, and a couple of them involve rules that surprisingly few photographers seem to know about.
Memory Cards
The R5 has dual card slots, so I run a 128GB CFexpress Type B card alongside a 64GB SD card. Cards are the cheapest insurance in photography. My guide to the best memory cards for photography explains speeds, types and what you actually need.
Power Banks and Airline Battery Rules
My daily-carry power bank is the INIU P63, a 25,000mAh unit that charges the laptop as well as everything else. On recent trips I’ve also had INIU’s rugged RG-10000 in the bag. INIU sent me that one and paid for the review, which you can read in my full review of the RG-10000. The capacity matters for a reason beyond convenience: airline rules.

Spare lithium batteries, and that includes every power bank, must go in your carry-on bag, never in checked luggage. Under the FAA’s PackSafe rules, batteries up to 100 watt-hours fly without any approval. Between 101 and 160 watt-hours you need the airline’s approval and you’re limited to two spares in that band, and anything over 160 watt-hours doesn’t fly on a passenger aircraft at all.
The P63’s 25,000mAh works out at about 92.5 watt-hours, deliberately just under that 100 watt-hour line, so it boards without paperwork. One thing to keep straight: the “100W” on the case is its charging speed in watts, which has nothing to do with the watt-hour capacity limit, and confusing the two at a check-in desk helps nobody.
Camera batteries are tiny by comparison and fly without a second thought, though spares should still be in your hand luggage with the terminals taped or in a case. Airlines can set stricter limits than the FAA floor, so check yours before you fly with anything big.
For a weekend, the little P50 does the job at a third of the weight. More options in my guide to the best power banks for travel.
Camera Strap
I first bought a Peak Design Slide strap back in 2015 and I’ve not used another strap system since. The Slide works as a sling, neck or shoulder strap, and the anchor system means I can strip the strap off in seconds when the camera goes on a tripod. Over ten years of daily use is about as thorough as gear testing gets. Other options are in my camera straps guide.

Packing and Charging
Two small things finish the list. The Peak Design Packing Cube keeps the clothes side of the bag compressed and separate from the camera side, which helps a lot when you’re repacking in a dark lodge at 5am. And the Epicka Pulse Duo adapter mentioned earlier lives permanently in the bag, because the trip where you forget the adapter is always the trip with the important shoot.
What All This Packing Has Taught Me
A few lessons from getting this wrong in most of the available ways over the years.
The gear you keep “just in case” stays home now. For a long time my wide angle was the Canon EF 17-40mm f/4L, and I still own it, but once the 16-35 arrived the 17-40 simply never left the shelf again. Owning a lens isn’t a reason to carry it, and every loadout above got better when I started asking what each item would actually do on this trip.
Batteries and cards end trips; lenses don’t. I’ve never lost a shot to having the wrong lens, but a dead battery at the wrong moment is a photo that doesn’t exist. Spares weigh almost nothing. Double them before you double anything else.
Two bodies is the exception, not the habit. Almost everything above runs on a single body; there are only two times I double up. Safari is one, for the dust reason above. The other is the occasional trip built around an event, a street party, Hogmanay, a festival like SXSW, where I’ll run the 70-200 and the 16-35 on two bodies so I’m never caught mid-swap when the moment happens. If you’re not shooting to a brief, one body is very nearly always the right answer.
And the upgrade I keep not buying is a faster wide angle for aurora work. Every northern lights trip I think about it, and every time the maths comes out the same: the money buys more photography as flights than as glass. It’s a useful test for any gear purchase, and it applies well beyond aurora lenses.
Frequently Asked Questions
What camera gear do you need for a safari?
A camera you know well and a lens with at least 400mm of reach on full frame are the two things that matter most. I actually pack two bodies: a Canon R5 with the EF 100-400mm for wildlife, and an older Canon 6D with a 16-35mm for the wide and landscape shots, so I never have to change a lens in the dust. Add a bean bag for shooting from the vehicle, and double your usual batteries and cards.
A tripod is the item most first-timers pack and never use, as there’s no room for one in a safari vehicle. A bean bag on the window frame does the job better.
What photography gear should you pack for the northern lights?
A wide-angle lens, the sturdiest tripod you can bring, and at least double your normal spare batteries, kept warm in an inside pocket because cold drains them quickly. A headtorch with a red mode and a remote release complete the kit.
The camera matters less than the support: any camera with manual controls can photograph aurora, but no camera can do it from a wobbling tripod.
How much camera gear should you take on a weekend trip?
One body, one lens, one spare battery and a small power bank. I’ve packed more for weekends many times and I can’t remember an occasion where the extra gear produced a photo the single lens wouldn’t have got.
A lighter bag also changes how you shoot: the camera comes out more when carrying it isn’t a chore.
Can you fly with power banks and spare camera batteries?
Yes, in your carry-on bag only, never in checked luggage. Power banks and spare batteries up to 100 watt-hours need no approval, those between 101 and 160 watt-hours need airline approval with a limit of two, and anything over 160 watt-hours is banned from passenger flights.
Most power banks up to about 25,000mAh sit under the 100 watt-hour line, and camera batteries are far smaller still. Individual airlines can be stricter, so check yours before flying.
Do you need a tripod for travel photography?
Only if you’ll be shooting in low light: northern lights, astrophotography, blue hour cityscapes or long exposures. For daytime city breaks and safaris I don’t pack one, and modern image stabilisation covers most hand-held situations down to surprisingly slow shutter speeds.
When you do need one, the requirements flip: for aurora work, bring the sturdiest tripod you can, not the lightest.
Further Reading
If this has you refining your own kit, these are the natural next reads:
- My complete gear list, everything I own in one place: our photography gear
- Choosing a camera from scratch: the best travel cameras
- Building a lens kit: the best lenses for travel photography
- Carrying it all: the best camera bags for travel
And if you’d like to get more from whatever kit you end up packing, my online travel photography course covers everything from camera basics to editing, with personal feedback from me along the way. No bag space required!

Leave a Reply