Most modern consumer oriented cameras have some kind of flash option built-in. By default, this will usually be set to go off automatically when the camera deems it necessary.
While the built-in flash on your camera or smartphone can be helpful in some circumstances, such as dark environments or backlit scenes, there are many reasons to disable it.
In this post I’m going to outline a number of these reasons, which include getting better photos. There are a number of situations where using the flash on your camera will actually produce a worse photo than taking a picture without the flash!
Other reasons include disabling your flash to comply with attraction guidelines, and being considerate of others.
Table of Contents
Reasons You Should Disable the Flash on Your Camera
Let’s get started with my guide to why you should disable the flash on your camera, situations where you should turn it off, and a quick overview of how to actually turn it off.
1. To Comply With Policy At Attractions
When you visit a museum or other attraction, you will likely find that there is a sign up either stating that no photography is allowed, or that you can take pictures but without the flash.
If you dig a bit deeper and ask why you can’t use your flash, the number one reason you will be given for is so that you don’t accidentally damage a priceless piece of art.
It is certainly true that exposure to light can cause damage to art of certain types. You only need to look at an old painting or tapestry that has had prolonged exposure to natural light to see how faded they become.
This is why most museums strictly control the light in their exhibits, with particularly light sensitive objects kept in rooms with limited light.
It would appear to be logical that if light can damage an artwork, then the bright light from a camera flash can is also capable of damaging light-sensitive objects. This would particularly seem to be the case given the cumulative effect of hundreds of thousands of flashes over the years that an object is on display.
To be honest, whilst this sounds very plausible, some studies have shown that the light from a modern flash, which is filtered through a UV filter in most cases, is unlikely to cause any actual damage.
Whereas damage is possible by a camera flash, damage to most objects is not likely with the flashes normally found in consumer cameras and smartphones today.
However, many museums tend to err on the side of caution when it comes to protecting priceless pieces of art, which isn’t really a bad thing. Since there is a possibility that some objects may be sensitive to flash photography, it is easier to forbid it in general.
We’re more than happy not to accidentally cause damage to a piece of art that is hopefully going to be enjoyed by generations to come, and always be sure to disable our flashes when visiting museums and other attractions with potentially sensitive objects on display.
Of course there are other reasons a museum or other attraction will restrict flash photography.
When you’re in a light controlled environment trying to enjoy some lovely pieces of art, the sight of a flash going off is going to be distracting.
This might not be a big issue if it’s once or twice, but think of a museum like the Louvre, which has tens of thousands of visitors going through every day. Even if just a percentage of these visitors are taking pictures with their flash, it’s going to quickly feel less like a museum, and more like a strobe-lit dance venue.
Probably not the feeling that most people want when trying to appreciate art! So most museums restrict the use of flash to give an improved visitor experience.
If a museum bans photography altogether, this can be for a various reasons. First, photography in general can slow down the flow of visitors and cause visitor “traffic jams”.
One only need visit the Mona Lisa in the Louvre to see this in effect!
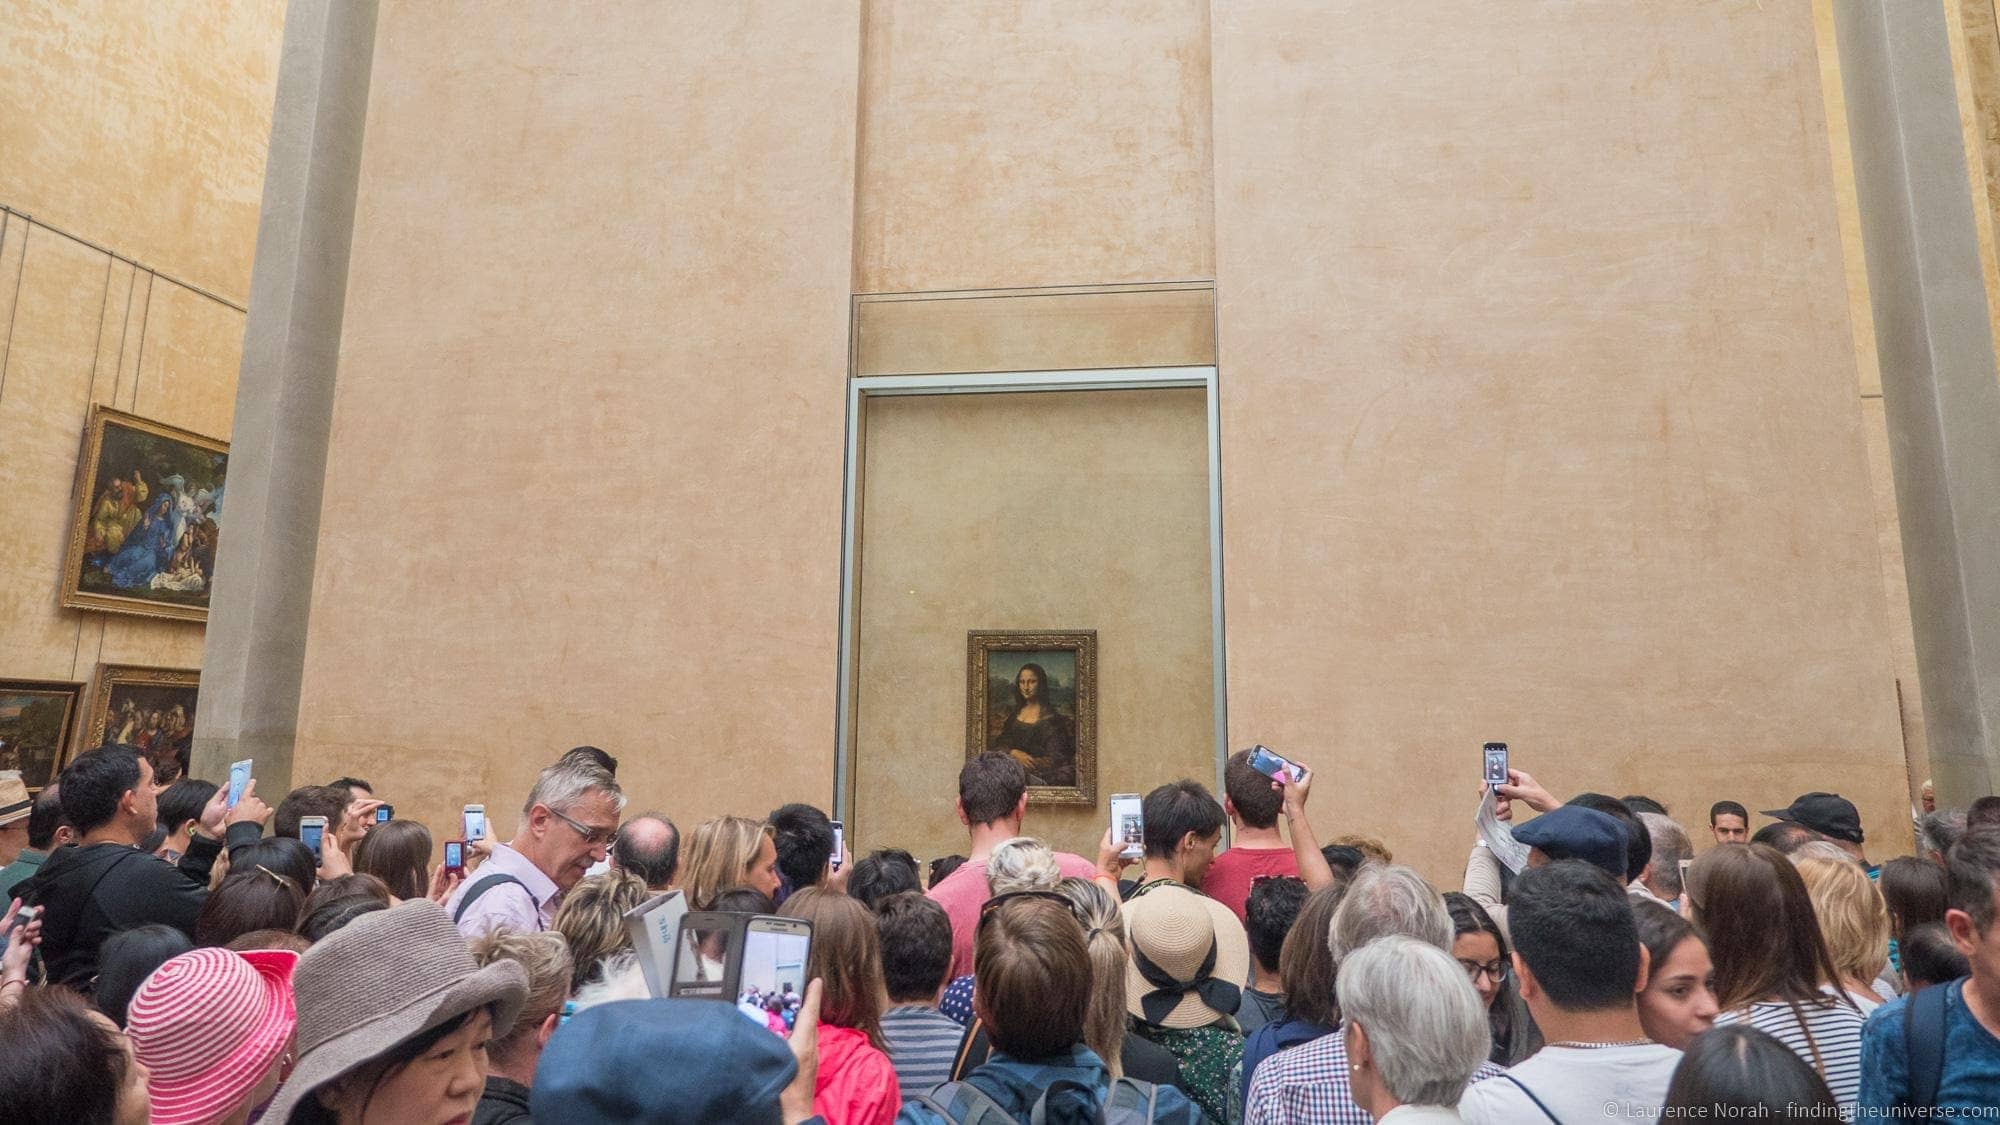
Finally, there may be copyright reasons that photography isn’t permitted. Some museums do not allow flash or high-quality photography equipment in museums because of copyright protection reasons. While some restrict photography totally, many still allow personal photography without flash.
The good news is that most museums have gift shops where you can pick up a high quality image of their most famous pieces of art to take home! So you can enjoy the museum without worrying about taking photos, and if you love a particular piece of art, you can get a nice copy as a souvenir.
Buying something from the gift shop is also a good way to support an attraction. So you get a nice souvenir and help keep a museum going. Everyone wins!
2. Flash Can Cause Reflections
So the first entry was about preserving art. But now let’s assume flash photography is permitted at an attraction.
Even if this is the case, using the flash in many situations can actually make your pictures worse.
The first issue when using a flash is that it can cause unwanted reflections in your shot. This is especially the case when you are shooting through glass or other reflective materials.

Basically, when the flash goes off, the reflective material will bounce it back into the camera. The end result is usually an image with a large white blob of light, which often obscures the subject and is definitely not pleasing.
Disabling the flash will hugely reduce this problem. You can also hold the camera closer to the glass if possible, which can also help reduce reflections.
3. Flash Doesn’t Work Beyond a Few Feet
A friend once told me a story about a time when he was on a night flight, and at the time, the plane was over Egypt. The pilot came on the intercom, and informed the passengers that those on the left side of the aircraft would be able to see the pyramids if they looked out the window, as they are illuminated at night.
The couple in front of my friend quickly grabbed their camera, and went to take a photo. Before they could get the shot though, one said to the other – “be sure to turn on the flash!”.
This is clearly a bit of an exaggerated example. My point is that a flash is often used as a magical solution to shooting when it’s dark.
Clearly, no flash in the world is going to be able to illuminate something from 35,000ft up in the air!
The truth is that most of the built-in flashes on cameras and smartphones are barely able to illuminate subjects more than a few feet away. If you enable the flash for subjects further than this, all you will get is a small bright patch directly in front of the camera, with lots of darkness beyond.
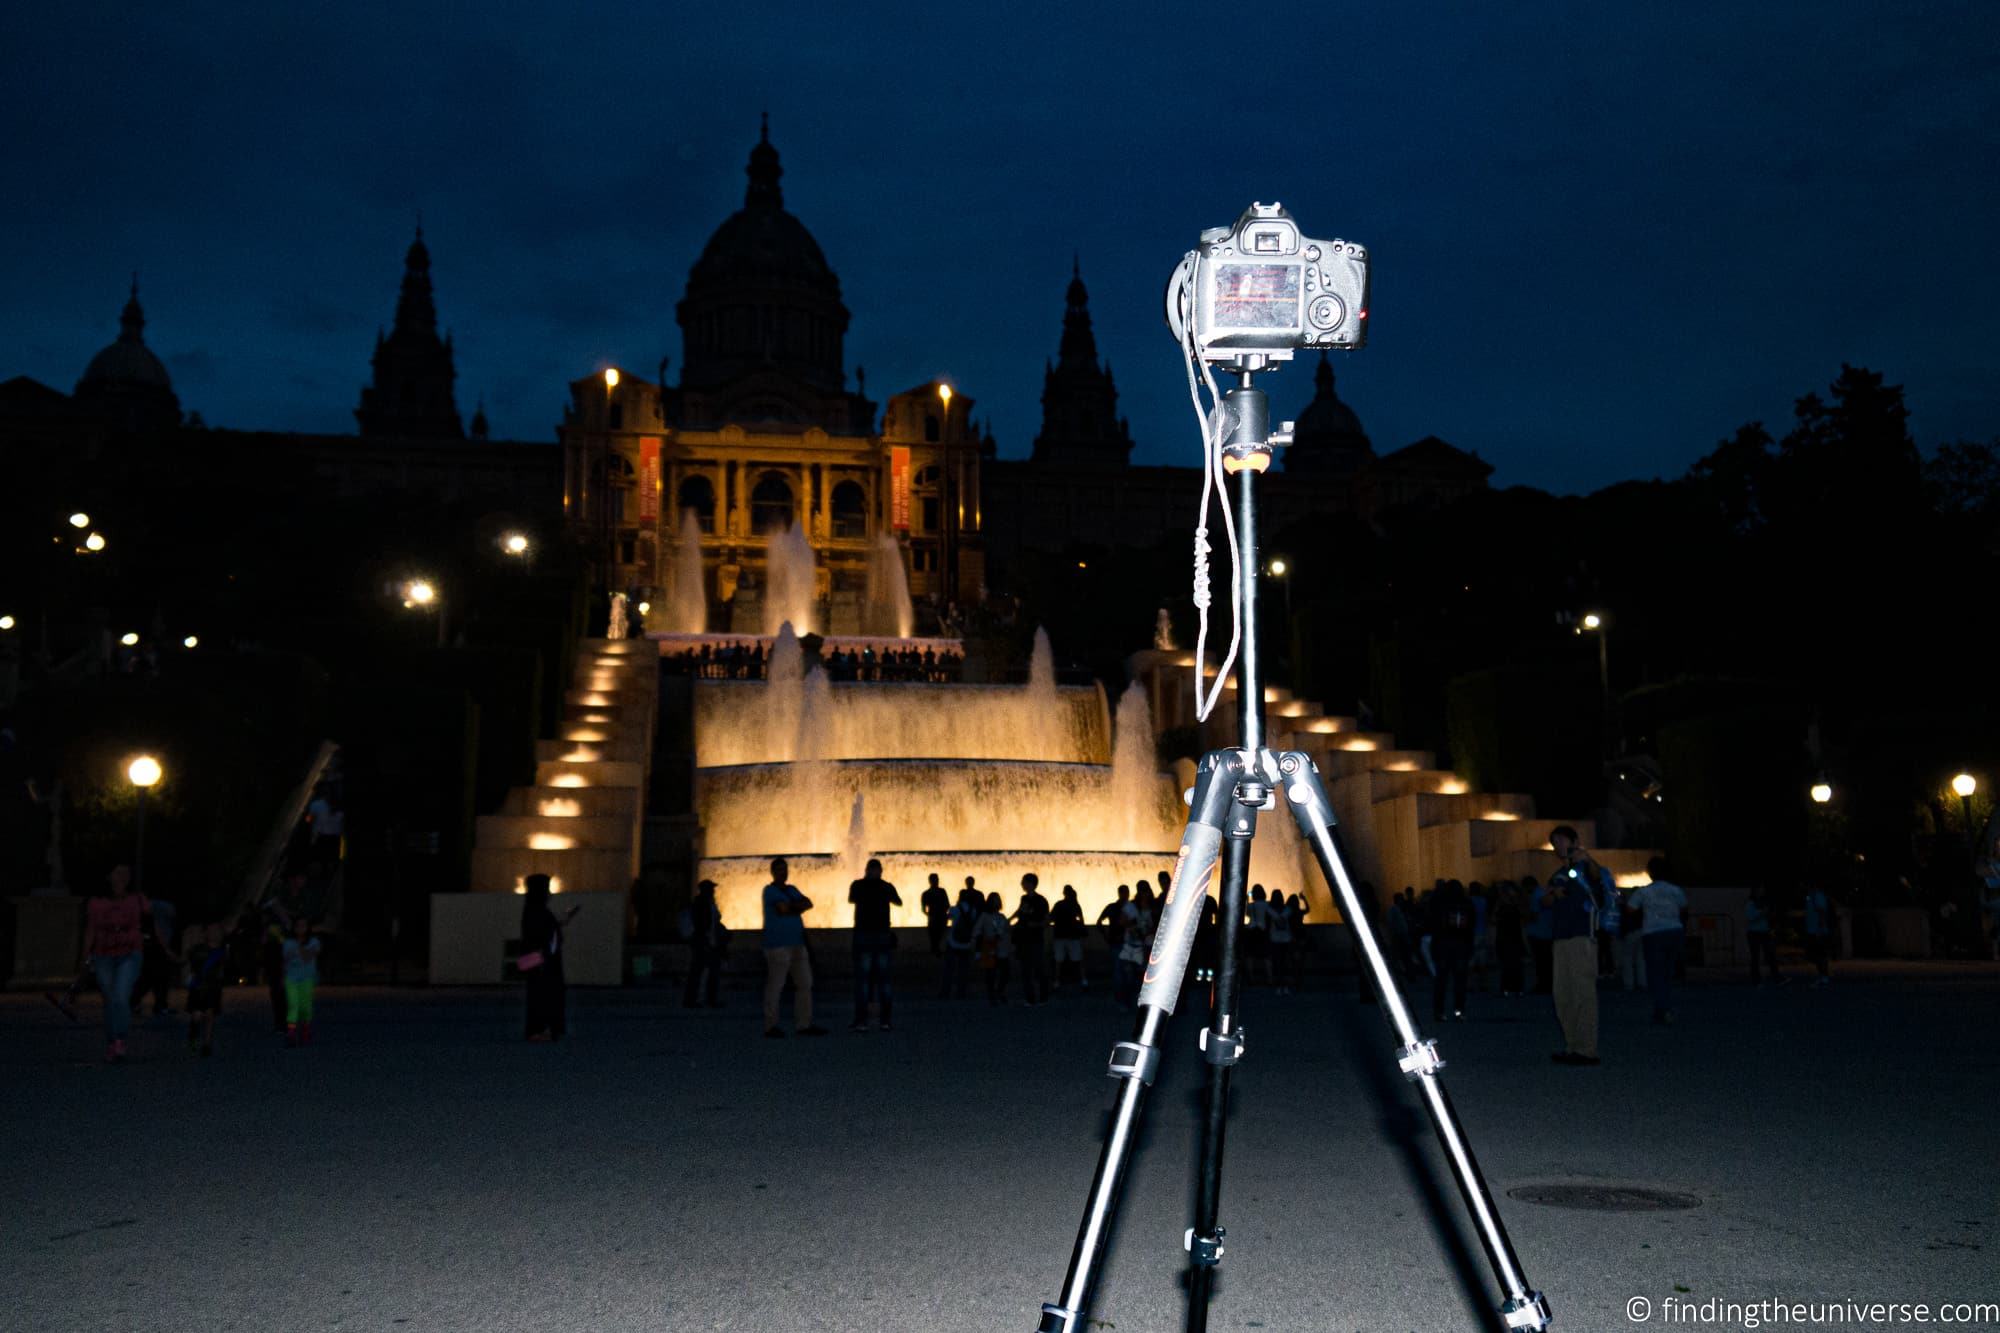
Even a high powered external flash unit can only do so much. Take this photo below of the Tower of London shot with an external flash unit set to maximum power. The flash was able to illuminate the nearby ground, but it certainly couldn’t illuminate the whole scene.
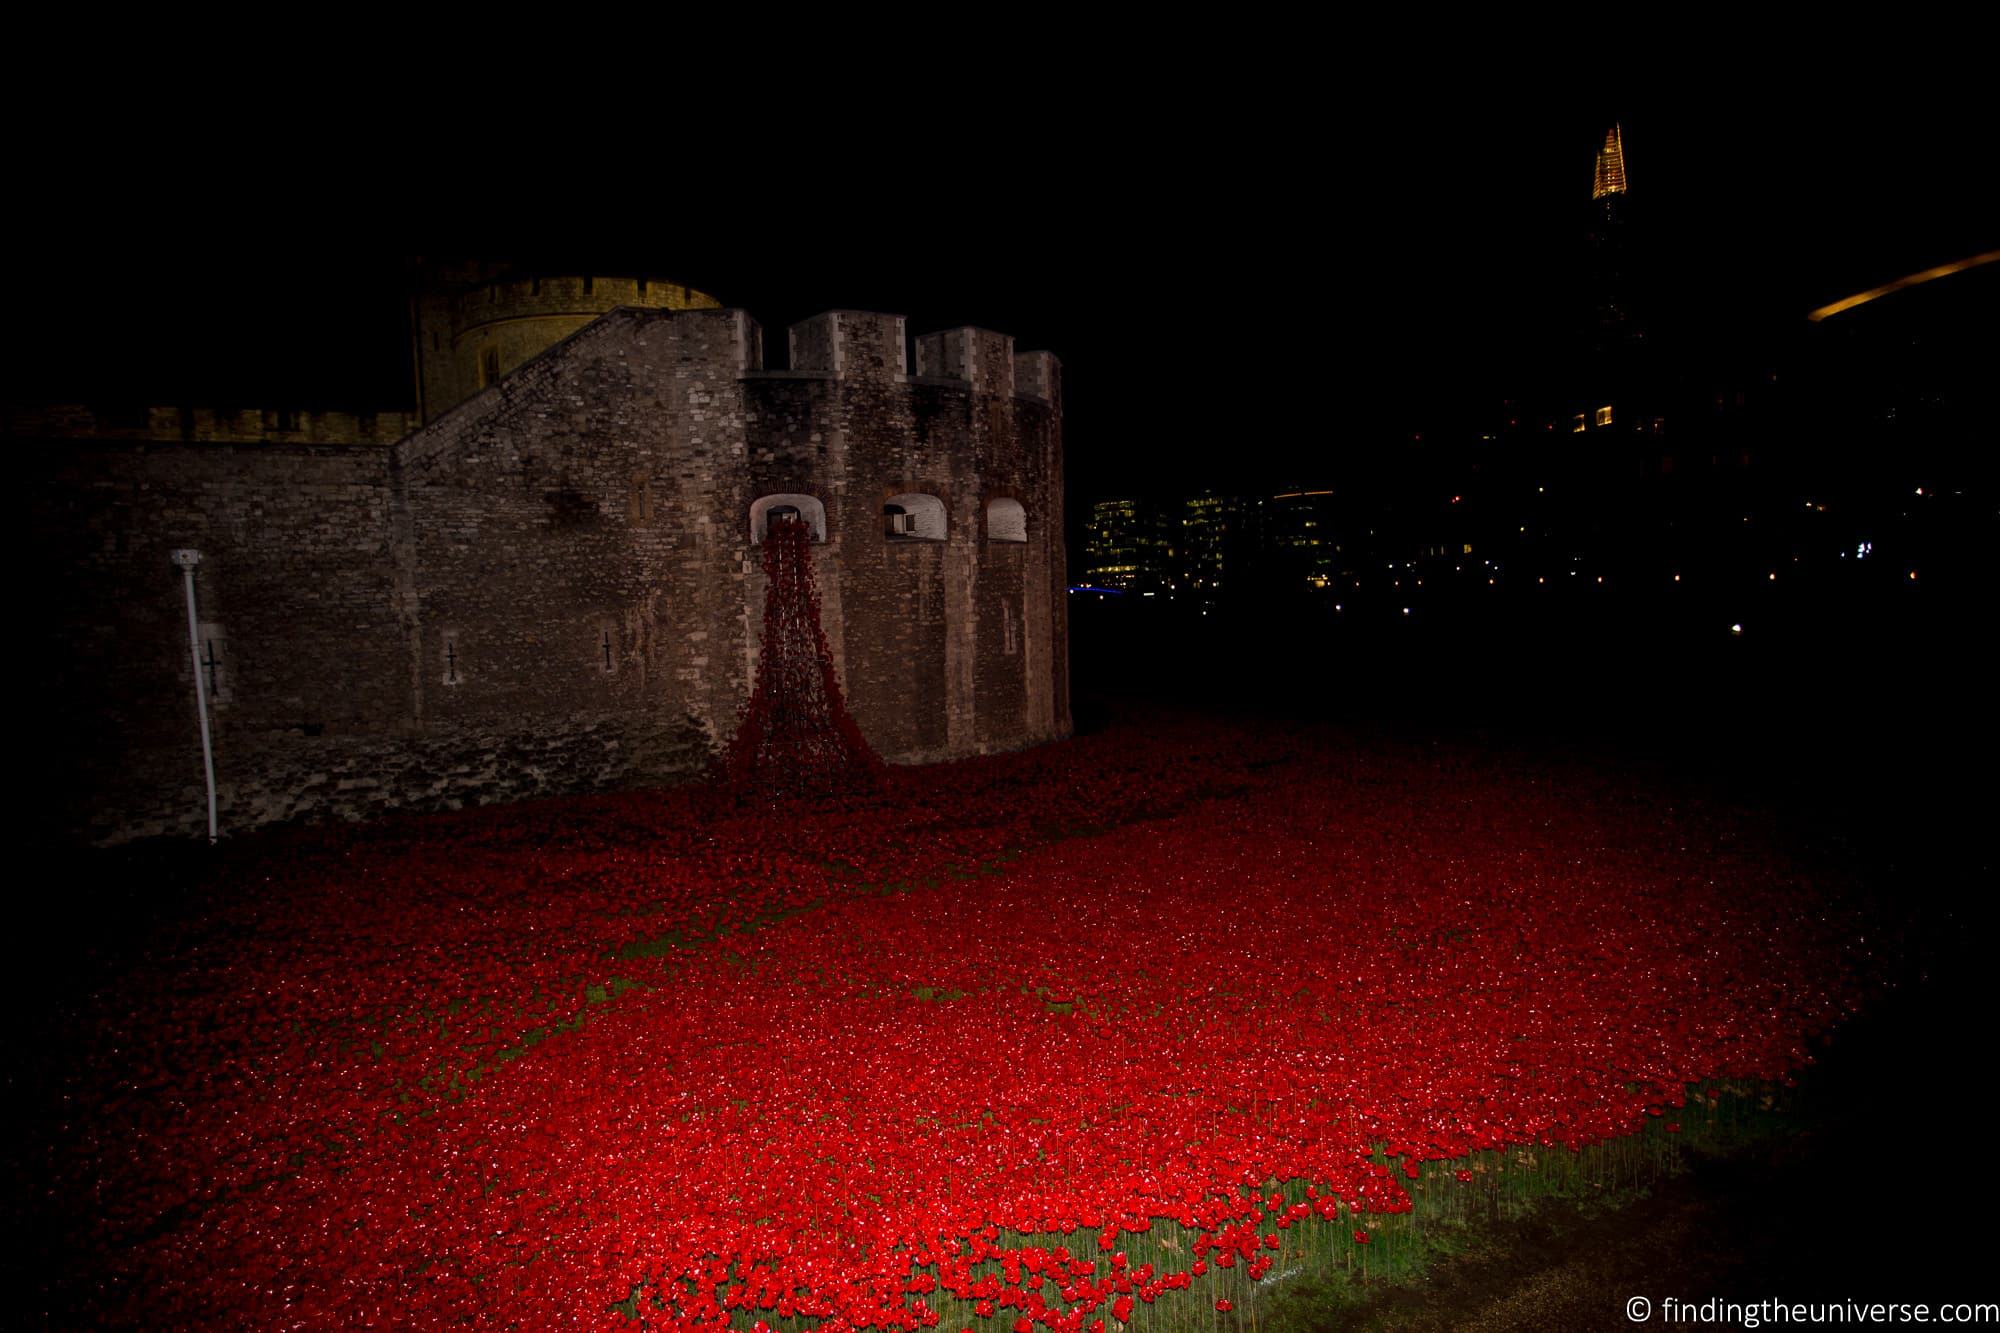
Using a tripod and a long exposure would have given a much more evenly lit solution in this case.
4. Flash Often Produces Poor Results
Our cameras are pretty much calibrated to work in the daytime, with the magnificent power of the sun providing illumination for our photos.
Creating even the approximation of the lighting conditions that the sun creates requires very powerful lighting units. This is why most professional photographers use external flash units, which use multiple batteries to produce a more powerful flash of light.
Often, such as in a studio situation, photographers may use multiple flash units and other lighting sources to get the lighting right. And even then, these setups have a limited range.
Compared to shooting in daylight or with a professional lighting setup, the tiny flash on a standard camera or smartphone doesn’t produce great results. To be honest, you don’t even need to compare them – they just don’t produce good results period.
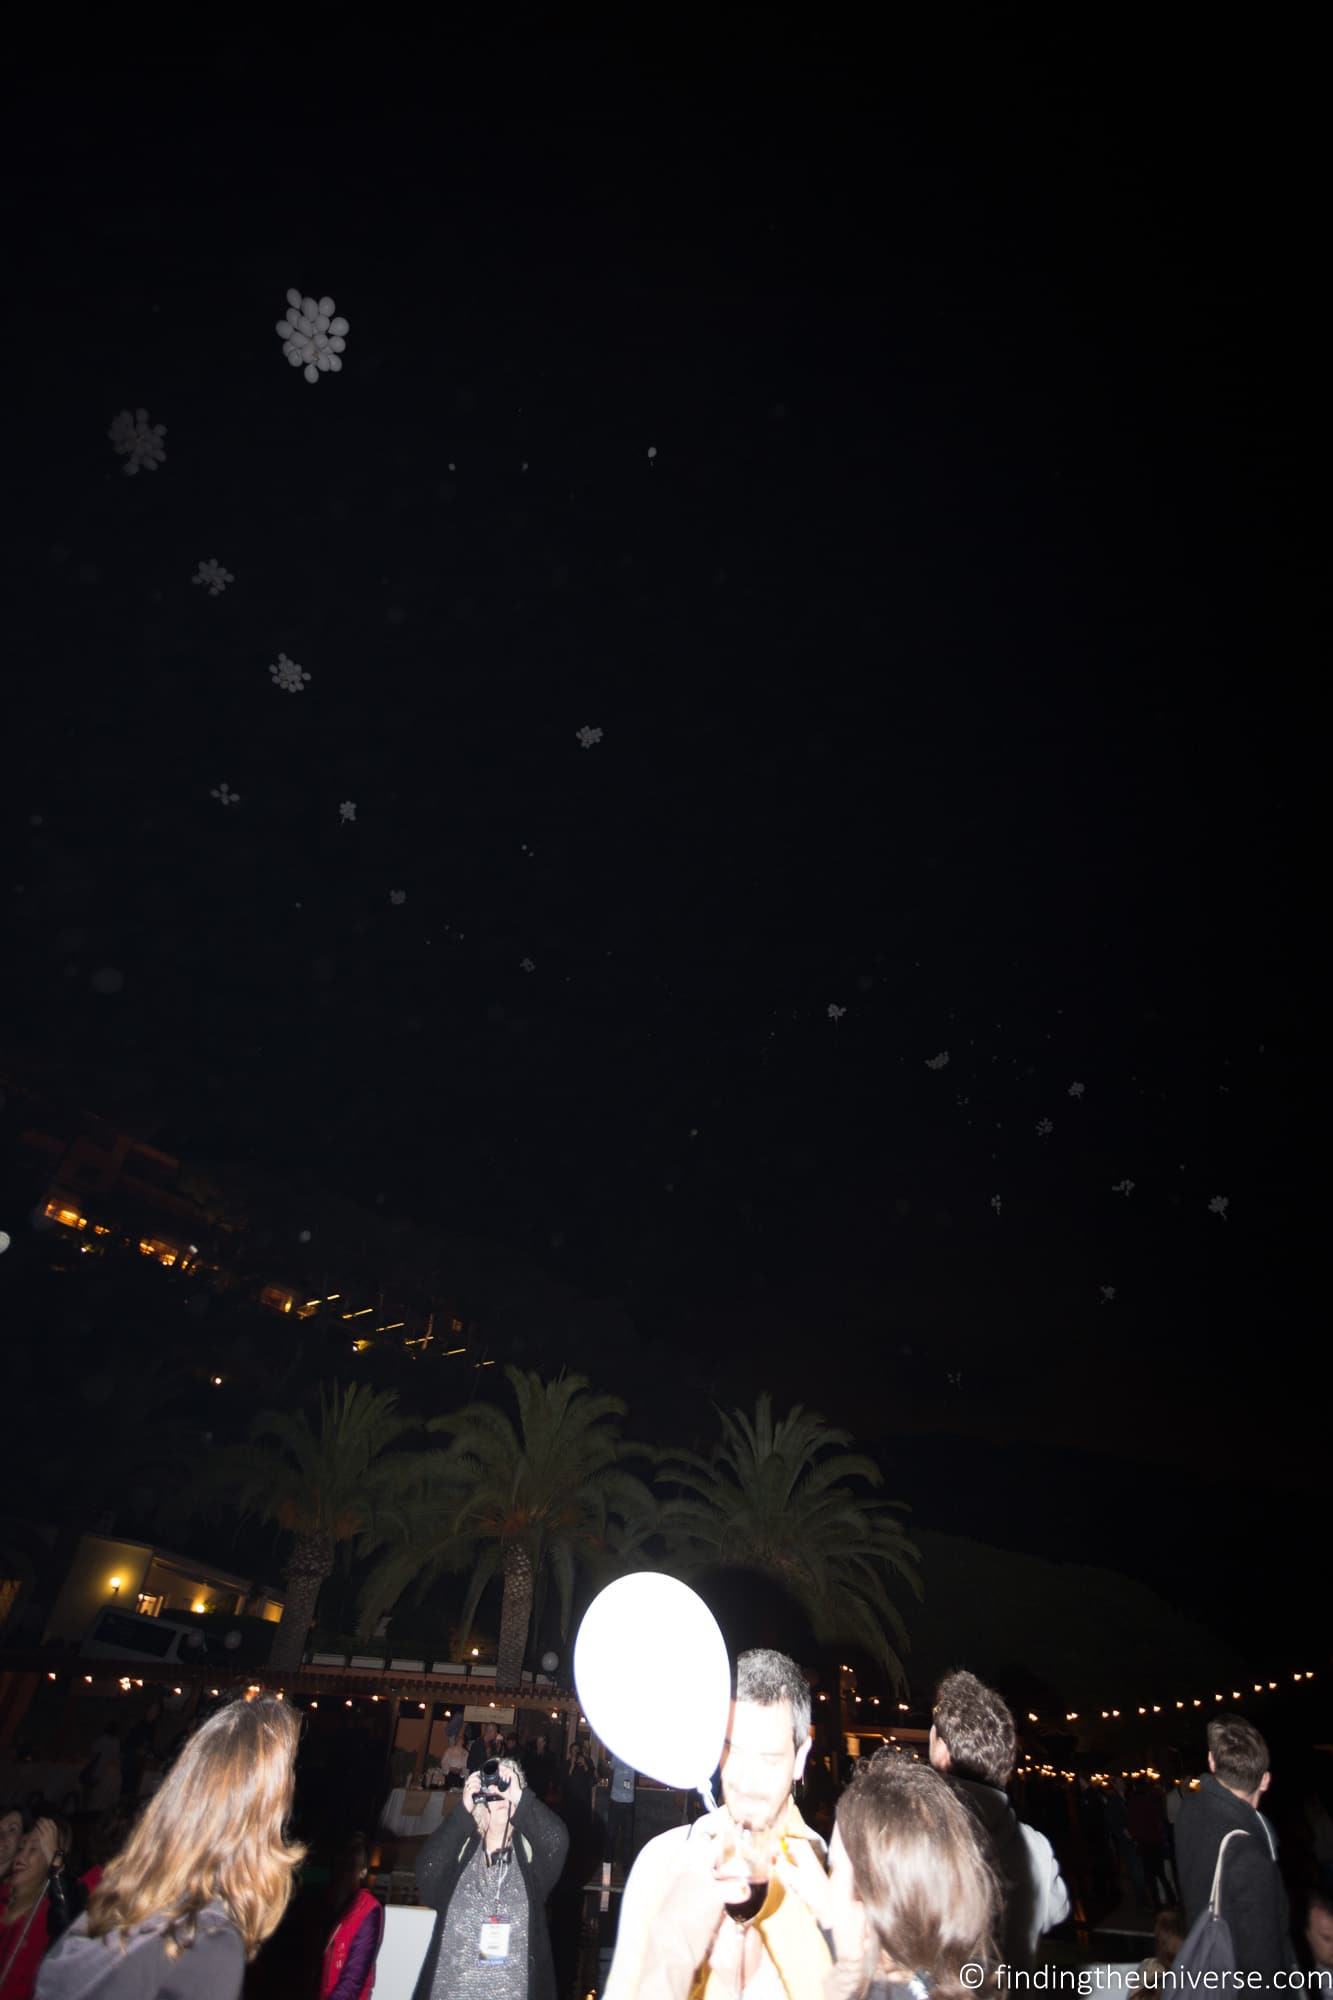
There are a combination of factors that work against these built-in flashes. First, they are underpowered. Second, they are positioned in quite a poor location relative to the camera – creating a blinding pool of white light that inevitably makes your subject look worse than if no flash was used.
Sure, sometimes a picture with a built-in flash is the best you are going to get. After all, some picture is better than no picture. When it comes to recording important memories, perhaps from family get togethers, by all means use the flash. Just don’t expect the greatest results.
5. Disabling Flash Allows You to Use An External Flash Unit or Other Lighting Solution
If you are serious about your lighting, you may want to invest in some kind of external flash unit and / or lighting setup.
These do not have to be tremendously expensive, but you will usually get a much better result. For example, this is an external flash unit that will work with a variety of cameras.
For static shots in more of a studio environment, consider a lighting setup like this.
With this sort of set up, you will want to disable your internal flash as it’s not going to add any more value to the shots.
6. Using the Flash Drains Your Battery
Powering a flash, even a small flash on a compact camera or smartphone, can use quite a lot of power.
As a result, using your flash for a lot of photos will drain your battery much more quickly than taking photos without the flash.
7. Flash Can Temporarily Blind People and Animals
Another reason not to use a flash is about courtesy. Firing off a flash in a darkened environment can cause a temporary blindness in any person or animal in the firing range. This can last anything from a few seconds to a few minutes, depending on the ambient light.
Although the blindness is not permanent, this could be dangerous in a poorly lit environment if you rob someone of the ability to see. And it can definitely be annoying to people who don’t expect it.
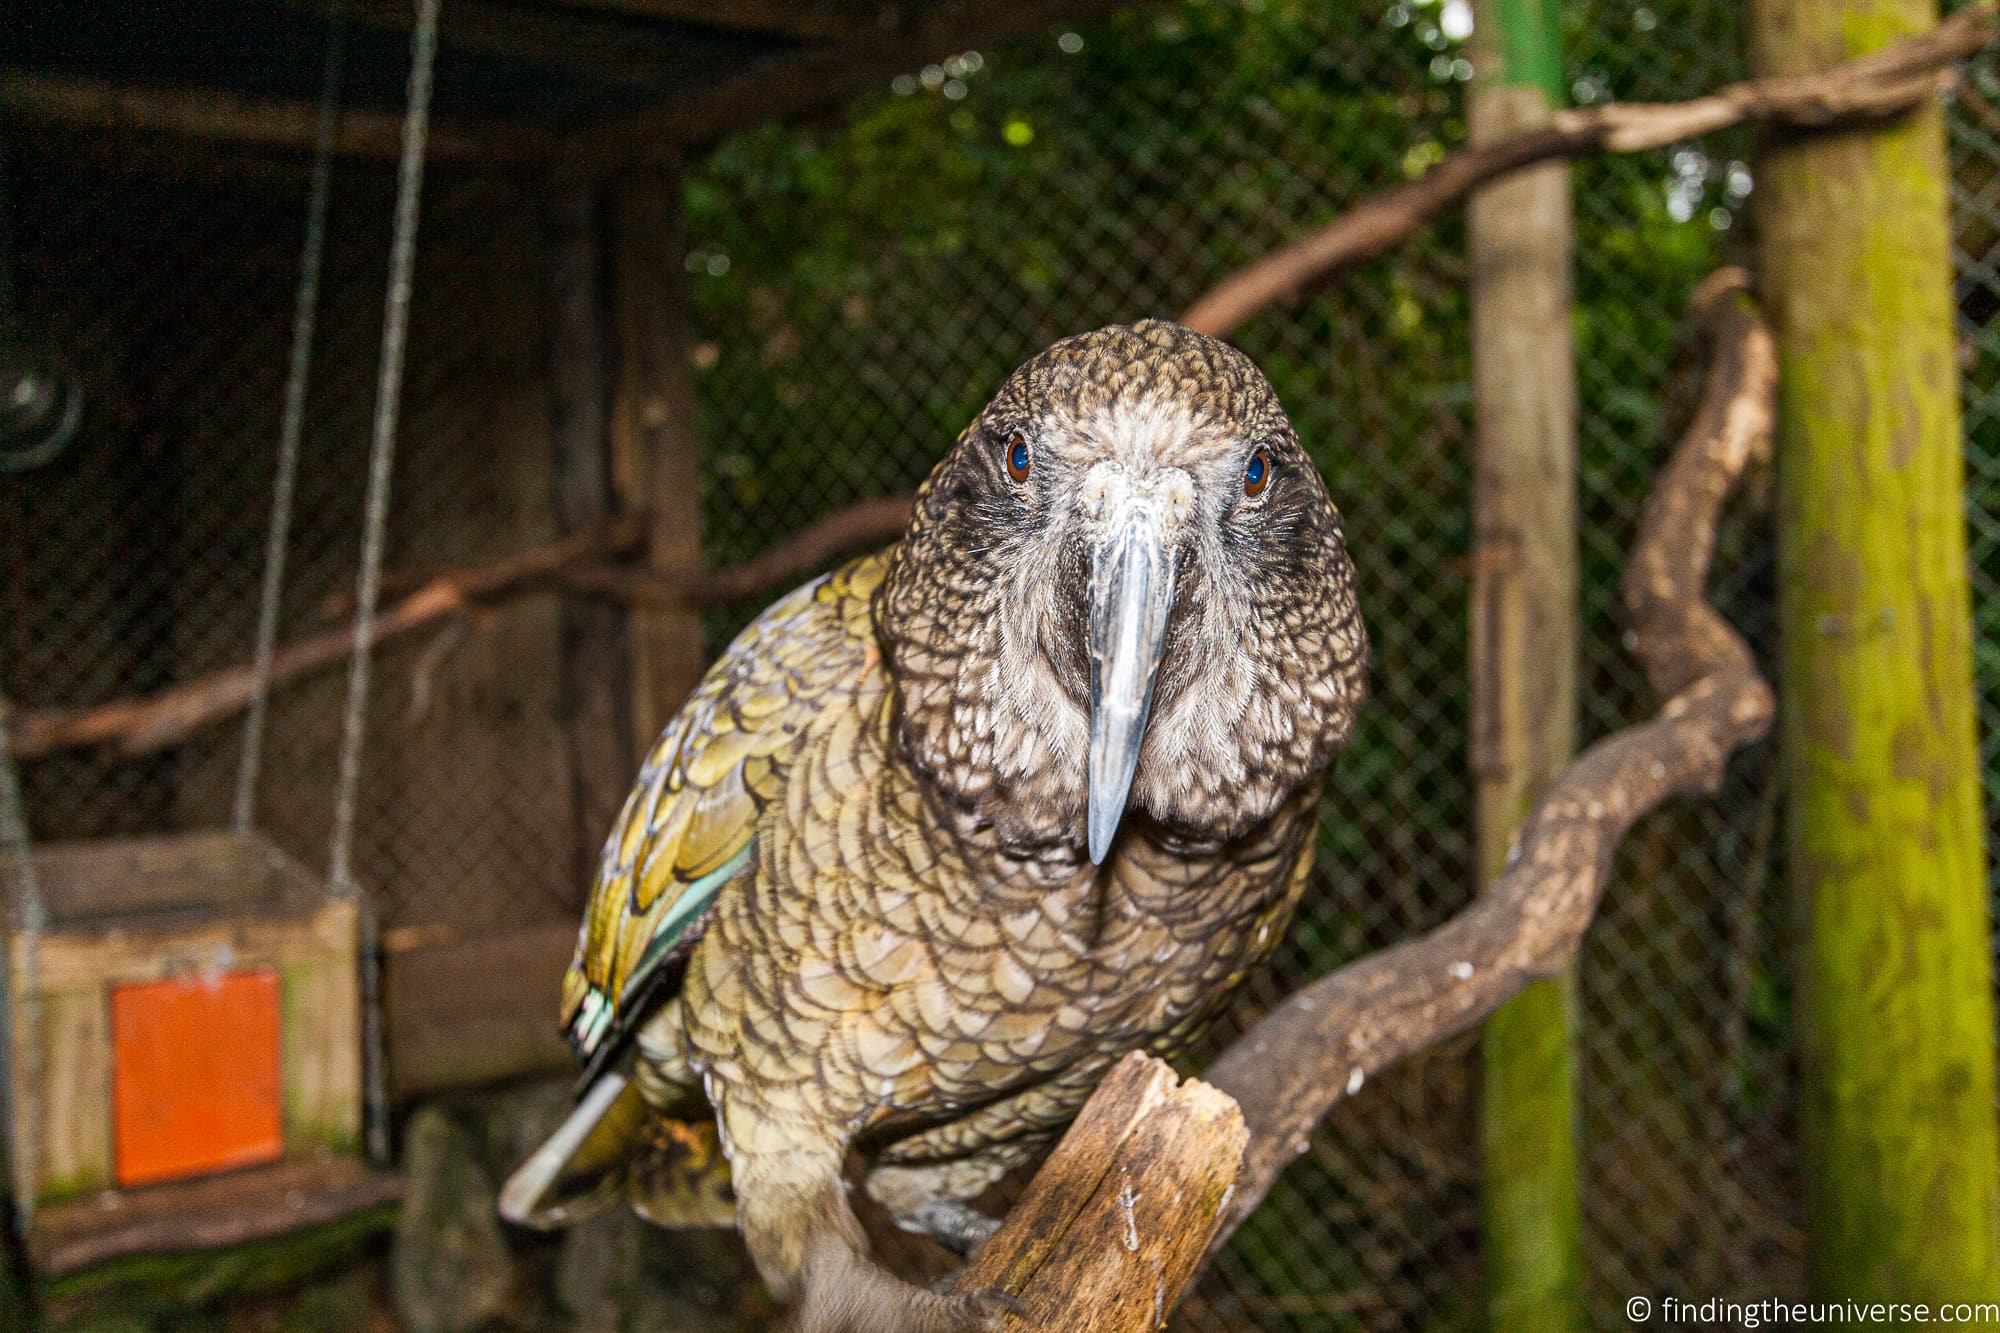
This is also particularly problematic for animals, who won’t know to look away from your flash.
Firing a flash at an animal, perhaps when you are on a safari or other trip, will cause them to temporarily lose their ability to see their surroundings, and potentially predators.
In a worst case scenario, using your flash could end up in some innocent animal becoming a tasty meal for a predator!
8. Flash Can Cause Lens Shadows
When you compare a built-in popup flash to an external flash unit, you will notice a few things. One of these is that the flash on an external flash unit is positioned much higher above the camera body.
The reason for this is that the popup flash can actually create a shadow of your lens in your photo. This is because the flash can’t fire through the lens. This is particularly apparent with a wide angle lens.
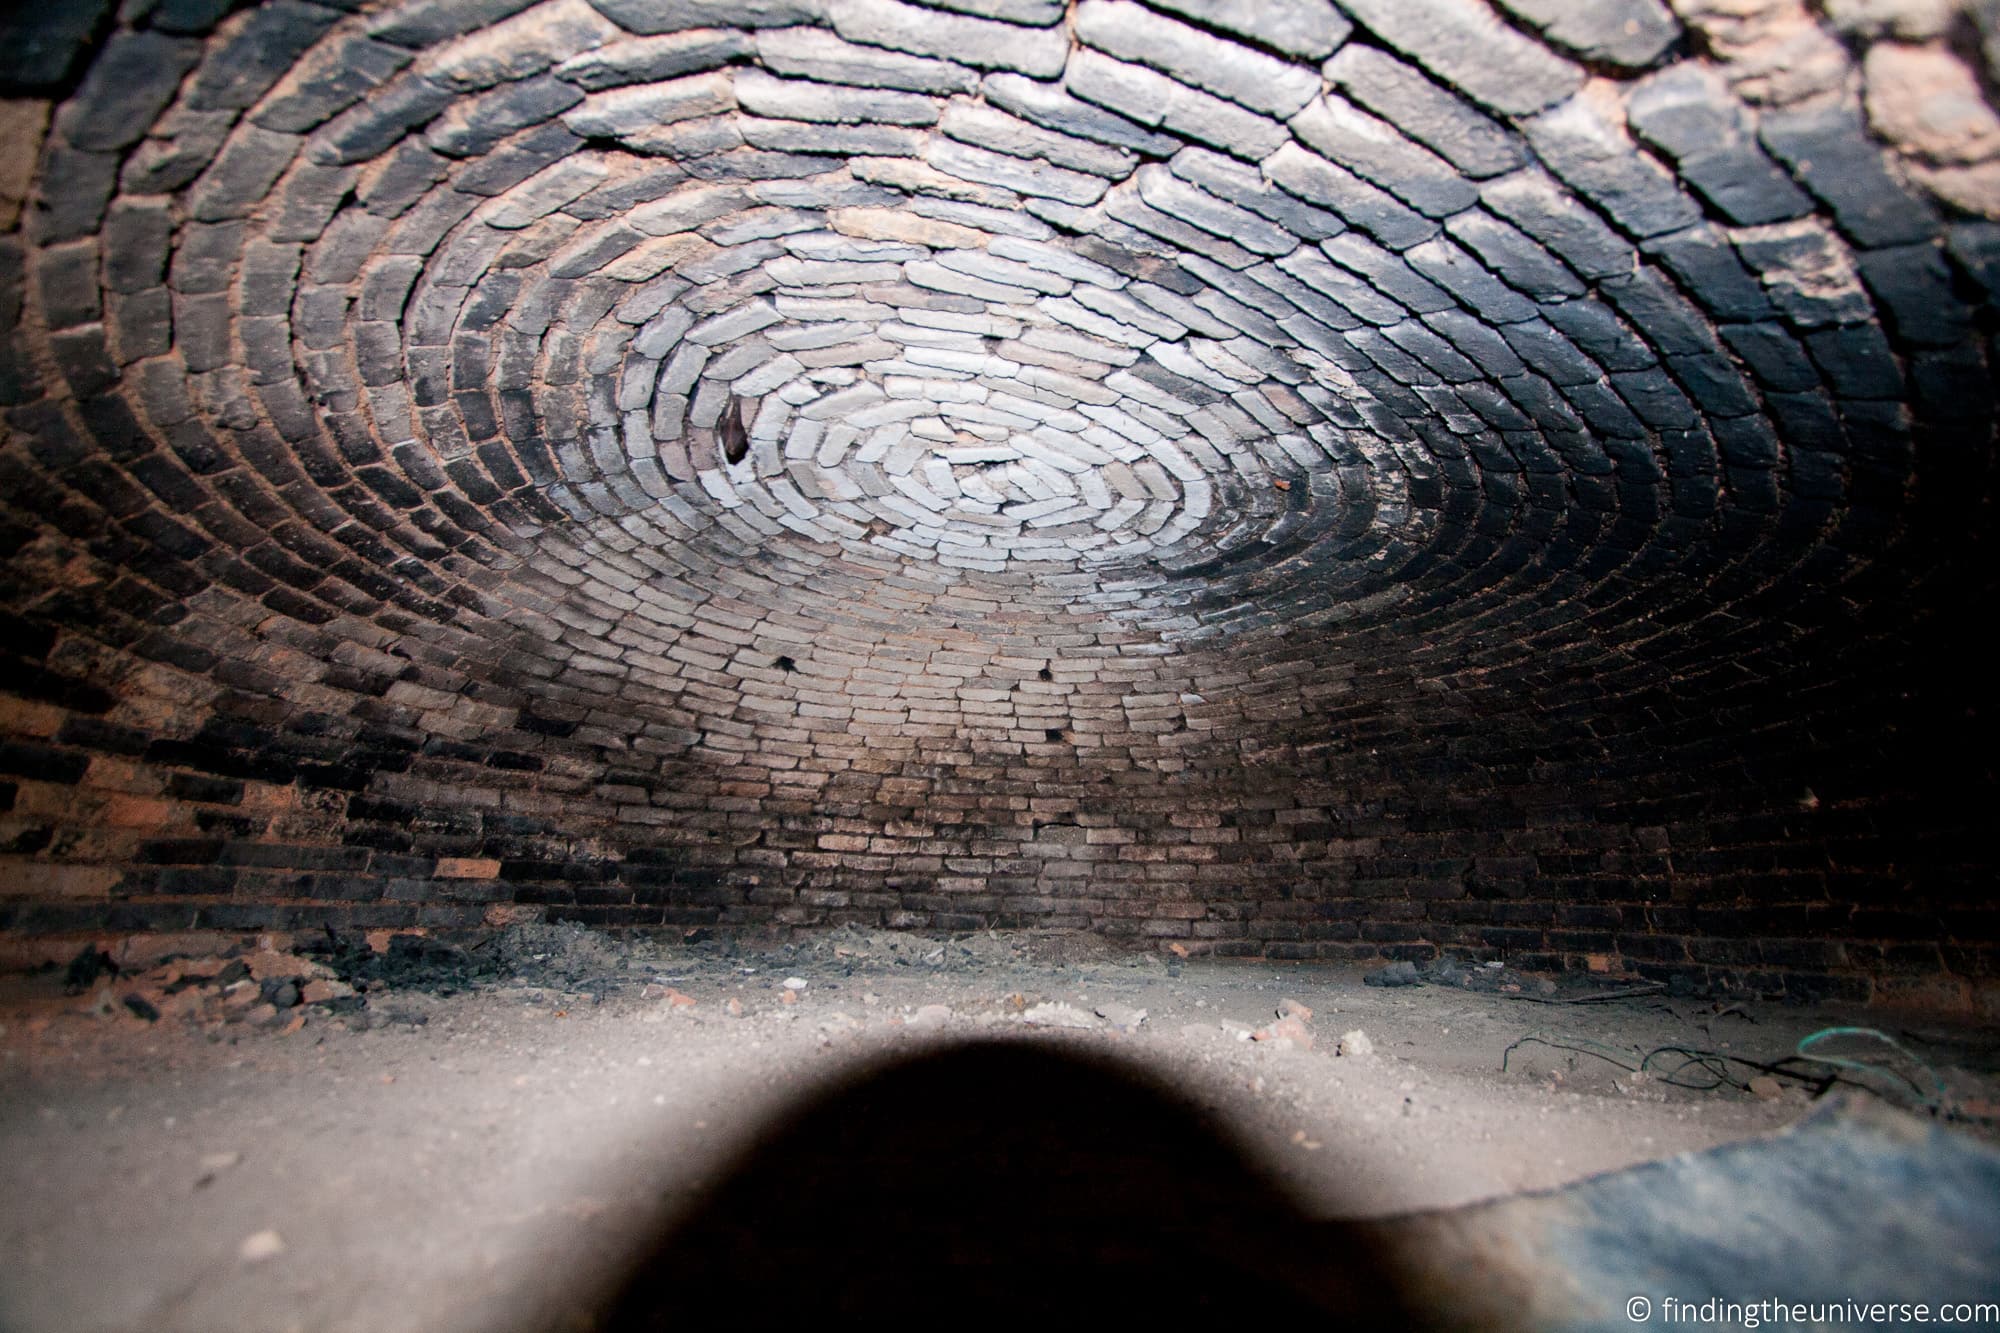
In the example above, you can see the large dark area at the bottom of the image. This is a shadow of the lens, created when the flash fires.
Situations Where you Will Likely Want to Turn Off Your Flash
Here’s a quick overview of where you will likely want to disable your flash:
- Museums & other attractions where it is not permitted
- Live performances, such as in theatres
- Close-up portraits
- Nocturnal wildlife
- Situations where you are shooting a subject behind a reflective surface such as glass
Alternatives to Using Your Flash
Having given you lots of reasons and situations where you will want to disable your flash, you might now be wondering how to get photos when there’s not much light available.
Thankfully, there are some options.
Use a tripod or other stabilization
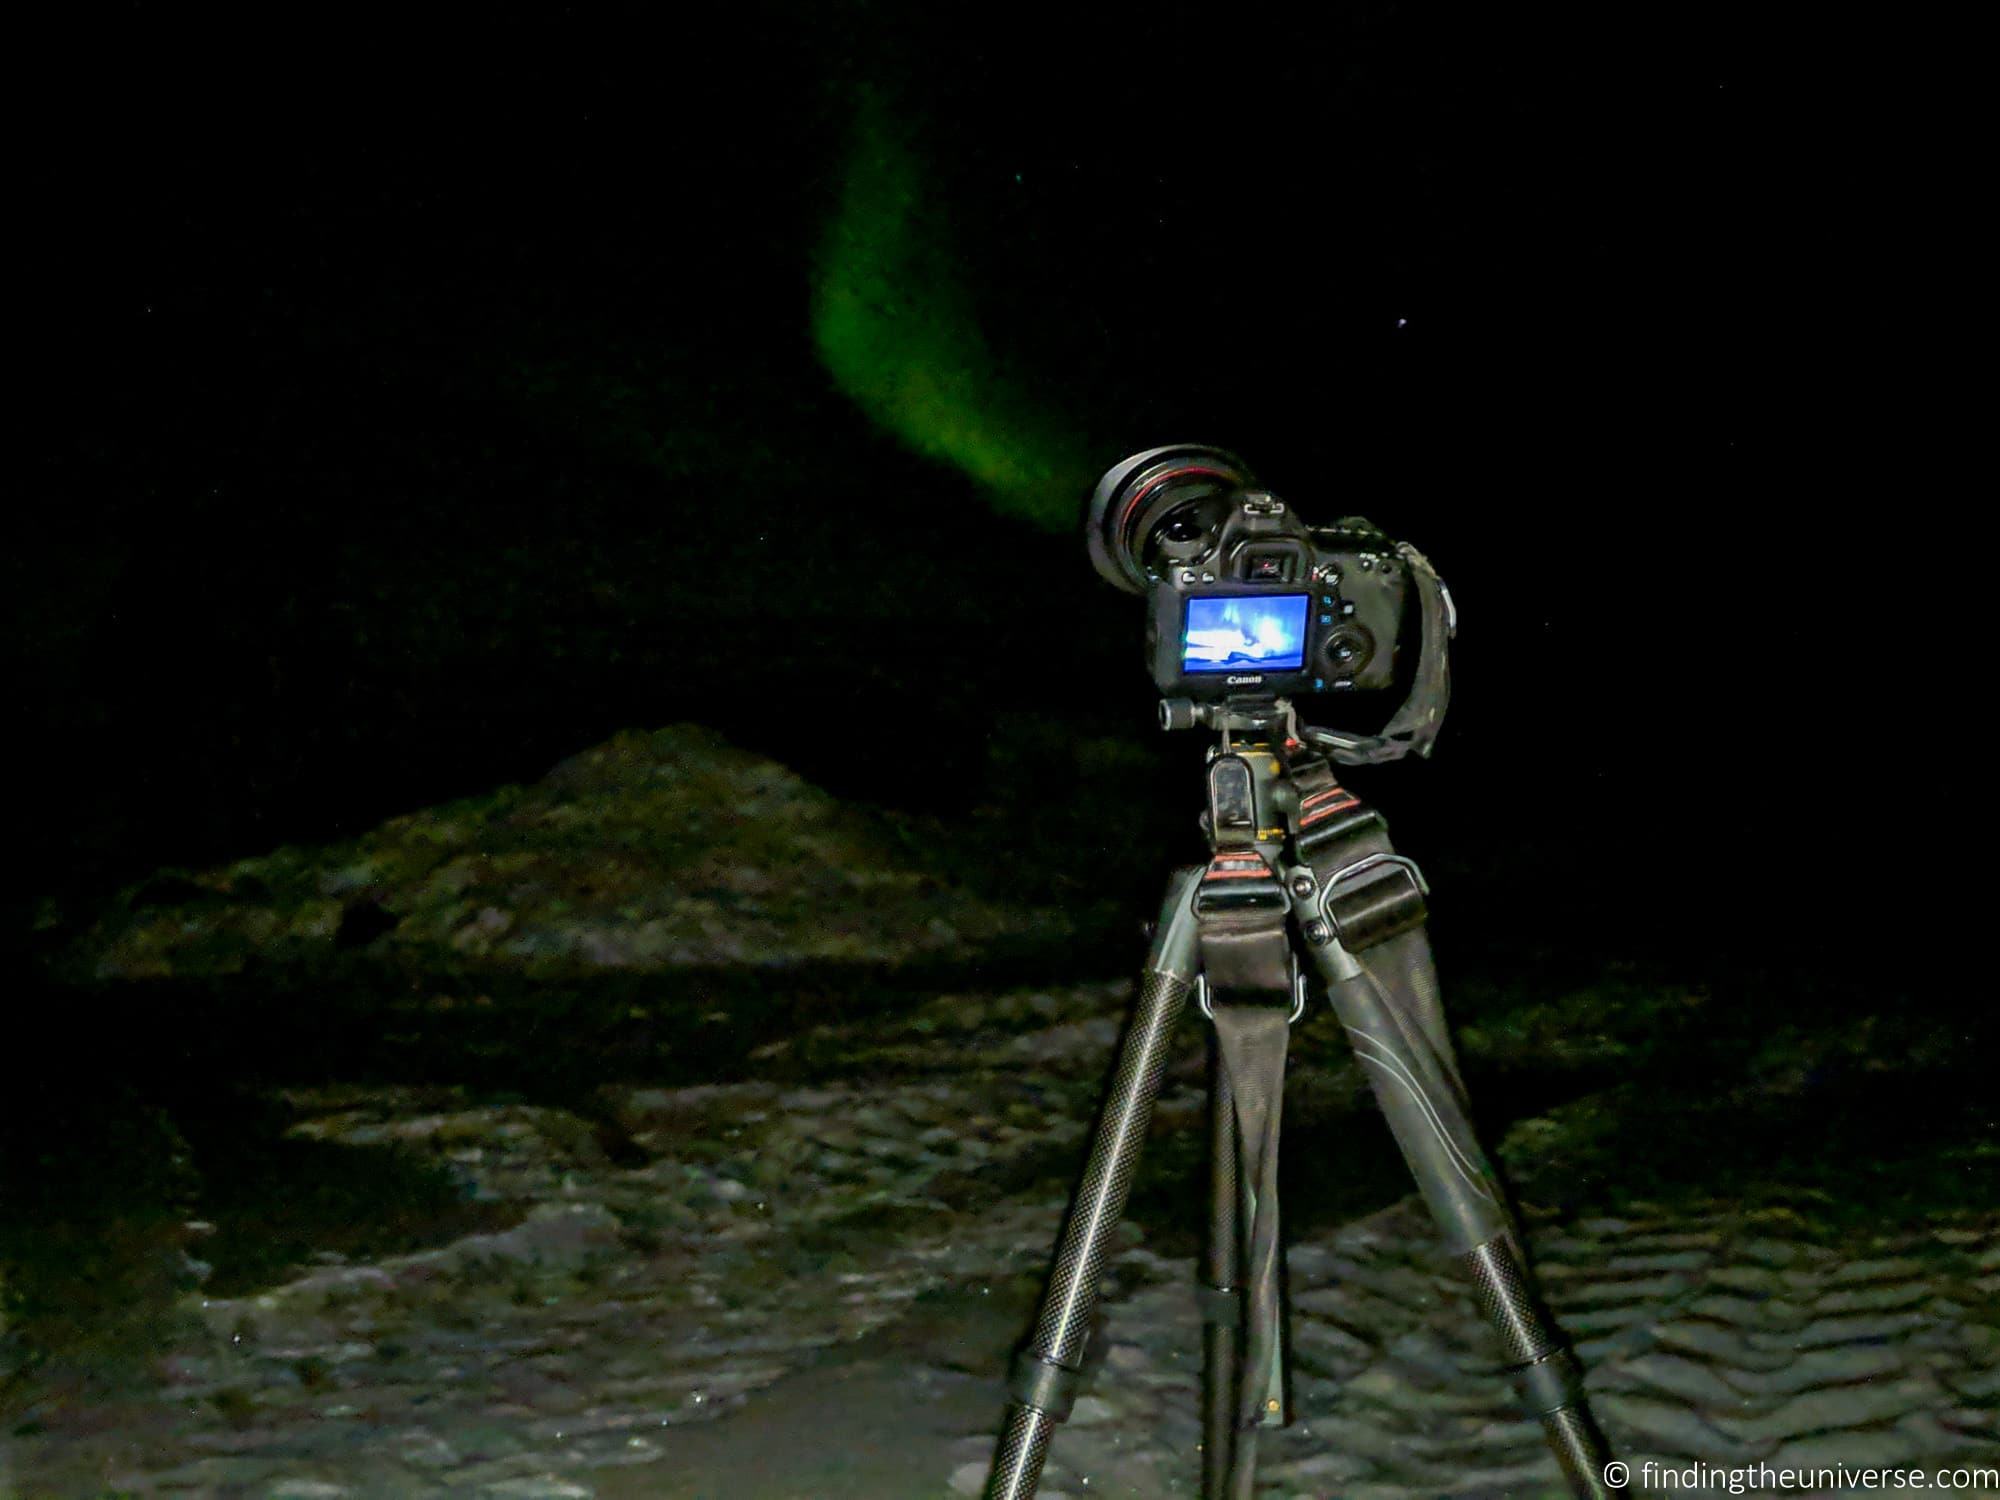
If you are shooting a subject that isn’t moving a great deal, then you can shoot at slower shutter speeds, and stabilise your camera using a tripod.
Tripods don’t have to be big unwieldy things – you can get a compact portable tripod like this which will work for many cameras from smartphones to mirrorless options. Alternatively, for a larger camera like a DSLR, this is the lightweight travel tripod that we use.
In our opinion, a tripod is an essential photography accessory, and you can read our reasons to use a tripod for travel photography here.
If you don’t have access to a tripod, then you can stabilise your camera on a level surface. It’s also worth bearing in mind that most museums and many other types of attraction won’t allow you to use a tripod.
Enable image stabilization
If you don’t have a tripod, or you are somewhere where a tripod isn’t allowed, you have other alternatives to using your flash.
First of these is image stabilization.
This is a technology which helps to stabilise your camera or smartphone, so you can use quite low shutter speeds and still get sharp images. As a rough guideline, for a standard camera, you would normally not want to shoot at slower than 1/60th of a second.
With image stabilization technology, you can often slow this shutter speed even further, down to shutter speeds as slow as half a second. Some image stabilization technologies will let you go even slower!
Shooting at a slower shutter speed means a lot more light will get in, so the scene will be brighter without you having to use the flash. For every doubling of shutter speed (say from 1/60th of a second to 1/30th of a second), you let twice as much light in.
Image stabilization technology varies from camera to camera. For some cameras it’s built into the lens, whilst others have it on the camera body. Some systems have it in both the lens and the body!
It has different names as well. For example, Sony calls it OSS (optical steady shot), Nikon calls it VR (vibration reduction), and Canon calls it IS (image stabilization).
On smartphones and other cameras, it might also be called OIS (optical image stabilization) or EIS (electronic image stabilization).
These technologies all essentially work to do the same thing – to reduce the motion caused by you hand holding the camera, and letting you shoot sharp shots at low shutter speeds.
Enabling image stabilization will vary from camera to camera. Some cameras will have it automatically enabled by default, with no option to disable it.
Otherwise, enabling image stabilization might be through a menu option, or a physical switch on the lens. If you are unsure, check the manual for your device, or search the internet for “enable image stabilization + your device name”.
Adjust the aperture, ISO, or shutter speed on your camera
The three main options you have for increasing how much light the camera is able to pick up are the aperture, the shutter speed, and the ISO.
If you are shooting in auto, your camera will often adjust these settings for you. However, you can always override the automatic settings by putting your camera into a manual mode and then adjusting each one separately.
For moving subjects, you will generally want to keep the shutter speed to around 1/60th of a second or faster as otherwise they might blur with their movement.
For the aperture, I’d suggest going as wide as the lens will support. A wider aperture is denoted by a smaller number, so look for an aperture setting from f/1.8 up to f/5.6, which is the range most lenses support.
If you have the lowest shutter speed for the scene, and the widest aperture, and the images are still dark, then you can increase the ISO. The higher the ISO the noisier the image, but this is better than a dark or blurry image.
Different cameras will support different maximum ISOs, and the quality will also vary from camera to camera. I’d suggest starting at ISO 800 and increase until you are happy with the results.
A detailed explanation of each of these controls is beyond the scope of this post, but if you are interested in learning what each of these settings is and how changing each one affects the image, see my detailed guide to the exposure triangle.
I also have a guide to how to use a DSLR, which has lot of helpful information.
Use a special mode on your camera or smartphone
Many cameras and smartphones these days have special modes to help when shooting in lower light situations.
These modes do a few things, depending on the device.
On a compact, mirrorless or DSLR camera, there will often be a shooting mode or scene mode for low light. This might be labelled as night mode or something similar. Putting the camera in this mode will let the camera know it’s not shooting in daylight, and it will adjust various settings to try and produce a good result.
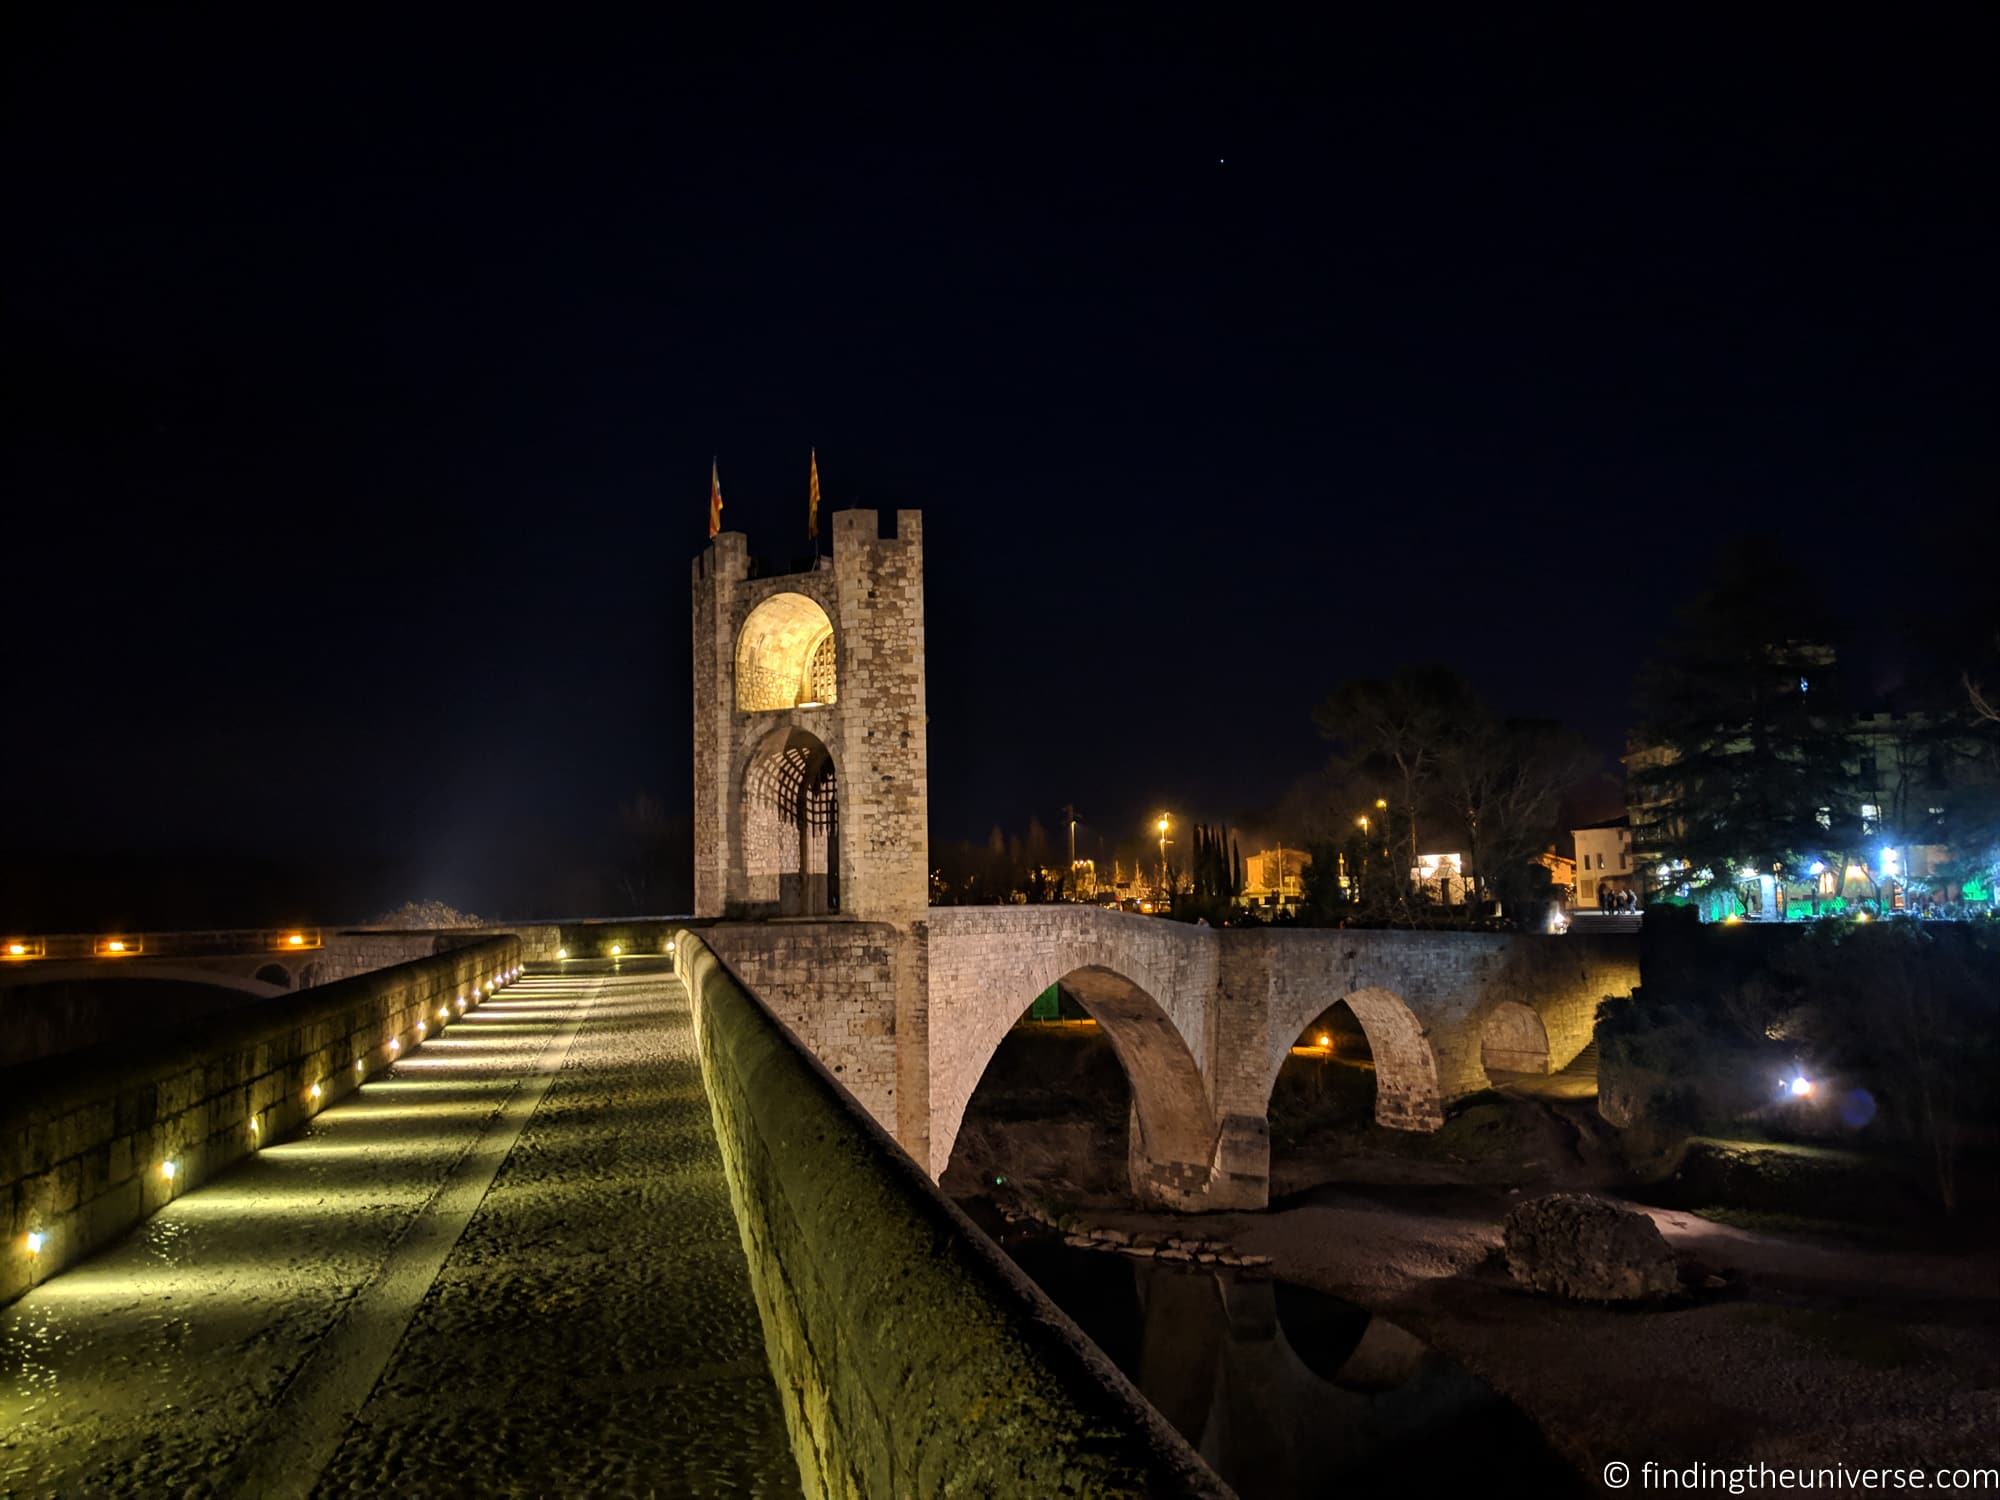
If you have a more recent smartphone, you might find it has a dedicated night mode. This will use a combination of image stabilization and software trickery to create an image that looks a great deal better than using it in standard mode.
For example, the below picture was taken at night in the town of Besalu, hand-held on my Google Pixel 3 smartphone. This has an amazing “Night Sight” mode, which lets me take hand held photos even in low light situations, without a flash, and get really good results.
Try to find natural light sources
Of course, the simplest way to negate the need for a flash is to find more light.
This can be challenging at night, but if you are shooting indoors in the daytime, you might find that you can improve your photos by trying to shoot with natural light.
A good example of this would be in a restaurant. If you want to take photos of your food at lunchtime for example, it’s a good idea to ask for a table near a window.
This will get much more light onto your food, and make a big difference to your photos.
How to Disable the Flash on your Camera
Having given you lots of good reasons why you should disable the flash on your camera in certain situations, you are likely wondering how to go about actually disabling it on your camera.
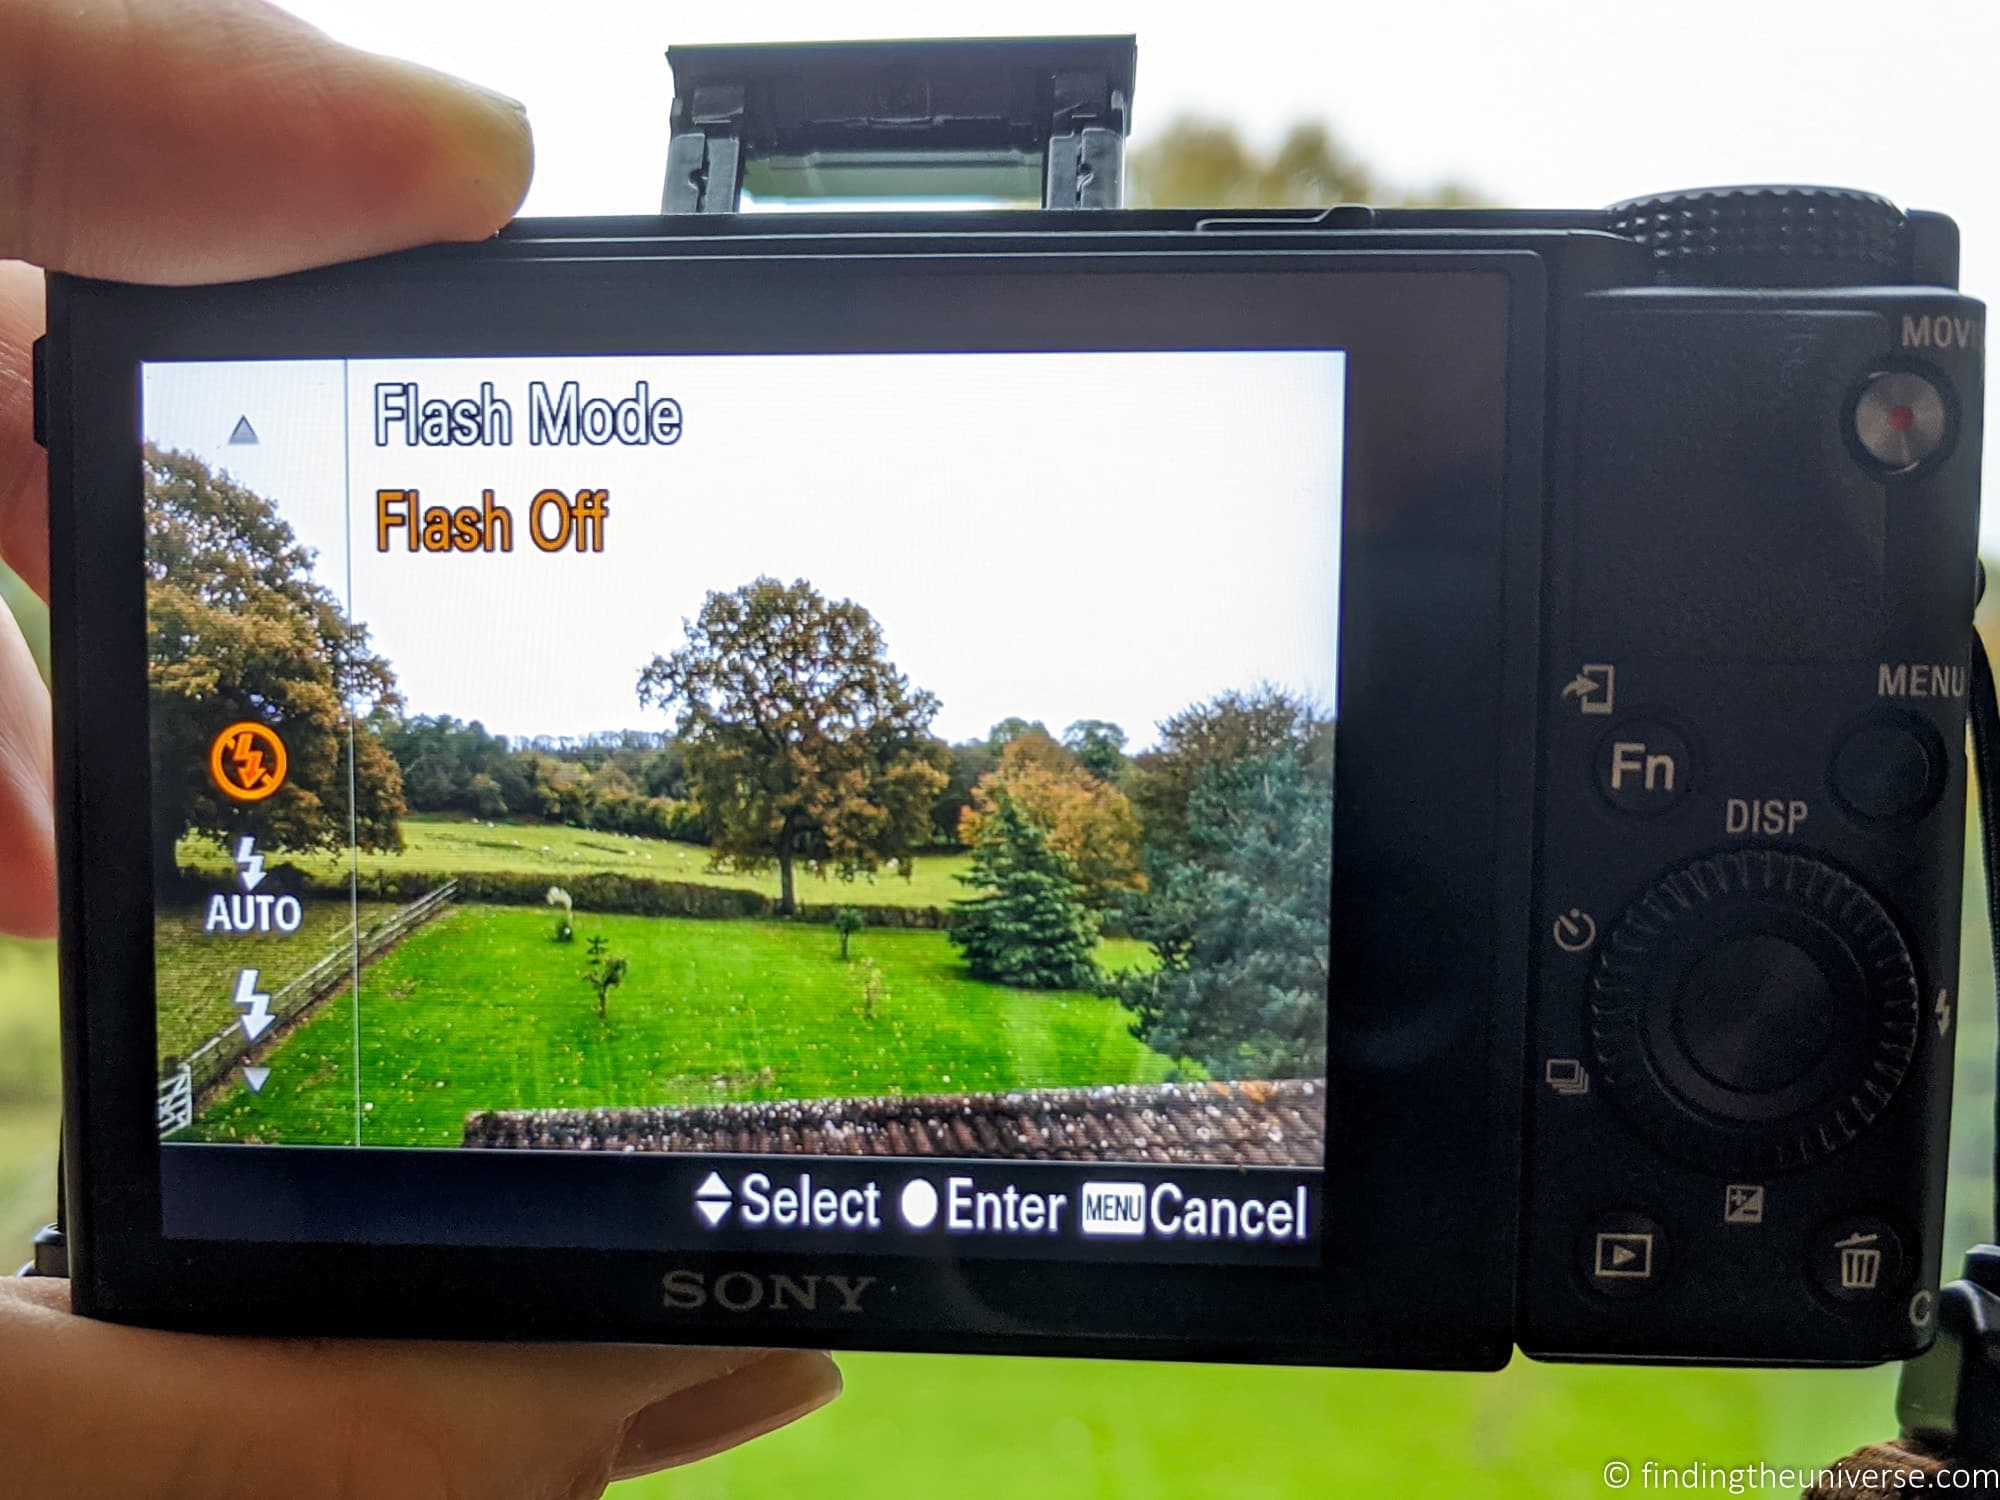
Well, the good news is that disabling your flash is very easy. If you have a compact, mirrorless or DSLR camera, the chances are that it will have a dedicated flash button somewhere on the camera.
This will look like a little lightning bolt, which is the universal symbol for a flash.
If you press this button, you should get the option to set the flash to one of a number of modes, including Auto, Always On, and Off. There might be more modes, depending on your camera.
For a smartphone, there won’t be a dedicated button on the phone itself, but you should be able to easily disable the flash from the camera app. This will either be directly via a flash icon directly on the screen, or through the settings options.
If you need more information, see my guide to how to disable a camera flash, which has more details for a number of devices.
Further Reading
I hope this post on why you should consider disabling your camera’s flash has helped you.
Before you go, I just wanted to share some of our other photography guides and resources that we think you’ll find helpful in improving your photography.
- We have a guide to common camera problems, which you will probably find answers a lot of your camera questions, from blurry photos to fixing brightness issues
- We have a beginner’s guide to photography to help you get started. We also have a guide to the exposure triangle, which is a key photography concept to master early on.
- Knowing how to compose a great photo is an important photography skill. See our guide to composition in photography for lots of tips on this subject
- We are big fans of getting the most out of your digital photo files, and do to that you will need to shoot in RAW. See our guide to RAW in photography to understand what RAW is, and why you should switch to RAW as soon as you can.
- You’re going to need some way of editing your photos. See our guide to the best photo editing software, as well our our guide to the best laptops for photo editing
- We have a guide to improving Adobe Lightroom Classic CC performance. It’s our favourite editing software, but can be a bit slow if not properly configured!
- If you’re looking for advice on specific tips for different scenes, we also have you covered. See our guide to Northern Lights photography, long exposure photography, fireworks photography, tips for taking photos of stars, and cold weather photography.
- If you’re looking for a great gift for a photography loving friend or family member (or yourself!), take a look at our photography gift guide for some inspiration
- We have a detailed guide to how to use a DSLR camera
- We have a guide to why you need a tripod, and a guide to choosing a travel tripod
- If you’d like a book to help you understand all this, check out this guide to mastering shutter speed, aperture and ISO
- Our guide to the best travel camera – a great overall post to get started with
- Our guides to the best compact camera, best mirrorless camera and best DSLR camera. These posts dive deep into each of these camera types to help you decide which might be best for you
- Our guide to the best camera for hiking and backpacking. Different needs require different cameras, and this guide will help you pick a camera if you hike or backpack regularly
- Our guide to the best lens for travel photography. If you buy a DSLR or mirrorless camera, you’ll be able to change the lens. This guide will help you figure out the best lens for your camera and budget.
- Finally, if you want to improve your photography overall, you can join over 2,000 students on my travel photography course. I’ve been running this since 2016, and it has helped lots of people take their photography to the next level.
And that’s it for our guide to why you might want to turn your camera’s flash off.
As always, if you’ve got any questions or comments about this post, or photography in general, just pop them in the comments below and we’ll get back to you!
Leave a Reply