I believe that for a photographer, a tripod is an essential bit of kit. If you’re wondering why, you can read my guide to why you need a tripod here.
As a travel photographer, there are many tripods to choose from, but there always appears to be some kind of trade-off.
If you want stability, then you have to put up with more weight. If you want lower weight, the tripod might be less stable, or it won’t be particularly tall.
Basically, picking a travel tripod involves a series of decisions and compromises, and finding the perfect travel tripod is an elusive and challenging quest.
Since 2017, my go-to travel tripod has been the Vanguard VEO 2 265CB. I’ve been a long term user of Vanguard’s tripods and photography bags, and have been an ambassador for the company since 2014. You can read my long term review of the Vanguard VEO 2 265CB here.
In summary though, I loved the VEO 2 265CB tripod, which is compact, lightweight, and yet still capable of handling all my photography gear. Unusually for a carbon fibre tripod, it’s even available at a price that won’t break the bank. The only issue I’ve learned to live with is that the maximum height, even with the central column extended, isn’t particularly high.
For me this seemed an inevitable trade-off for a travel tripod – it’s hard to create a full height tripod which is also light and compact for travel. I loved everything else about the tripod, and having to bend down a bit to get a shot was a concession I was willing to live with.
So when Vanguard asked me if I wanted to check out their new VEO 2 Go line of tripods, and specifically the VEO 2 Go 265HCBM, I was a little skeptical. After all, a travel tripod is a travel tripod. What could Vanguard have changed to mean this new model would usurp my favourite travel tripod from my bag?
Well, it turns out, quite a few things.
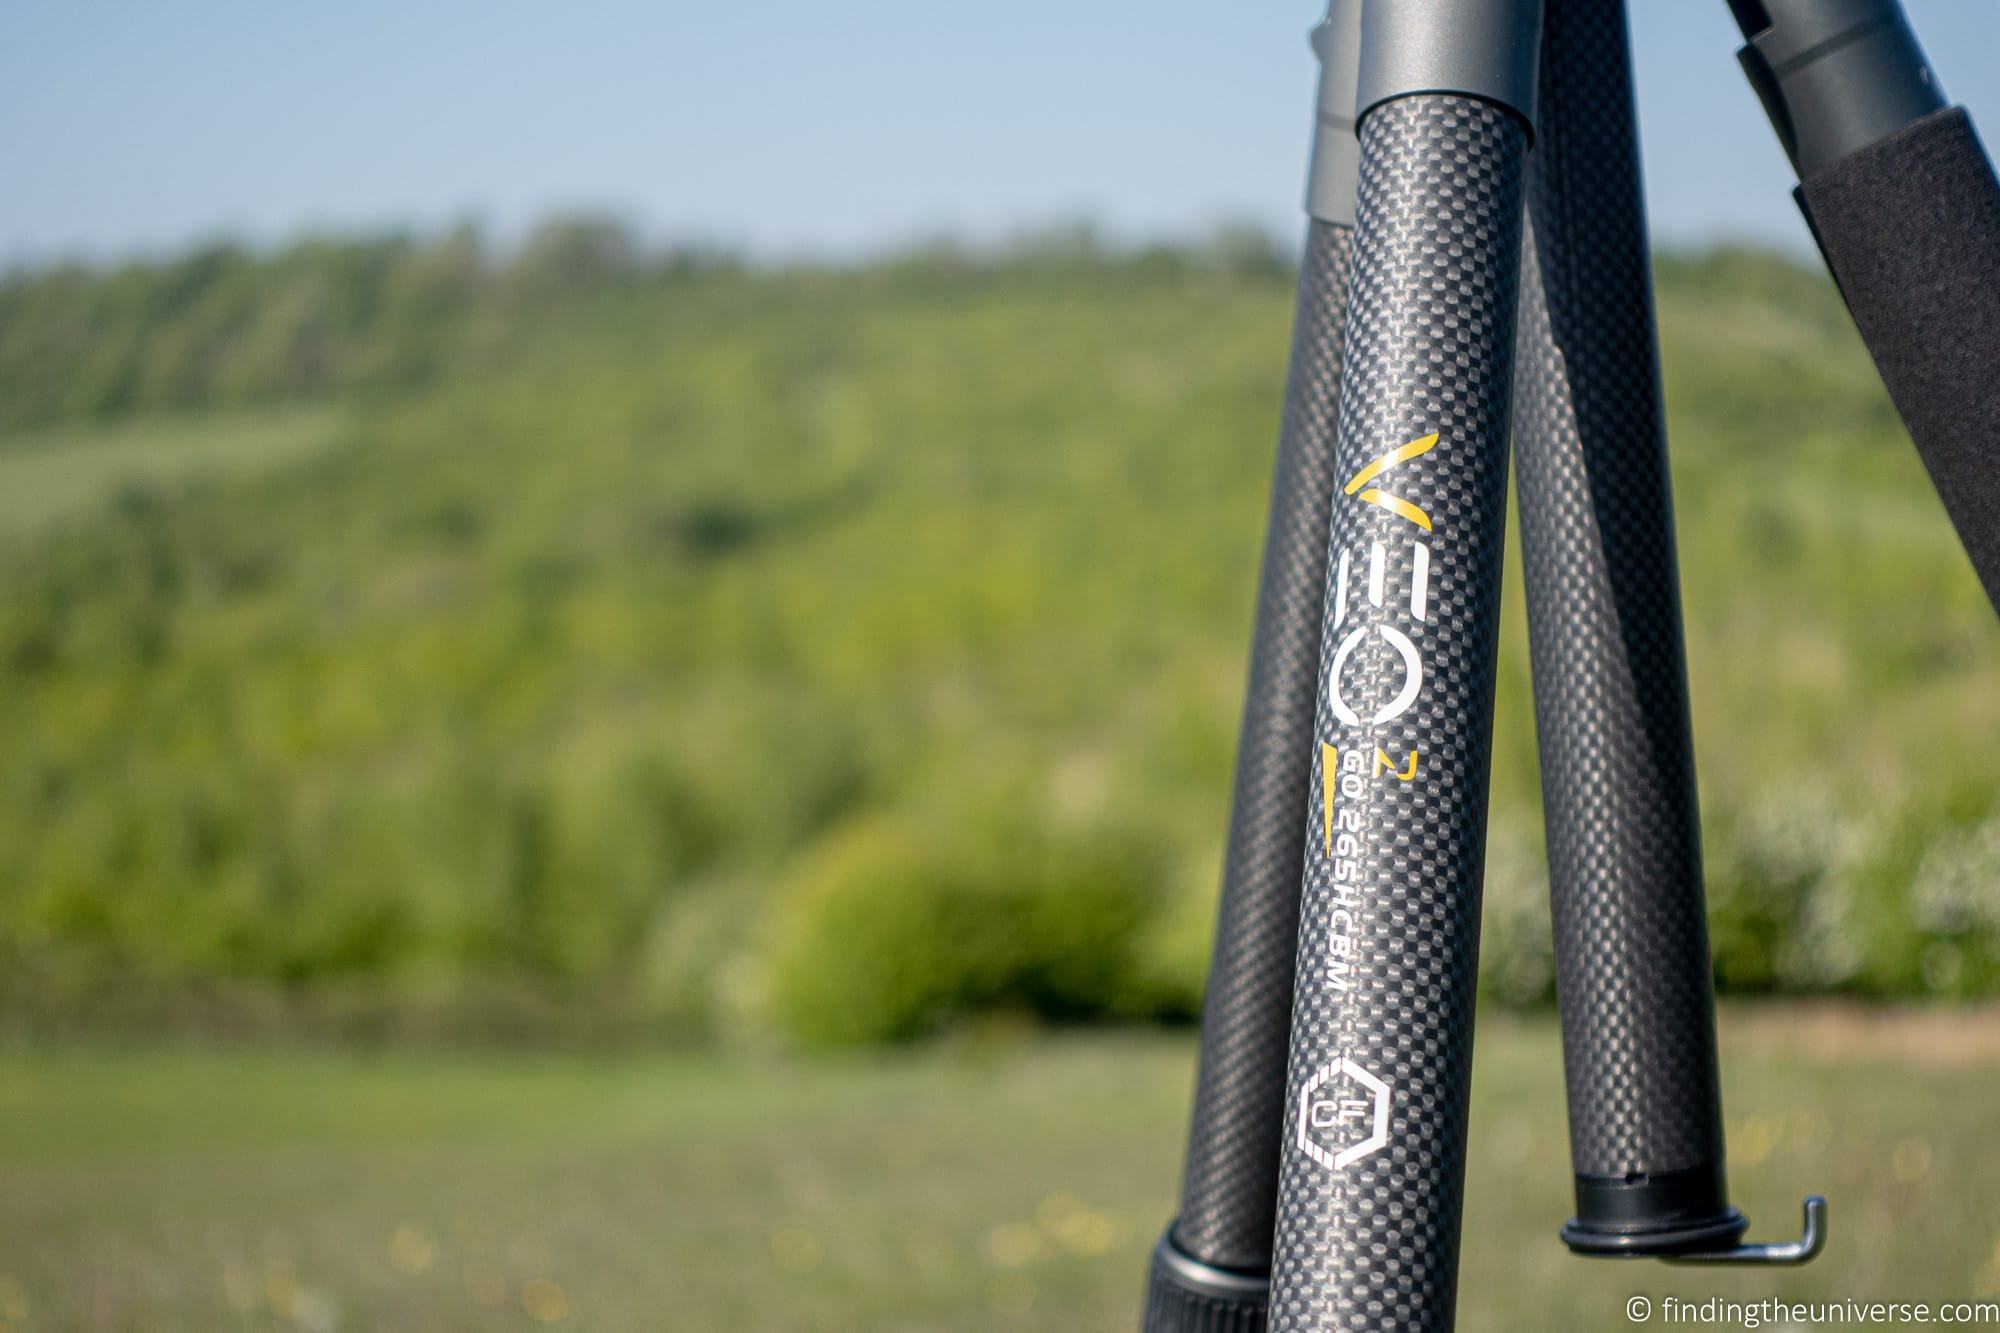
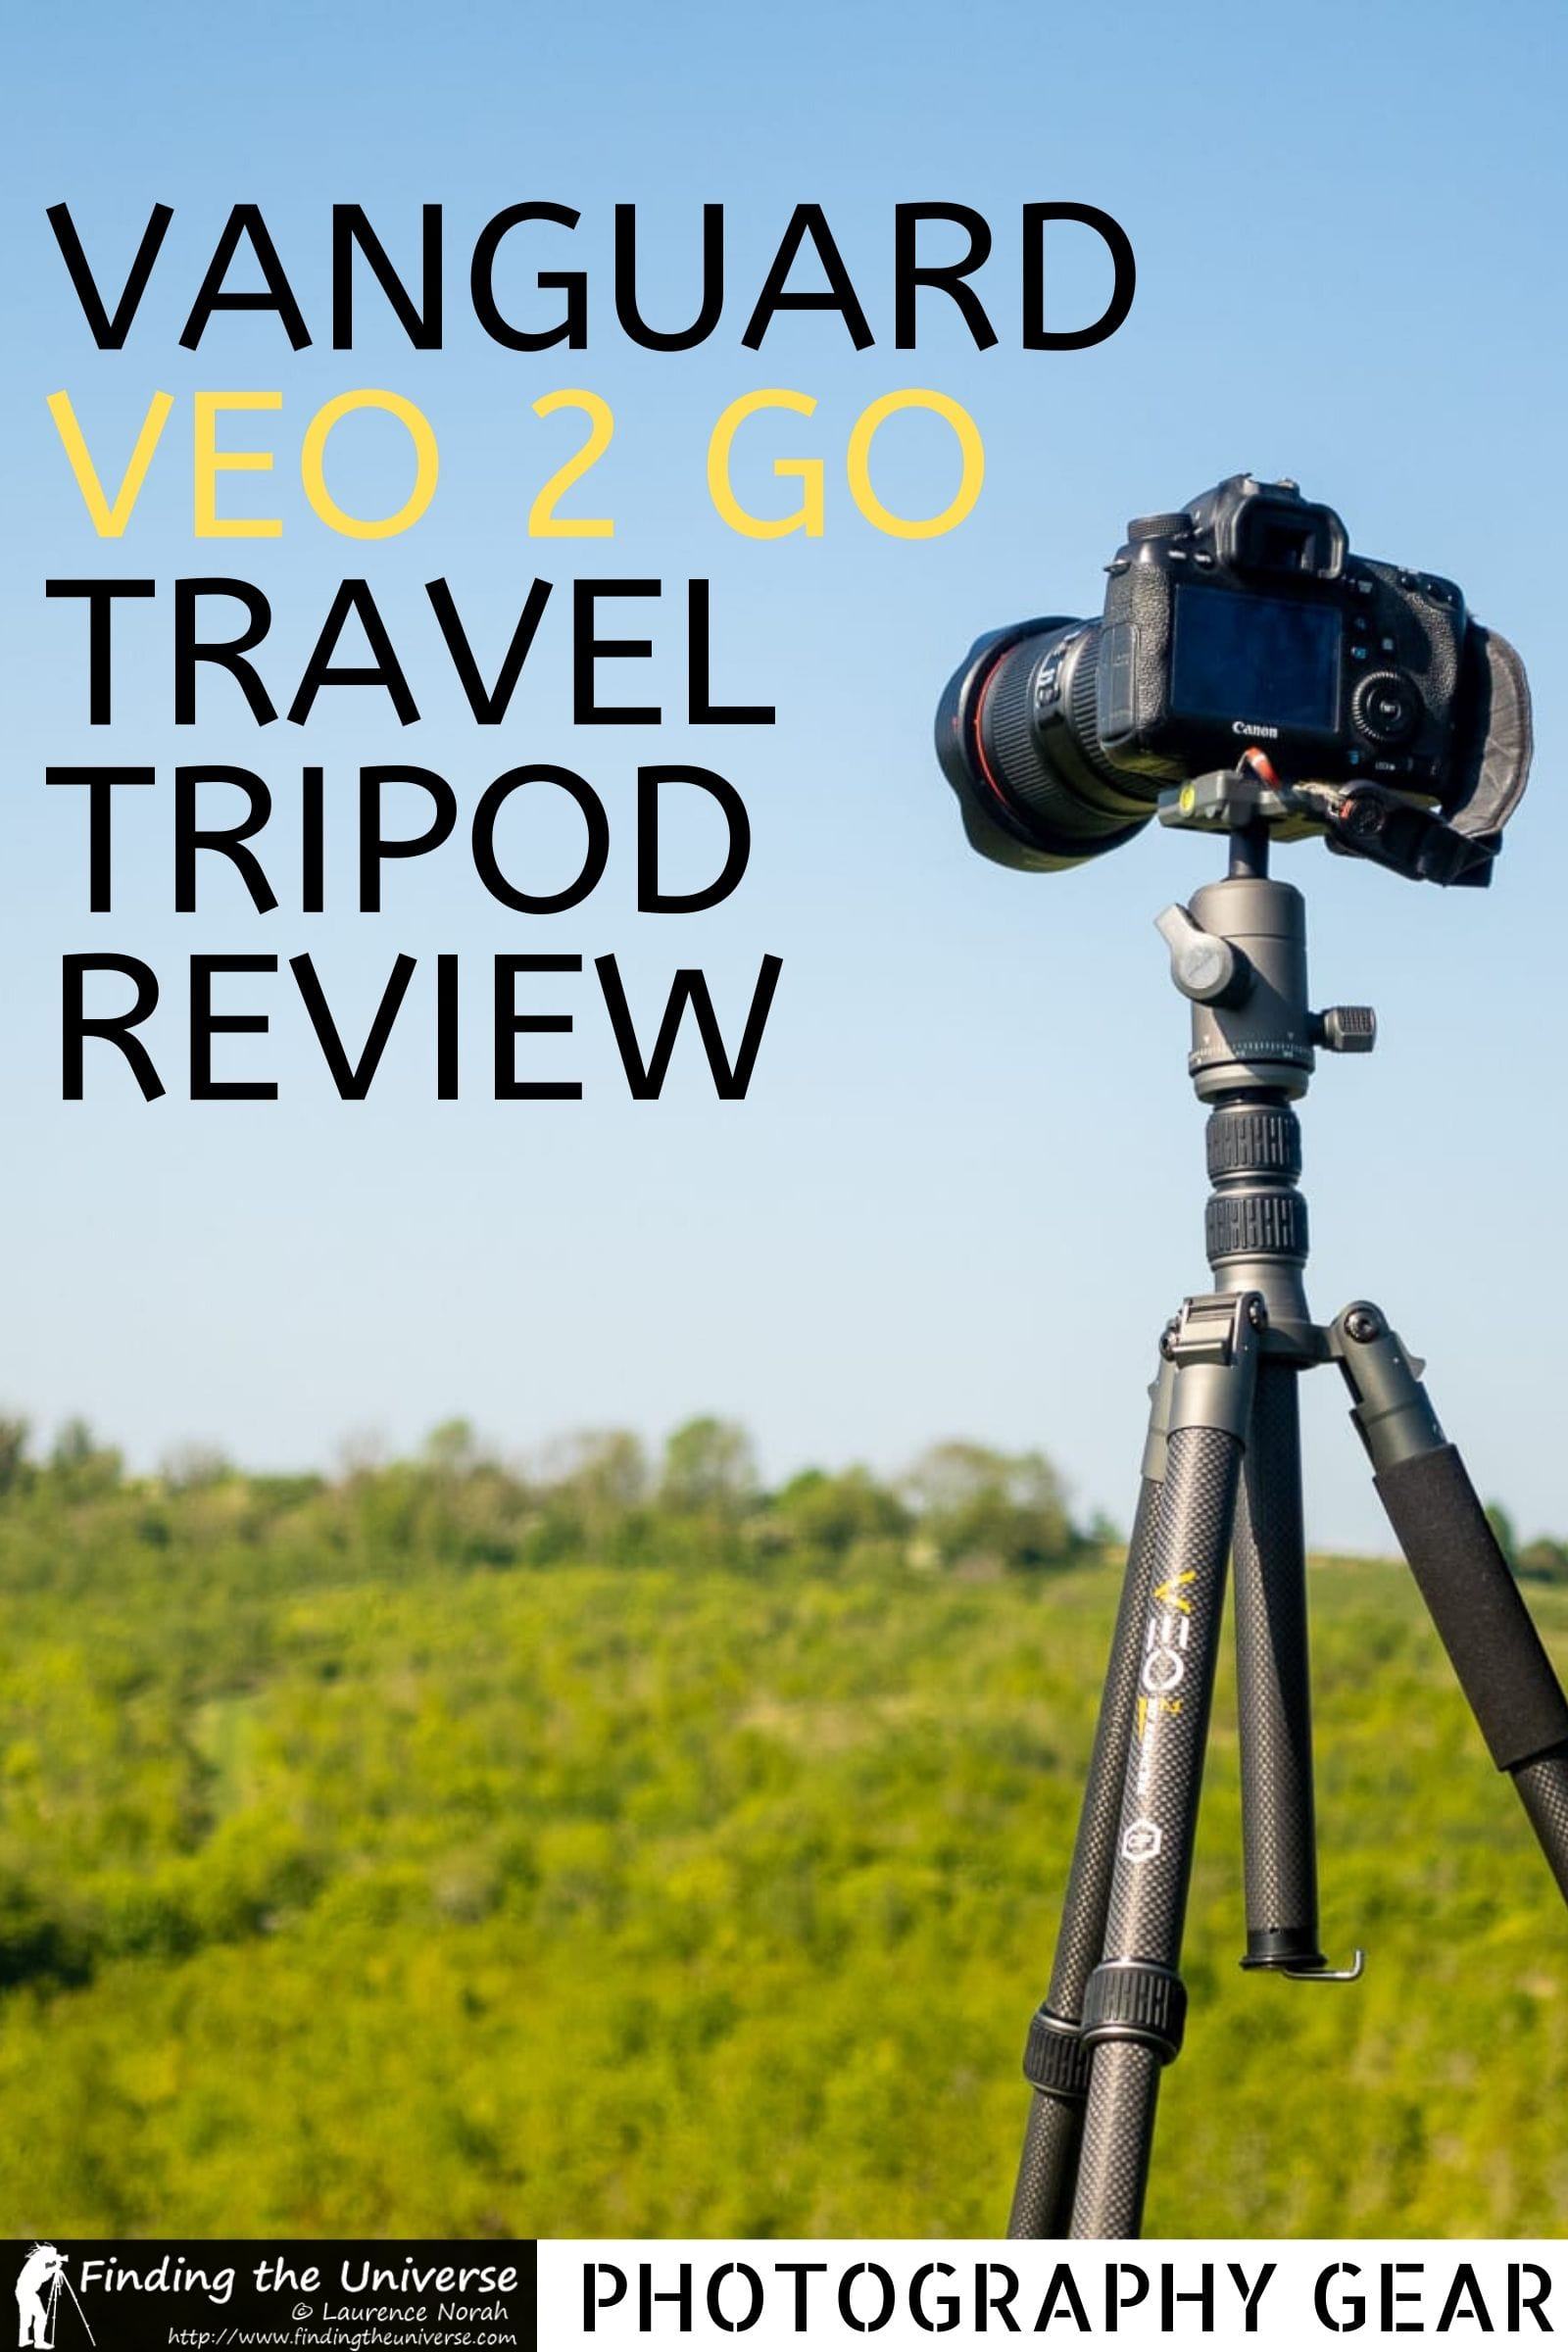
In this post, I’m going to provide a review of the VEO 2 Go 265HCBM tripod, as well as the VEO 2 Go line as a whole.
I’ll be comparing it directly with my existing VEO 2 tripod, which has for a long time been my favourite travel tripod from Vanguard. I’ll go through what’s changed, and what hasn’t.
Finally, I’ll tell you if this new tripod has earnt a spot in my bag, and whether or not it should earn a spot in yours.
Let’s get started with an overview of the VEO 2 Go range.
Table of Contents
The Vanguard VEO 2 Go Tripod Range
Update September 2020: In late 2020 Vanguard launched an update to their VEO range, which now consists of the VEO 3 Go range of travel tripods, and the sturdier and heavier VEO 3+ tripods.
Much of the technology of the VEO 2 range has carried over to the VEO 3 Go, but there are some changes such as an included smartphone mount and bluetooth remote that you might appreciate.
Now, back to my original content:
As far as I can tell, the VEO 2 Go range is an incremental update to the VEO 2 tripods, which it has largely replaced on the Vanguard website.
The focus with the VEO 2 Go tripods is the similar to the rest of the VEO range – travel tripods that offer great functionality combined with a compact form factor.
There are two standout features of the VEO 2 Go tripods – how compact they are when they fold down, and their stability.
For all the tripods except the “H” models, they all fold down to a svelte 12.8 inches / 32.5cm. The model I’m reviewing is one of the “H” models, which is designed for height, and it folds down to 16.1 inches (41 cm).
Stability is the other feature, and this is achieved through a sturdy design, high quality materials, and a retractable hook at the base of the centre column for attaching weight.
There are several models in the VEO 2 Go range, available in both aluminium and carbon fibre. Carbon fibre is a lighter and more expensive material.
The entry level model is the aluminium VEO 2 GO 204AB travel tripod, whilst the top end model is the carbon fibre VEO 2 GO 265HCBM.
In between are a series of models offering a variety of maximum load weights, total product weight, and maximum extended heights. So somewhere in the range there should be a tripod for you.
So what’s different about the VEO 2 GO and the original VEO range in terms of design and features?
Well, the major change that most of the new VEO 2 Go models have is that the centre column is now an extendable tube. This means that it acts like a collapsible tripod leg, giving you additional height when fully extended.
On the carbon fibre models, the centre column is now also carbon fibre. On my carbon fibre VEO 2 265CB, the central column was made of aluminium. So this is a nice upgrade.
Another feature that has been added to some of the tripods at the upper end of the VEO 2 Go range is that you can detach one of the tripod legs, and use it as a monopod.
Finally, the way the centre column folds for transport has changed. With the original VEO and VEO 2, the centre column folded down into the tripod legs. In the new VEO 2 Go, the centre column remains in place, and the tripod legs fold up around it.
I’ll talk about all these changes now, and how they affect performance of this tripod compared to previous VEO tripods.
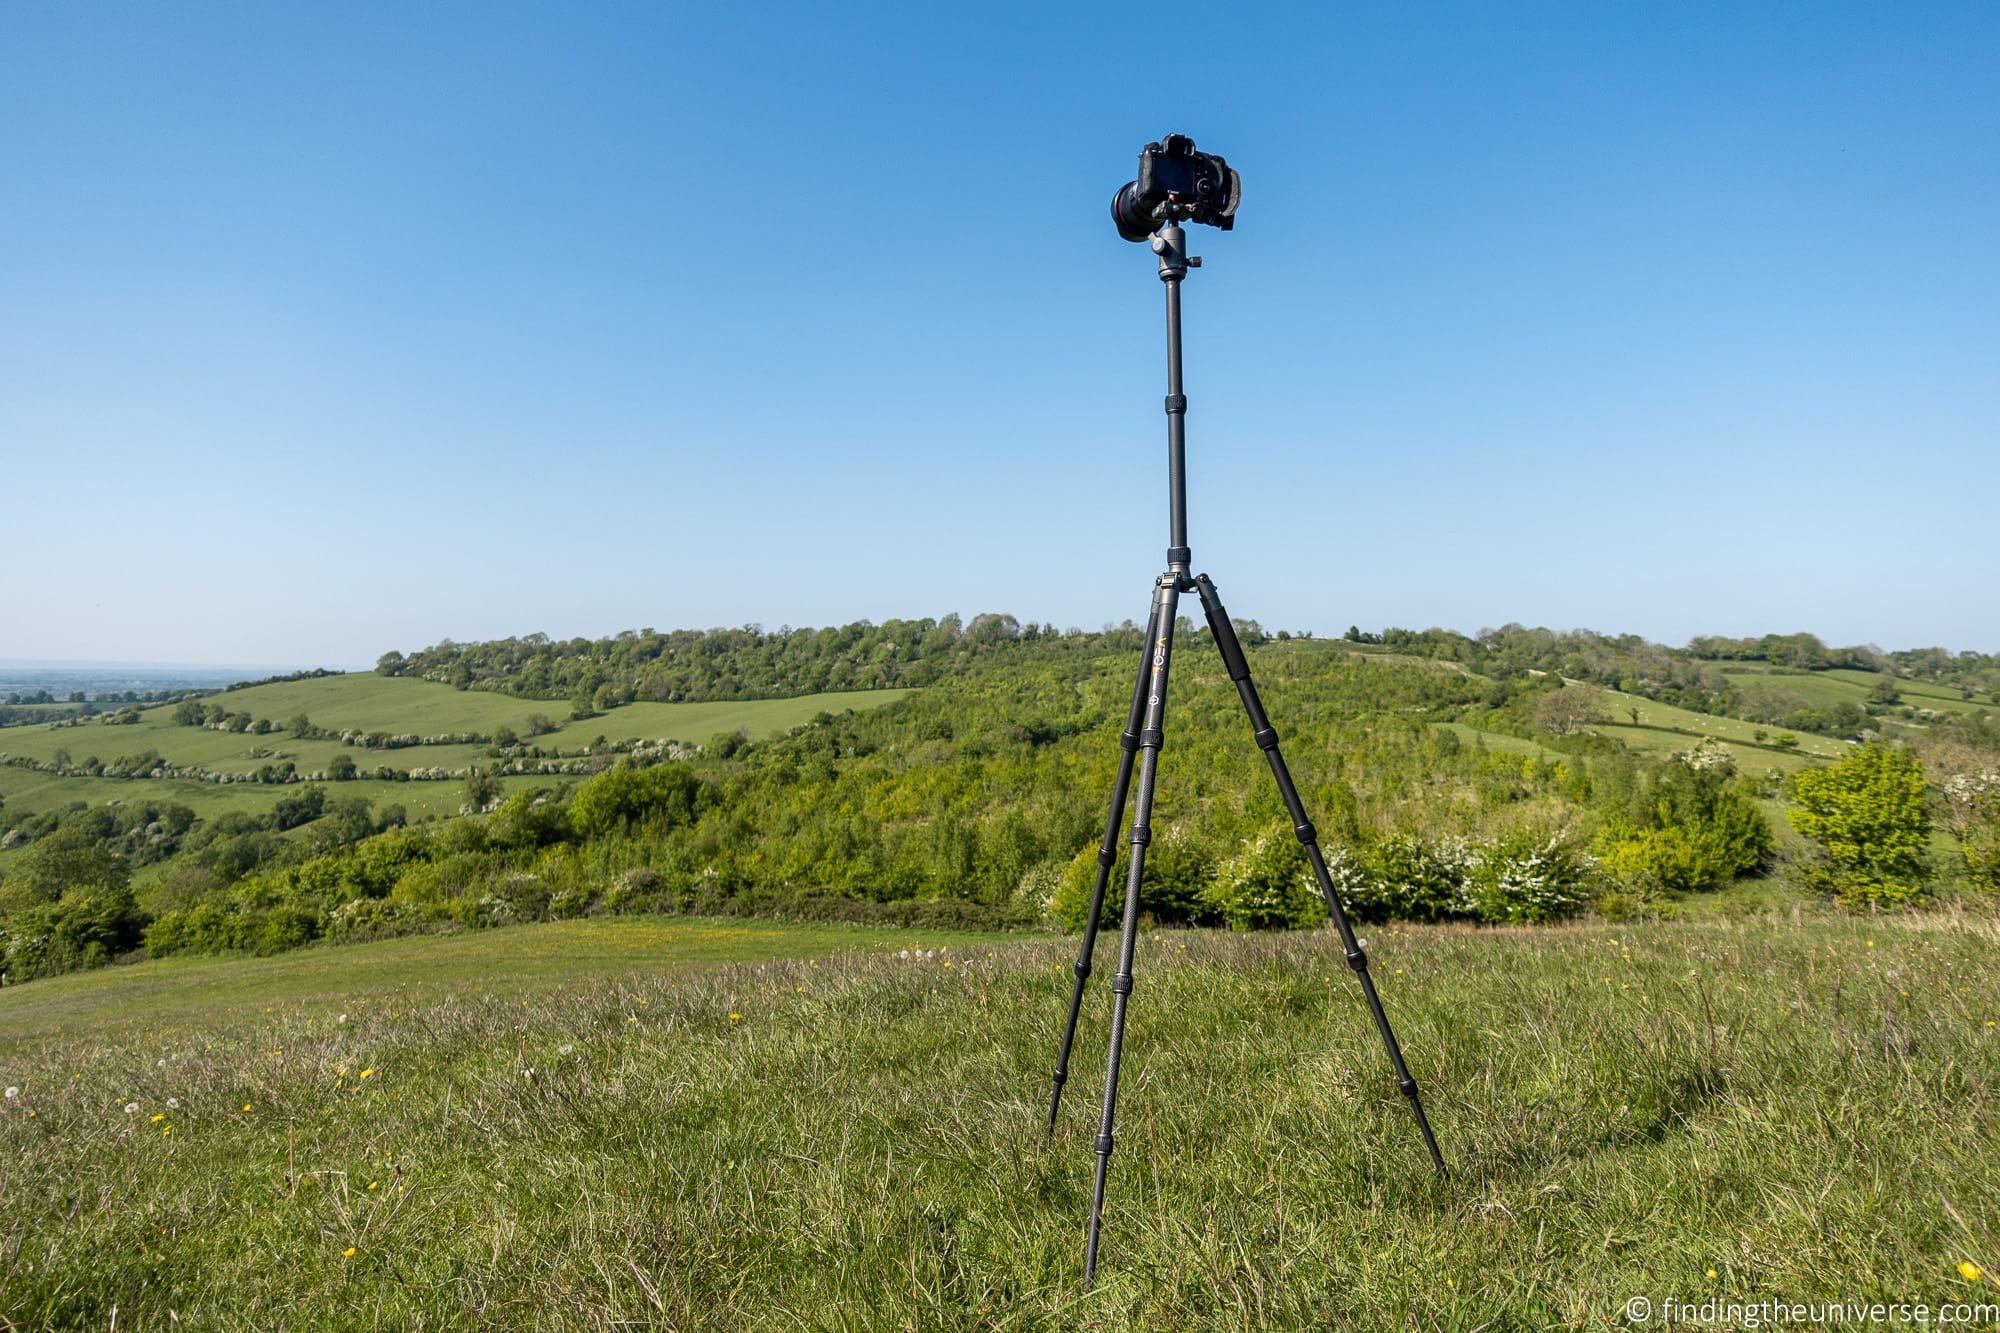
Vanguard VEO 2 Go 265HCBM Tripod Review
I’ll be approaching this review from two angles. First, as a long time user of VEO tripods, I’ll be talking from that perspective and going through some of the changes and how they affect the product. I’ll also be reviewing this from a general travel tripod perspective, to help you decide if this is a good investment for you.
First, let’s look at the key specifications of the tripod.
VEO 2 Go 265HCBM Specifications
Weight: 3.09 lbs /1.4 kg
Folded Length: 16.1 inches (41 cm)
Minimum Height: 9.4 inches (24 cm)
Fully Extended Height: 65.5 inches (166.5 cm)
Height without Column Extension: 49 inches (126 cm)
Load Capacity: 22 lbs / 10 kg
Main Material: Carbon fiber
Head: Ball head
Mount Type: Arca-Swiss compatible quick-release mount
Price: Check prices on Amazon here, and Adorama here
In comparison, here are the specifications of the VEO 2 256CB, which I’ll be talking about in this post too.
Weight: 2.86 lbs /1.3 kg
Folded Length: 16.3 inches (41.5 cm)
Minimum Height: 7.3 inches (18.5 cm)
Fully Extended Height: 59 inches (150 cm)
Height without Column Extension: 48.2 inches (122.5 cm)
Load Capacity: 17.6lbs / 8 kg
Main Material: Carbon fiber
Head: Ball head
Mount Type: Arca-Swiss compatible quick-release mount
Price: Check prices on Amazon here and Adorama here
VEO 2 Go 265HCBM Thoughts
So now I’ve told you what’s new and different about this tripod compared to previous tripods in the range. And I’ve told you the key specifications of the tripod. So now, let’s get into the meat of it. Is this tripod any good?
In a word, yes. Let me tell you why.
As I’ve already mentioned, a key focus of a travel tripod is that it needs to be compact and lightweight. The issue with this is that invariably the majority of travel tripods are not particularly high. This means you usually have to bend down to operate them, and sometimes they might not offer sufficient height for what you are photographing.
In most cases this is a trade-off that photographers are happy to make in exchange for something that is smaller and lighter than a full size tripod.
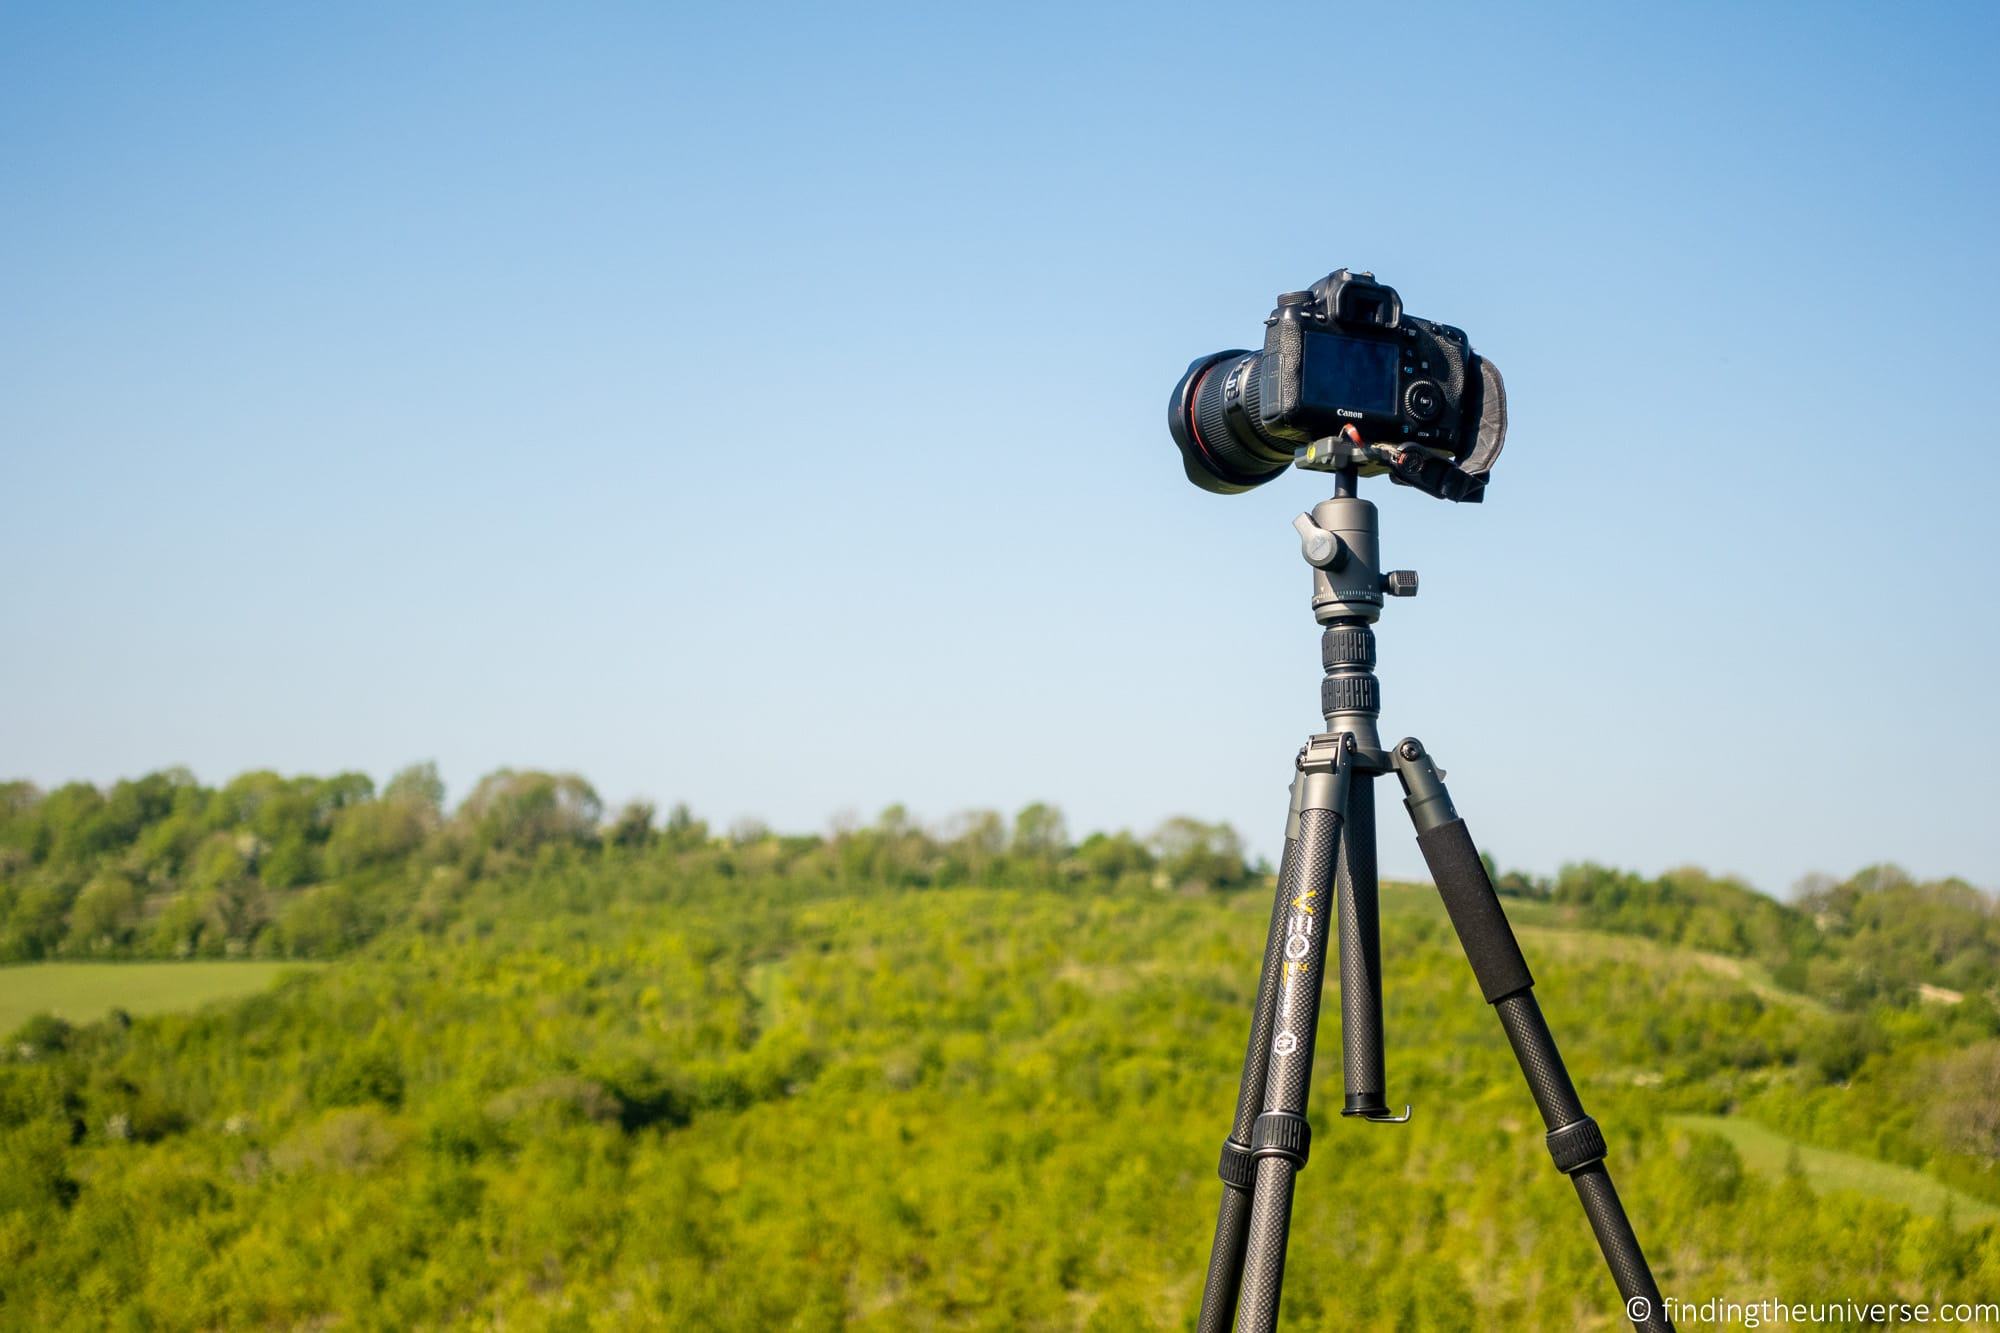
However, if you look at the specifications of the VEO 2 Go 265HCBM, you will notice that the maximum height with the central column extended is a fairly staggering 65.5 inches, or 166.5cm. That’s a full 6.5 inches, or 16.5cm, taller than the VEO 2 265CB.
In fact, fully extended this tripod is higher than my eye line. Admittedly, at 5′ 10 I’m not that tall. But I know taller photographers looking for a travel tripod would absolutely love this option.
Of course, there is a caveat. Tripods are at their most stable when the centre column is not extended, and the camera essentially is resting directly on the three tripod legs.
When you extend the centre column, generally this results in a less stable camera setup. In windier conditions, or with heavier equipment, this can definitely start to negate the benefits of a tripod.
So with the VEO 2 Go, this problem has the potential to be exacerbated, because the majority of the extra height comes as a result of that extended central column. That column accounts for 15.7 inches / 40cm of the maximum tripod height, compared to 10.8 inches / 27.5cm on the original VEO 2 that I own.
However, in reality, my personal tests have suggested that there really isn’t any difference in stability, even with the central column at maximum extension. I would also say that both the VEO 2 Go and the VEO 2 tripods, even fully extended, are stable enough for use except in windier and less stable conditions. It’s only when it’s particularly windy that you are going to want to drop the central column down.
The upsides of having that extra height though make a huge difference. There have been times when I’ve been out shooting, where having a few more inches of height would have made the difference to the shot. This is particularly the case when shooting over a fence, or through a hole in glass such as at an observation tower, where it would have really helped.
If I was taller, this tripod would be a no-brainer. Not having to bend down constantly when shooting would be a huge relief!
So for me this is the main advantage of this tripod – the extra height, which is definitely a reason to invest in this over other travel tripods. Compared to the original VEO 2, it’s also a few centimetres taller when not extended, although the difference is fairly minimal.
If you are looking at the carbon fibre version of this tripod, which is the version I am reviewing, I love that the whole product is carbon fibre now. This likely helps keep the weight down. Despite having a telescoping central column, the overall weight is only 3.5oz / 100g more than my VEO 2 265CB.
There are some other handy features I like. First, all the tripods in the VEO line come with a head. The head on the VEO 2 Go 265HCBM is a BH-102 model, which is a ballhead. It’s slightly larger than the ballhead that came with the VEO 2 265CB, which was a BH-50.
The new head features an Arca compatible quick release plate, two spirit level indicators, and a pan lock.
The BH-50 I am used to came with only one bubble indicator, but it also featured a friction control knob. I’ll be honest, I never used this knob, except when I confused it with the ball head control or pan lock knob. I am personally happy that Vanguard removed this knob, although if you do video you might miss it.
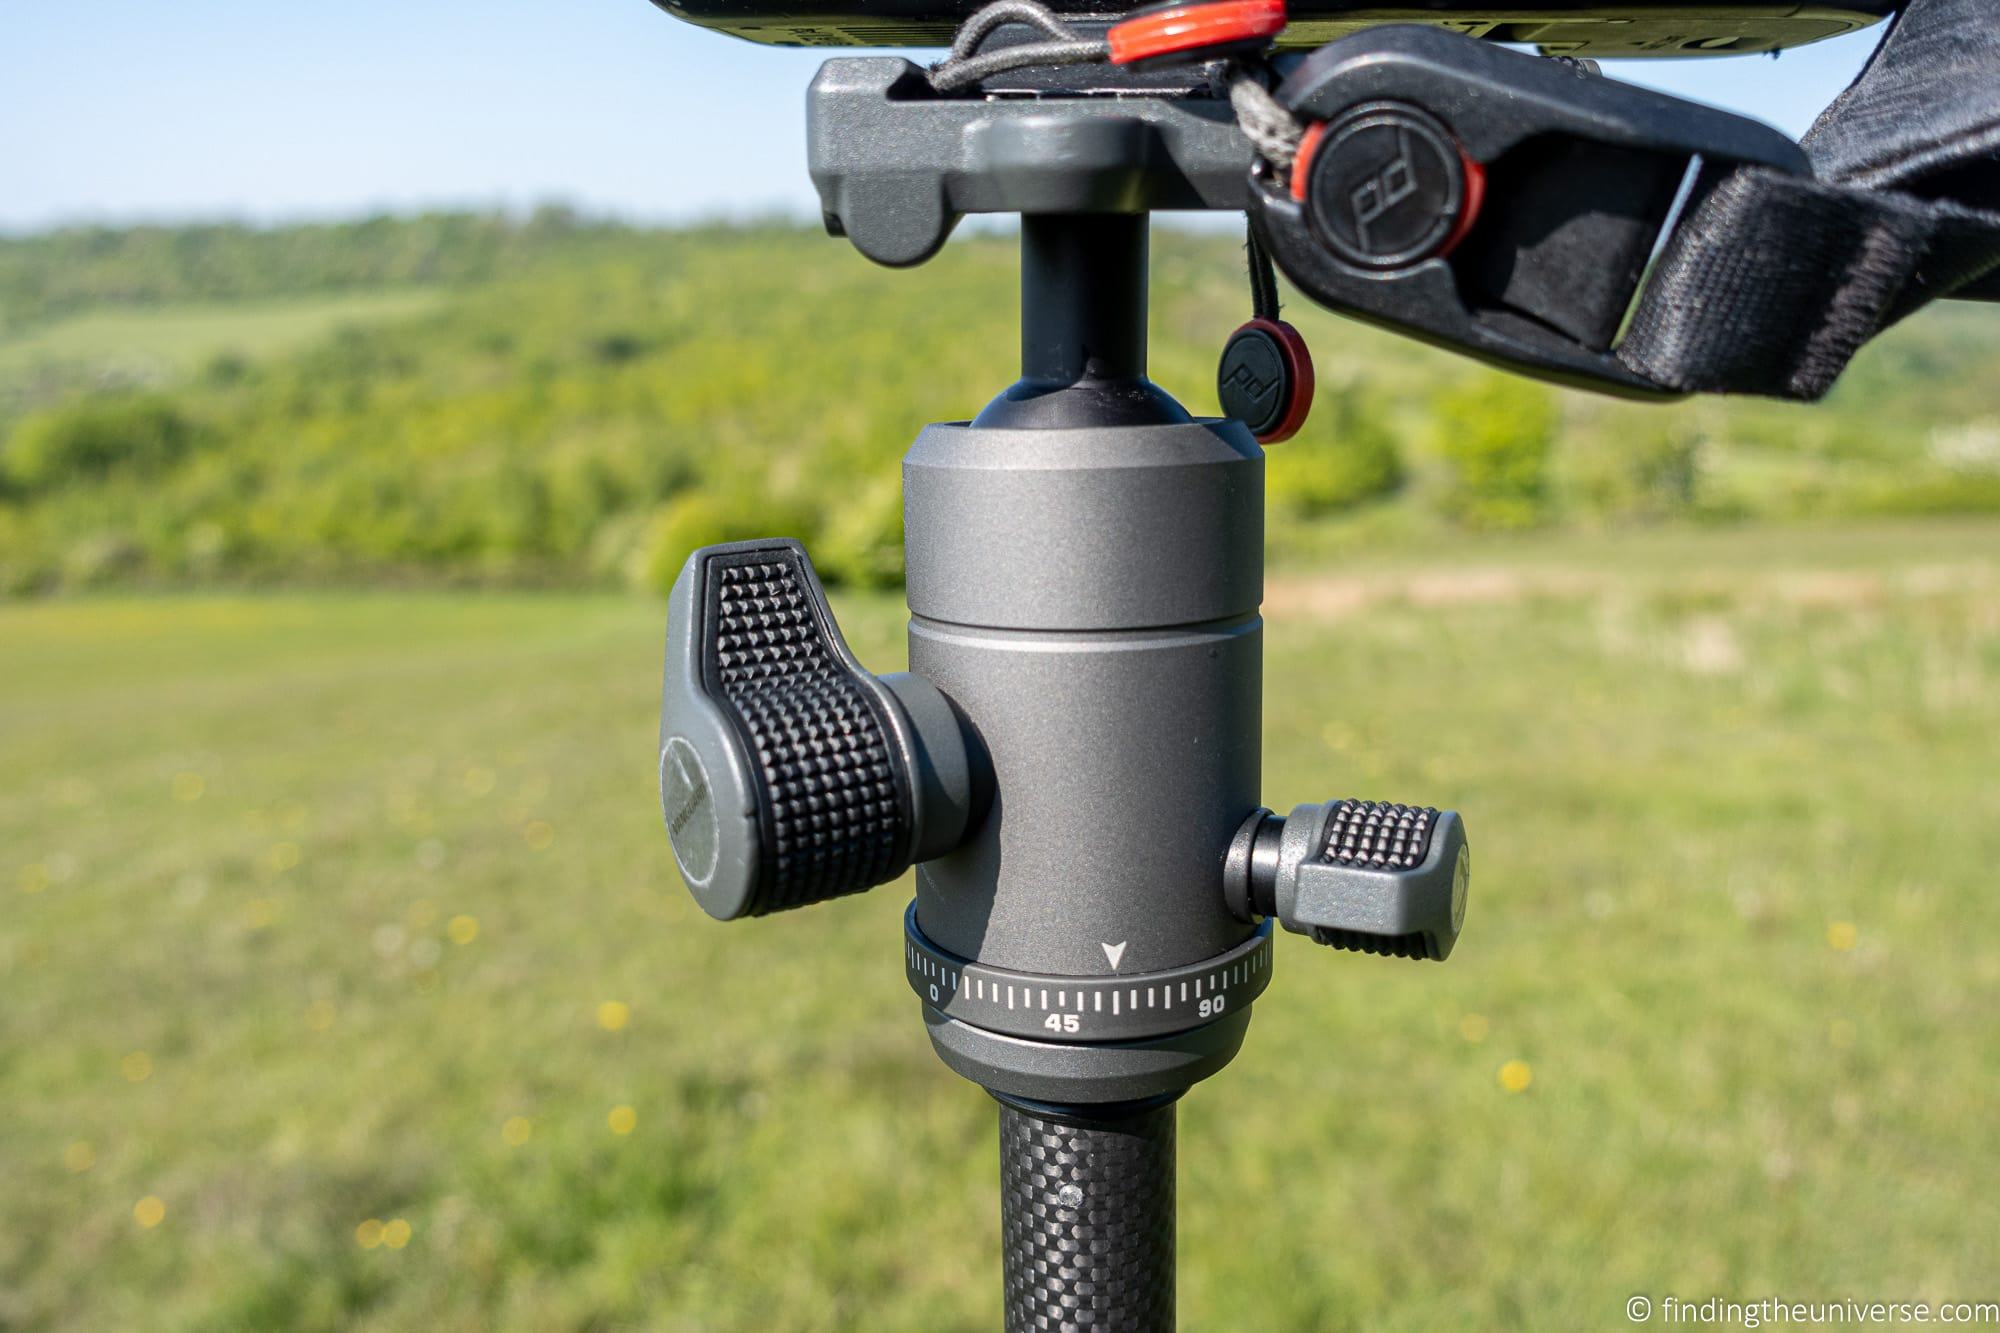
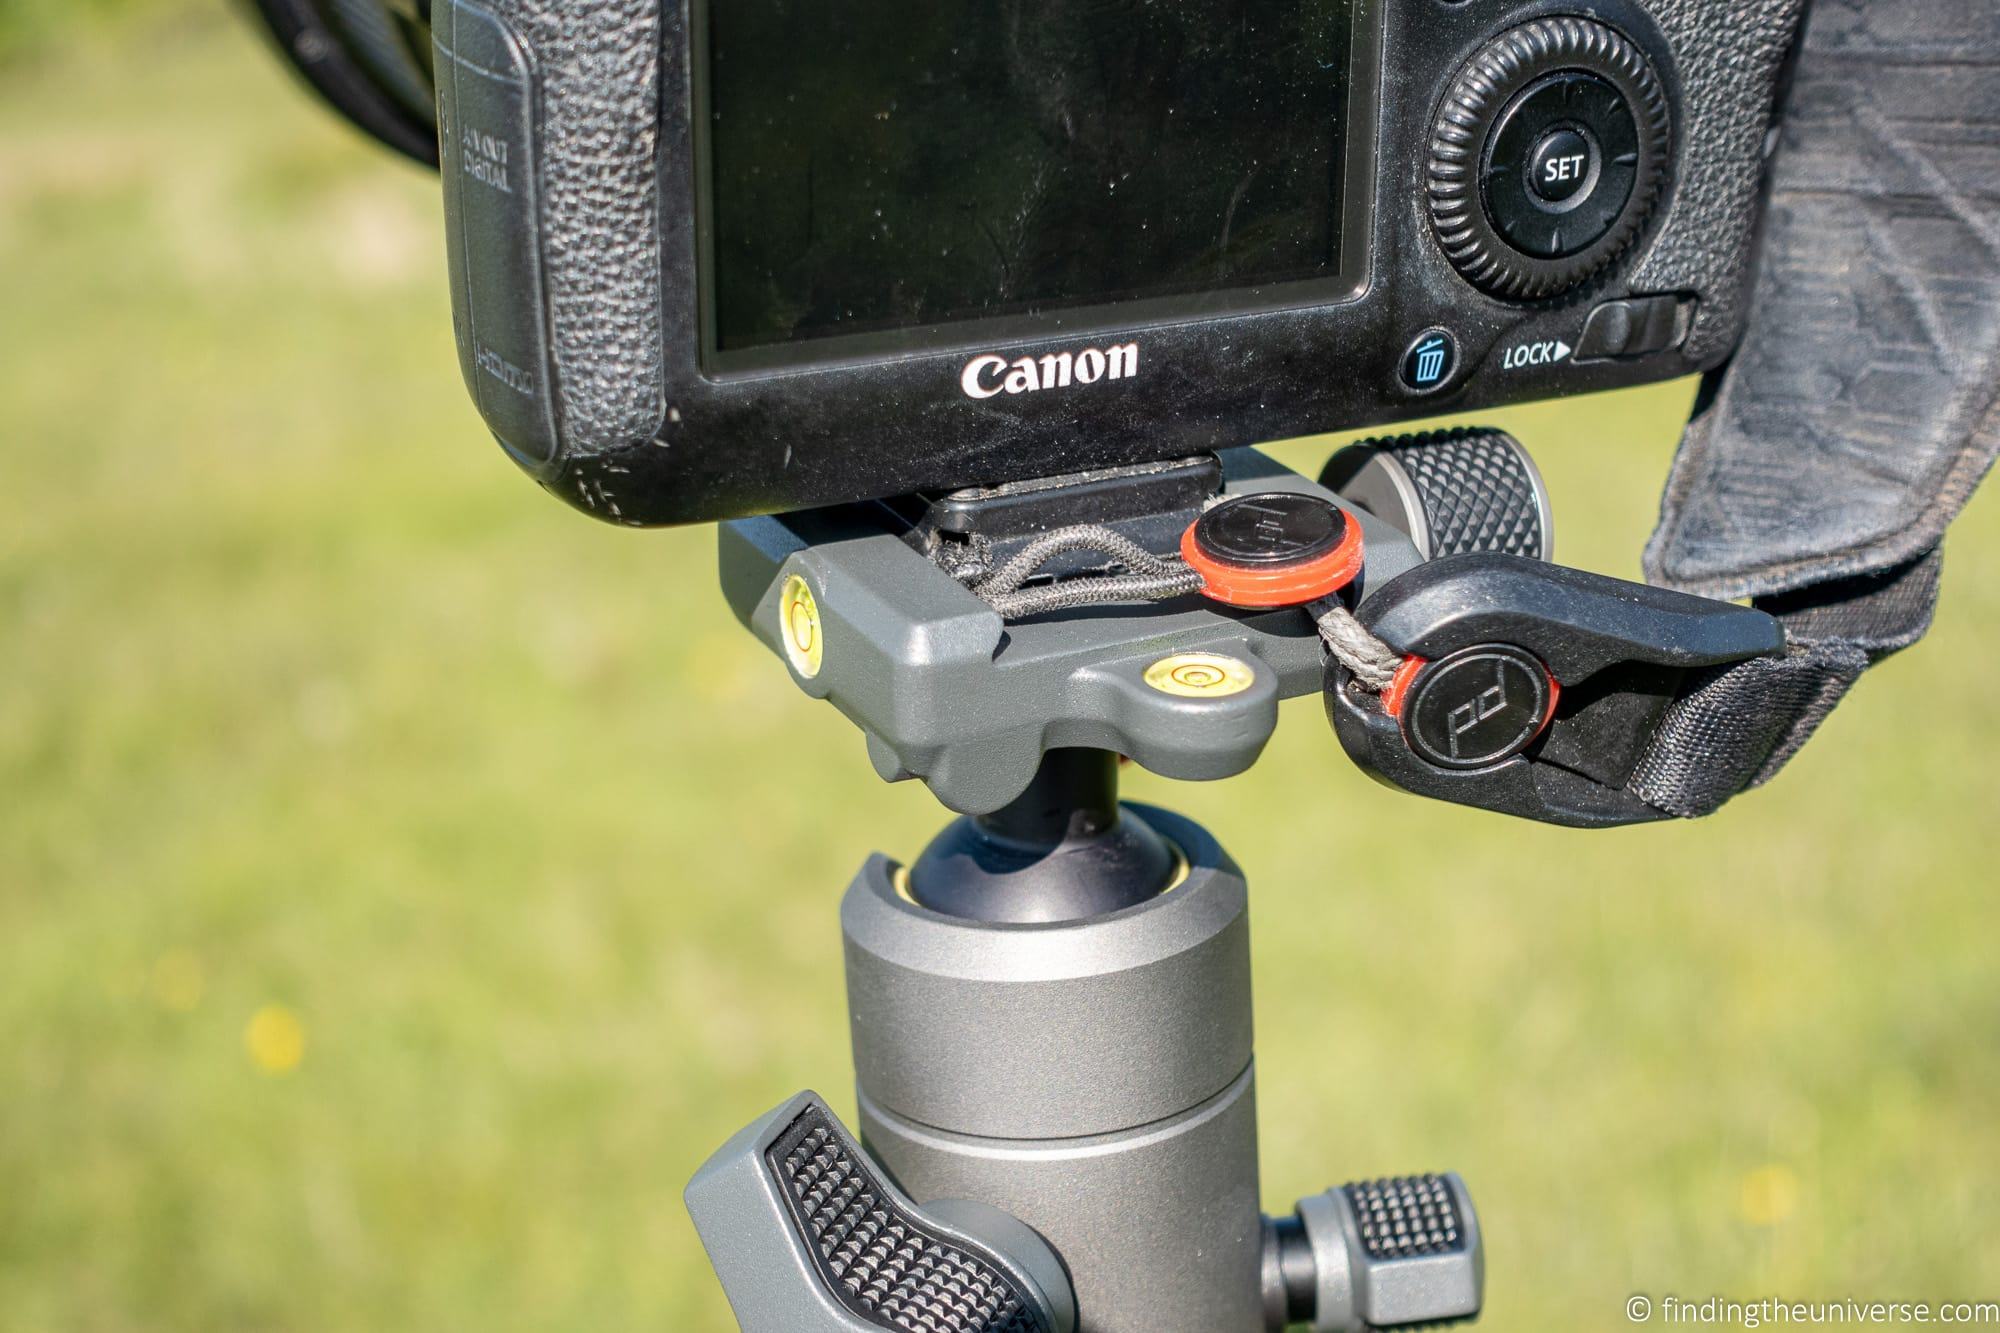
The tripod also comes with a centre column hook for hanging weights for added stability, as well as a low angle adaptor for macro photography and close-up work. It ships with rubber grip feet, and there’s a set of spiked feet in the box. You also get an Arca compatible quick release plate for your camera, as well as quite a nice tripod bag to carry everything in.
Build quality feels good, and I have personally never had any issues with any Vanguard product in the years I’ve used them. I like the matte look of the carbon fibre, and the process for extending and shortening the legs is quick and easy thanks to the twist lock system.
I’d also say that I think I prefer the new mechanism for folding the legs up for travel, and it seems to fold away slightly easier than the older VEO products.
In terms of working weight, the tripod is rated for up to 22 lbs / 10 kg, which is an impressive amount for a travel tripod. None of my gear, even my heavier lenses, is anywhere near that weight.
The last new feature which marks a significant upgrade over my original VEO 2 tripod, is that one of the legs detaches, and can be converted to a monopod.
A monopod can be really useful for when you don’t need your whole tripod, but want a way to rest your camera. Wildlife, sports, fashion, and action photographers with large lenses particularly find monopods useful, as they let you move the camera quickly whilst still supporting the main weight of the lens.
I will be honest, I found the instructions for converting the tripod to a monopod a bit confusing. They gave me the impression I had to use an allen key and essentially disassemble the tripod head. This is really only the case if you want to use it without the ball head.
Instead, I figured out that all you really have to do is unscrew the spare tripod leg and then unscrew the hook attachment from the central column. You can then slide the central column out of the tripod body, and then screw it to the detached tripod leg.
This gives you a detached monopod which goes up to a huge 67 inches (170cm) in height, with a ball head. The whole process takes under a minute, no tools required.
I think the extra feature of converting to a monopod is the icing on the cake for me. Combining the extra potential height of this tripod with the monopod feature, and this tripod will be replacing my trusted VEO 2 265CB as my main travel tripod of choice.

Should you upgrade to the VEO 2 Go 265HCBM?
If you already have a travel tripod like the VEO 2 I own, you will have to decide if the features of the VEO 2 Go line are worth the upgrade for you. The key new features are the extra height and that monopod leg, so if those are of value to you, then you might consider an upgrade.
If you are coming from more of a value oriented tripod, perhaps an aluminum model, or something much smaller, that the premium nature of the VEO 2 Go 265HCBM will definitely be a step up, and you will definitely appreciate the extra height.
Should you buy the VEO 2 Go 265HCBM?
If you are looking for an excellent lightweight travel tripod that has a high load capacity and extends to an impressive height, then I think this is a very good option.
It will work for everything from a compact camera through to mirrorless and DSLR options. Basically all but the heaviest camera equipment should be suitable.
If you don’t need all the height of this particular model, there are also smaller and even lighter tripods in the VEO 2 Go range, as well as lower priced aluminium models.
In particular, consider the VEO 2 Go 265CB. This is a phenomenally well priced carbon fibre tripod, which only weighs 2.6lbs / 1.2kg, and folds down to a tiny 12.8 inches / 32.5cm. It’s also available in aluminium. You lose around 9 inches (23cm) of height, there’s no monopod, and the maximum load capacity is also reduced, but it is definitely excellent value.
Price and Availability of the VEO 2 Go 265HCBM
Of course, price is always going to be a question. The product Vanguard VEO 2 Go 265HCBM is definitely one of Vanguard’s more premium tripod, with a suggested retail price of $339. As a comparison, the VEO 2 265 CB launched for $249.99.
However, I believe it still offers excellent value for money, considering you get a full carbon fibre monopod and tripod in one, a ball head, tripod bag, accessories like spiked feet and a low angle adaptor.
Vanguard Discount Code for Vanguard Photo Products
You can also use our exclusive Vanguard discount code for 20% off everything in the Vanguard store – just use code FindingTheUniverse for your discount! This Vanguard discount code works in the Vanguard UK, US, Australia, Spain and Germany stores.
It’s also available on Amazon here, and Adorama here
I would also recommend, if you are in the market for a travel tripod, to check out our round up of the best travel tripods, which has lots of options across a range of manufacturers and price points, as well as lots of tips on what to look for when shopping for at tripod.
Further Reading
That’s it for my review of the Vanguard VEO 2 Go 265HCBM tripod – I hope you found it helpful. Before you go, I wanted to share some of our other content which we think you will find useful.
- Our review of the Vanguard VEO 2 265CB tripod after three years of regular use.
- We have a guide to why you need a tripod, a guide to choosing a travel tripod, and a round-up of our favourite travel tripods
- We have a guide to how to use a compact camera, how to use a DSLR camera, and how to use a mirrorless camera. We also have a guide to how a DSLR works
- Knowing how to compose a great photo is a key photography skill. See our guide to composition in photography for lots of tips on this subject
- We have a guide to what depth of field is and when you would want to use it.
- We are big fans of getting the most out of your digital photo files, and do to that you will need to shoot in RAW. See our guide to RAW in photography to understand what RAW is, and why you should switch to RAW as soon as you can if your camera supports it.
- You’re going to need something to run your photo editing software on. See our guide to the best laptops for photo editing for some tips on what to look for.
- If you’re looking for more advice on specific tips for different scenarios, we also have you covered. See our guide to Northern Lights photography, long exposure photography, fireworks photography, tips for taking photos of stars, and cold weather photography.
- If you’re looking for a great gift for a photography loving friend or family member (or yourself!), take a look at our photography gift guide,
- If you’re in the market for a new camera, we have a detailed guide to the best travel cameras, as well as specific guides for the best cameras for hiking and backpacking, the best compact camera, best mirrorless camera and best DSLR camera. We also have a guide to the best camera lenses.
- If you want a camera or lens, but the prices are a bit high, see our guide to where to buy used cameras and camera gear for some budget savings options.
Looking to Improve Your Photography?
If you found this post helpful, and you want to improve your photography overall, you might want to check out my online travel photography course.
Since launching the course in 2016, I’ve already helped over 2,000 students learn how to take better photos. The course covers pretty much everything you need to know, from the basics of how a camera works, through to composition, light, and photo editing.
It also covers more advanced topics, including astrophotography, long exposure photography, flash photography, and HDR photography.
You get feedback from me as you progress, access to webinars, interviews and videos, as well as exclusive membership of a Facebook group where you can get feedback on your work and take part in regular challenges.
It’s available for an amazing one-off price for lifetime access, and I think you should check it out. Which you can do by clicking here.
.
Rhonda Morley says
This tripod looks great, but any thoughts on something a bit smaller? Looking for a travel tripod that might fit in a large purse? Thanx in advance!
Laurence Norah says
Hi Rhonda,
Sure thing. So this is one of the few tripods in the VEO 2 Go range which is a little larger folded up, which is due to the extra height the tripod provides. If you are ok sacrificing that height for something a bit more compact, then I would instead suggest one of the other models in the range, which are a lot shorter. The tripod in this review is just over 16 inches, whilst something like the Vanguard VEO2GO235CB is just under 13 inches folded up, which is pretty impressive. However, I’m not sure how big a large purse is, so you might want something even smaller. At those sizes though you are likely looking for more of a mini tripod. I’d suggest taking a look at our guide to our favourite travel tripods, which should have an answer for you 🙂
Let me know if I can help any more!
Laurence