Today’s post on picking the right camera lens and photography accessories is a part of my series of photography tips. Whilst every article can be read on its own, I’d recommend you give the others a look through to have a more complete understanding of various photography topics, so you can start taking better photos.
Today I’m going to cover the subject of photography accessories that you should consider investing in, as well as tips on advice on picking the right camera lens for your photography, which is where we’re going to start.
Table of Contents
How to Pick a Camera Lens
Understand Lens Terminology
Before you can pick a camera lens, you are going to need to understand a few bits of lens terminology. These can seem a bit confusing, but worry not, we’ll try and make them obvious.
There are two main features of a lens, its focal length, and its aperture.
Focal length
Focal length is a number measured in mm, and essentially describes the magnification the lens offers. The bigger the number, the more the magnification. As a rule of thumb, around 35mm – 50mm is normal human vision. Anything more than that will make things seem closer, and anything smaller than that will make them seem further away.
Some lenses have a variable focal length, which means you can zoom in and out. For example. a 24-70mm lens will let you adjust its focal length from 24mm (wide angle) to 70mm (zoomed in).
Aperture
The aperture of the lens is the physical hole in the lens that lets the light in. This is a hole that can be made larger or smaller, to let more or less light in.
The maximum size of this hole is an important number, because a lens that lets more light in tends to be more desirably. As such, lenses are sold with the maximum aperture clearly marked.
Aperture is denoted as an “f” number, and the smaller the “f” number, the wider the aperture. For example, an f/1.8 lens will let more light in than an f/5.6 lens.
Aperture is an important tool for composition, and allows us to control depth of field. You can read all about controlling depth of field here.
Decide Which Camera Lens You Need
If you have a point and shoot camera, your lens choice is probably not much greater than that which came with your camera. If, on the other hand, you have a DSLR or a mirrorless camera, then your options suddenly become very expansive indeed.
What I would suggest is that you consider the sort of photography you are likely to be doing, your budget, how you use your camera and what you are willing to carry.
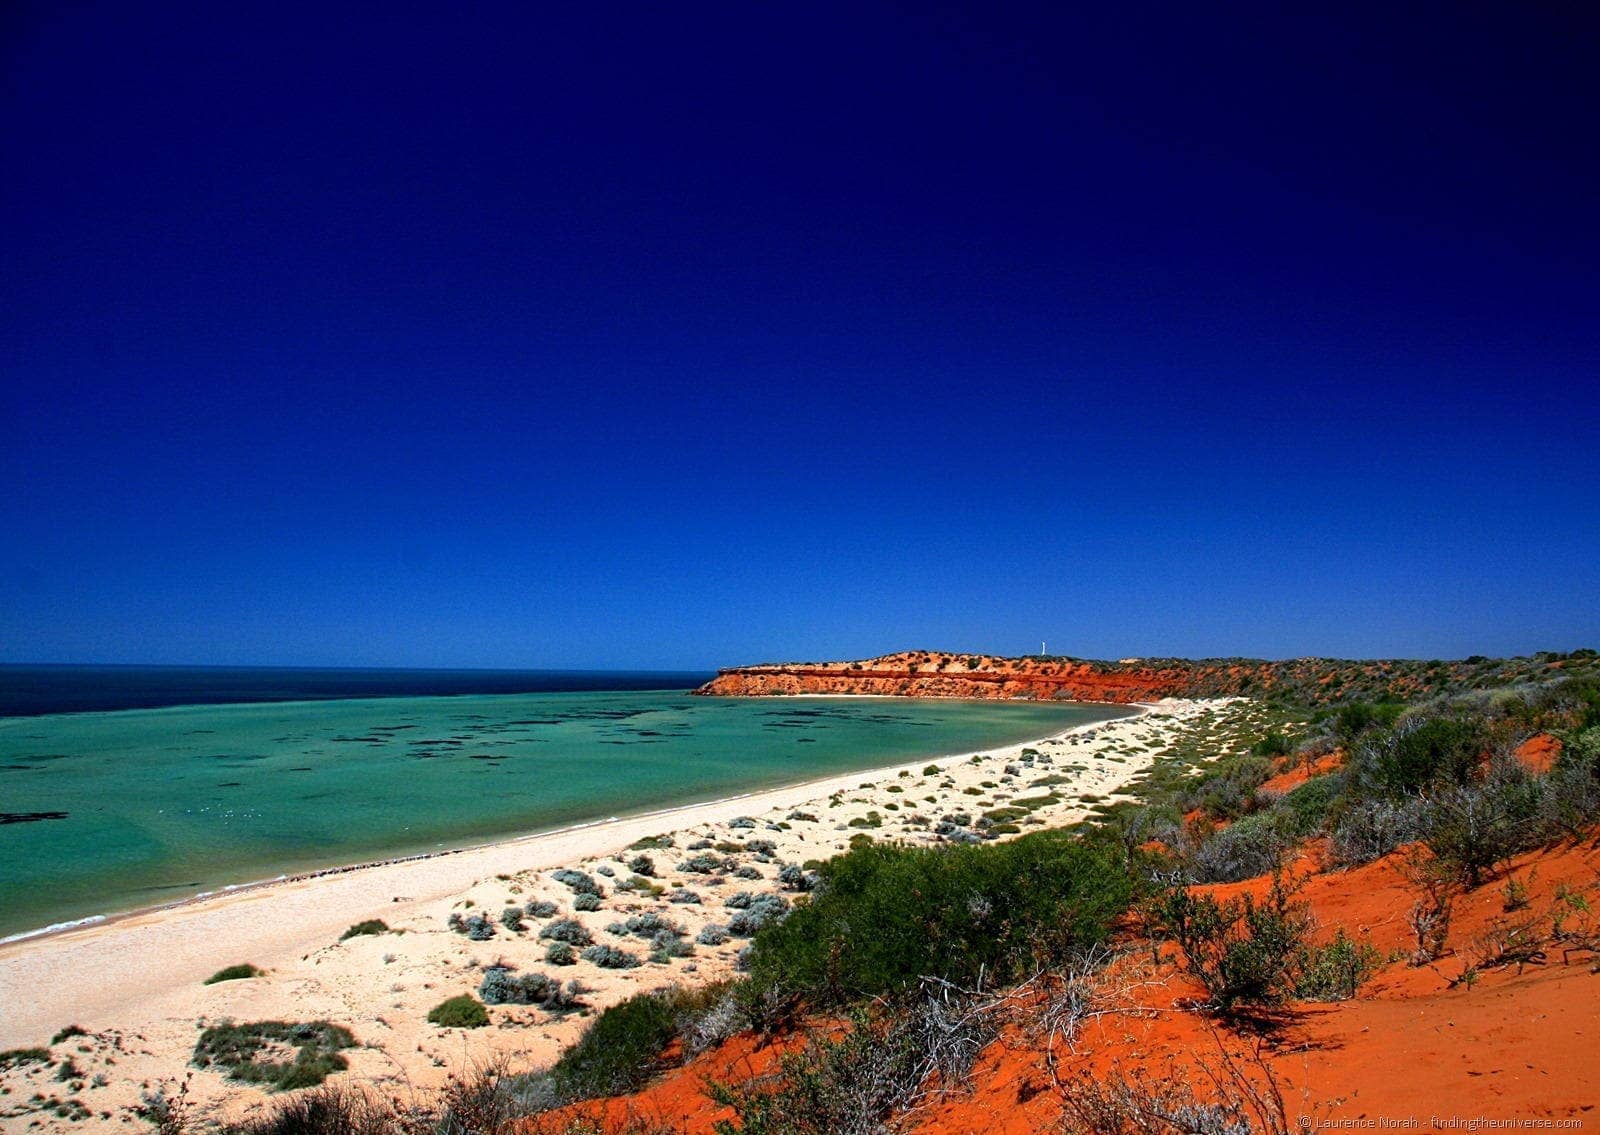
The beach at Francois Peron National Park. Landscape photography often needs a wider angle lens to get everything in shot.
If you do a lot of landscape photography, then a dedicated wide angle lens would certainly be a wise investment. A wide angle lens is anything wide than 35mm, and these generally range from 10mm to 35mm.
Conversely, for a lot of portrait photography, a prime lens with an aperture that will open up nice and wide will let you have great control over your depth of field. A prime lens is one with no zoom, i.e. the focal length is fixed.
You would want a prime lens with an aperture between f/1.2 and f/2.8 for the best portrait shots, and for portrait work, the general focal length should be between 70mm and 120mm.
Nature photographers would probably want something that provides them with a long focal length for far away shots – something from 100mm to 400mm would usually be the range to look at.
So decide what you are likely to be shooting, and get a lens appropriate for that. Remember that it is likely to be a long term investment, so don’t skimp too much if you can afford it. The kit lens that comes with your camera is probably a great place to start from, and if you find that it is hampering your style, start to think about upgrading.
For more ideas on specific lenses, see my guide to the best lenses for travel photography.
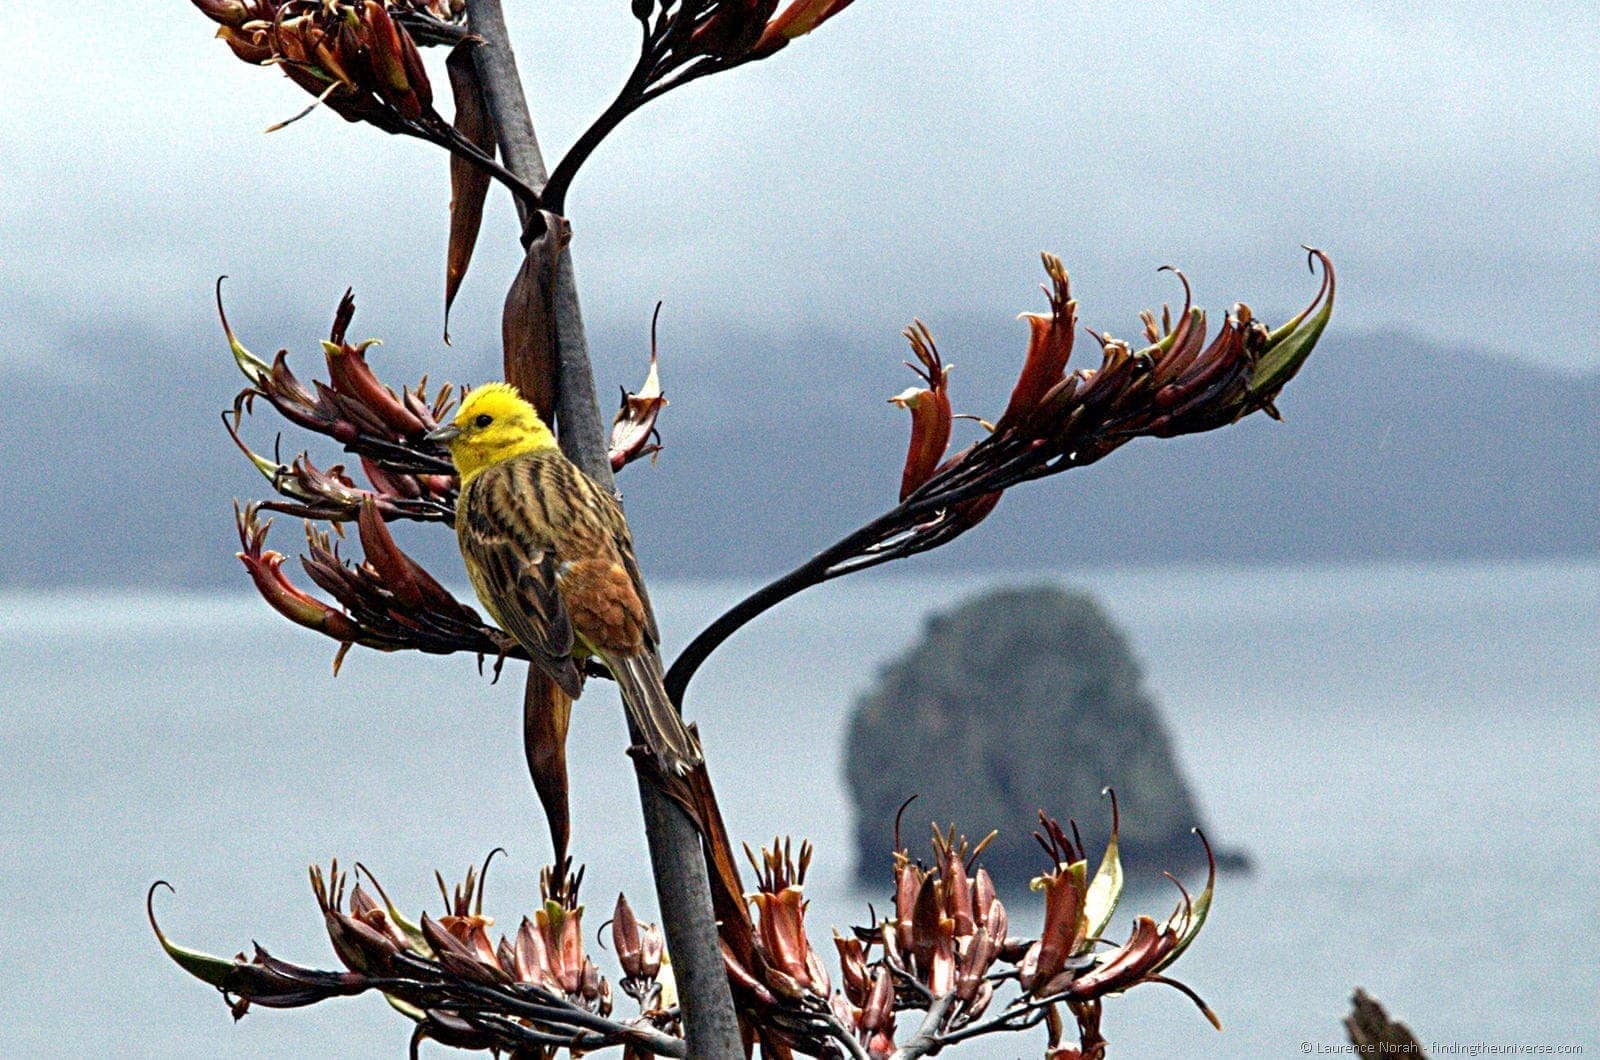
A bird on a branch near Cathedral Cove, Coromandel Peninsula. If I had a proper telephoto lens at the time of taking the shot I would have been able to get a much clearer shot of this little chap, instead of the slightly noisy crop of a much larger shot that I am showing here.
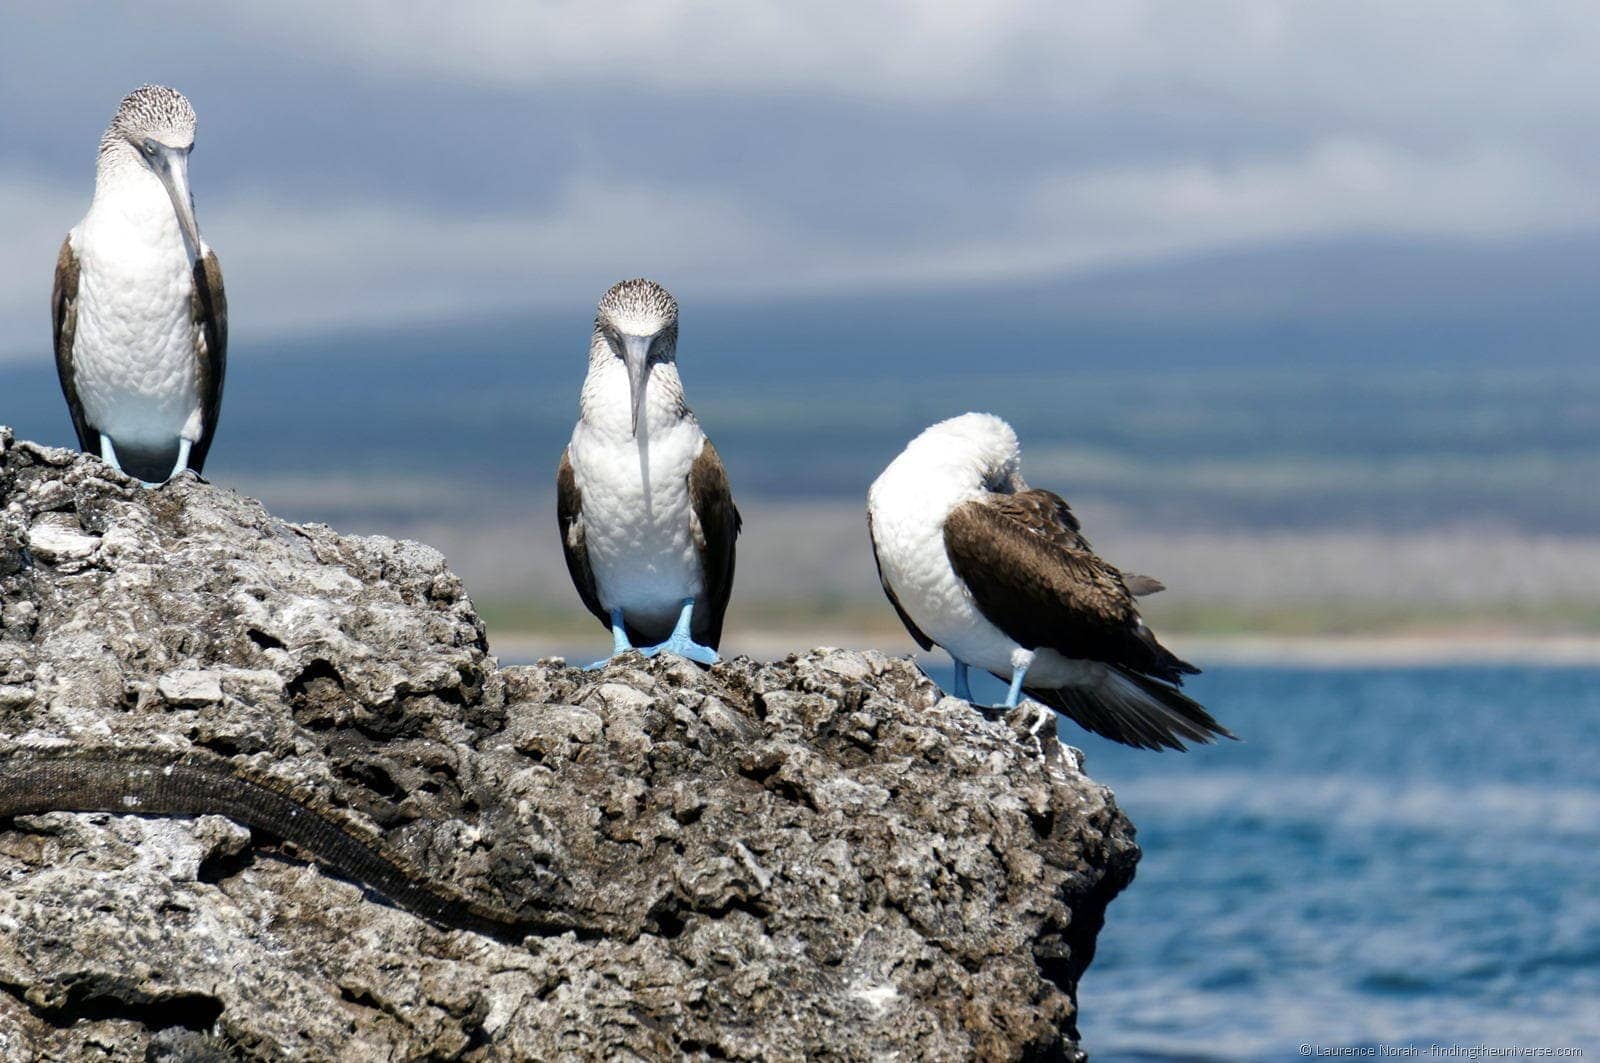
And here are some boobies shot at 210mm on a proper telephoto lens, no cropping required.
Whilst on the subject of lenses: I’d always recommend you get a filter for the end. Even if it’s just a clear filter, it will protect the expensive glass on your lens from minor scratches and is a lot cheaper to replace than a whole lens if damaged.
When buying, you just need to check the size of your lens, and buy an appropriate filter to match. Lenses come in all sorts of widths, so be prepared to have to buy filters to match each lens you have.
A final thought on lenses. More expensive kit does not necessarily lead to better images. Composition and practice are more likely to result in images that you are happier with than an expensive bit of glass – to start with the lens that comes with your camera (most come with a kit lens) will more than likely tide you over for a while.
However, once you have mastered the basics, and you feel that the equipment is really holding you back from shooting how you want to, or isn’t letting you get close up or wide enough for your favourite type of shots, then do your research, set yourself a budget, and go for it.
Photography accessories
Now you have an idea on lenses, let’s take a look at some useful photography accessories.
Spare battery and memory
I would advise that at least one spare battery and spare memory card are essential accessories. Running out of battery life half way through a trip is a hassle that can be easily avoided, much the same with memory card.
A camera bag
A decent bag is also a good investment. It will protect your camera from knocks and scrapes, and give you room to carry around all your lenses and other gear that you may accumulate. When buying, work out what you are likely to be carrying in terms of gear, and buy something that will fit everything in cosily.
Tripod
A tripod is another invaluable accessory for photography (read why here). Sometimes there just won’t be enough light to take photos with, or a convenient rock to balance the camera on.
Even when there is plenty of light to work with, a tripod will still reduce any blur resulting from hand shake, and deliver crisper, sharper images. Plus it will let you take the same scene multiple times, perhaps for composing an HDR shot, or achieving interesting effects in post processing.
Remote switch
One other accessory I find useful for certain shots is a remote switch for the camera. This lets me take pictures without having to depress the shutter, which is useful for two reasons.
First, the action of depressing the shutter release button can cause movement, even when mounted on a tripod. This is especially the case for longer exposures.
Second, taking shots that require exposures longer than 30 seconds, the BULB setting on my particular camera, are not possible without a remote. So those long exposure night time shots wouldn’t work quite so well.
The Manual
I know. Manuals aren’t amazing fireside reads. They are often weighty tomes filled with obscure technical information. The thing is, modern digital cameras can be pretty complex beasts. Sure, you can stick them on automatic and let them do everything for you, but it won’t be long before you want to get underneath the skin and start editing settings to see if you can’t improve your shots.
The manual is the place where you will find out what all those dials and buttons and settings actually mean, and how you can use them to improve what you are doing. So find a moment, and take a bit of time to get acquainted with the kit you have bought.
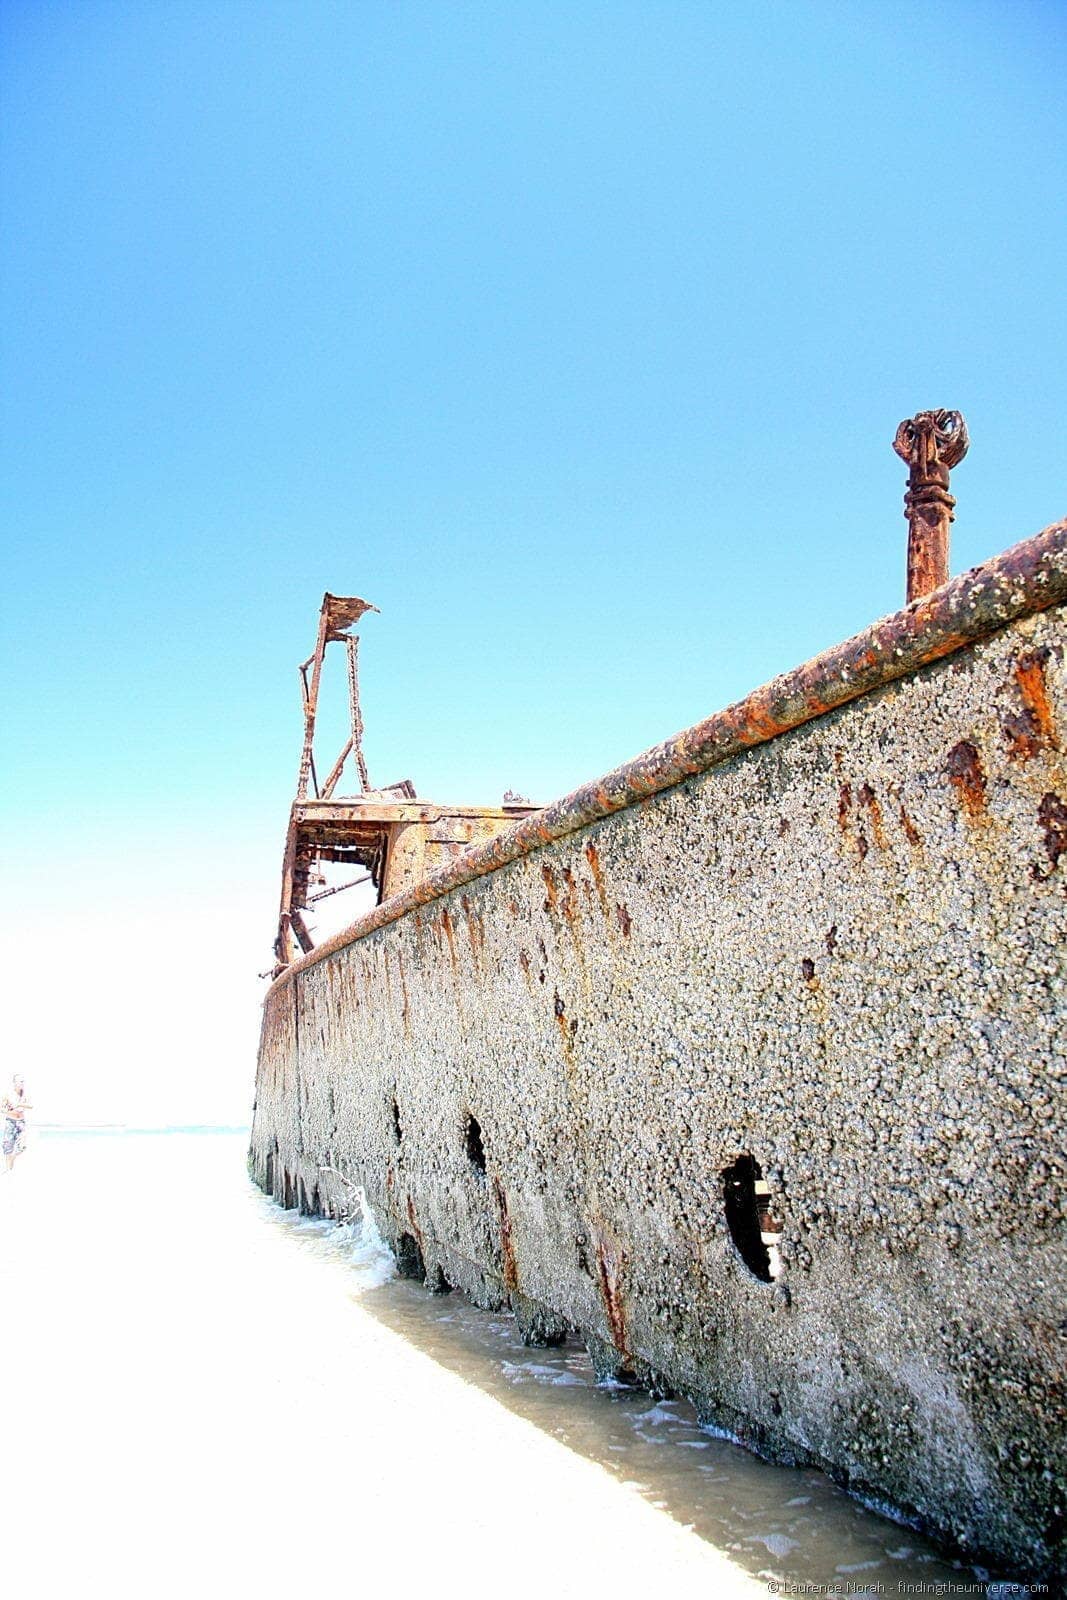
Wrecked ship on the beach of Fraser Island. This shot was deliberately over exposed to wash out the sea and sand, leaving just ship. Most cameras can over and underexpose – and the manual will tell you how.
Further Reading
I hope this brief guide to lenses and accessories has given you some ideas for what to look for. I have lots more photography guides to help you on your photography journey which I think you will find helpful. Here are some to get you started.
- We have a guide to how to use a compact camera, how to use a DSLR camera, and how to use a mirrorless camera. We also have a guide to how a DSLR works
- Knowing how to compose a great photo is a key photography skill. See our guide to composition in photography for lots of tips on this subject
- We have a guide to what depth of field is and when you would want to use it.
- We are big fans of getting the most out of your digital photo files, and do to that you will need to shoot in RAW. See our guide to RAW in photography to understand what RAW is, and why you should switch to RAW as soon as you can if your camera supports it.
- We have a guide to the best photo editing applications which includes both paid and free options
- You’re going to need something to run your photo editing software on. See our guide to the best laptops for photo editing for some tips on what to look for.
- Color accuracy is important for photography – see our guide to monitor calibration to ensure your screen is set up correctly.
- If you’re looking for a great gift for a photography loving friend or family member (or yourself!), take a look at our photography gift guide,
- If you’re in the market for a new camera, we have a detailed guide to the best travel cameras, as well as specific guides for the best cameras for hiking and backpacking, the best compact camera, best bridge camera, best mirrorless camera and best DSLR camera. We also have a guide to the best camera lenses.
- If you want a camera or lens, but the prices are a bit high, see our guide to where to buy used cameras and camera gear for some budget savings options.
- We have a guide to why you need a tripod, a guide to choosing a travel tripod, and a round-up of our favourite travel tripods
- If you’re looking for more advice on specific tips for different scenarios, we also have you covered. See our guides to Northern Lights photography, long exposure photography, fireworks photography, tips for taking photos of stars, taking photos in snow, and cold weather photography.
- Finally, if you want to take your photography to the next level, check out my online photography course!
And that’s it! As always we’re always open to hearing your feedback and answering your questions. Just pop them in the comments below and we’ll get back to you as soon as we can!
Laurence Norah says
Hey Brandon. Well, with any camera system, the best way to maximise the investment is to thoroughly learn how it works – there’s nothing worse than missing a shot because you forgot how to change a setting fast enough.
Brandon says
Really awesome post, thanks! Just stepped past the point n shoot and picked up an Olympus OM-D EM-5 and a compact Panny 14-42mm. Needed to stay compact as I’ll be backpacking through Asia for an extended time next year.
What are your thoughts on MFT? Any tips to maximize a MFT investment?
Thanks!
Yousaf says
This is awesome i really appreciate your post. love it.
Laurence Norah says
No worries at all, and delighted to help out. Do keep in touch and let me know how you find it!
Vicky says
It certainly does! Thanks so much. I’m thinking I’ll purchase the 18-135 unless the 17-85 goes on super sale before we head off in September and I’ll bring my 50 mm prime for close ups and food shots. Thanks again for your help!
Laurence Norah says
Thanks Vicky 🙂 I don’t know anything about that particular lens, although I believe that lenses are something that aren’t worth skimping on – you take that photo once and you wouldn’t want it to fail because of the lens. Usually it is very much a case of you get what you pay for – if a lens is cheaper it is cheaper for a reason 🙁
On the other hand, it does depend on what you want to do with your images. If it’s predominantly for posting on your site, and not selling in a magazine or anything seriously professional, then you’ll not notice, and be more than happy with the upgrade. You could drop a big ton of money on the Canon L version of a similar range lens, and then just spend your time worrying about it being stolen…
An 18-135 lens would be a great lens range for travelling with, allowing you to keep it on your body pretty much all the time, and therefore serve as an awesome “walk around” lens. Since writing this post, I’ve switched to my main walk around lens being a 10-22mm wide angle Canon, as I generally found myself at the wide end of my 17-85 all the time! I also pack a 1.8 50mm prime which is awesome for depth of field and is a good compliment to the wide angle.
So that is all my generic response to your query done. Some searching of the web indicates that the lens in question is actually pretty decent, and you should be more than happy with it 🙂
http://www.kenrockwell.com/canon/lenses/18-135mm.htm
http://www.bobatkins.com/photography/reviews/canon_ef-s_18-135is_review.html
I think, bottom line, that if I was you, and this lens was within my budget, then I would take it with me as a lens to travel with 🙂 Hope this rambling response helps!
Vicky says
Great post (along with your other photography posts). I bought my first dslr over a year ago with the 18-55 kit lens. I have since purchased the 55mm prime lens specifically for food photography but now am torn regarding travel photography lenses. My boyfriend and I are planning a 2 year Asia Europe backpacking trip to start this fall (which we’ll document on our travel blog acoupletravelers.com) and I wanted to purchase a better lens. Unfortunately the 17-85 is a little pricy for me. Do you know anything about the 18-135 cannon? If it’s a good travel lens? Any advice/tips would be great!
Laurence says
Running out of battery is just the worst thing that can happen. ps – no idea how I missed this comment 🙁 sorry it took so long to reply, and thanks for the compliment!
As We Travel says
I’ve run our of battery in the middle through a day trip too many times to count, it’s such a disappointment when that happens! However I just bought an extra battery to prevent it from happening again.
Amazing photos!
As We Travel says
I’ve run our of battery in the middle through a day trip too many times to count, it’s such a disappointment when that happens! However I just bought an extra battery to prevent it from happening again.
Amazing photos!
Laurence says
Running out of battery is just the worst thing that can happen. ps – no idea how I missed this comment 🙁 sorry it took so long to reply, and thanks for the compliment!