Indoor photography is one of the more challenging types of photography to master. It is also a great way to keep your skills sharp, and we have more ways to practise photography at home. The main challenge is the light. Often there is not enough light, it is very directional, or it is coming from an artificial sources that gives your photos a strange hue. And then there are all the potentially reflective surfaces to bounce light off and ruin your shot.
The end result of photos taken inside can be disappointing. I’m talking noisy images, blurry images, photos that are too dark, or images where your subjects have shadows in all the wrong places.
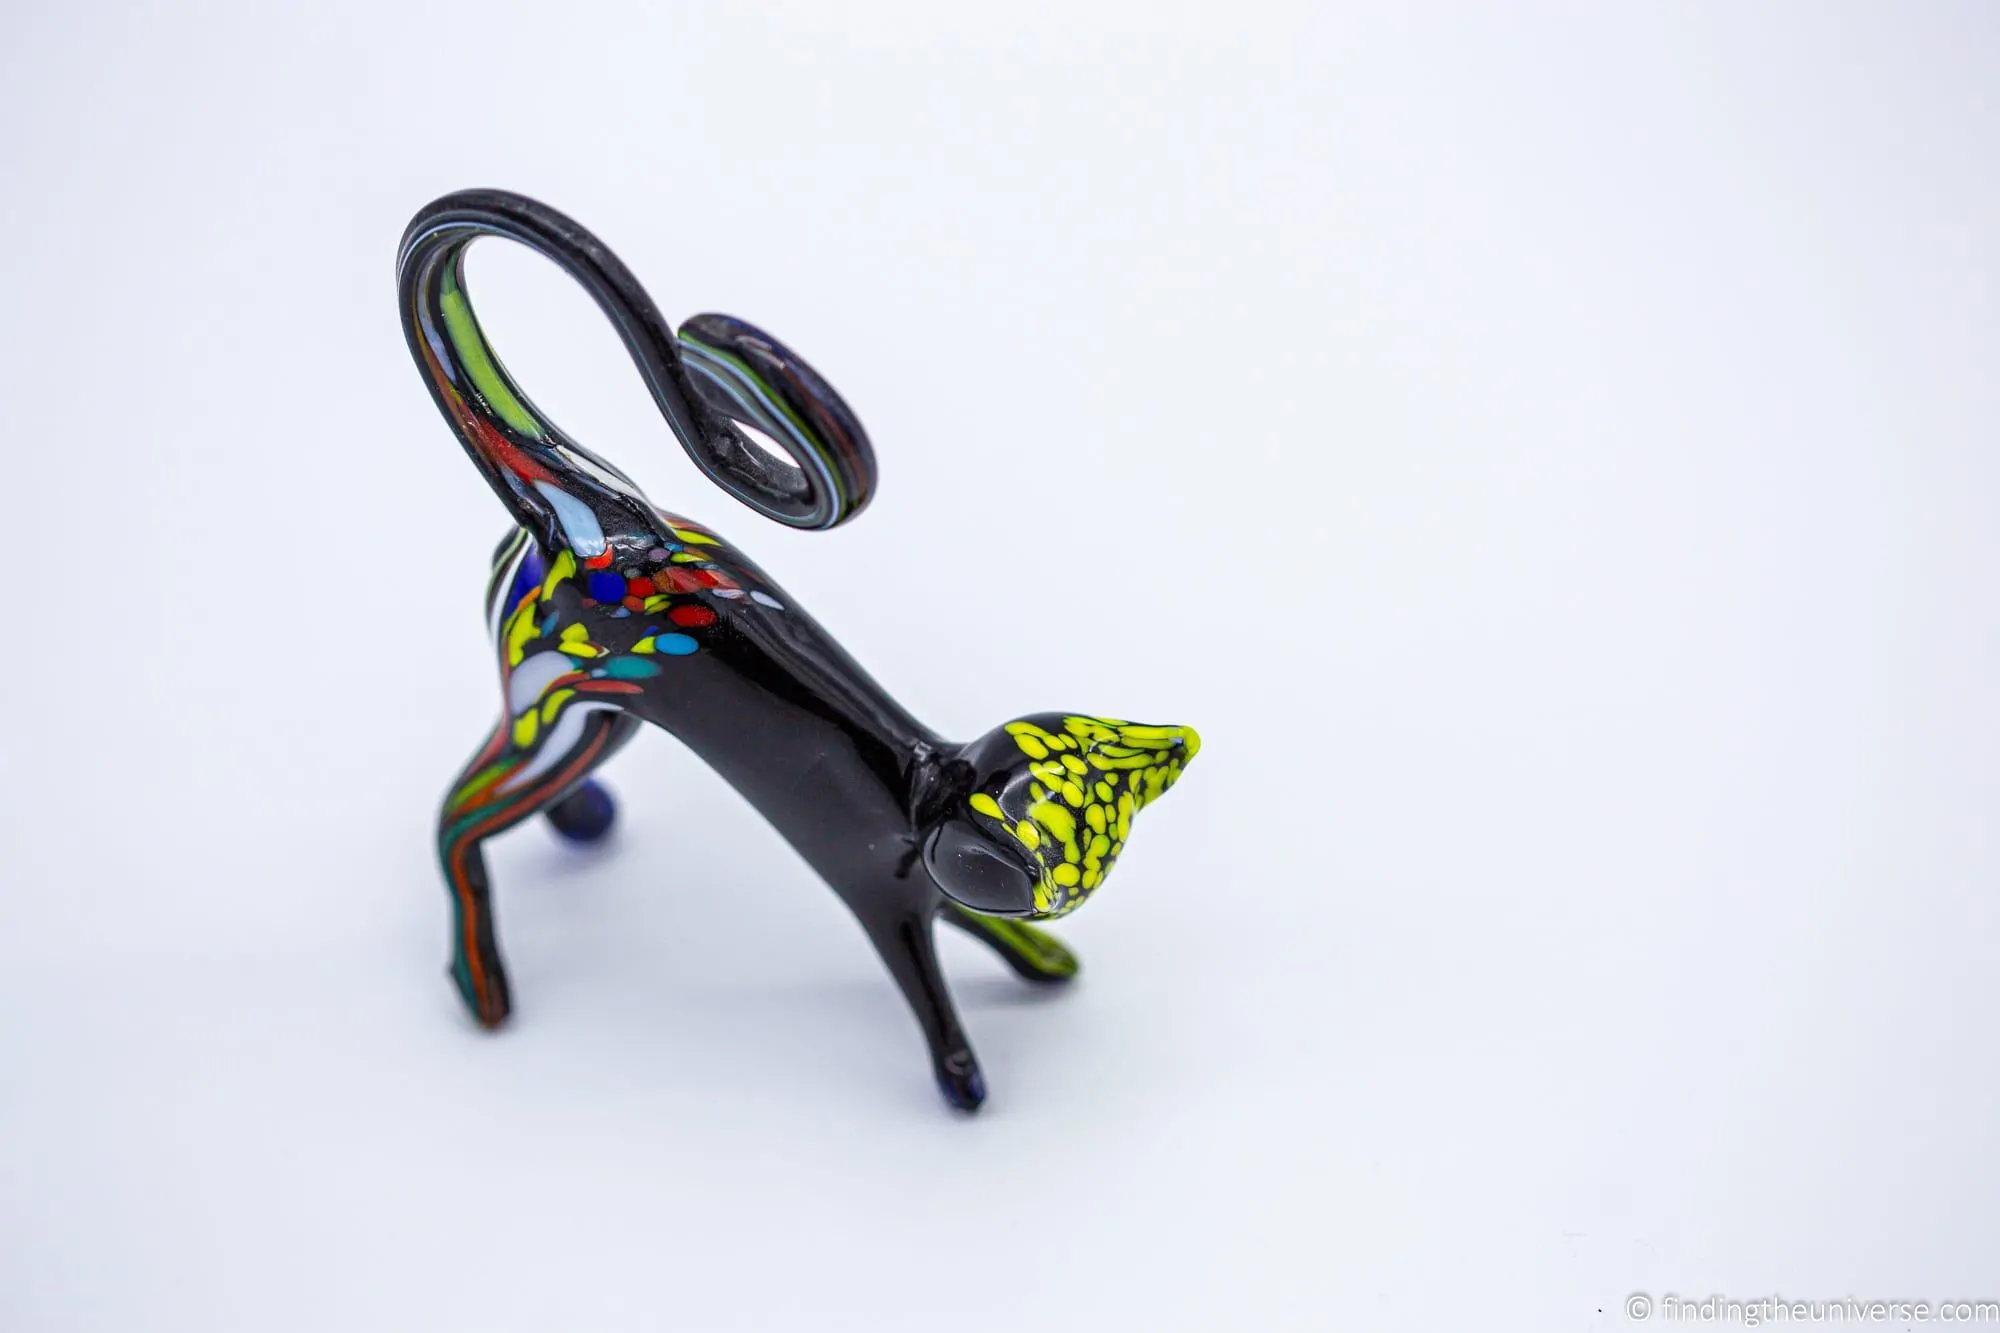
However, there are many occasions when you want to get indoor photos, both at home and while traveling. Whether you are taking pictures of your family at a gathering at your home, attending an event or party, or taking photos inside a restaurant, museum, or other venue. Maybe you are trying to take a photo of a newly decorated room, a new outfit, handmade products, or your cat.
Maybe you just want to try a new type of photography, and indoor photography is what you’ve settled on due to poor weather or other reasons.
Well, whatever the reasons, in this post I’m going to help you get better photos inside, with a series of indoor photography tips. Indoor photography is challenging, but it’s definitely not impossible, and with the right camera settings and knowledge, you’ll be able to get great indoor photos too. Let’s get started.
Table of Contents:
Why is Indoor Photography Difficult?
Understanding why indoor photography is challenging can help you to overcome the challenge. After all, if you know what is causing a problem, it’s a lot easier to fix it.
The main reason that indoor photography is difficult is because there often isn’t enough light for our cameras to get great images. The majority of cameras, whether it is a smartphone camera or a high end DSLR, work best when there is plenty of available light, such as when you are outdoors.
A camera is a far less sophisticated imaging tool compared to the one we use every day – the human eye. When we go inside, our pupils open wide to let more light in, and we might not really notice the huge different in available light. But if you took a light meter and measured how much light there is available inside compared to a sunny day outside, you would see a massive difference.
When there is less light available, the camera has to make a series of trade-offs in order to get an image. These trade offs include increasing the ISO, which can result in noisy images, or reducing the shutter speed, which can result in blurry images.
I won’t go into great detail about each of these elements, as I’ve already covered that in detail in my posts on the exposure triangle here, and how an SLR camera works here.
Suffice to say, limited light gives your camera a real challenge, one which you as a photographer have to work to overcome. In addition, much of the light when shooting indoors is artificial, which also presents unique challenges.
Let’s look at how you overcome these challenges and still get some great indoor photos.
Camera Settings for Indoor Photography
I would recommend the following settings as a general starting point for indoor photography. Available light and your subject will of course make a difference.
This assumes you have a camera like a mirrorless, DSLR, or compact camera which allows you to make these changes.
- Camera mode: Aperture Priority or Manual
- White Balance: Auto or manually set
- Image Format: RAW (or RAW+JPG)
- Aperture: f/5.6 or lower for portraits, f/11 for room or general space photography
- Shutter speed: 1/60th of a second or higher if hand held or moving subjects. Longer shutter speeds when on a tripod and shooting static objects
- ISO: 800-3200 or higher for moving subjects, 100 for static subjects when shooting from a tripod.
Each of these settings is a general guideline rather than a hard and fast rule. Two main factors will contribute to the main settings you choose, which are how much light is available and how capable your camera is.
If you have a smartphone or compact camera which doesn’t give you all these controls, check to see if it has a scene mode for indoor or low light photography, as this will set the camera up for taking better photos inside.
Whilst there is a common saying that photography gear is not important, and it’s the skill of the photographer that makes the difference, when it comes to indoor photography gear can definitely make a difference. Let’s take a look now at gear that can help you get great photos even when indoors.
Gear for Indoor Photography
The camera gear you use can definitely make a difference to your indoor photography. Whilst there are some other tricks you can use to improve your photos, such as choosing the right time of day to shoot, some specific camera gear and camera accessories can really help elevate your shots.
Here’s what to look for:
A Camera with a Large Sensor
I’ve talked a lot about that challenges you will have with light when doing an indoor photoshoot.
One way to overcome the lack of light is to use a camera with a larger sensor. The sensor inside a camera is what captures the available light and saves it as an image. A larger sensor means that the camera can capture more of the available light, so a camera with a larger sensor tends to get better results in low light situations.
As a rough rule of thumb, sensor size progresses as follows, from smallest to largest. I’ve put an idea of area of each sensor in square millimetres to give you an idea of the differences.
-
-
- Smartphone (16 mm2)
- Compact Camera (28 mm2)
- Consumer Mirrorless Camera / DSLR (329 mm2)
- Professional Mirrorless Camera / DSLR (864 mm2)
- Medium Format Camera (1452 mm2)
-
As you can see the sensor in a smartphone can be more than 50 times smaller than the sensor in a professional DSLR.
I’m not saying that you should go out and invest in a high end professional camera to get great indoor photos, but just be aware that some devices are much more limited in being able to take photos in low light situations. This is particularly the case with most smartphones and compact cameras, and the reason is that the small sensor just can’t capture as much light.
If you do decide you want a new camera, we have a number of posts to help you pick one. First, we have a detailed guide to the best travel cameras.
We also have specific guides to the best compact cameras, best mirrorless cameras and best DSLR cameras. So whatever your budget, you should find something to suit.
A Lens with a Wide Aperture
The sensor is not the only factor that affects how effective a camera is at capturing the available light. The camera lens also make a huge difference.
All lenses have what is known as an aperture. You can think of this like the pupil in the eye – it’s a hole through which the light passes.
Just like the pupil in an eye, a lens can change the size of its aperture to let more or less light in. A large aperture opening lets more light in, whilst a small aperture opening lets less light in.
Apertures are given a number, known as a f/stop. The smaller the number, the bigger the hole, and vice versa.
The majority of value-oriented consumer lenses have a maximum aperture of between f/3.5 and f/5.6. Most smartphones have an aperture of around f/2.2, and whilst that sounds large, remember that the sensor in a smartphone is tiny so it needs all the light it can get.
If you have a camera with an interchangeable lens, like a mirrorless camera or DSLR, you can pick up relatively inexpensive lenses which open much wider, down to f/1.8 and even beyond (although they start to get expensive very quickly beyond f/1.8). These are what are known as prime lenses, which means they can’t zoom.
However, by getting rid of the zoom functionality, these lenses gain the ability to have really wide apertures and reasonable price points.
The difference between f/3.5 and f/1.8 might not sound terribly large, but this accounts for around 4 times as much light passing through the lens. That can make a big difference.
I have a guide to lenses for travel photography here, but my recommendation for most photographers is to find the equivalent of a 50mm f/1.8 lens for their camera, such as this one for Canon shooters or this one for Nikon shooters. These are usually relatively inexpensive and offer an easy way to get great results in low light with minimal investment.
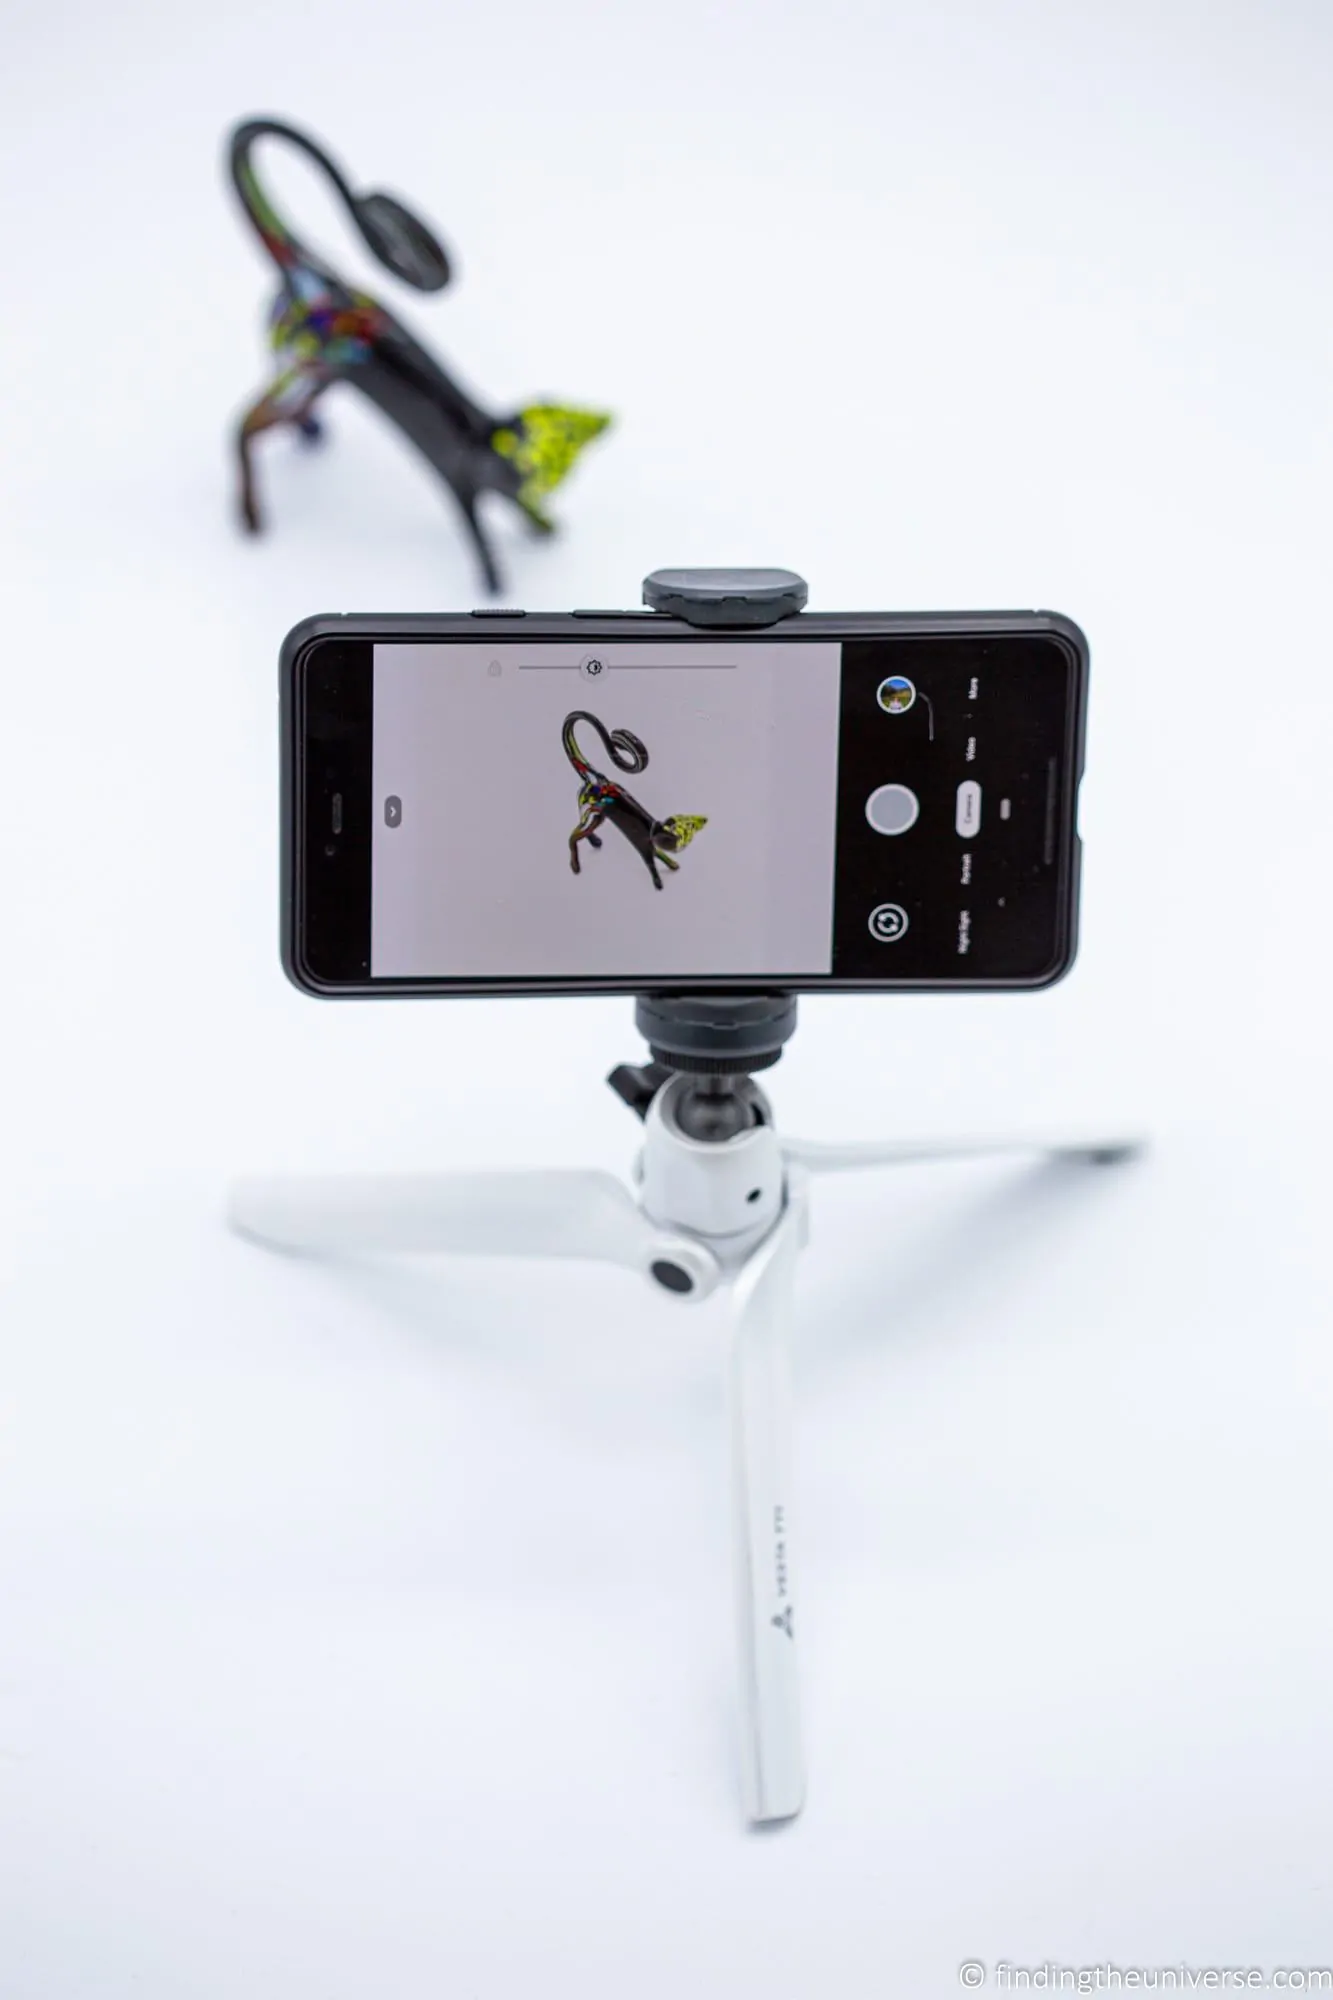
A Tripod
I think a tripod is a must-have photography accessory for a number of reasons, and you can read about why you need a tripod for photography here.
When it comes to indoor photography, a tripod can make a huge difference, particularly for shots of static subjects like a room, people posing, or a product. This is true regardless of what camera you are using for indoor photography – a tripod can make a big different for everything from a smartphone to a DSLR.
This is because a tripod means you no longer have to worry about shutter speed, which is something you can adjust on nearly every type of camera, including a smartphone.
When you hand hold a camera, you are limited to how slow you can let the shutter speed go as the small movements your hands make transfer into blurry pictures.
As a general rule, you don’t want to set your shutter speed to less than 1/60th of a second if you are hand holding your camera. This speed varies a little depending on how big the lens you are using is, and whether or not it has any stabilization built-in, but overall it’s still quite a short period of time.
However, with a tripod holding your camera stable, you can let the shutter open for much longer, even multiple seconds.
This lets much more light in, meaning you can shoot with a low ISO like 100 and not have to worry about grainy or noisy images. It also gives you more scope to control depth of field by adjusting the aperture. Read more on adjusting depth of field here.
You don’t need to spend a lot on a tripod for indoor photography – check out this great budget option as an example. If you want more choices, or a more versatile option, we have a selection of some great travel tripods to choose from here.
An External Flash
Sometimes, regardless of the camera equipment you are using, you still can’t get the shots you one, or the lighting to to be just right.
In these situations, you might find that an external flash unit is the answer. A flash generates a large amount of light which can more evenly light a scene, soften shadows, and generally put light where there was none before.
However, I would advise against using the built-in flash on your camera. These tend to be underpowered, very directional, and you’ll likely get poor results, especially if shooting something further away. Sure, they might be better than no flash at all in some situations, but overall you will get better results with an external flash unit.
These offer far more control to the user. You can adjust the direction of the flash so as to create a more diffuse light. They are also far more powerful, usually giving more even results.
If you want to read more about the flash, I have a guide to why you might want to disable your camera flash here, and a guide to turning off your flash here.
A Reflector
If you do a lot of indoor photography, especially at home, another great bit of kit to help you with improving the lighting in your indoor scene is a reflector like this. A reflector, as the name suggests, is used to reflect the light.
When we’re shooting indoors, we’re often faced with the problem that the light is very directional. For example, it might all be coming from a window. If you shoot something that is lit from this light, one side of it will be well lit, and the other side will be in shadow.
This will usually end up looking unbalanced. A reflector solves this problem by bouncing the light back onto the shaded side of your subject, and results in a more evenly lit image.
White Balance / Grey Card
When you are shooting inside, you will find that different sources of light will give your images different hues. These can range from blue to orange, and green to purple, depending on the light source.
For example, an object which you know is white, like a plate, might appear to be an orange color when shot under a tungsten bulb.
To get around this problem, and produce images where the colors look natural, you can adjust your camera’s white balance. A camera has a number of preset white balance modes, as well as an automatic white balance mode, but you can also set it manually.
In order to do this, you need to point your camera at what is referred to as a neutral color. This color acts as a reference point for the camera to calibrate its internal white balance, and compensate for any hues.
Normally the neutral color is a grey color, which the camera can use to calibrate itself. If you set your camera to auto white balance, it will try to find something grey in the scene to calibrate against. However, a more accurate option is to use a special grey card like this.
This is a grey colored card which you can place in your scene under the lighting conditions you will be using, which you can use to manually set the white balance on your camera. This will work on most cameras, as nearly all cameras have the option to set a manual white balance.
A Lightbox
If you are doing product photography specifically, such as photography of jewellery or for handmade products for an online store or website, then you will definitely want to invest in a lightbox.
A lightbox is, as the name suggests, a box with lights in. These lights usually produce a bright and neutrally toned light. They also normally have a plain white background, or a choice of background colors, so the focus is on the item itself.
A lightbox is a great way to get shots of a specific item with nothing distracting in the background. They are available in different sizes, depending on what you typically want to photograph, and they are a relatively inexpensive way to quickly improve your product photography.
Tips for Indoor Photography
Here are some tips for improving your indoor photography. Obviously, many of these won’t always be applicable, depending on your equipment and also what you are photographing.
Sometimes you can’t wait for the perfect light or assume your subjects are going to be patient and stationary for prolonged periods of time.
Overall though these tips should give you some ideas for how to get great photos inside the majority of the time, whether you are taking pictures of food, indoor spaces, products, people, or pets!
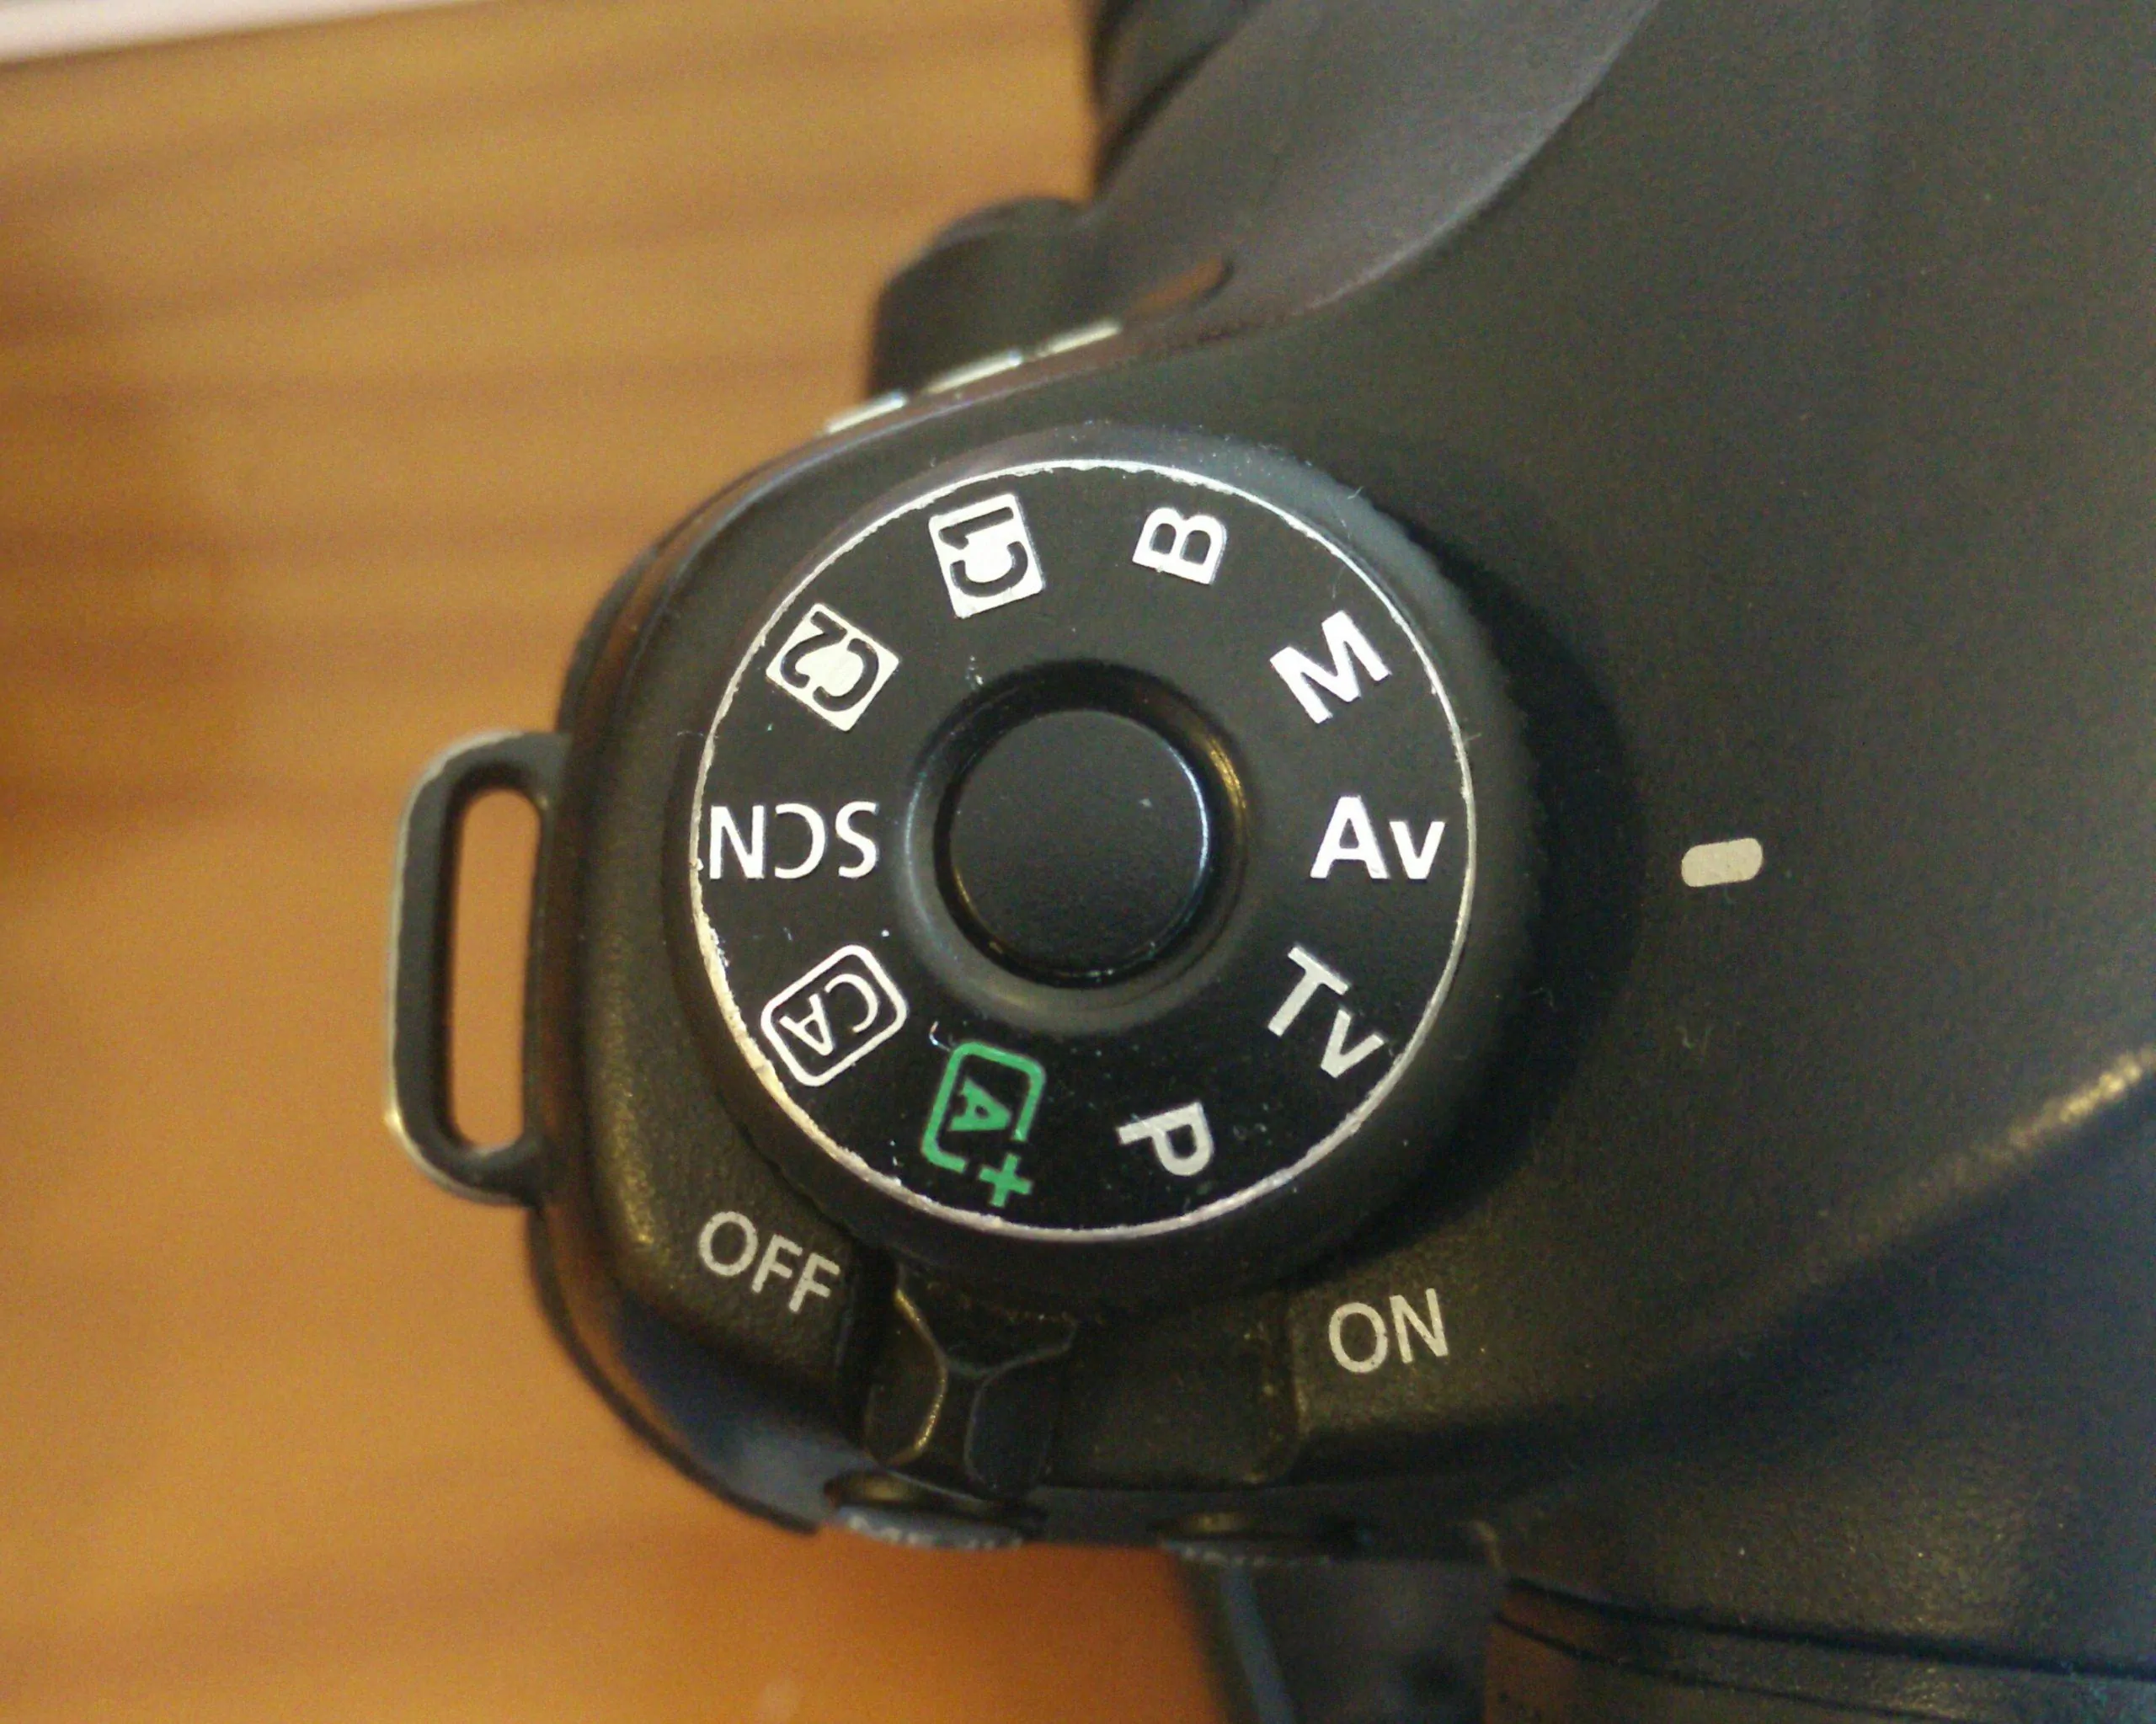
Shoot in Aperture Priority
My first tip for shooting indoors is to set your camera into aperture priority mode. Aperture priority allows you to control the aperture, while the camera controls the shutter speed.
In aperture priority you also have the choice to set the ISO yourself, or your camera may try to set this for you. I’d recommend manually setting the ISO based on my camera settings suggested earlier on in this guide.
The reason I suggest using Aperture Priority for indoor photography is because when you change the aperture you change the depth of field, which is a key compositional tool. For a portrait, you will likely want a shallow depth of field, achieved with a wide open aperture, say between f/1.8 and f/5.6 (depending on your lens).
A shallow depth of field will allow you to keep your subject nice and sharp whilst softening the background so it isn’t a distraction.
For a shot of a room, you would want a wider depth of field, because you want the whole room to be sharp and in focus. To achieve this you would want a narrower aperture, around f/11 usually.
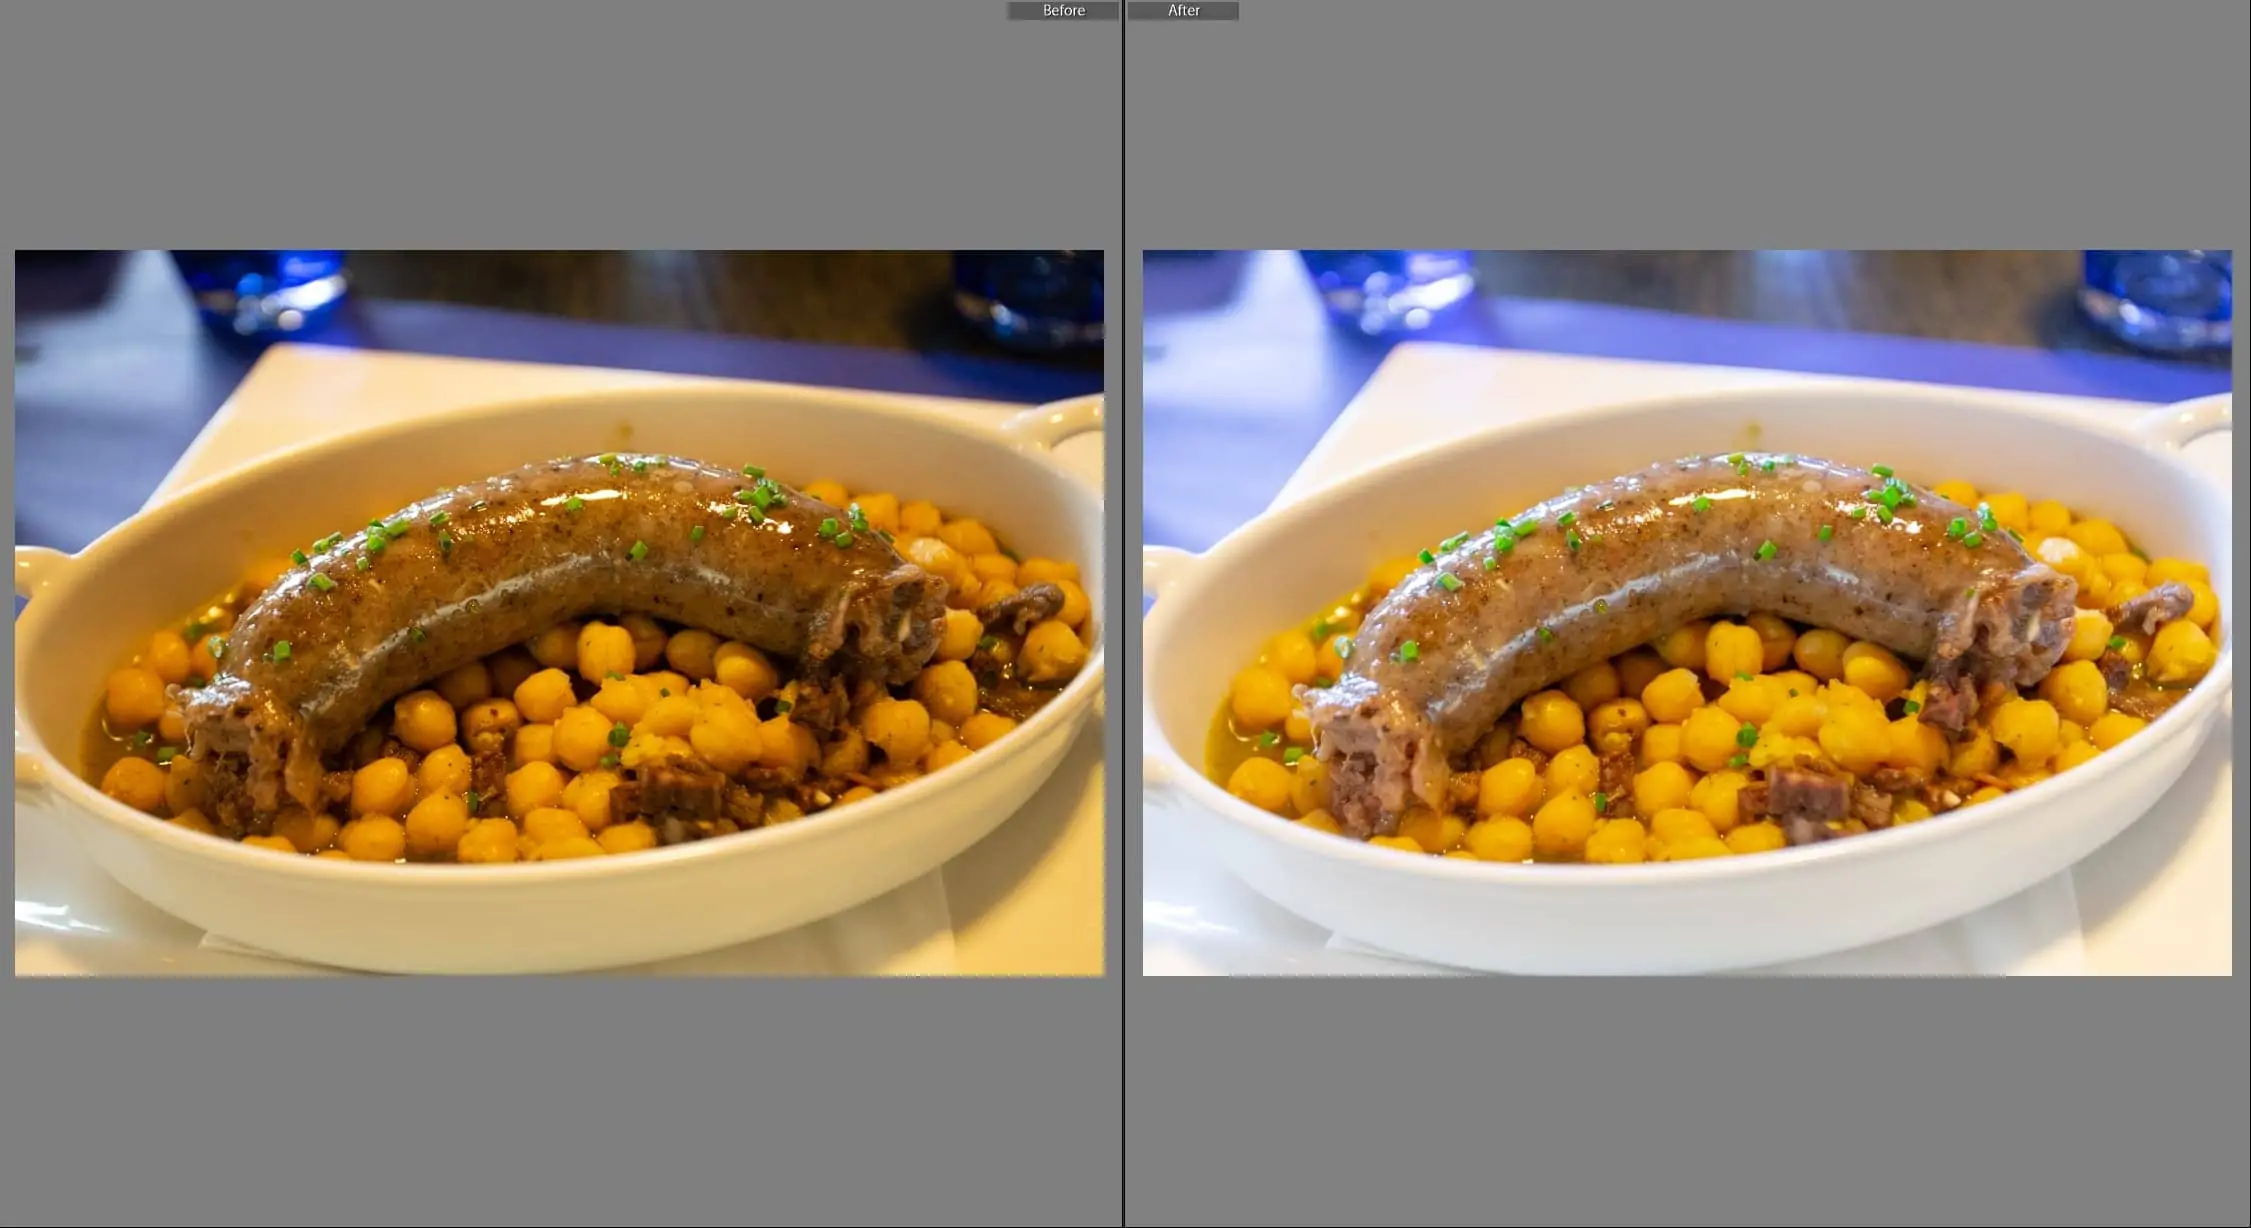
Get the White Balance Right
As mentioned earlier in this guide, different sources of light will give your image a different look. The sun at midday for example gives your images a different look to a setting sun, whilst a fluorescent bulb colors things differently to a tungsten bulb.
This difference in lighting can result in your final images looking oddly coloured – a white sofa for example may look too blue or too yellow. This can be a real problem for interior photography, where you want your shots to look realistic and natural.
The good news is that your camera can compensate for different types of light source, through a setting known as the white balance. You can set this to a specific type of light, such as tungsten or fluorescent, and the camera will adjust the colors in your image accordingly.
It’s easy to see the difference this makes. Just find the white balance setting in your camera (it’s available on most camera types, including smartphones), and try taking the same image with different settings. The difference should be very obvious.
When you are shooting inside, you definitely want to be sure to get the white balance right. The best way to do this is to manually set your white balance using a grey card, as described earlier.
Alternatively, you can adjust the white balance after the shot in photo editing software, although this can be a time consuming process. If you want to do it this way, make sure to shoot in RAW as this will make adjusting the white balance a lot easier.
Use a Tripod if Possible
If you are photographing stationary subjects like a room, a sitting person, or an object you absolutely want to be using a tripod.
For taking photos of moving people or pets indoors a tripod will be less useful.
The main advantage of a tripod is that it lets you set a very slow shutter speed to capture more light. This means you can set a low ISO so as to avoid noisy images, and an aperture that suits the scene.
Make Use of the Light
Whatever you are taking picture of inside, there is going to be some kind of light source. Be that a window letting natural light in, or overhead lights above a restaurant table, there will be light coming from somewhere.
The key to successful indoor photography is identifying the light sources and working with them to create a great final image. This might mean placing your subject closer to the light source, perhaps by moving it closer to a window.
If you’re in a restaurant for example, you will likely get better food photos if you ask to be seated near a window in the daytime, rather than in a darker corner at the back. If you’re out at night, you might be able to put your plate in a more advantageous lighting position for the photo.
It’s also important not to block the light and cause shadows yourself, which can be a problem when using directional light sources. There’s nothing worse than trying to take a picture and getting a nice shadow of your camera on it.
On the other hand, if the light source is too bright and directional, you can try to soften it by blocking it out entirely. If you do this, make sure it’s evenly blocked and not casting odd shadows.
In my experience, natural light is the best light for photography as it’s the brightest source available. So if possible, try and find natural light to illuminate your shots, perhaps from a window or skylight.

Carefully Consider Your Composition
Getting your composition right isn’t unique to indoor photography, but it is of course an important component of any type of photography. One advantage you often have with indoor photography over some other types of photography like landscape photography, is that you may have more control over your environment.
If you’re shooting in your house for example, you can likely move objects around, remove them or add them. So you can easily add a splash of colour to a scene, or take something out of the scene that doesn’t work for the composition.
When taking these shots, try to be really critical of what is in frame. It can be easy to miss something like an out of place bit of luggage or an item of clothing over a chair. These everyday objects can really mess up a shot, and they can be very difficult to edit out of your shot in post processing too.
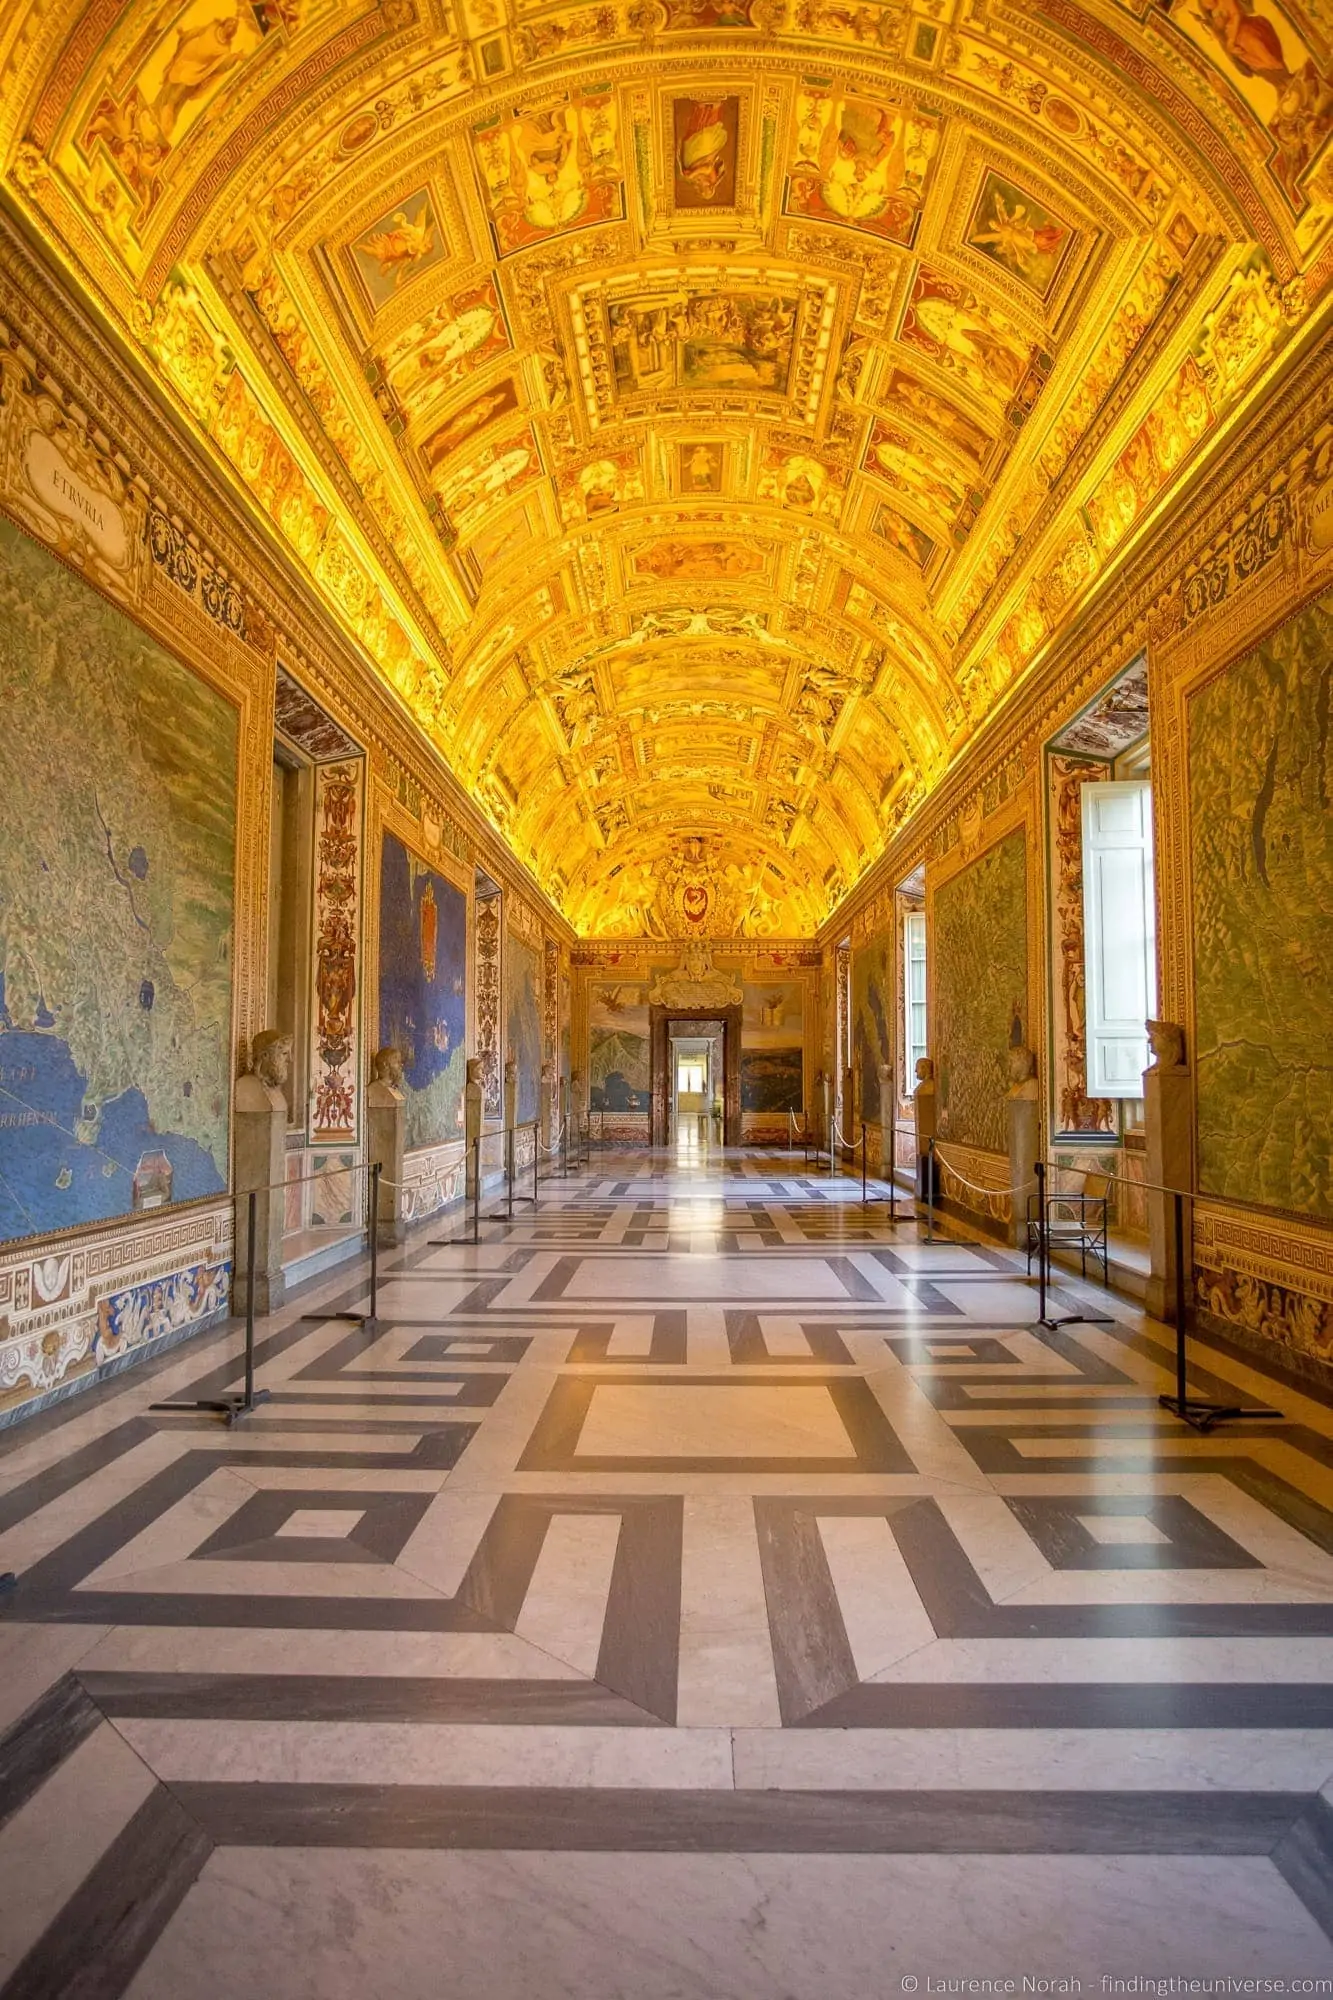
Not every type of indoor photography will give you the opportunity to adjust your environment. If you’re shooting in a museum or other attraction for example, you can’t exactly start to move objects around. However, you can consider other elements of the composition, and sometimes just waiting for a few moments for a clear shot without people can be worth it.
For more tips on composition, see my guide to composition in photography, which will give you some pointers for getting great photos.
Shoot at the Right Time of Day
If you are not in a time sensitive situation for a shoot, you might find that you can get better images by shooting at a certain time of day.
As mentioned a number of times in this post, light is key to photography. When we shoot indoors, we often rely on the light coming in through windows to illuminate our scene.
If the sun is streaming directly through your windows, it will create strong patches of bright light and lots of contrast. This will result in images with areas that are too bright, and areas that are too dark.
Unless you are creating a composition that uses strong elements of shadow and light, in most cases you will find you get better results if you wait for indirect outdoor light, which will give you more even lighting conditions.
Bounce Your Flash
If you have an external flash unit, and you are in a location where flash usage is permitted, you might find you get great results by bouncing the flash.
What does this mean? Well, instead of directing your flash at your subject, which can produce very bright and unevenly lit shots, point the flash at a surface like a wall or ceiling.
Ideally this will be a pale coloured wall or ceiling. What will happen is that the flash will fire, and light up the surface. This light will then diffuse more evenly into your room, creating a much more evenly lit result.
You might need to experiment a bit with flash output power, as well as trying different surfaces to bounce the flash off, but this should give you better results in many situations compared to directing the flash straight at your subject.
Use Reflectors
I mentioned reflectors in my guide to gear you might consider for indoor photography. They are an inexpensive way to solve lighting issues by helping to more evenly light a scene and remove harsh shadows. They work well particularly for softening harsh shadows in portraits.
Try experimenting with reflectors of different colors, which create different tones of light, to see what works best for your specific photos.
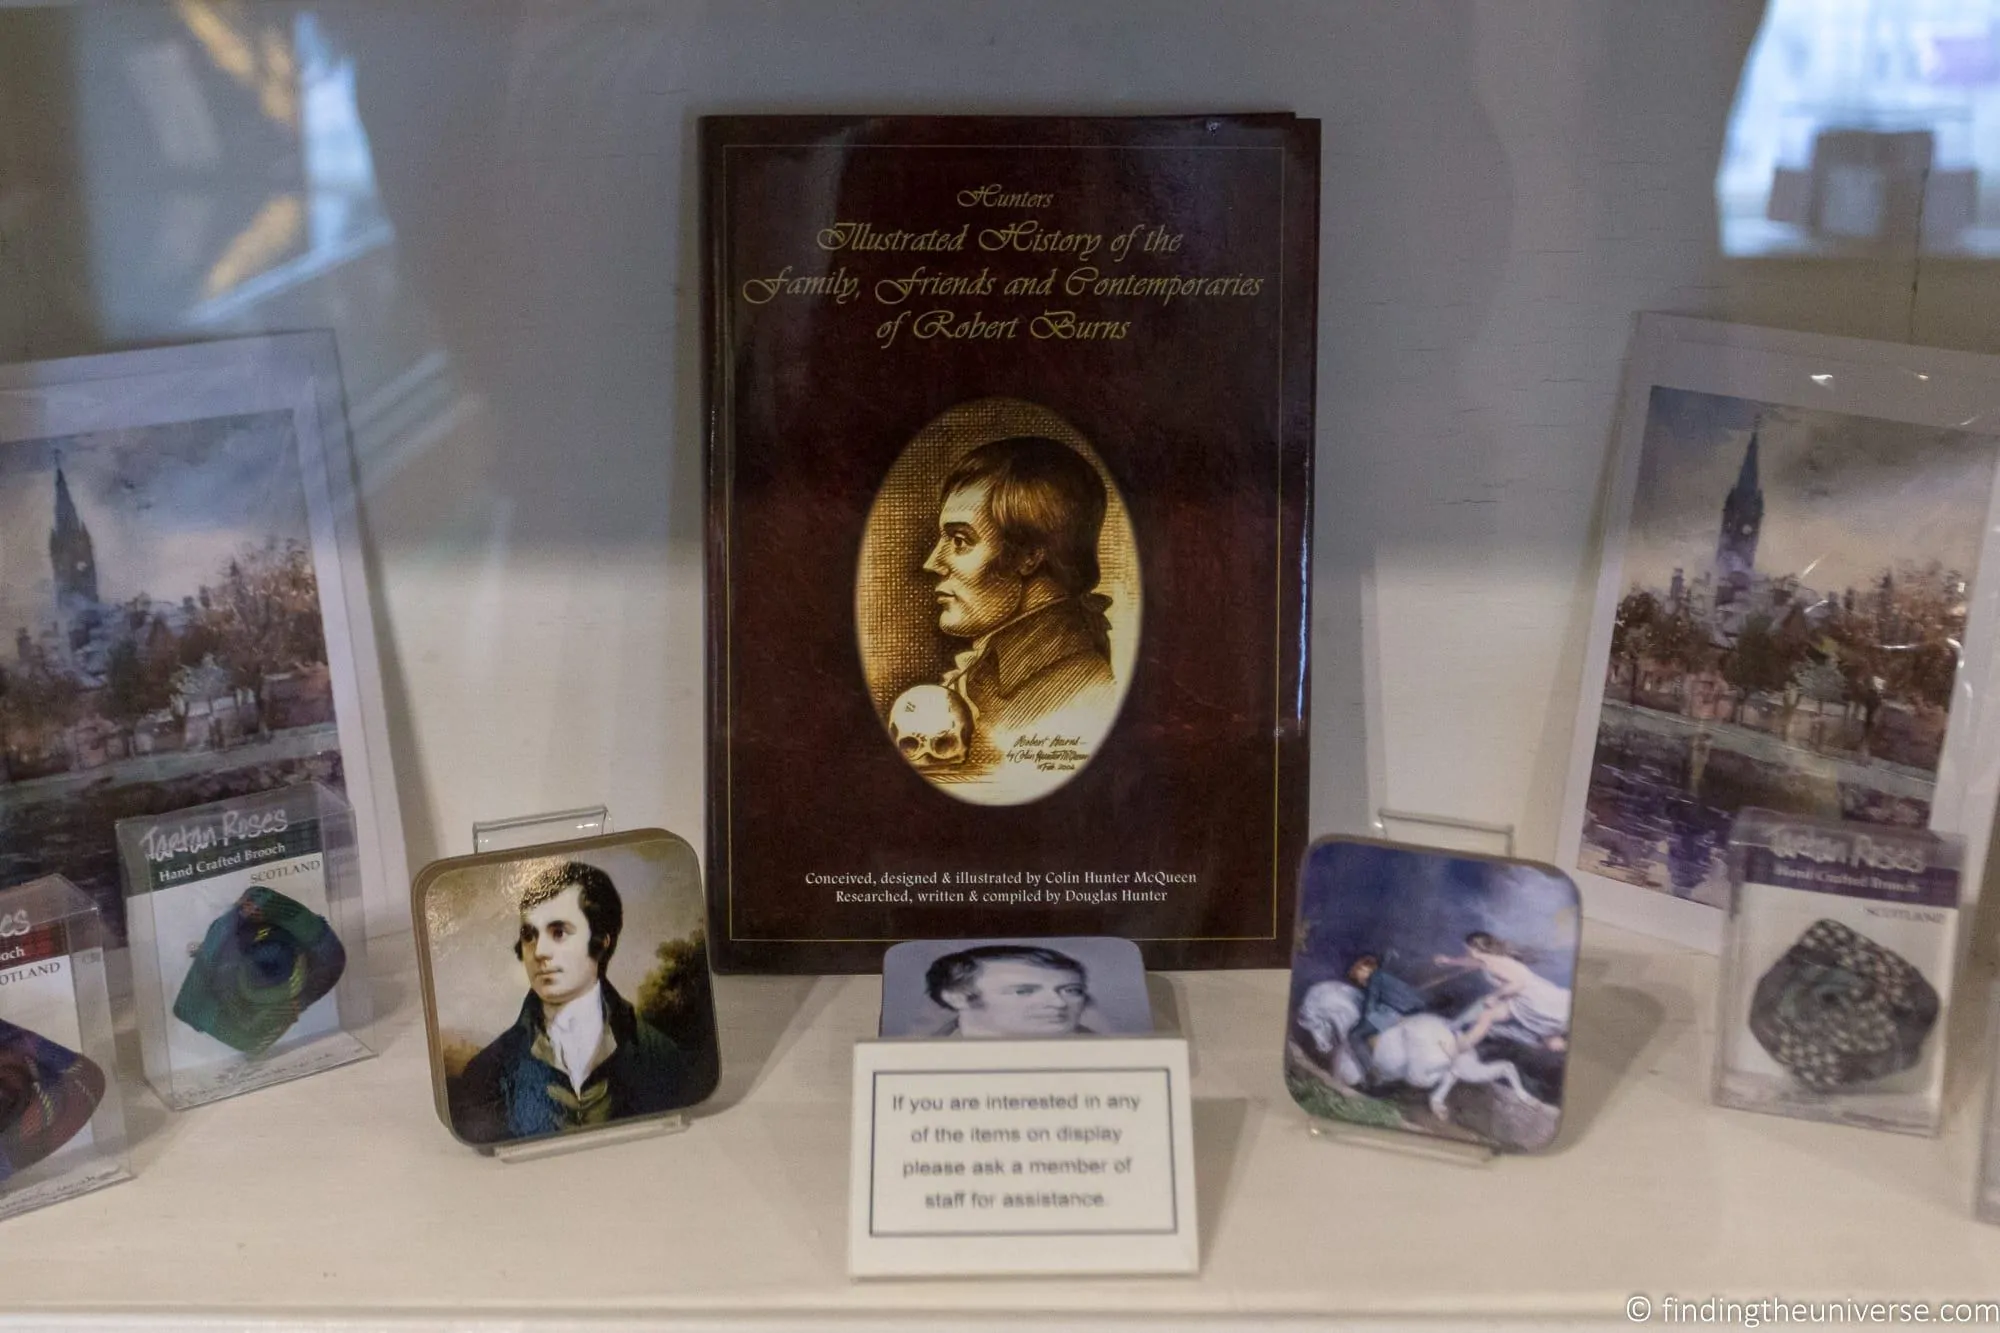
Be Aware of Reflections
Reflections are the bane of the indoor photographer. Reflective surfaces like glass or plastic can bounce back light sources, creating a distracting and unpleasant effect in your images.
You have a few options for reducing and removing reflections. First, you might be able to reposition the camera to minimise the reflections in the shot. For example, if you’re in a museum shooting a subject behind glass, if you hold the camera right up against the glass (assuming this is allowed), you may be able to eliminate reflections.
If you’re in a room or situation where you can control the light sources, perhaps by turning lights on or off or by closing curtains or blinds, this is another option. Of course, reducing the light will affect the scene, so keep this in mind.
You may also be able to remove the objects that are causing the reflections. Framed pictures and mirrors for example can cause unwanted reflections, but may be easily removable.
Combine Exposures for a High Dynamic Range
If you are shooting rooms, perhaps for real estate photos, you will often come across the problem that you want to represent the scene naturally, but your camera won’t capture the image your eyes see.
For example, the room might look well lit, but the windows are just bright white. Or the windows are correctly lit, and the room looks dark.
The reason for this is that the amount of light available inside the building compared to outside is very different. This is what is called a wide dynamic range. Our eyes have an excellent dynamic range, allowing us to see both dark and bright parts of a scene simultaneously. However a camera has a more limited dynamic range, so you usually only get one or the other.
The solution is to use a technique known as exposure blending, or high dynamic range photography. This works by taking multiple images of the same scene at different exposures, and then combining them in software to create a more balanced final image which is more in tune with how your eyes portrayed the scene.
This will require a tripod, and you will need to take multiple versions of the same image at different exposures. You can do this manually, or use a camera which supports auto exposure bracketing to do it for you. You’ll then need software which support creating an HDR image from a number of source images.
We use Lightroom for most of our photo editing work, which supports HDR creation, but also recommend and use Aurora HDR which gives much greater control over the HDR creation process.
Further Reading
That’s it for my guide to getting better photos when inside. If you found this useful, you might enjoy some of my other photography content. Here are some articles to get you started.
- We have a guide to how to use a compact camera, how to use a DSLR camera, and how to use a mirrorless camera, which you might find interesting. We also have a guide to how a DSLR works
- Knowing how to compose a great photo is a key photography skill. See our guide to composition in photography for lots of tips on this subject
- We have a guide to what depth of field is and when you would want to use it.
- We are big fans of getting the most out of your digital photo files, and do to that you will need to shoot in RAW. See our guide to RAW in photography to understand what RAW is, and why you should switch to RAW as soon as you can if your camera supports it.
- You’re going to need some way of editing your photos. See our guide to the best photo editing software, as well as our guide to the best laptops for photo editing. We also have a guide to getting the best performance out of Adobe Lightroom.
- If you’re looking for more advice on specific tips for different scenarios, we also have you covered. See our guide to Northern Lights photography, long exposure photography, fireworks photography, tips for taking photos of stars, and cold weather photography.
- If you’re looking for a great gift for a photography loving friend or family member (or yourself!), take a look at our photography gift guide,
- If you’re in the market for a new camera, we have a detailed guide to the best travel cameras, as well as specific guides for the best cameras for hiking and backpacking, the best compact camera, best mirrorless camera and best DSLR camera. We also have a guide to the best camera lenses.
- If you want a camera or lens, but the prices are a bit high, see our guide to where to buy used cameras and camera gear for some budget savings options.
- We have a guide to why you need a tripod, and a guide to choosing a travel tripod
Looking to Improve Your Photography?
If you found this post helpful, and you want to improve your photography overall, you might want to check out my online travel photography course.
Since launching the course in 2016, I’ve already helped over 2,500 students learn how to take better photos. The course covers pretty much everything you need to know, from the basics of how a camera works, through to composition, light, and photo editing.
It also covers more advanced topics, including astrophotography, long exposure photography, flash photography, and HDR photography.
You get feedback from me as you progress, access to webinars, interviews and videos, as well as exclusive membership of a Facebook group where you can get feedback on your work and take part in regular challenges.
It’s available for an amazing one-off price for lifetime access, and I think you should check it out. Which you can do by clicking here.
And that’s it! I’d love to hear your experiences with indoor photography, and am happy to answer any questions you have. Just pop them in the comments below and I’ll get back to you as soon as I can.
Patrick Malone says
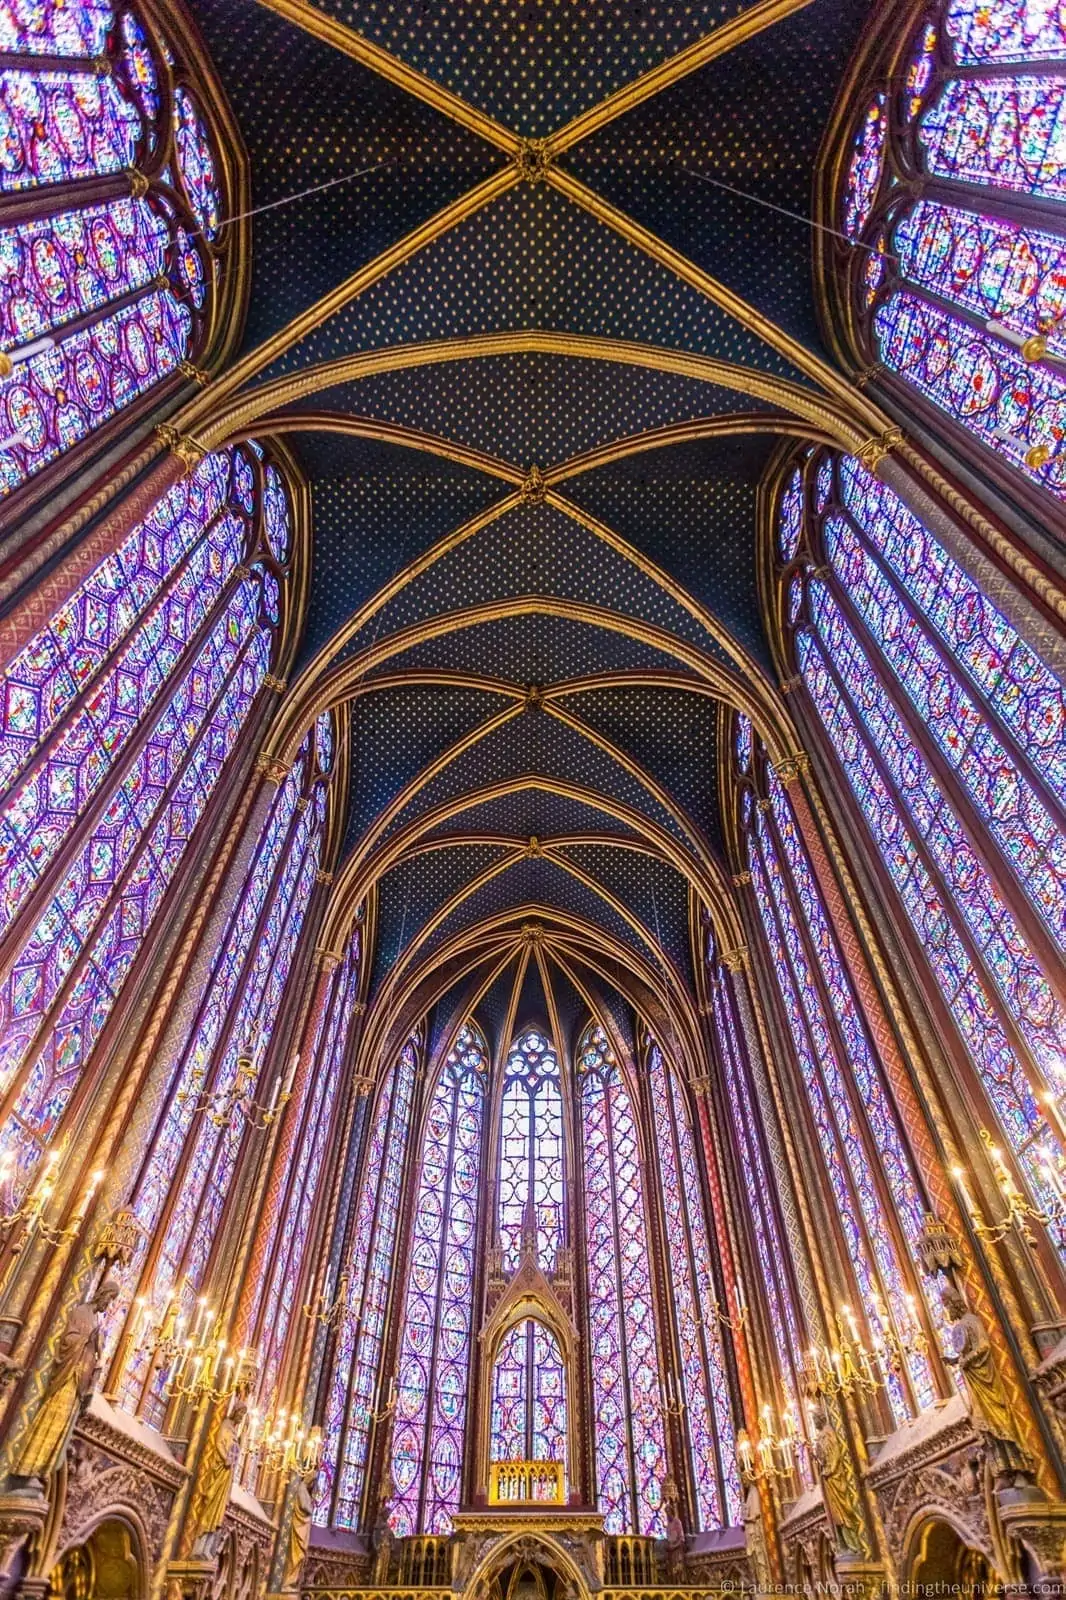
excellent post. suggest you put in locations of photos in well known public spaces. For example, I thought I recognized Ste. Chapelle in Paris.
Laurence Norah says
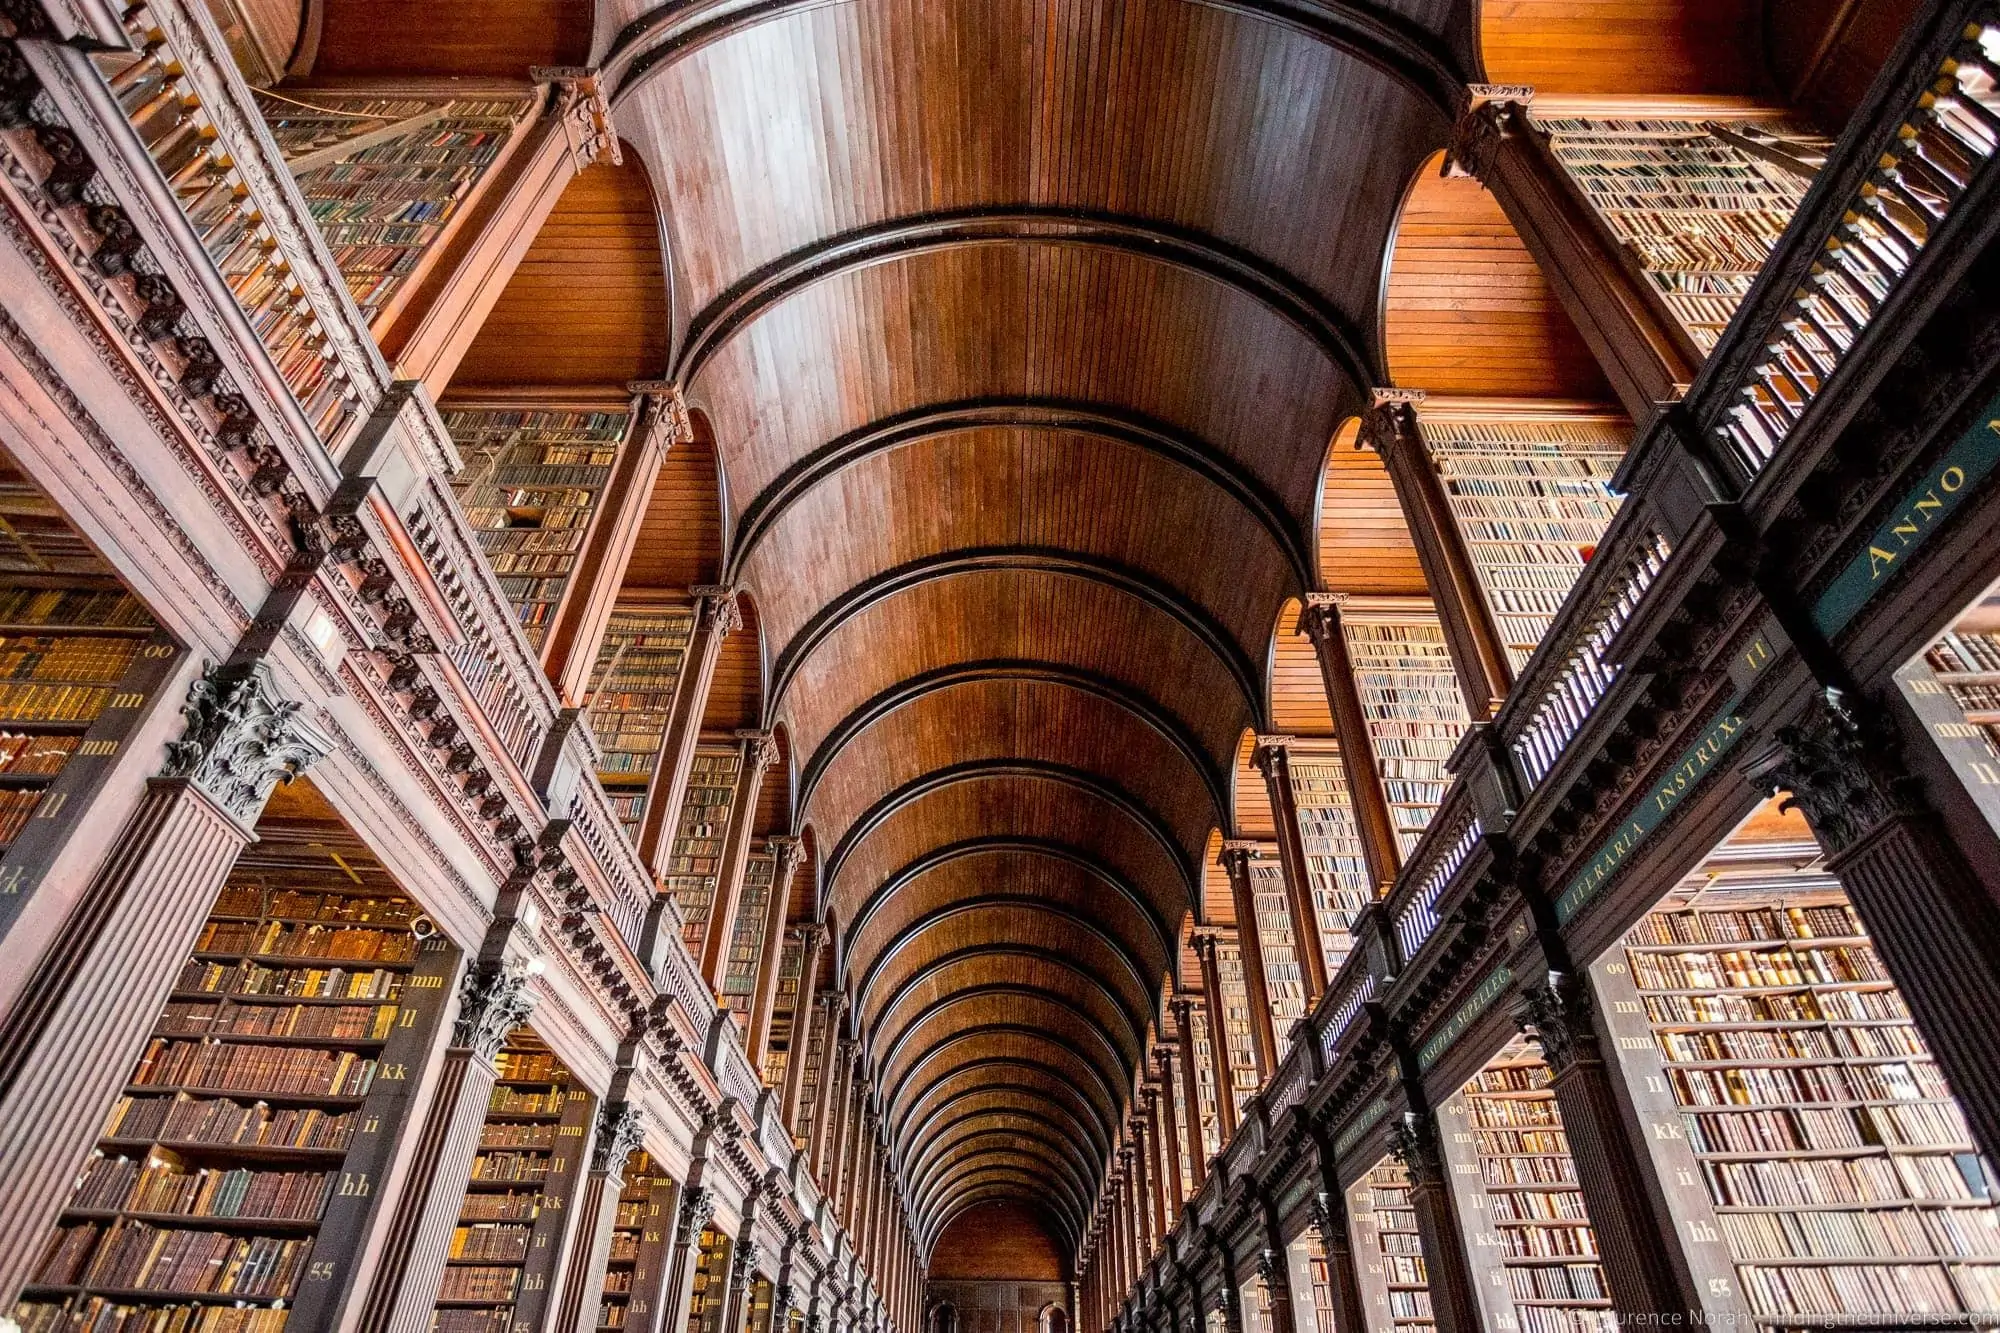
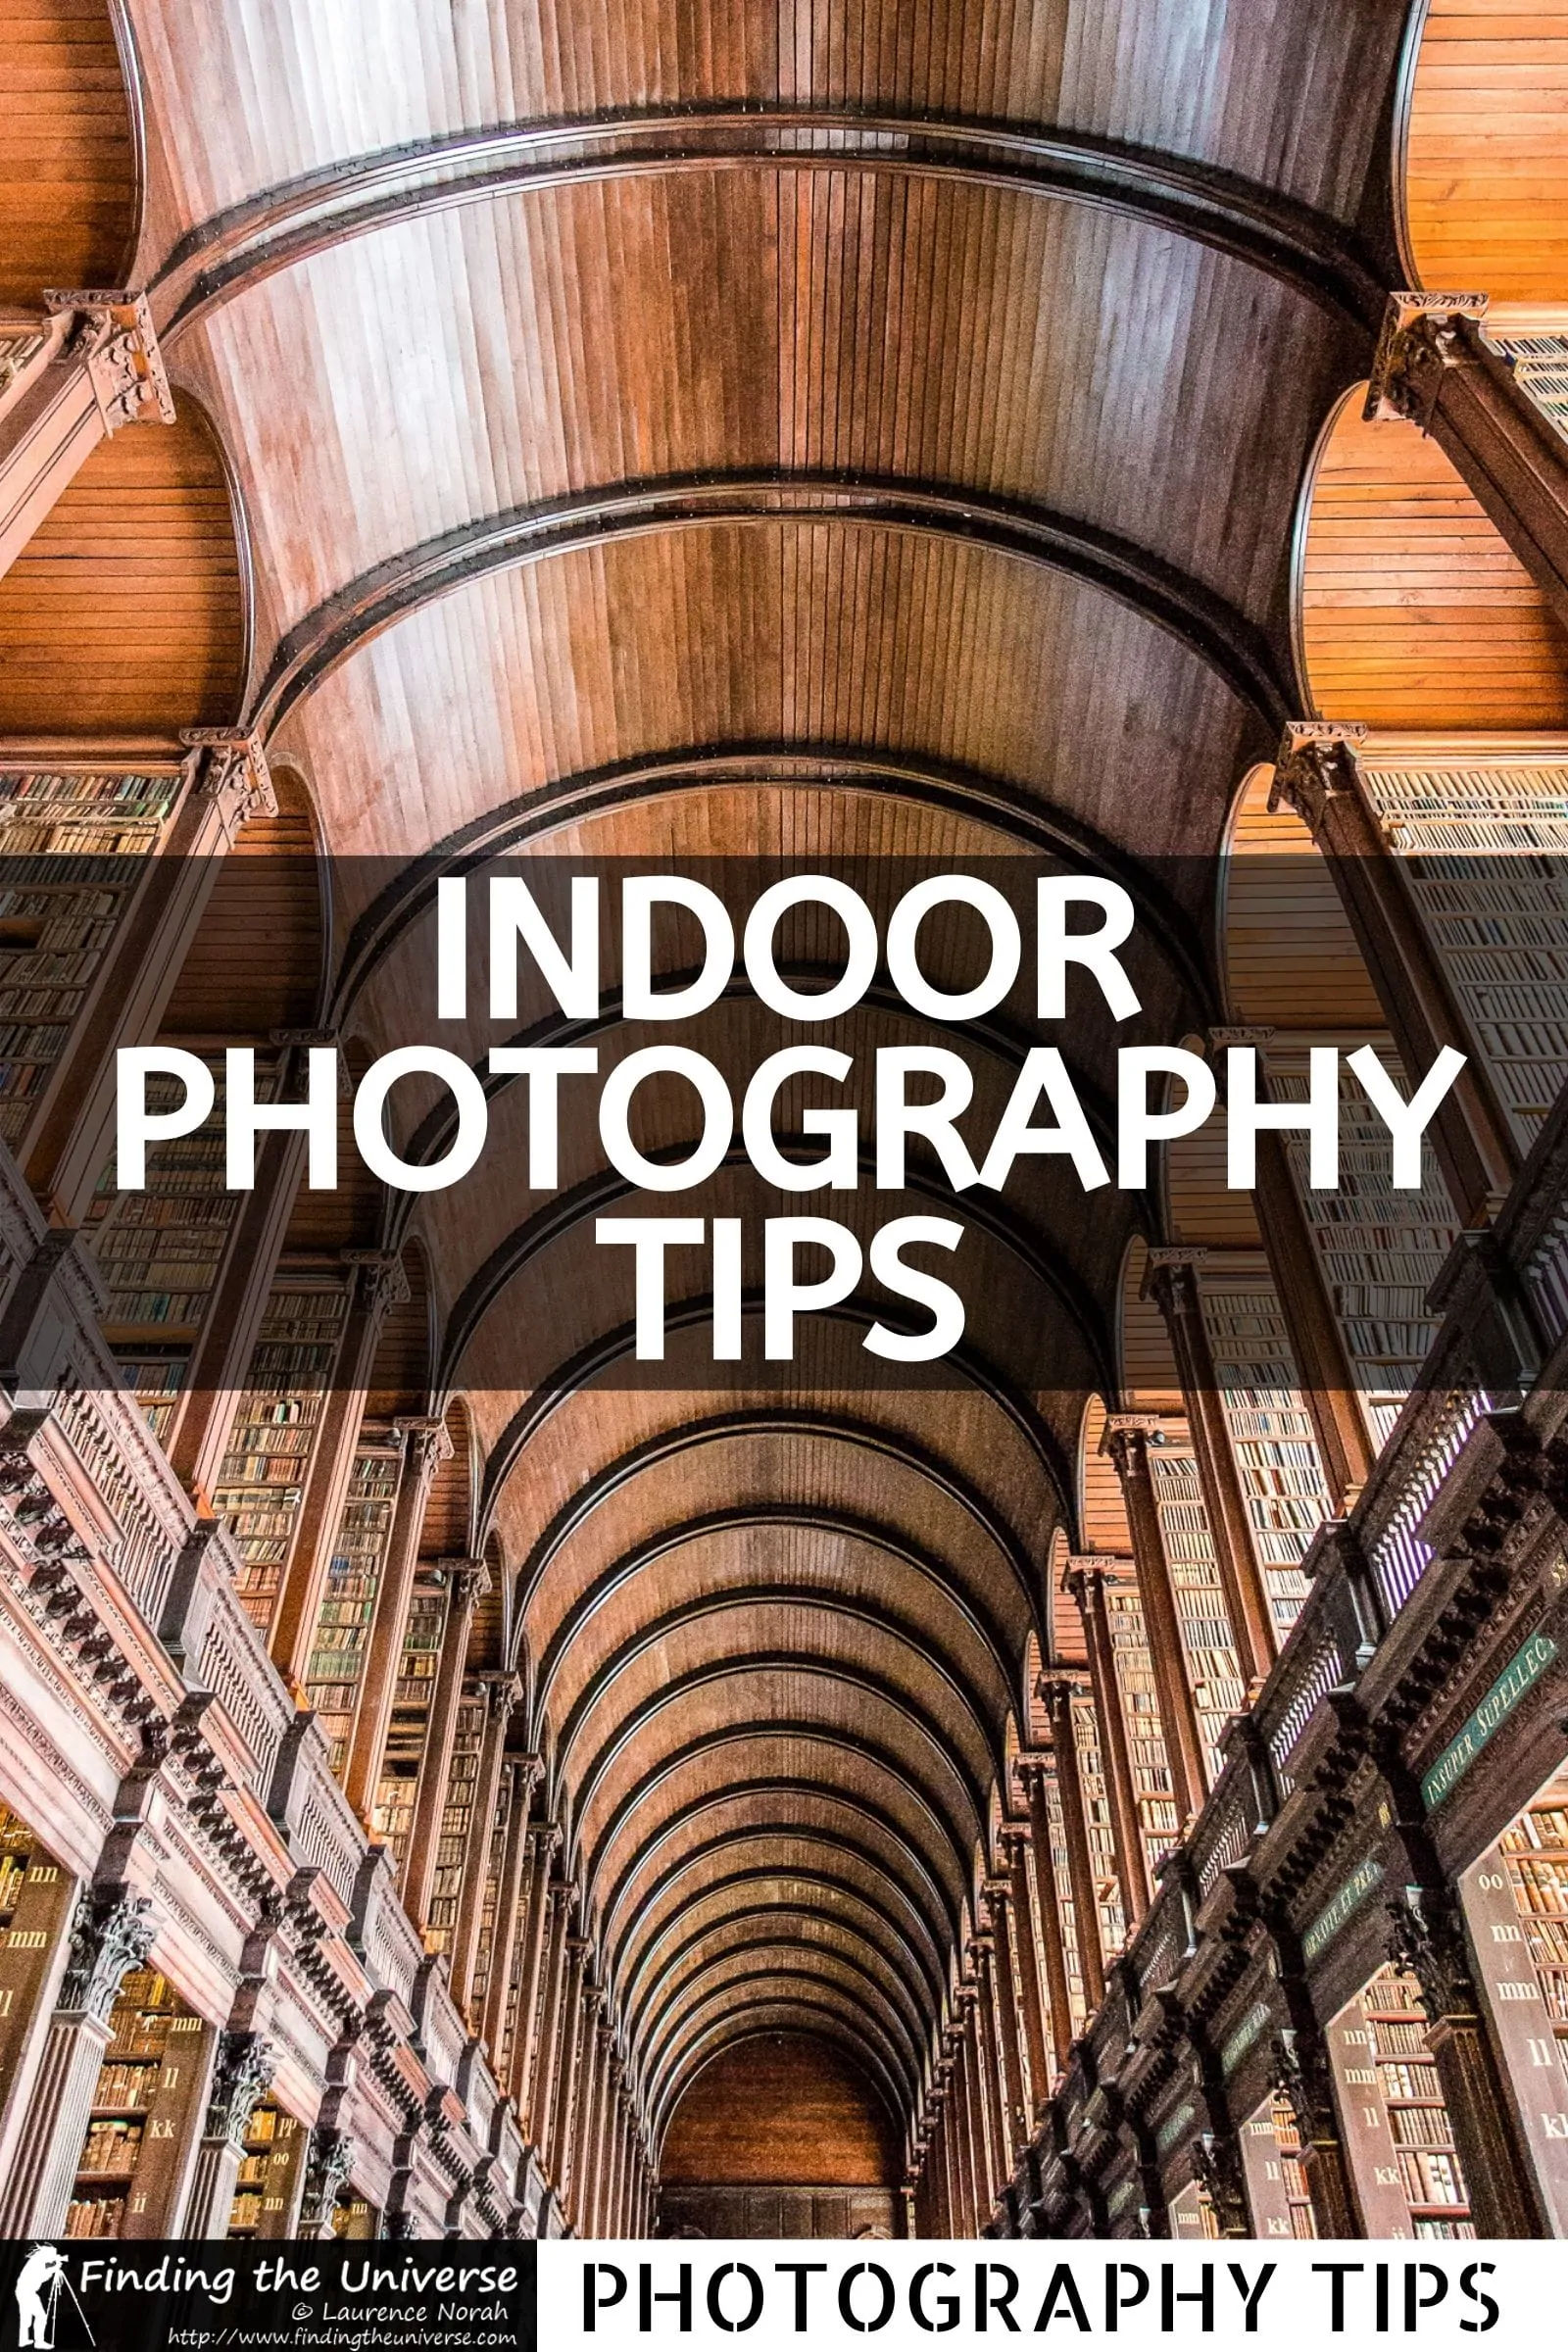
Thanks Patrick, and that’s a great idea! I’ve added captions to all the images. I can’t caption the header image but for those interested it is the Long Room in Dublin’s Trinity College, Ireland.