As a full time professional travel photographer and travel blogger, I think it’s fair to say that I love both travel and photography. However, obviously we can’t travel all the time. With this in mind, today I wanted to share some tips on how to practice travel photography without traveling.
It’s very easy to fall into the habit of only using our cameras for specific occasions, like capturing events or when we go on vacation. However, doing so means that we get out of the photography habit, and our skills can get a bit rusty.
Like any skill, photography takes time and effort to master, and regular practice helps us improve. Only using our cameras when on a trip or at a special event means we are more likely to forget key photography concepts and let our skills decline. You don’t want to miss that perfect vacation moment because you can’t remember how to set your camera up quickly when it happens!
In this post, I’m going to go through a number of tips and options you have for improving your photography when not traveling. These are all things that I have personally found useful for keeping my photography skills relevant and up to date, even when I’m not actively traveling and taking photos. I hope you find them useful too!
Table of Contents
Tips for Practicing Travel Photography Without Traveling
This series of ideas should give you plenty of options for improving your photography skills at home without having to travel anywhere. You should be able to do all of these things from home, in your backyard, or locally.
You can use as many or as few of these ideas as you like to up your photography game and start learning how to take better photos right from your own home.
These tips are also designed to work across all kinds of cameras. So whether you prefer to use a smartphone, a compact camera, a bridge camera, a mirrorless camera or a DSLR camera, you should find plenty of ideas to get you started.
Practice Portrait Photography with Family and Friends
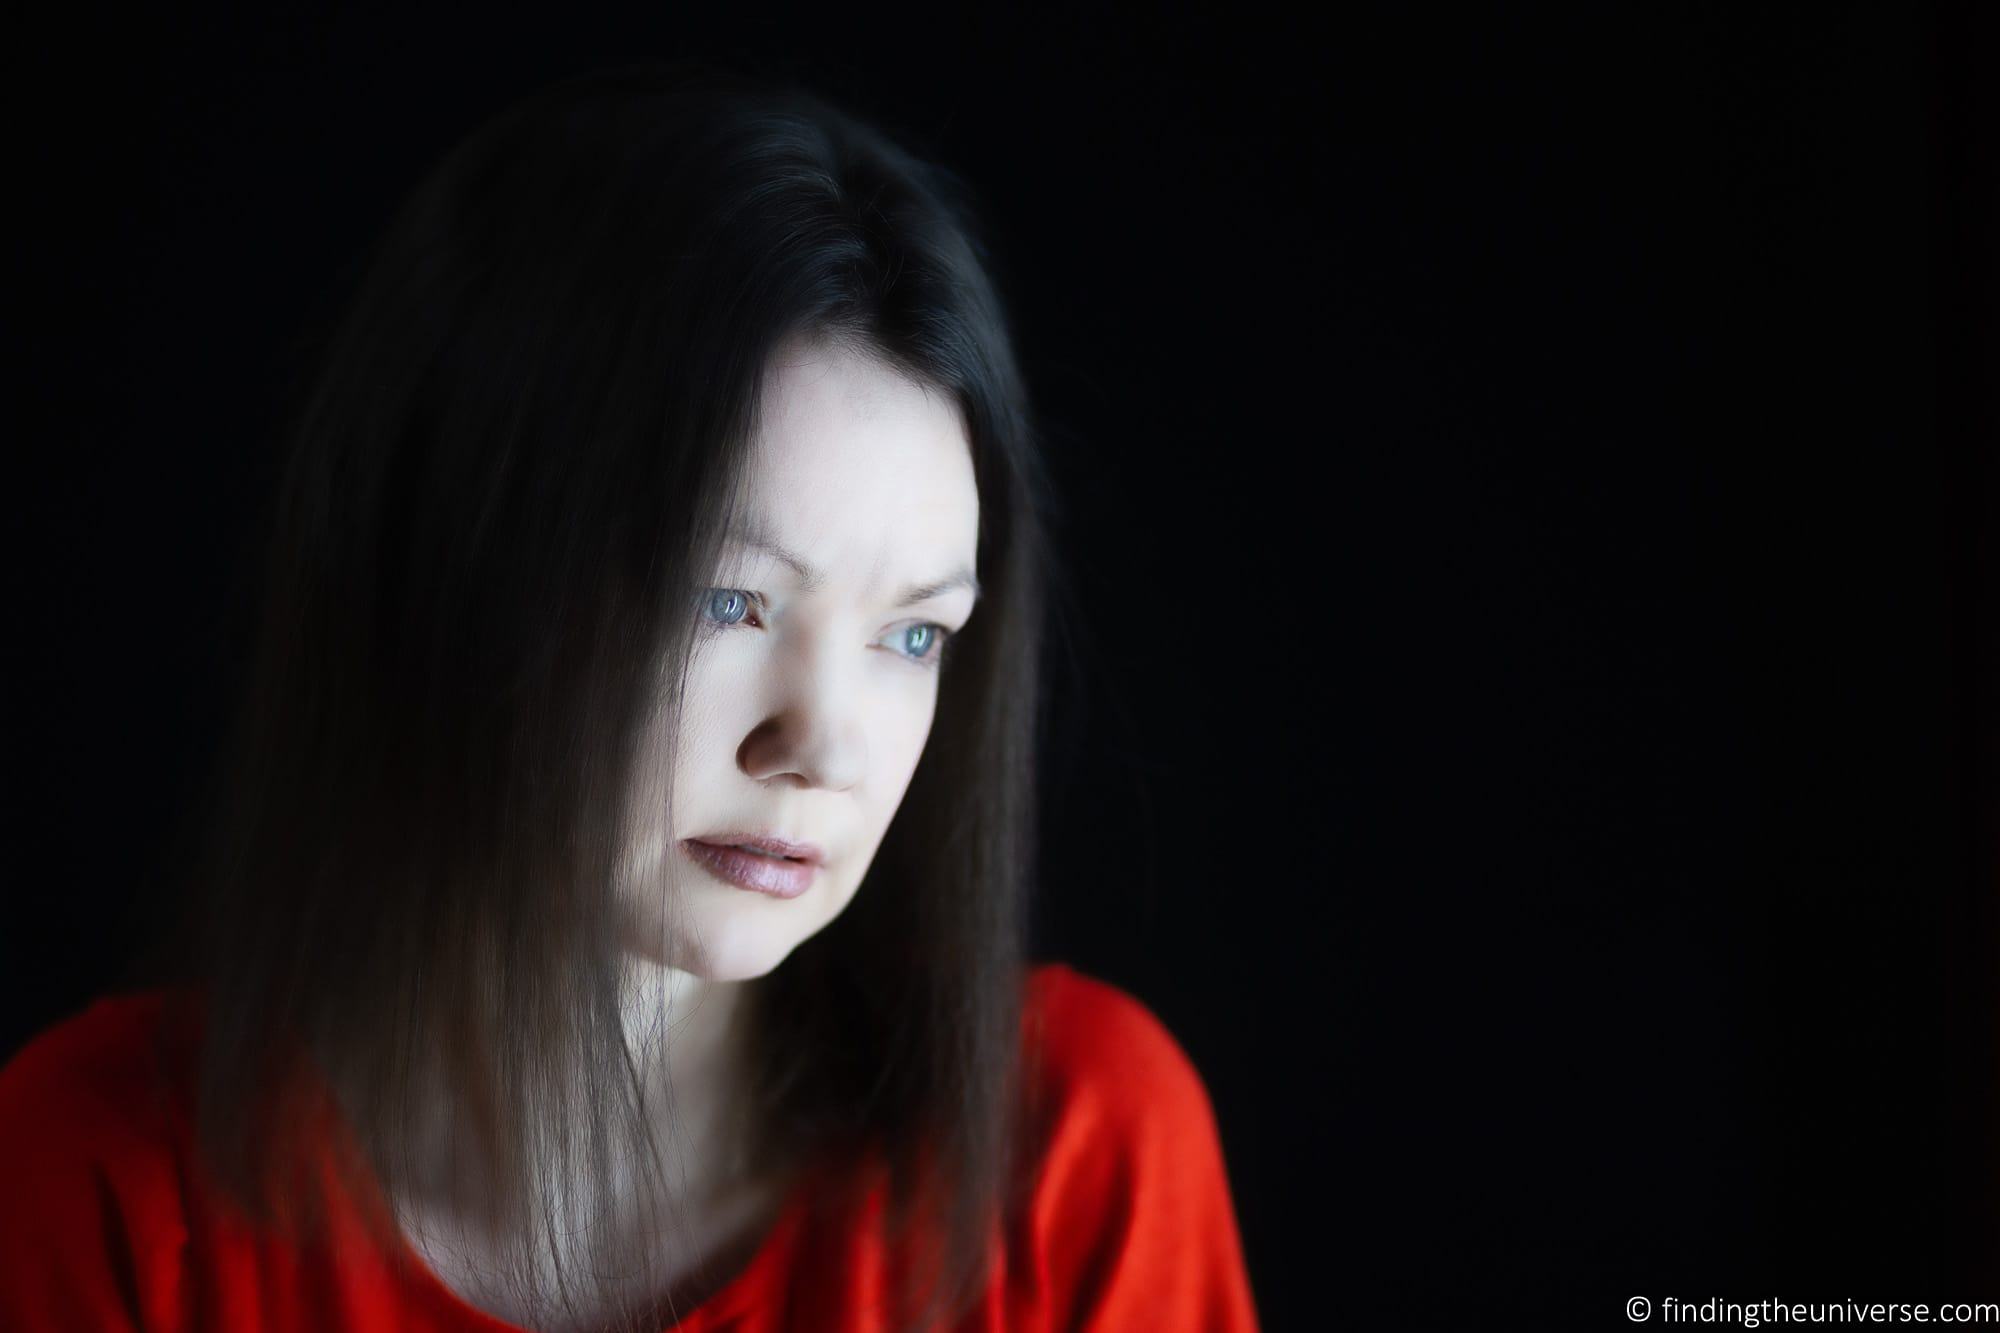
For many people, the main reason they take photos is to record moments with friends and family. This might be while traveling, at a special event, or just when having fun at home. Recording events that have meaning to us is one of the main reasons we take pictures.
Taking portraits of people is an important photography skill that will serve you well in a variety of situations. This includes when on vacation so you can get photos of friends and family you are travelling with. It will also let you get great photos when you are at home and you want to capture important moments.
The good news is that you don’t have to go anywhere to practice portrait photography. You can do it at home! All you need is a willing subject to practice on. My advice is to get used to how different lighting affects the image, to play with different settings that allow you adjust the depth of field of the image, and to try different angles and compositions to see what works well.
Practice Wildlife Photography with Pets, Birds and Other Wildlife
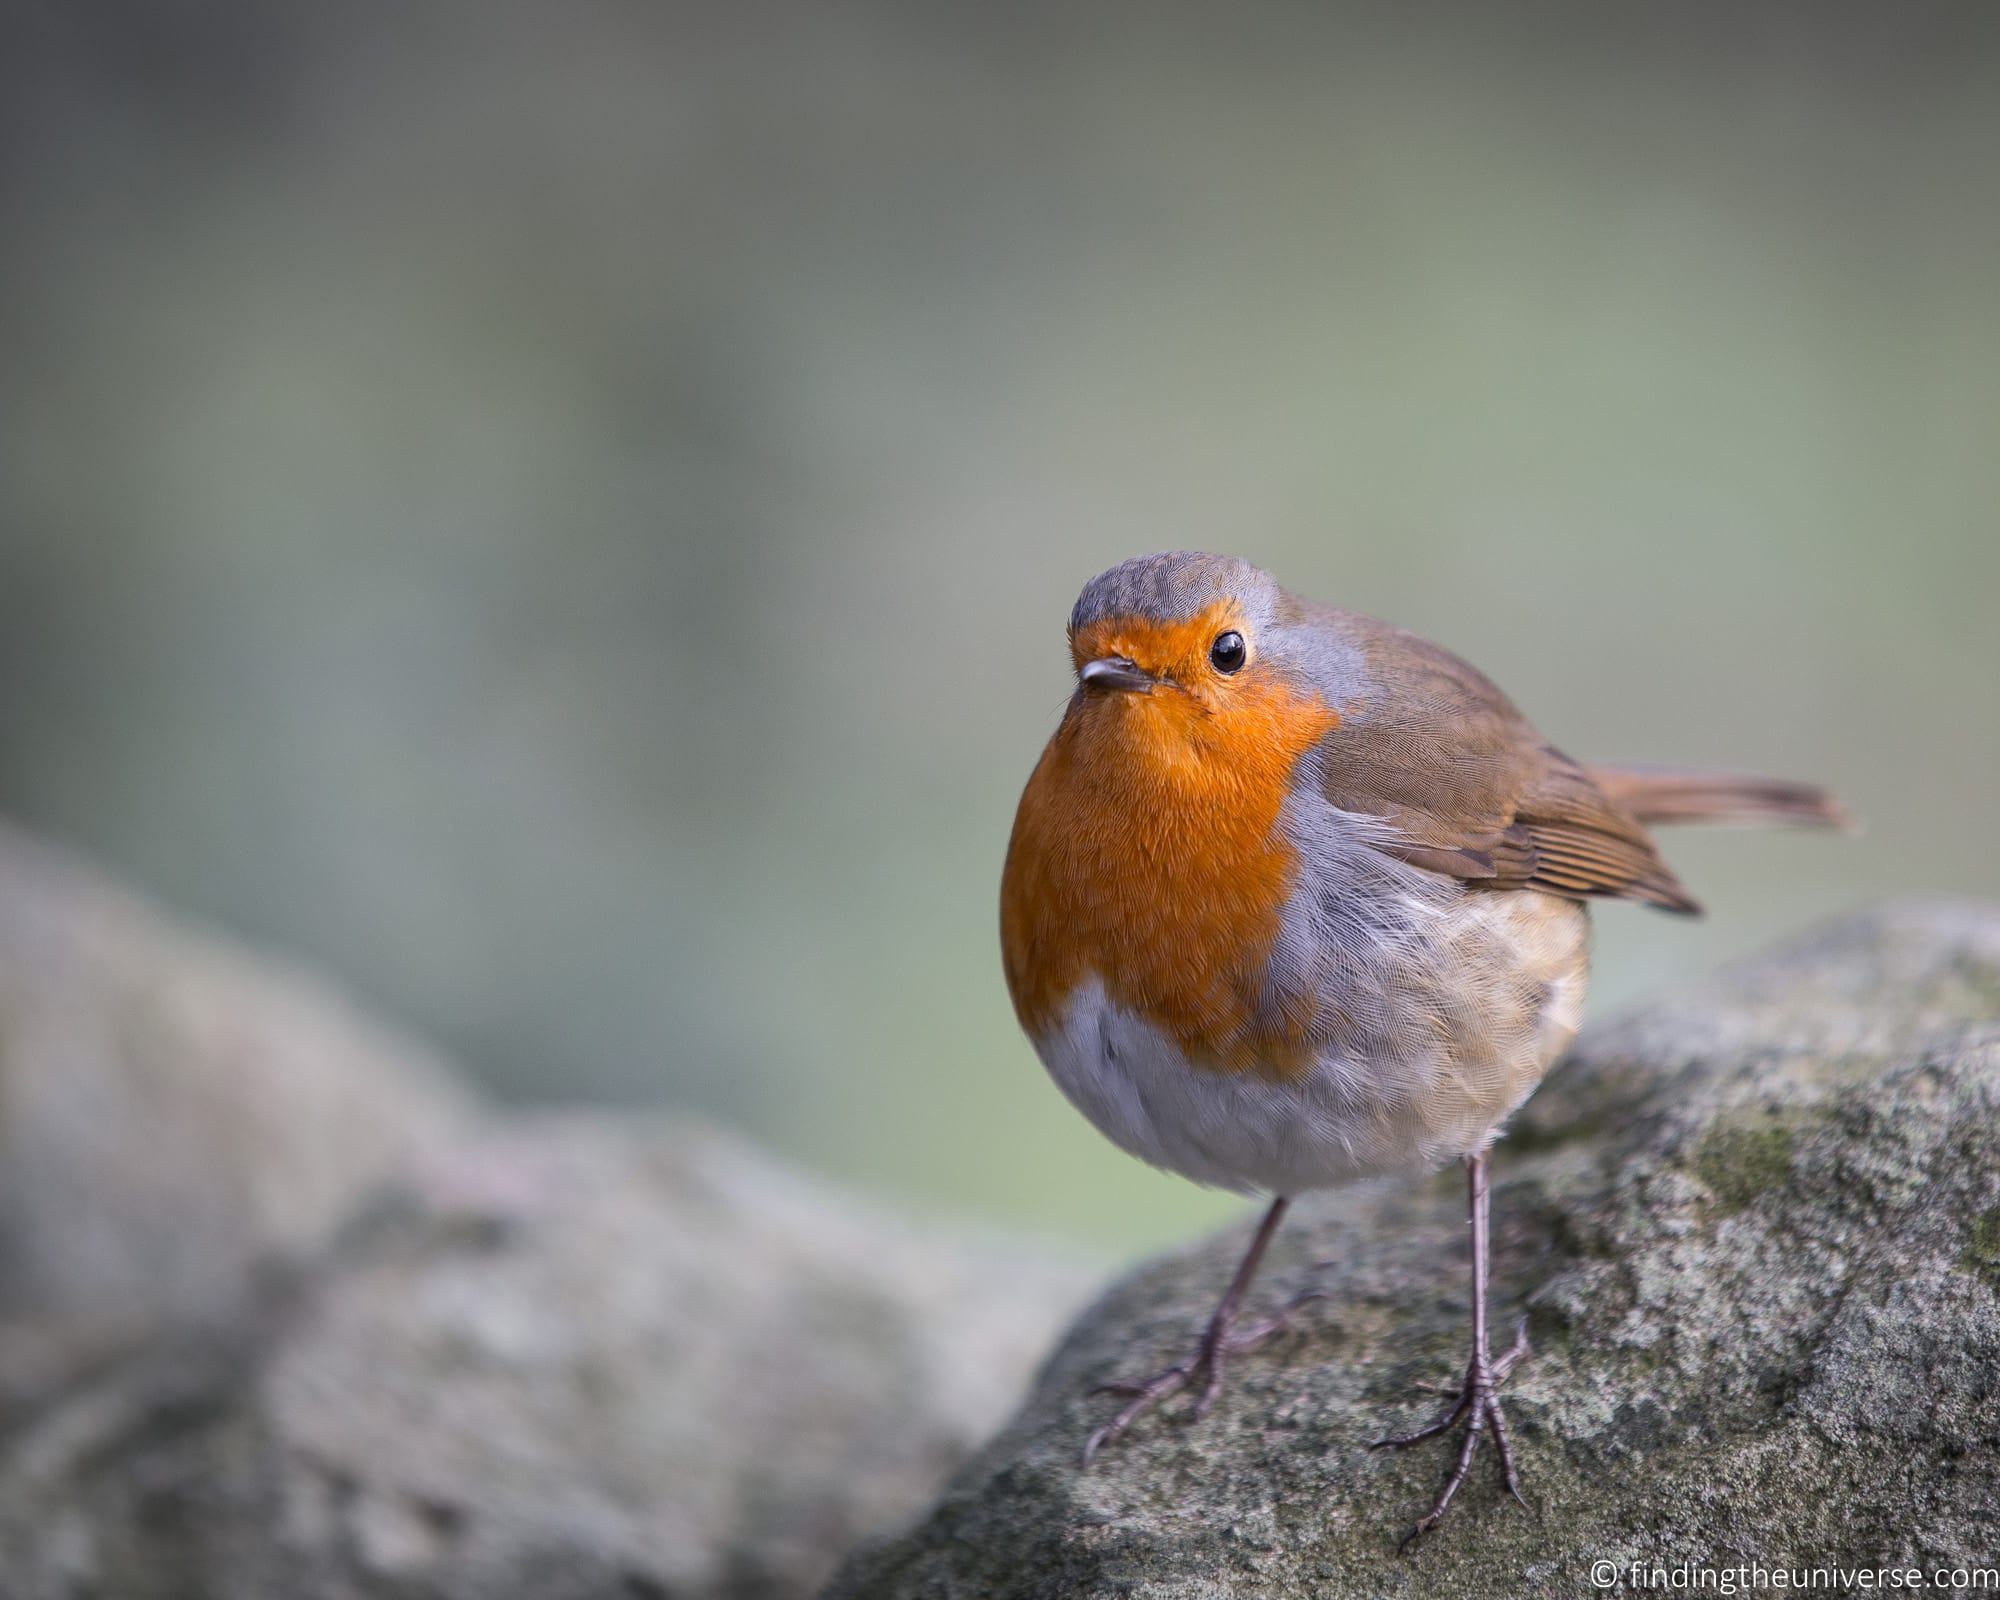
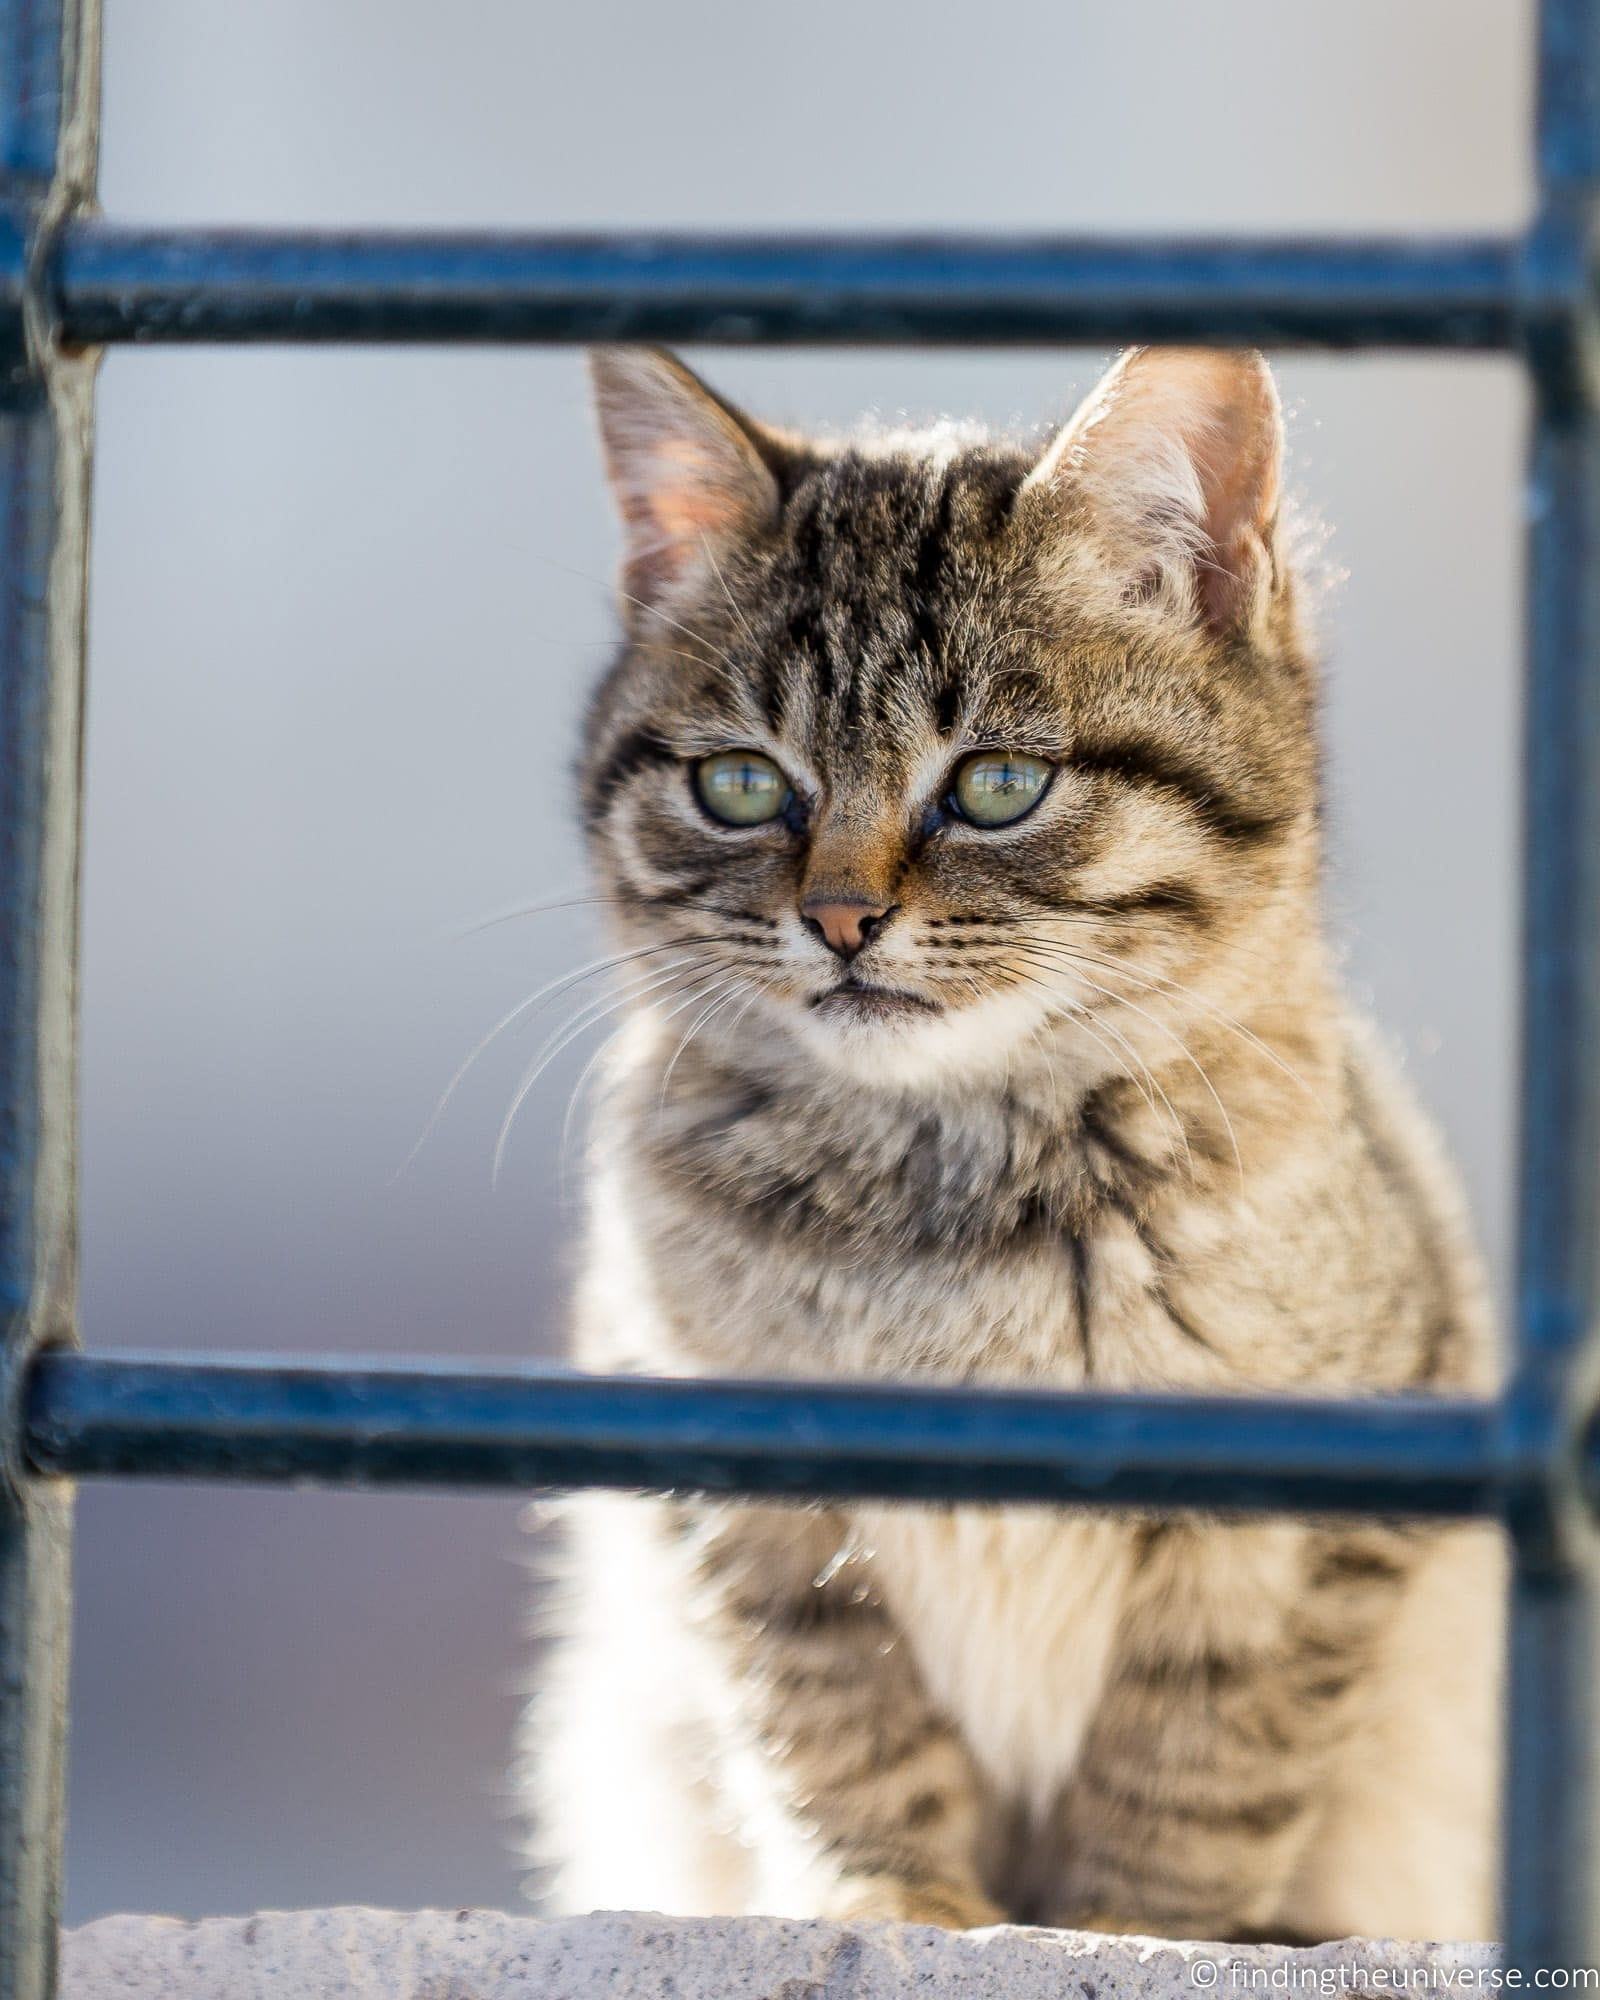
If you have pets, the chances are you’d like to take great photos of them. Pet photography can be great practice for wildlife photography in general, which is a useful skill to learn for travel as well. Who knows what fun and interesting critters you might encounter on your travels that you’ll want to photograph?
As well as practicing on your pets, you can also use other animals in your neighbourhood to hone your skills. Birds or other animals like squirrels can provide interesting backyard subject matter that will let you hone your wildlife photography skills.
Techniques to focus on include getting the composition right, tracking the focus on potentially fast moving subjects, and learning how to be patient around animals so you get the results you want.
Take an Online Photography Course
One of the best ways to improve your photography is to take a dedicated course. A good photography course will teach you all the skills you need to improve your photography, from the basics of how a camera works, through to composition, light, and of course – how to use photo editing software properly!
Some courses may also cover more advanced photography topics, such as long exposure photography, or astrophotography, and they may includes guides to photography with specific cameras like action cameras, smartphones, or drones.
Depending on your preferences, there are a range of different courses on the market. Some provide the information via video, whilst others are primarily written. Courses may also come with bonus features, like feedback on your images and access to course exclusive membership forums or Facebook groups.
Since 2016, I’ve been running an online photography course of my own, and I’ve helped over 2,000 students improve their photography to date. The course is primarily written content with some video tutorials, and covers all the topics I mentioned above.
You also get feedback from me as you progress, access to webinars, interviews and videos, as well as exclusive membership of a Facebook group where you can get feedback on your work and take part in regular challenges. You take the course and improve your photography from home, no travel required, and it will help you improve your images no matter what kind of camera you have.
My course is available for an amazing one-off price for lifetime access, and I think you should check it out. Which you can do by clicking here.
Practice Low Light Photography Indoors
One of the more challenging scenarios for photography is when there is limited light available. Most cameras struggle to produce great images when there’s less light available, such as at night or indoors when dining at a restaurant.
Learning how to take good photos even in low light situations, and to the specific limitations of your camera, are essential photography skills. Low light photography is really easy to practice at home, all you need is a subject and a low light situation. Try taking the sort of pictures you might like to take when on a trip, such as photos of your food, people, a piece of furniture, or a room in your house.
Things to master include knowing how to use your camera flash (and how to disable your camera flash!), as well as how to increase your ISO to compensate for the darker environments.
Check out my guide to the exposure triangle in photography for more on how to set your camera up for different scenarios, as well as my article of indoor photography tips for more ideas.
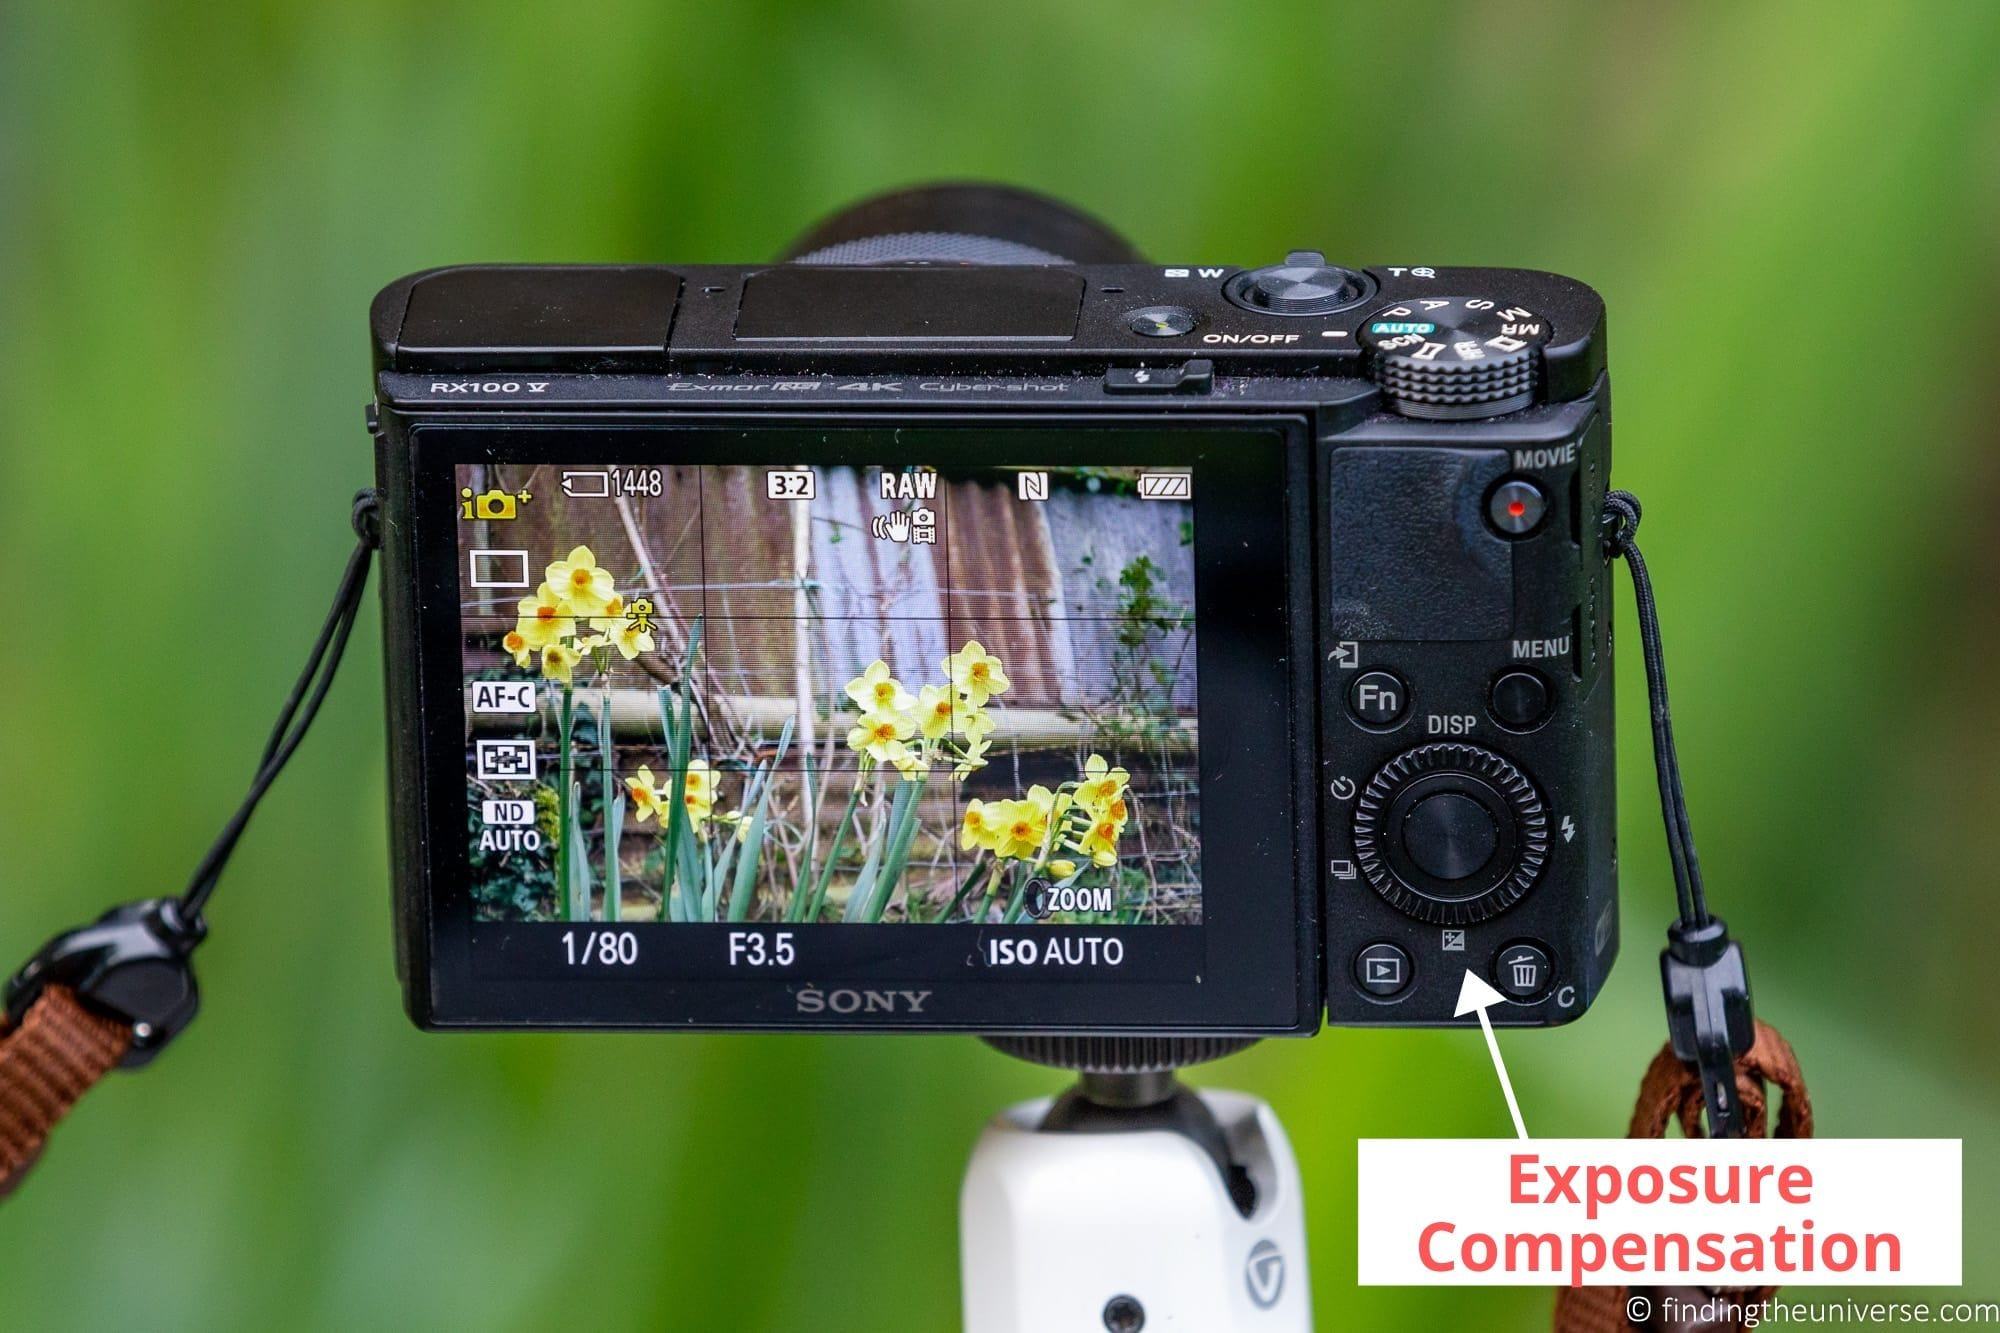
Check Out Your Camera’s User Manual
I can almost feel your eyes glazing over as you read this tip. I appreciate that most of us find the manuals for electronics somewhat dry, and camera manuals are no exception.
However, every camera is slightly different, and the best way to start mastering all the features of your camera is to learn what they are and how to access them. Most camera manuals are very detailed and will walk you through everything you need to know to get the most from your particular camera model.
I can almost guarantee you that if you haven’t read your camera’s user manual before, there is probably some new setting, shortcut, tip, or feature that you will discover.
If you’ve lost or mislaid your camera manual, you can normally download an electronic copy from the manufacturer’s website.
Understand How Your Camera Works
A camera is simply a tool that allows a photographer to take a picture. If you can understand how your camera does that at a high level, then you will be well on the way to taking better photos.
Cameras offer a range of different features and settings, but at their heart there are a lot of similarities between different types of camera. Understanding the basics of how your camera works will help you ensure you are able to make the most of it in a range of situations.
Whilst every camera is slightly different, the basics remain the same, especially across different classes of camera such as DSLR camera or mirrorless cameras. To help you out, I’ve put together a guide to how to use a DSLR camera, a guide to how to use a mirrorless camera, and a guide to how to use a point and shoot camera.
These should help you understand exactly how to get the most out of your camera model.
Learn How to Edit Photos
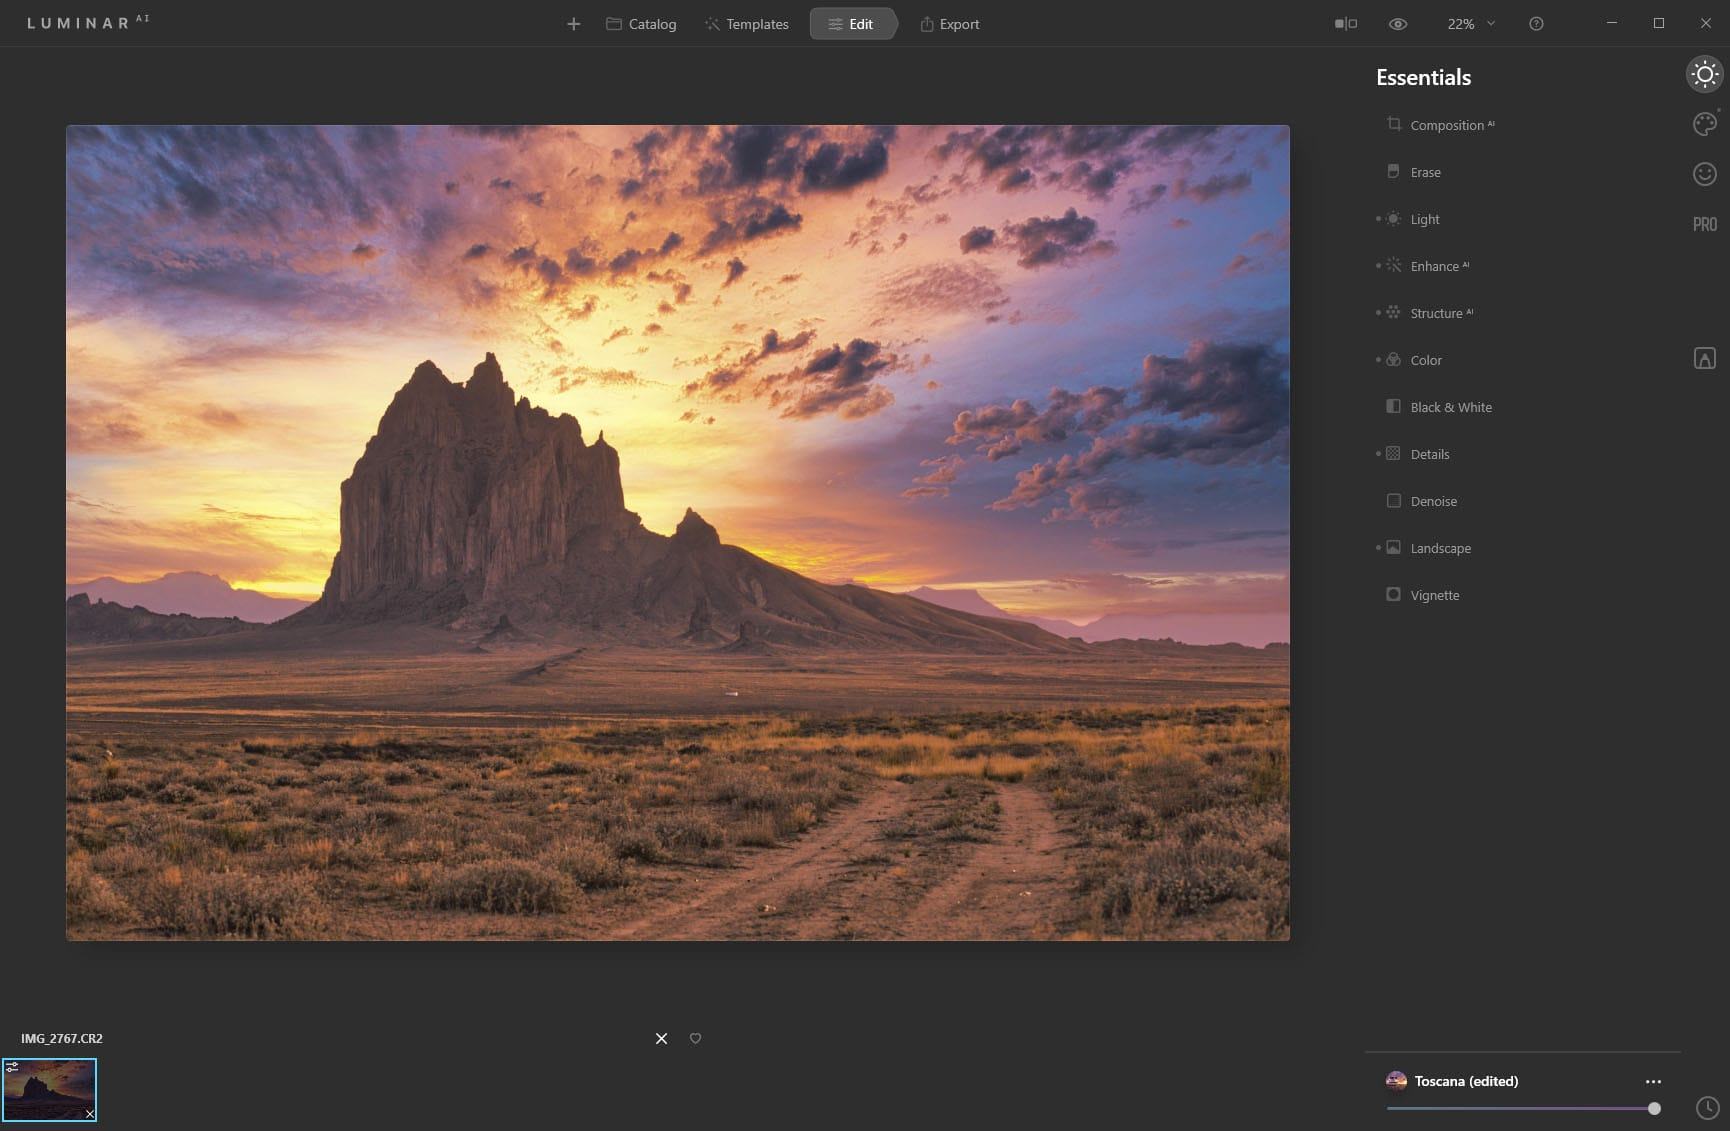
Editing photos is a key skill in photography. This was the case in the days of film, and is still the case in our digital world.
Thankfully, editing digital files is a lot easier than editing film. For starters, you don’t need a dark room or an array of foul-smelling chemicals. All you need is some software and a bit of time.
Every digital image is edited at some point between the shutter button being pressed and a usable JPG file being created. If you shoot in JPG, the camera applies a variety of edits to your image when it saves it to your memory card, including sharpness, contrast, and saturation edits.
If you shoot in RAW, you will have to use photo editing software to turn your RAW files into usable images.
Editing your photos gives you a lot more creative control over your final image. Editing lets you do basic things like cropping and straightening a horizon, through to more complex tasks like removing objects or replacing the sky in an image.
Photo editing is a valuable photography skill that doesn’t require you to travel anywhere to learn it. You can practice on your existing library of images, and I think it’s the perfect photography skill to learn from home.
When using photo editing software on a computer we recommend either Adobe Lightroom, On1 Photo RAW or Skylum Luminar. The former requires a monthly subscription, the latter options are available for a one-off fee.
For more options, including mobile options, see our guide to the best photo editing software and apps.
Get to Grips with a Travel Tripod
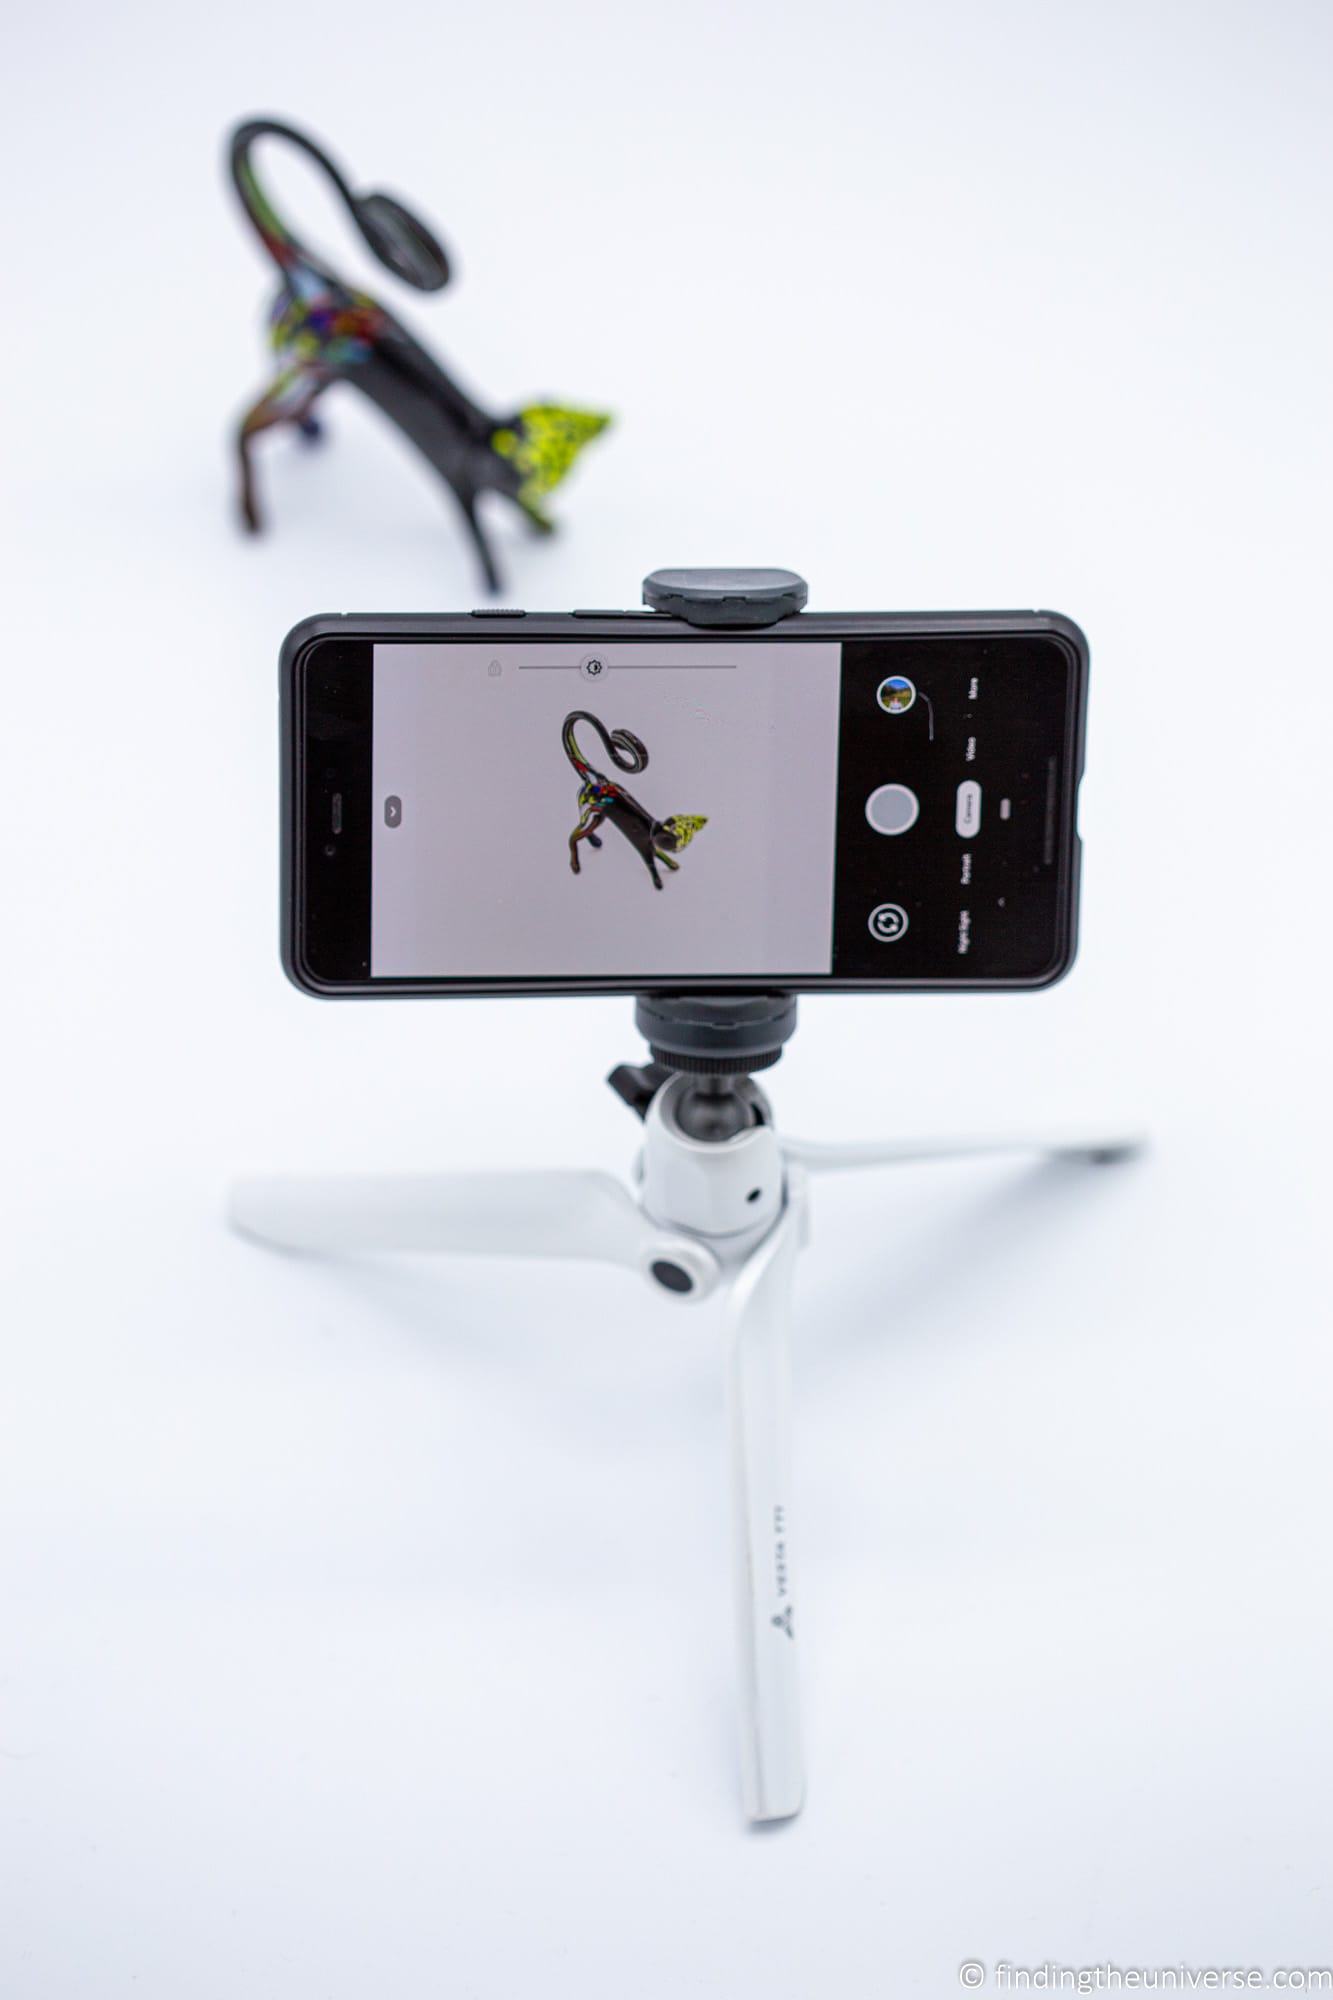
In my opinion, a tripod is an essential bit of kit for any photographer. You can see my reasons for why you need a travel tripod here. In summary though, the main reasons to use a tripod are that they open up more photography options, allow you to shoot in low light, and let you avoid blurry images. They’re also handy for getting better self portraits and group shots!
The good news is that you don’t need a huge bulky tripod to get better photos. Instead you can use one of our recommended travel tripods.
These are lightweight, designed to fold up small, and are easy to pack and carry. They range in size from the mini tabletop tripods to more full-size travel tripods, so you can get the size of tripod that works for your travel style. Travel tripods are also available in a wide range of prices for just about any budget, from about $30 through to over $500.
Like any tool, to get the most out of it you’ll want to be familiar with it. That means knowing how to set it up quickly, how to attach your camera to it, and how to adjust it to get the shot you want. You can easily practice with your tripod at home, even if you don’t actually take any photos!
Master Depth of Field
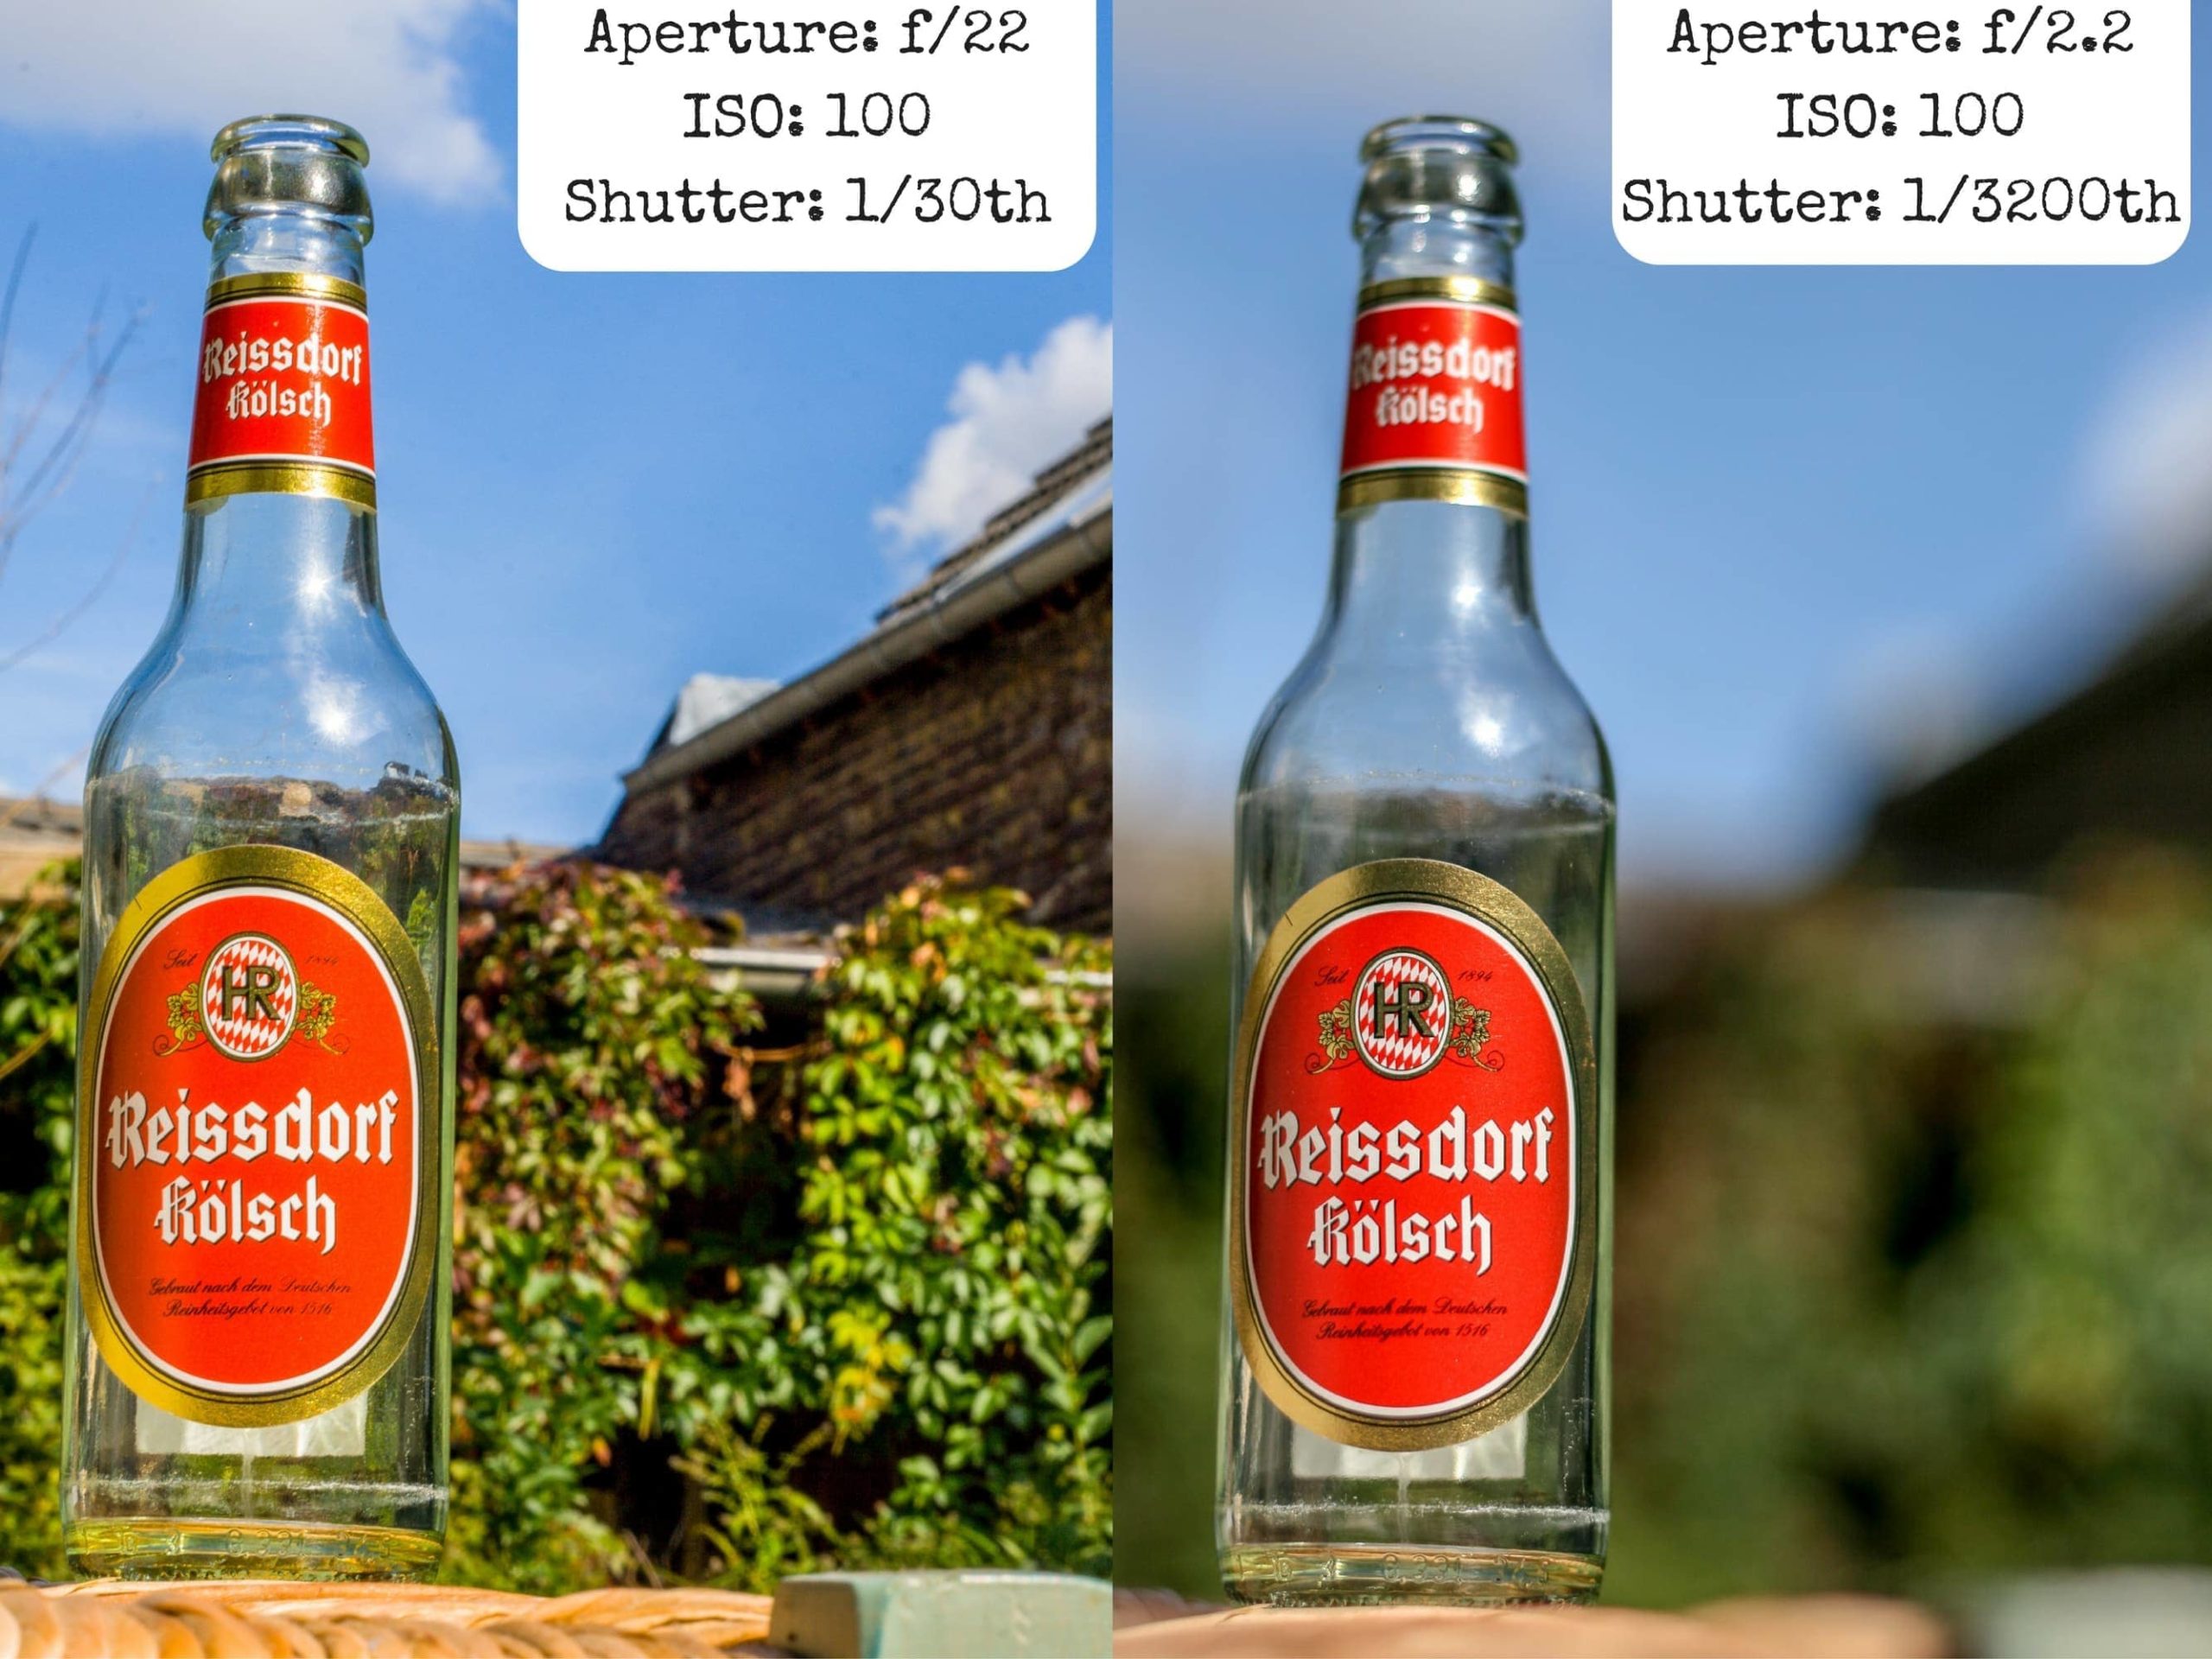
Depth of field is a key compositional skill for photographers. Adjusting the depth of field allows you to control how much of the image is sharply in focus, and how much is out of focus. Really out of focus areas of an image create nice patterns, which are referred to as bokeh in photography.
Depth of field can be adjusted by changing the aperture on your camera, and a shallow depth of field where less of the image is sharply in focus is often favoured for wildlife and portrait images. However, you can practice adjusting depth of field with any subject. It can also often be simulated on a smartphone by using the “portrait” mode.
For more on this topic, see my detailed guide to depth of field in photography.
Understand the Exposure Triangle
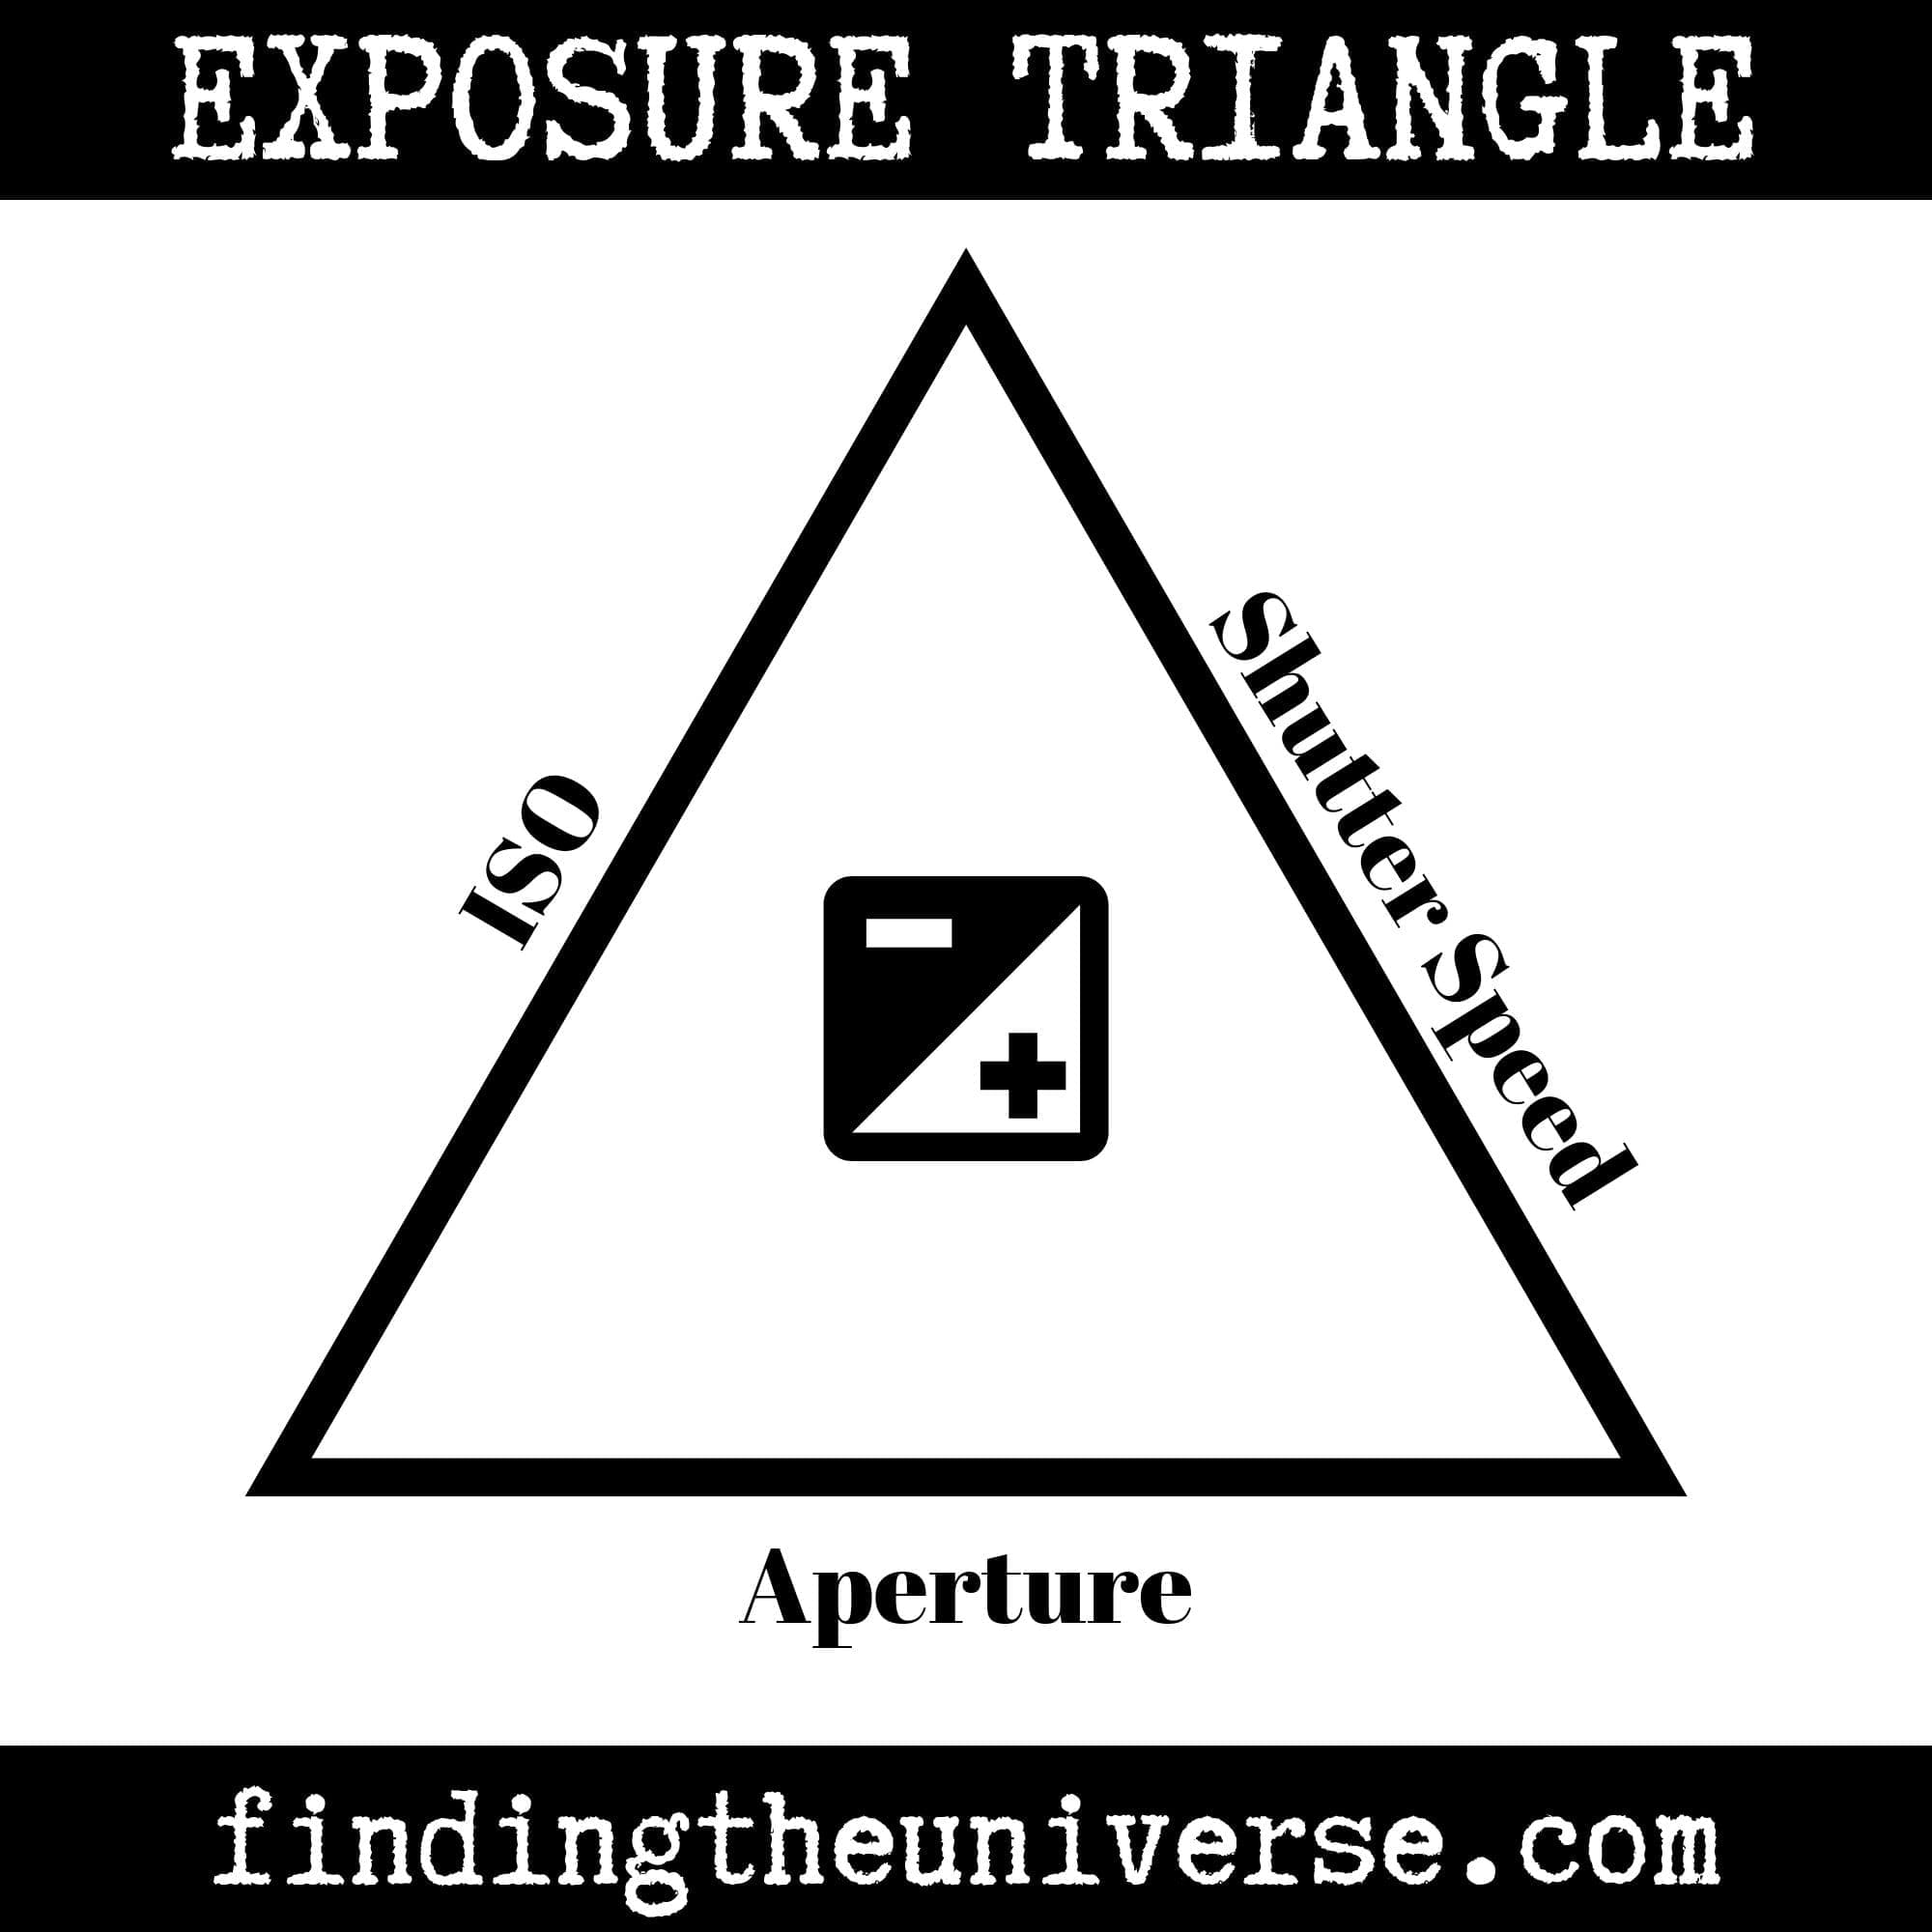
One of the most important concepts to master when learning photography is the concept of the exposure triangle. This concept helps explain how your camera actually captures the image, and describes the three main controls you have for adjusting how bright or dark the image is.
This brightness or darkness is referred to as the exposure, and as there are three main controls for adjusting the brightness, it’s described as a triangle.
The controls you can change on most cameras and some smartphones are ISO, aperture, and shutter speed. Changing each of these also affects how the final image looks beyond brightness, with different settings changing motion, depth of field and noise in the image.
This is an important topic, and one that can take a bit of time to get to grips with. I recommend starting with my guide to the exposure triangle in photography.
Take Photos of Motion
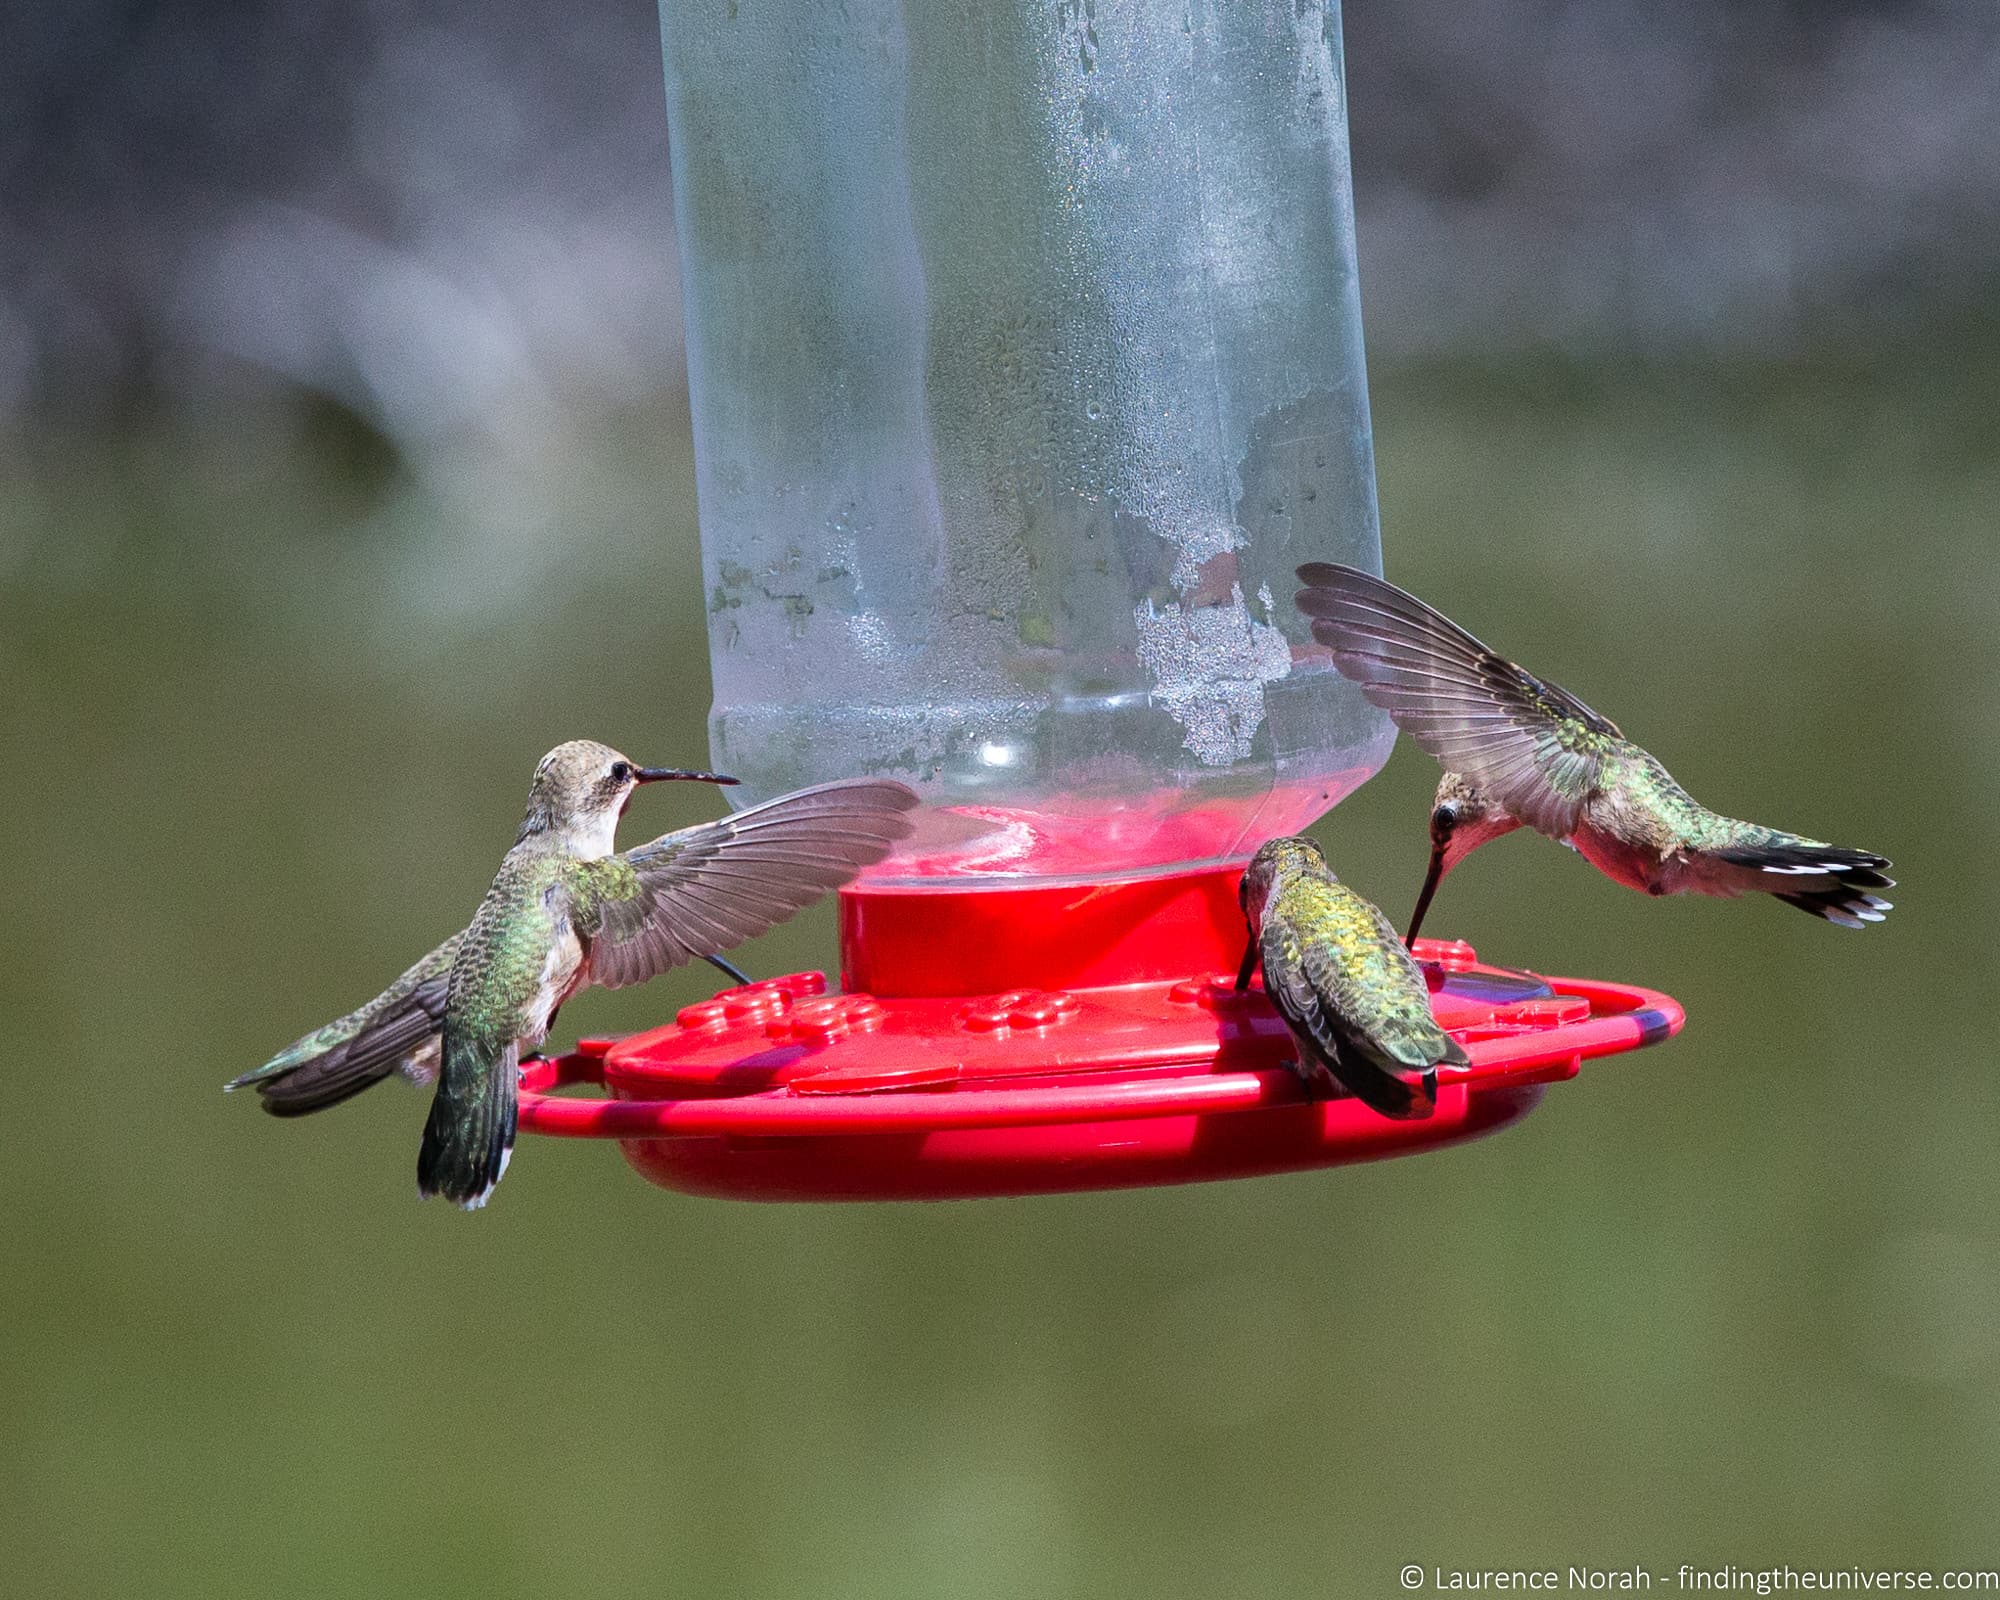
A common photography subject when traveling, or even at home, is photos of subjects in motion. These subjects could be people or animals, like running children or pets, or things like vehicles or moving water.
Subjects in motion pose unique challenges for the photography. First, there’s the question of focusing on a moving subject, so mastering your camera’s focus capabilities and learning how to track a moving subject is important.
Next there’s the issue of motion blur. If an object is moving, it can appear blurred in images. This might be a desired effect, for something like car headlights at night, or it might be something you are trying to avoid, such as with a portrait of a person or a picture of a bird.
Either way, you control motion in your images by learning how to master your camera’s shutter speed. So my tips for motion in photography are learning how to control shutter speed, and the effect it has on your images, as well as how to set up your autofocus to track moving subjects. Good subjects to practice on are children, pets, or backyard wildlife like birds and squirrels.
Practice Macro Photography
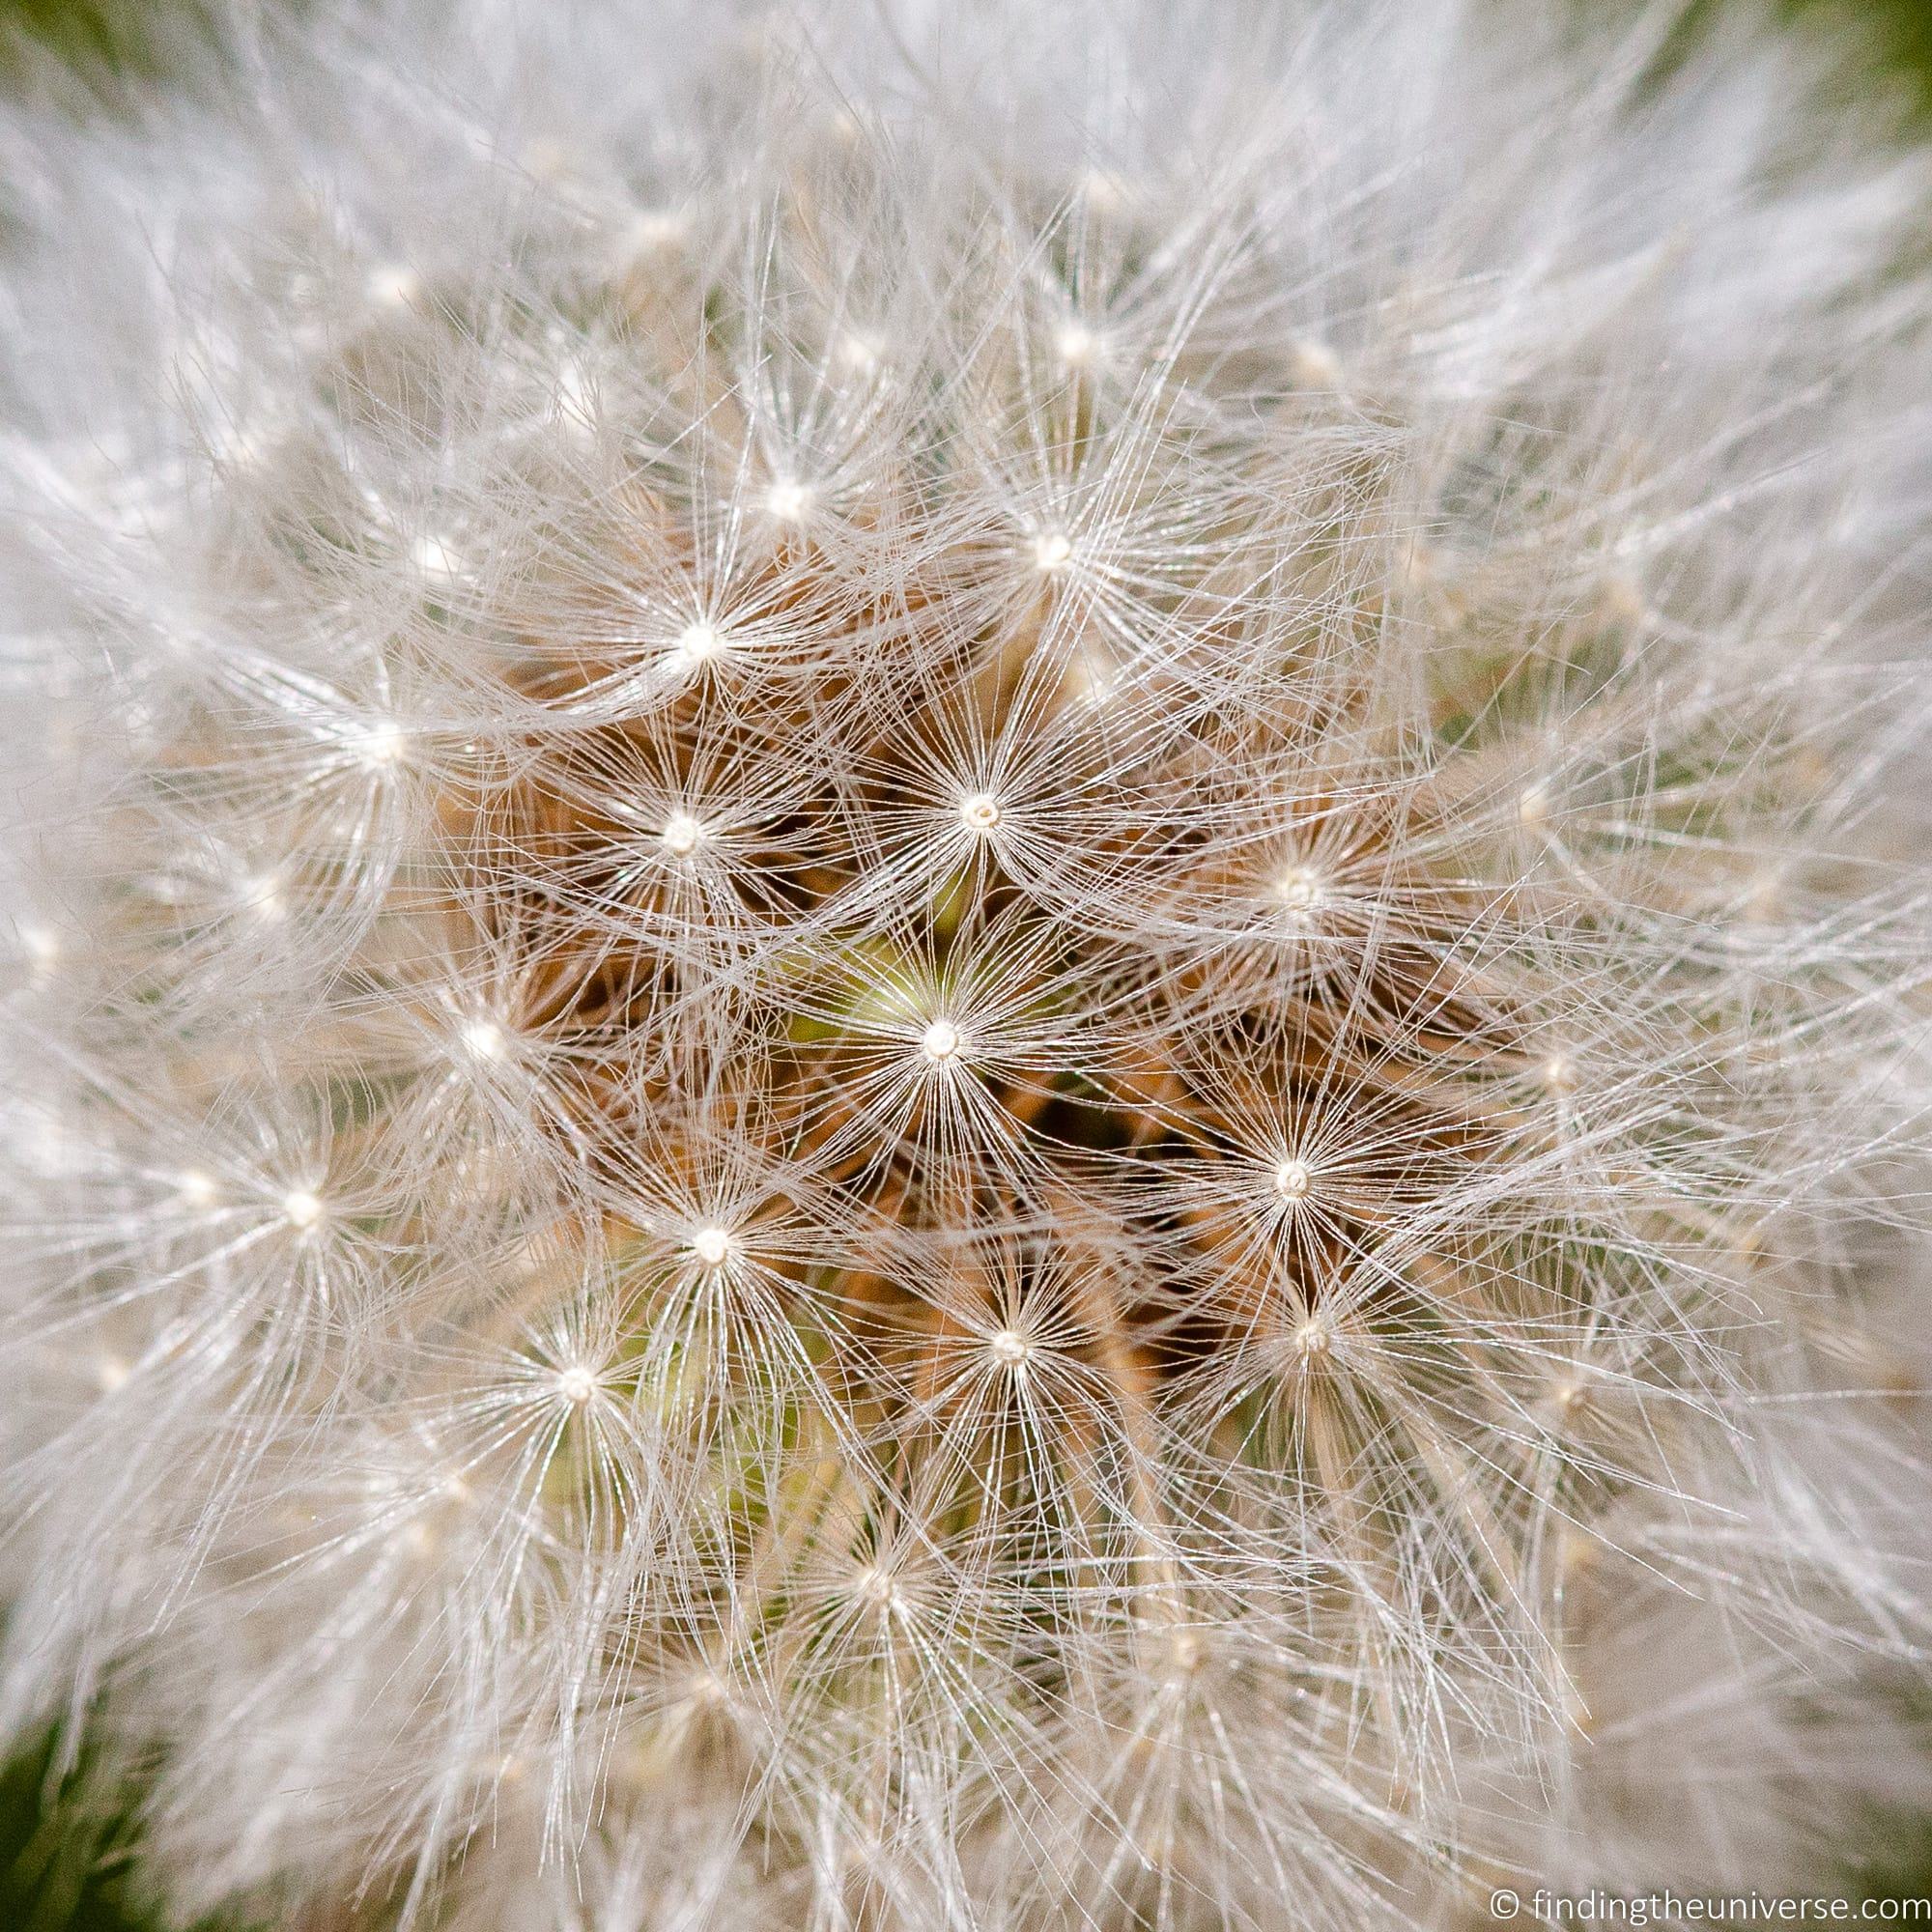
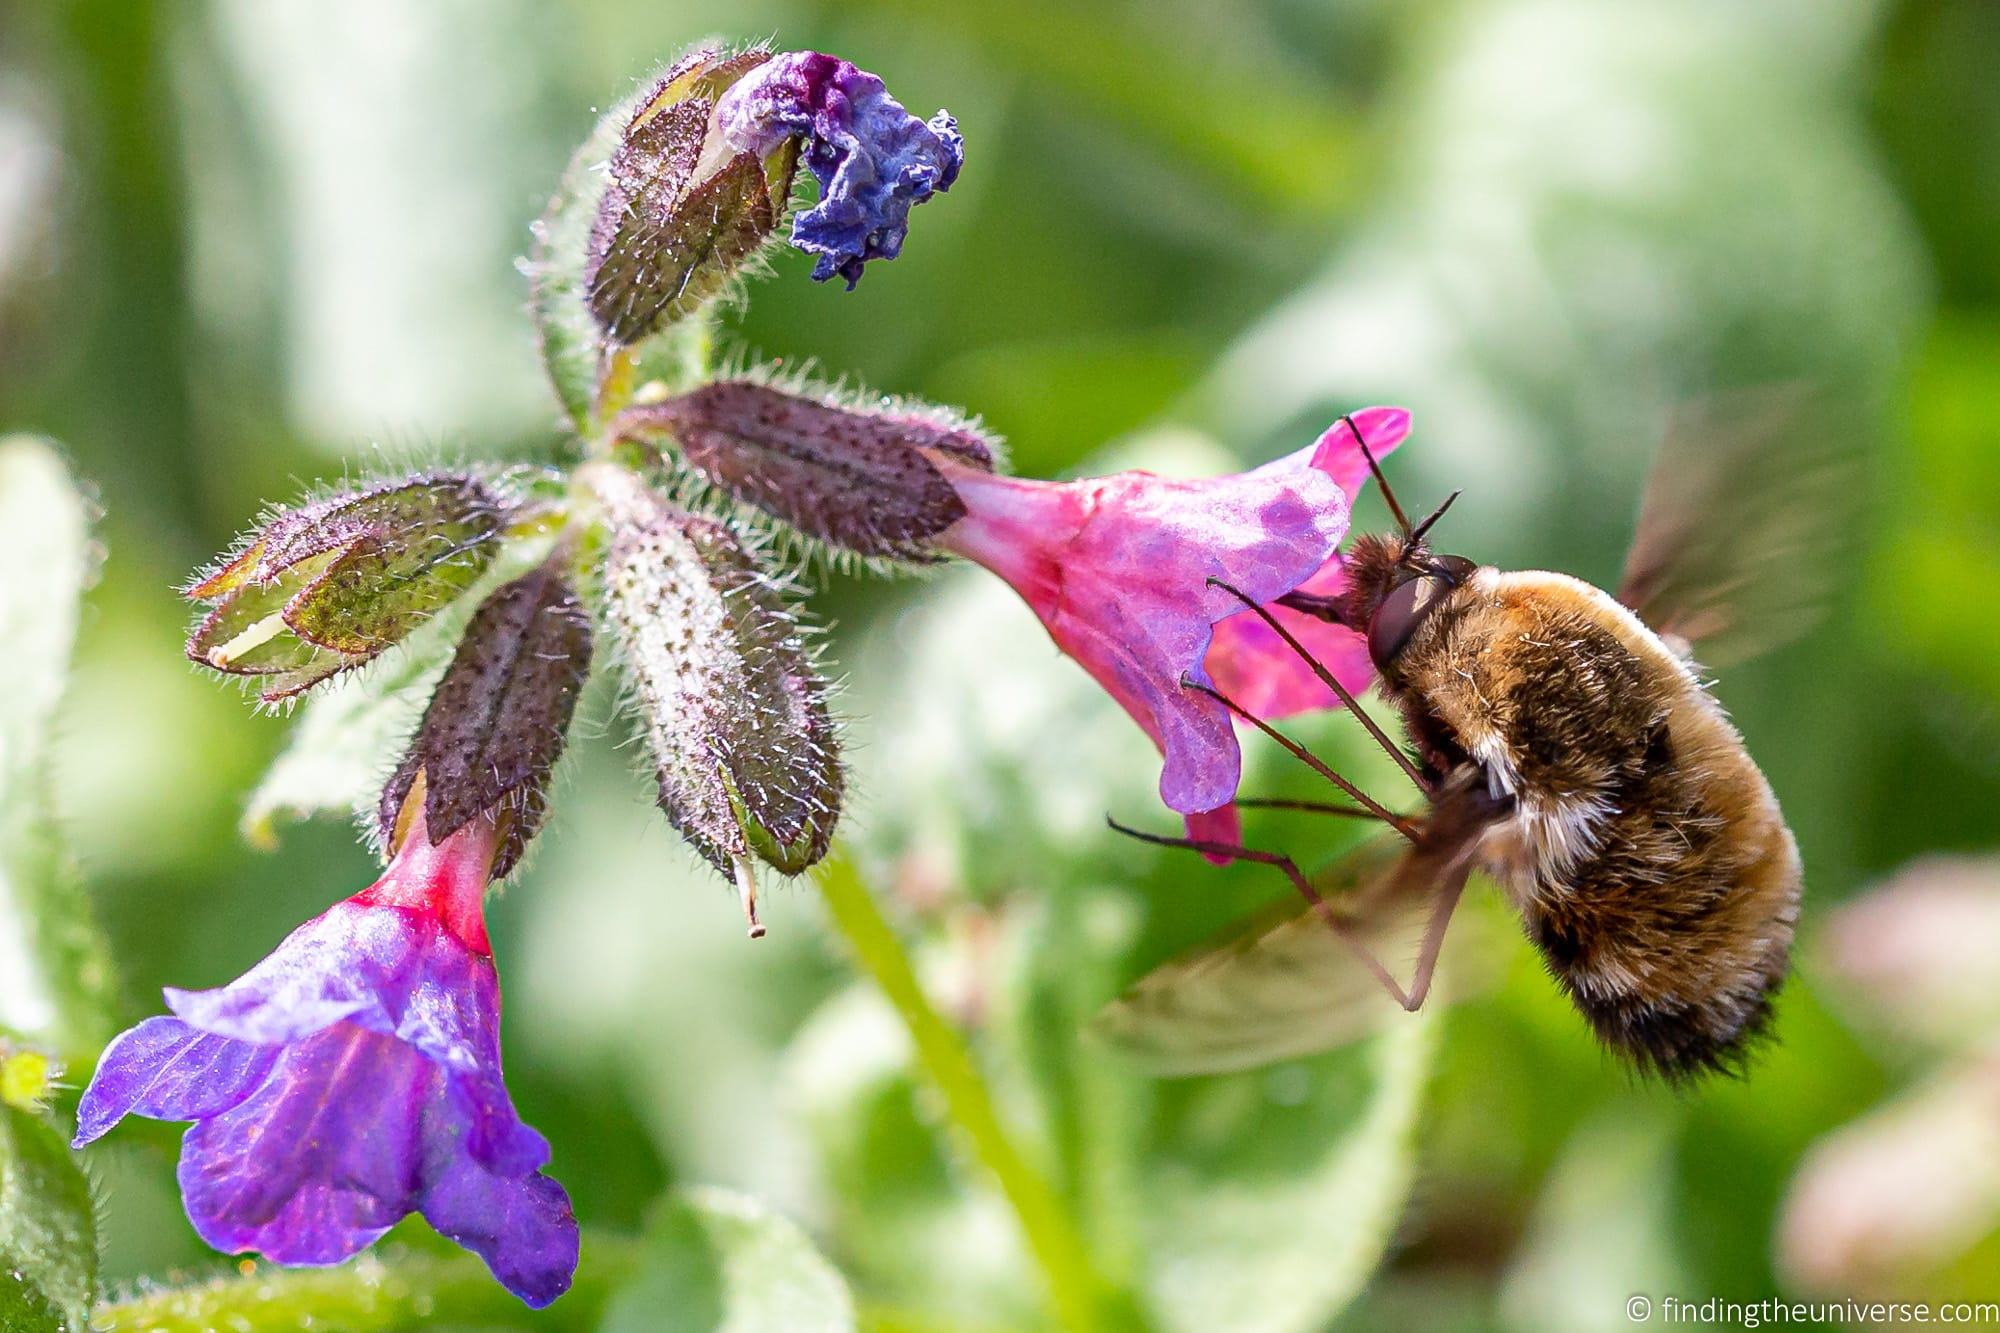
Macro photography is another fun photography technique that you can learn at home. Macro photography is where you take an image of something in extreme close-up and make it larger than life size.
Macro photography is commonly used for photographing very small subjects, and is often associated with image of small insects. However, macro photography can feature any subject shot in close up.
To get a true macro photography you need a lens that supports a 1:1 magnification, known as a macro lens. What this means is that the size of the subject in real life is the same size as it appears on your camera’s sensor. Macro lenses are available for all types of camera, including clip on version for many smartphones.
Practicing macro photography at home just requires you to have the right kind of lens and some subjects to photograph. Lots of subjects can work, from jewellery to insects to flowers! Just look for something that is small and intricate for the best results.
Learn Food Photography
One thing many of us love to do when we’re on vacation, or even out at a local restaurant, is to take photos of our food.
If you’ve done this yourself, you might have noticed that food photography is quite hard. Many restaurants are poorly lit for photography, and getting great food photos (or any photo for that matter) in dim lighting conditions can be a challenge.
You can practice your food photography skills at home, which can help you learn how to overcome some of these limitation. All you need is a plate of food to work with. My tips are to learn how to use the available light, and how to set your camera up to get the best results. You can also practice arranging a nice looking table setting, and explore how different angles can make a plate look good.
Learn Key Composition Techniques
Composition is one of the most important photography techniques to learn. Composition is all about how the different elements in your shot work together to create a cohesive and attractive image. The end goal should be that your subject, or subjects, are clearly defined and obvious to the viewer as the main focal point of the image.
Other elements in the shot should compliment and enhance the subject, and not detract or confuse the viewer.
There are a number of common compositional techniques you can use to achieve this, which are often referred to as the rules of composition. They are more like guidelines though, as you don’t have to rigidly follow them in order to take a great image.
Popular composition techniques that you can practice in your own photos at home include the rule of thirds, leading lines, use of color, spacing and separation, and symmetry. Check out my guide to composition in photography for lots of tips and ideas on these and other composition techniques.
Take Advantage of Sunsets and Sunrises
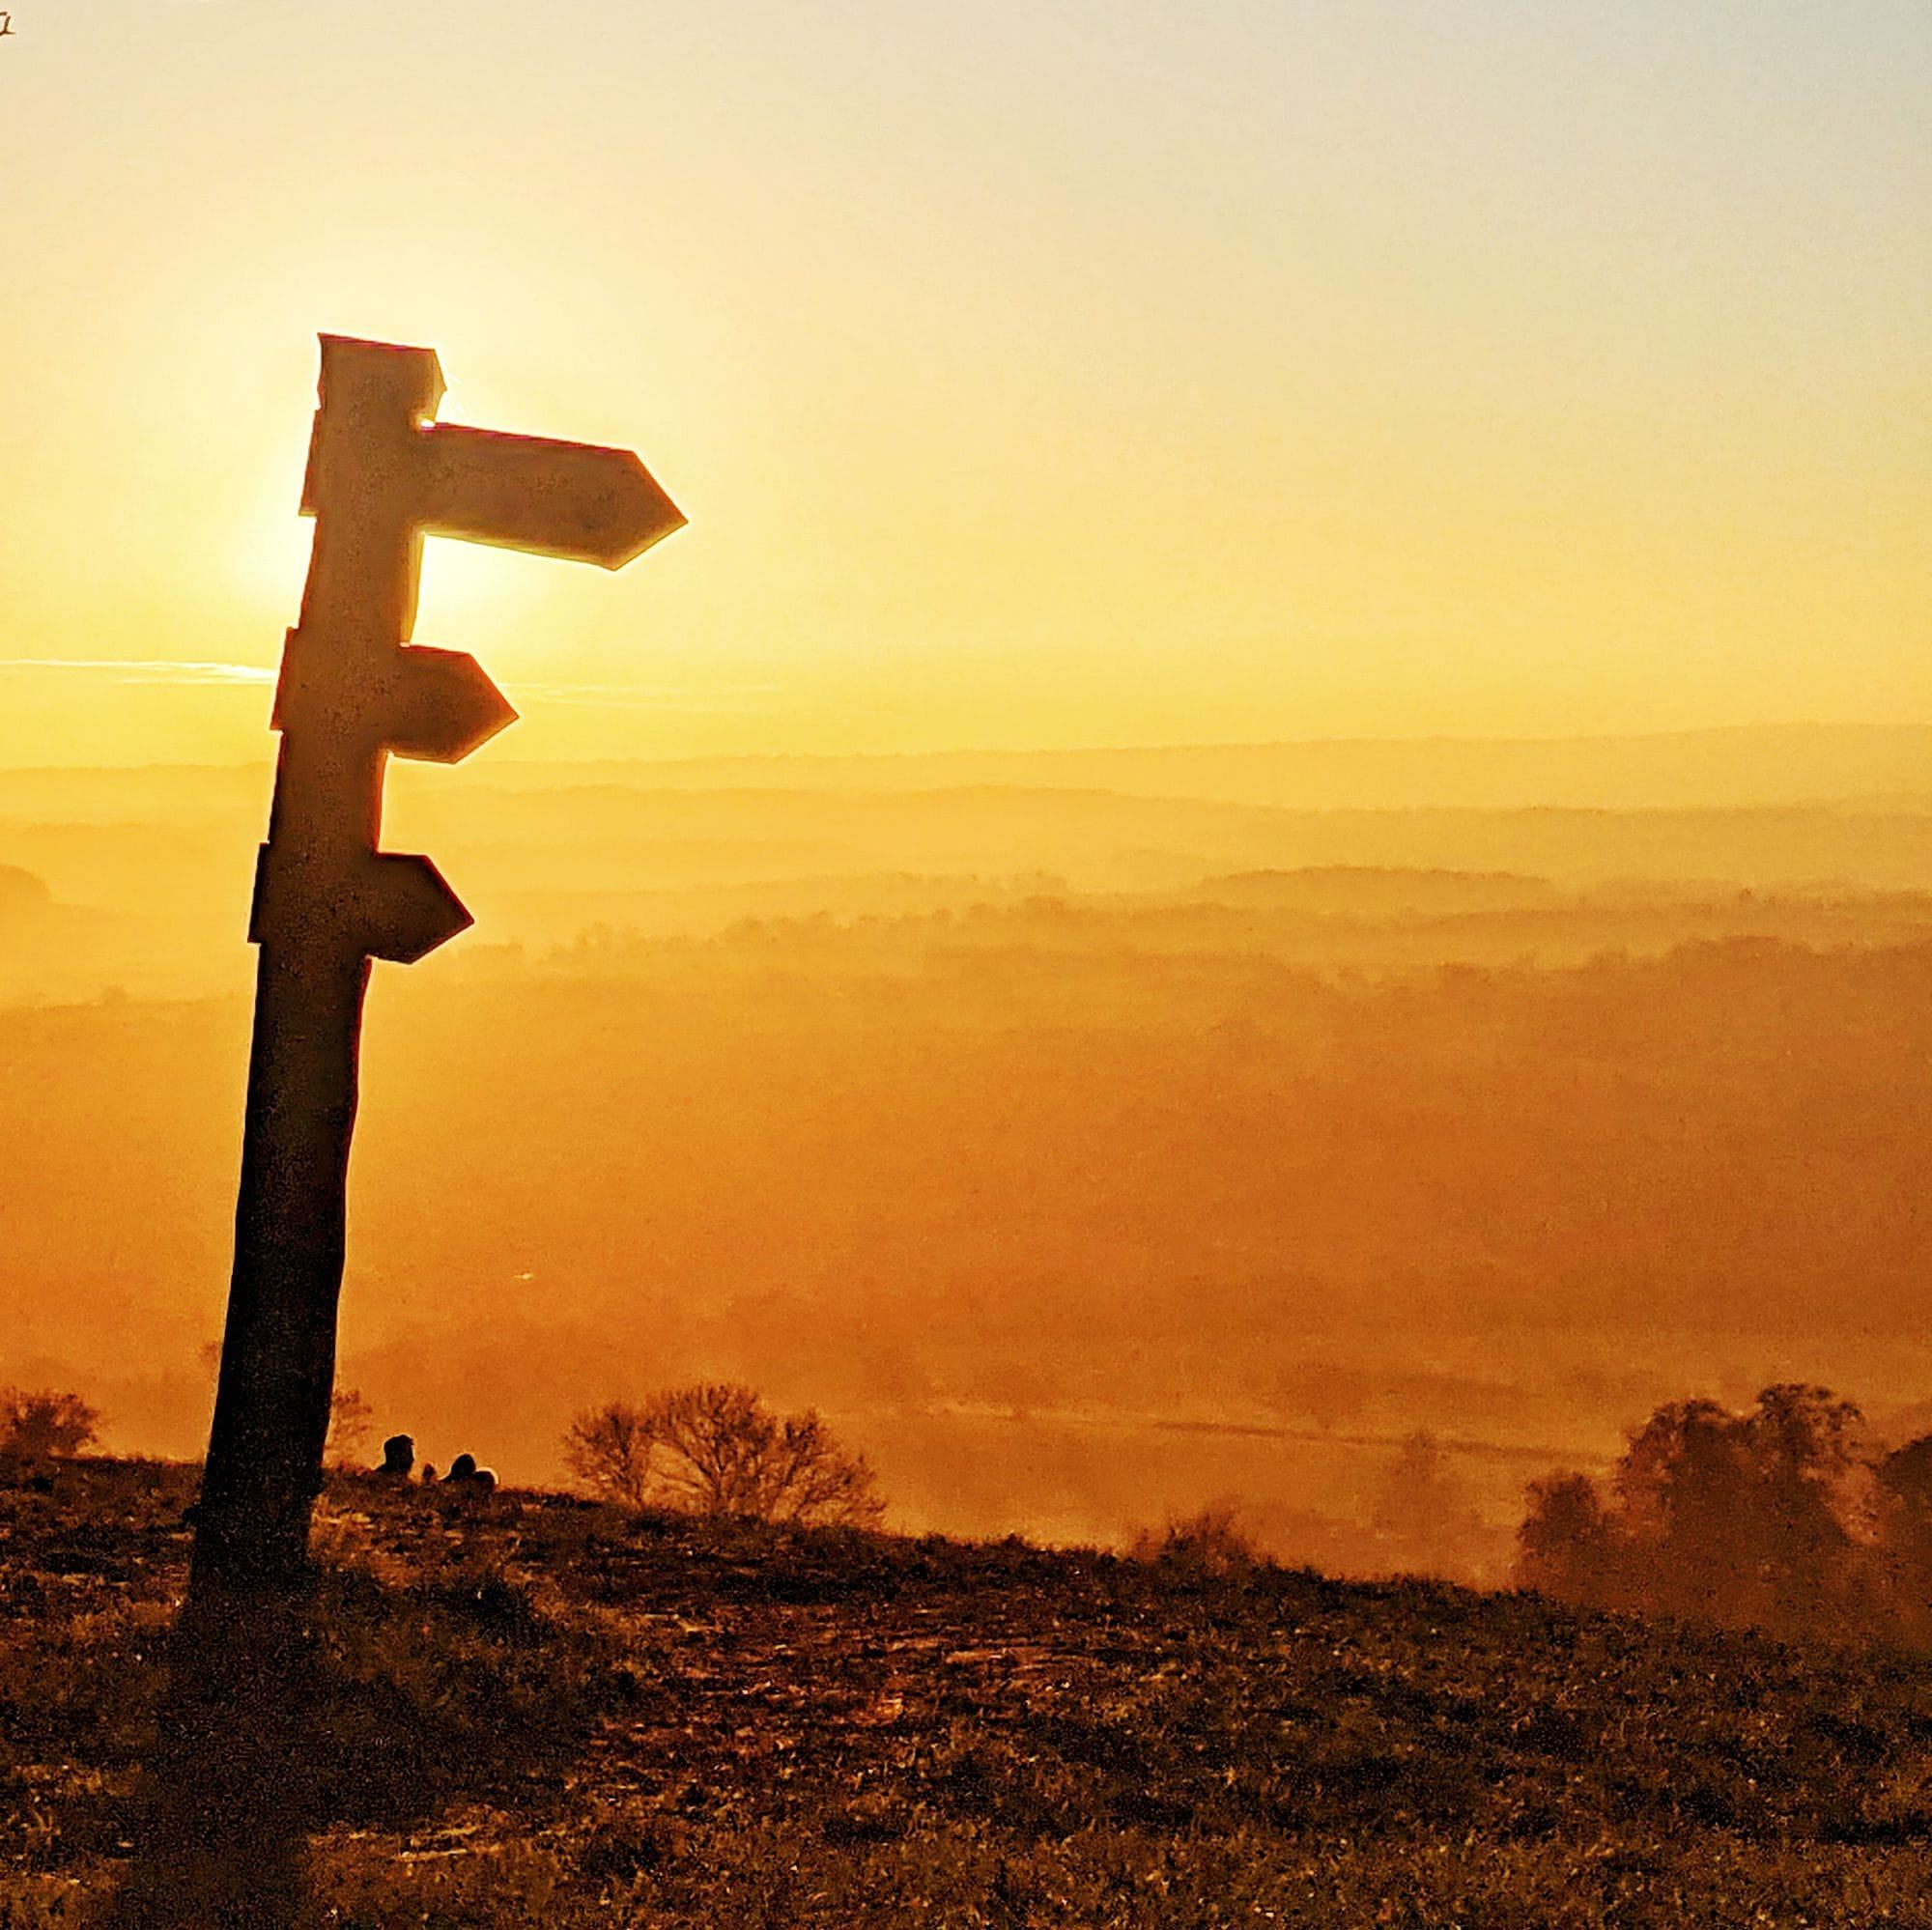
It can be hard to stay motivated to use your camera while at home, but setting specific times to go out and shoot during the week can be a great idea. Two of the best times of the day to head outside for photos is around sunrise and sunset. The light around these times, which photographers refer to as the golden hour, is often warm and ideal for photography.
So if you are able to be outside during these times and have decent weather, you should have some nice light to use to practice your photography. If you are a morning person, you can take advantage of sunrise and if not, sunset is probably your best bet!
Practice Selfies
When we travel, it’s nice to get photos of ourselves in the places we visit. Often, folks like to just hold up their phone camera and take a shot of themselves, but this doesn’t always result in the most flattering or well composed self portrait.
Practicing your selfie skills will ensure you get the best photos of yourself and those you are travelling with. And, like all the other tips in this guide, this is a photography skill you can learn at home.
We prefer to use a tripod where possible to get photos of ourselves together, as we find the results tend to be better. However, it’s not always feasible to setup a tripod, so we also travel with a selfie-stick for our phone. These allow you to get a better angle and composition on your shot, and not be limited by the length of your arm!
We have a detailed guide to how to get great photos of yourself. You can definitely practice these tips before heading out on a trip!
Join a Local Photo Club
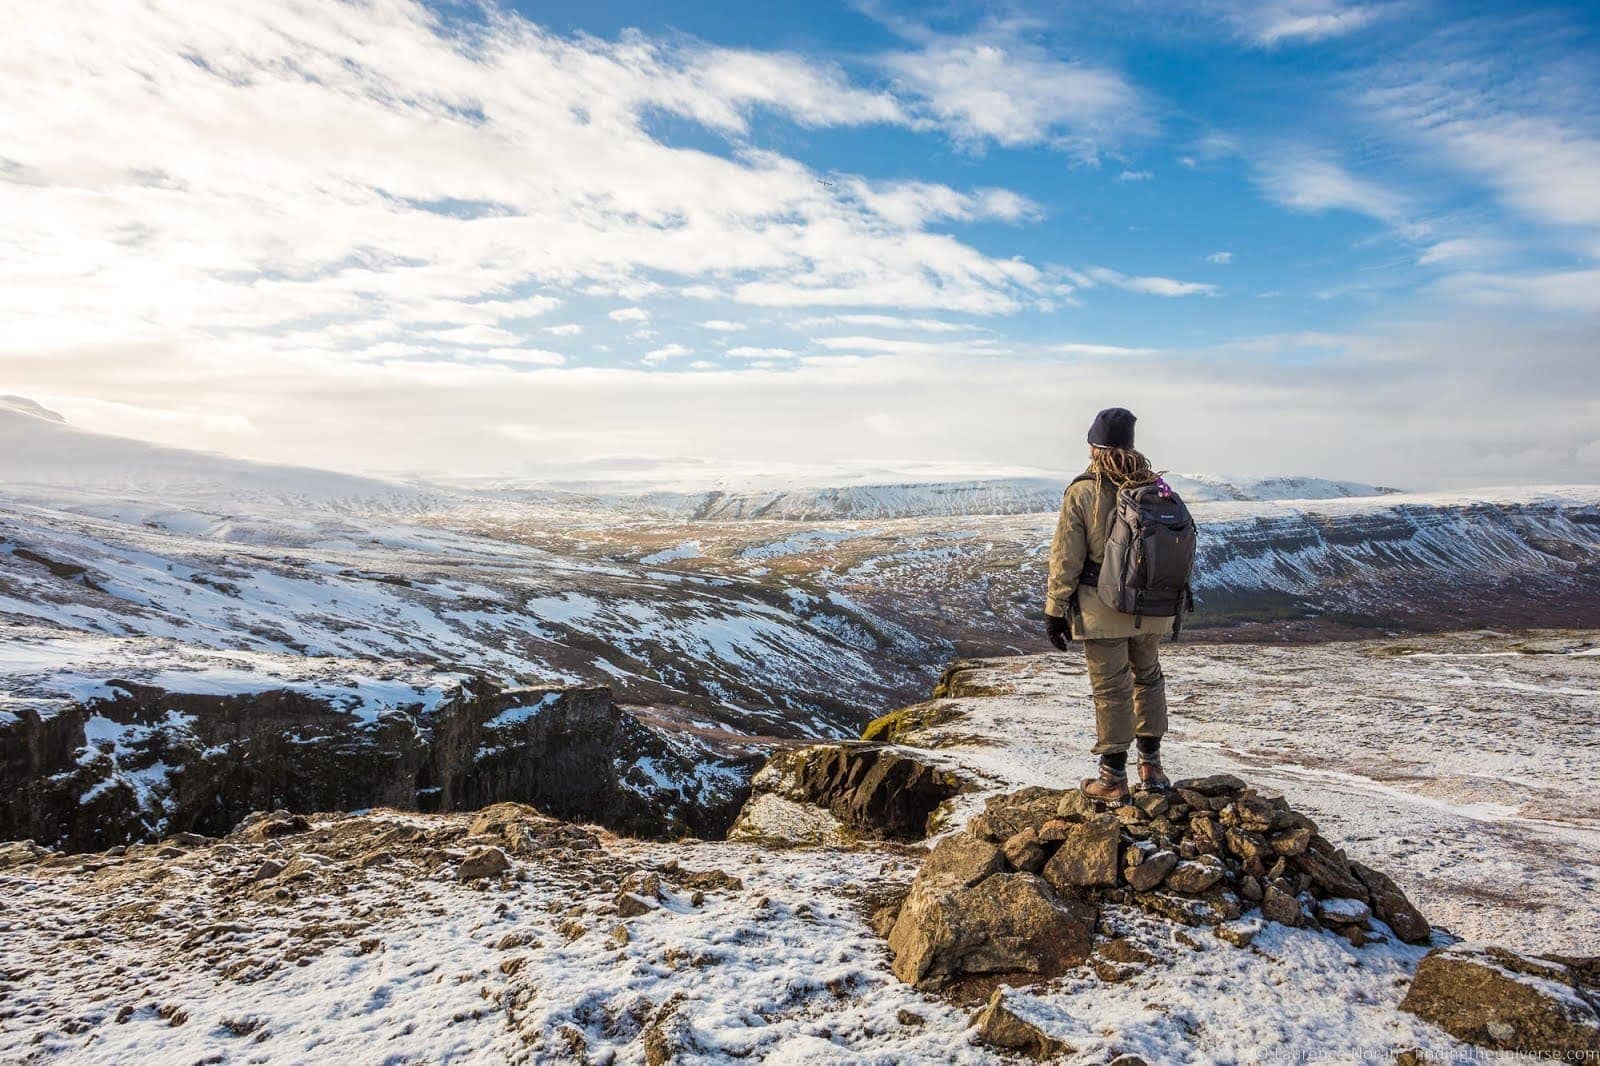
In addition to taking an online photography course, joining a local photo club or camera club is a great way to keep motivated to use your camera when you are at home. Photography clubs can vary widely in how they are set up and what they offer.
Some offer weekly lectures of photography topics and regular photo meetups for members. Other may be more loosely organized and allow members to arrange meetups and events as they wish.
These can not only be a great way to learn some new camera skills and stay motivated to use your camera, but it is also a great way to learn some new local photo spots and meet some fellow photography lovers.
Explore Fun Photo Effects and Techniques
Another idea when looking to improve your photography skills at home is to try something completely new and different. Don’t be afraid to let your mind go wild with stuff to try. You can take photos of all kinds of fun stuff around your home!
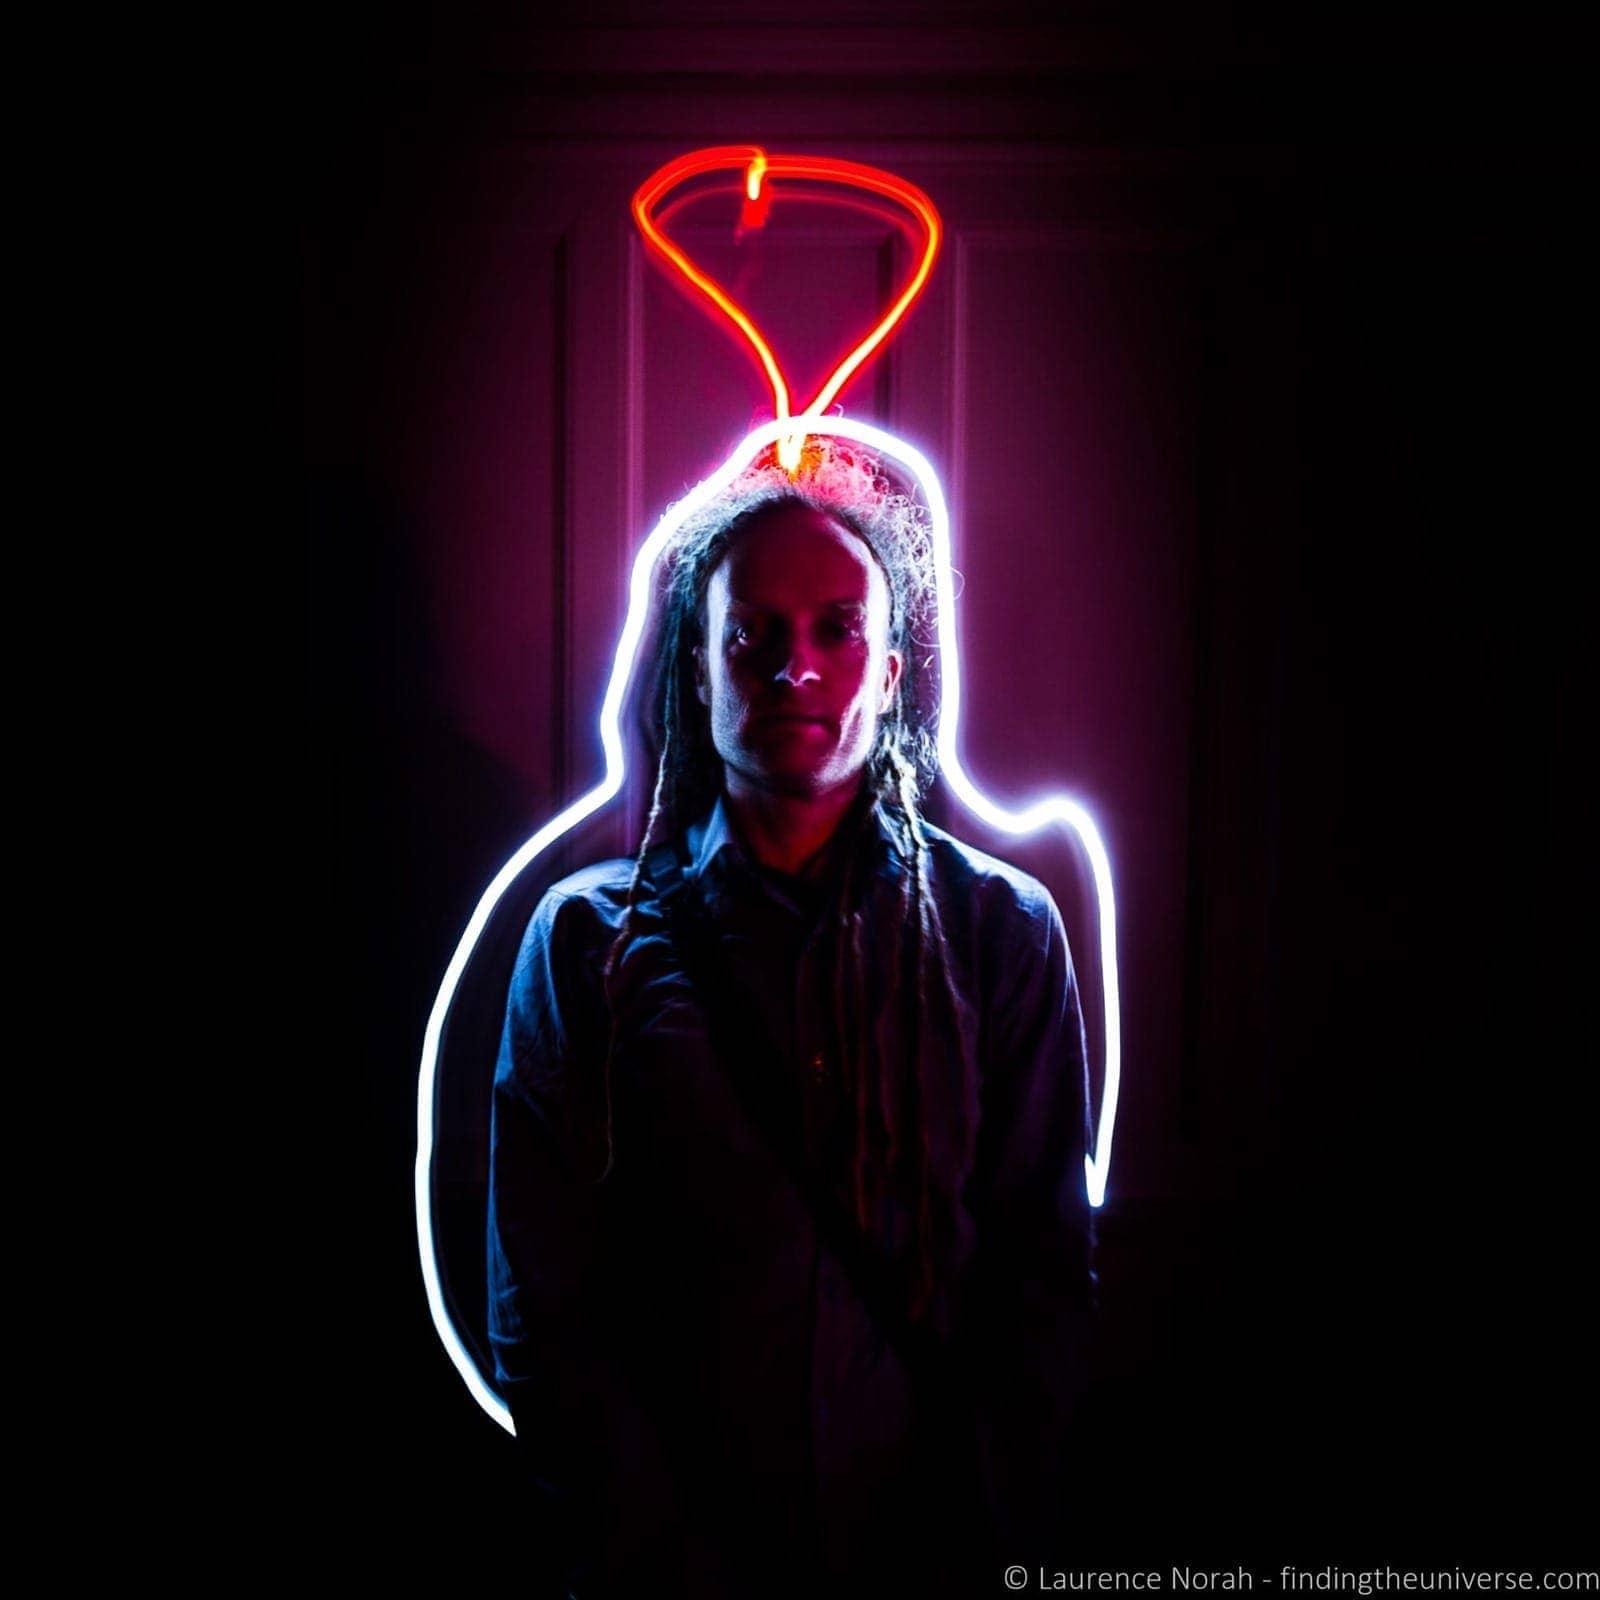
Try photographing soap bubbles in your sink, doing “fake” travel photos at home, trying out some wacky editing techniques, playing with reflections, sun rays, lens flares, light trails, throwing liquid into the air and letting it freeze, light painting… the list goes on!
Being home is a time when you can really push your creative limits and try new things. Some of these things will look good, some most certainly won’t, but you’ll likely have a fun time and get some good photos from it! If you have kids, it can be fun to get them involved too.
If you’re looking for ideas, Instagram, YouTube, or Pinterest can be great sources of inspiration for some new home photography ideas! You can also look into fun photography aids like a lensball or prism, as well as props or 360 cameras, for more fun!
Research Travel Photography Equipment
Probably one of the most popular questions we get from readers is what kind of camera they should upgrade to in order to take better photos.
Camera equipment certainly can make a difference to your images and what you can achieve. However, your skill as a photographer and your knowledge about how to properly use the equipment you have is definitely the most important factor when it comes to getting great shots.
That said, understanding why you might need a more expensive camera, or the difference between a smartphone and a DSLR, is definitely helpful. Most photographers, as they progress through their learning journey, find themselves limited by their gear and needing an upgrade at some point.
This might be in order to get better photos in low light, to capture better shots of fast moving subjects, or to shoot in specific scenarios such as underwater.
The main thing when deciding on an upgrade is knowing what the problem is that you are trying to resolve, and being able to pick a camera that will resolve that problem and enable you to get the photos you want.
To help you with that decision, we have put together some details guide to the best cameras on the market today across a range of camera types. They also go into detail as to what to look for any why, so you are able to make a fully informed decision.
To get you started we have a detailed general guide to the best travel camera. We also have detailed specific guides to the best compact camera, best bridge camera, best action camera, best mirrorless camera and best DSLR camera.
Test Lenses at Home with Rental Services
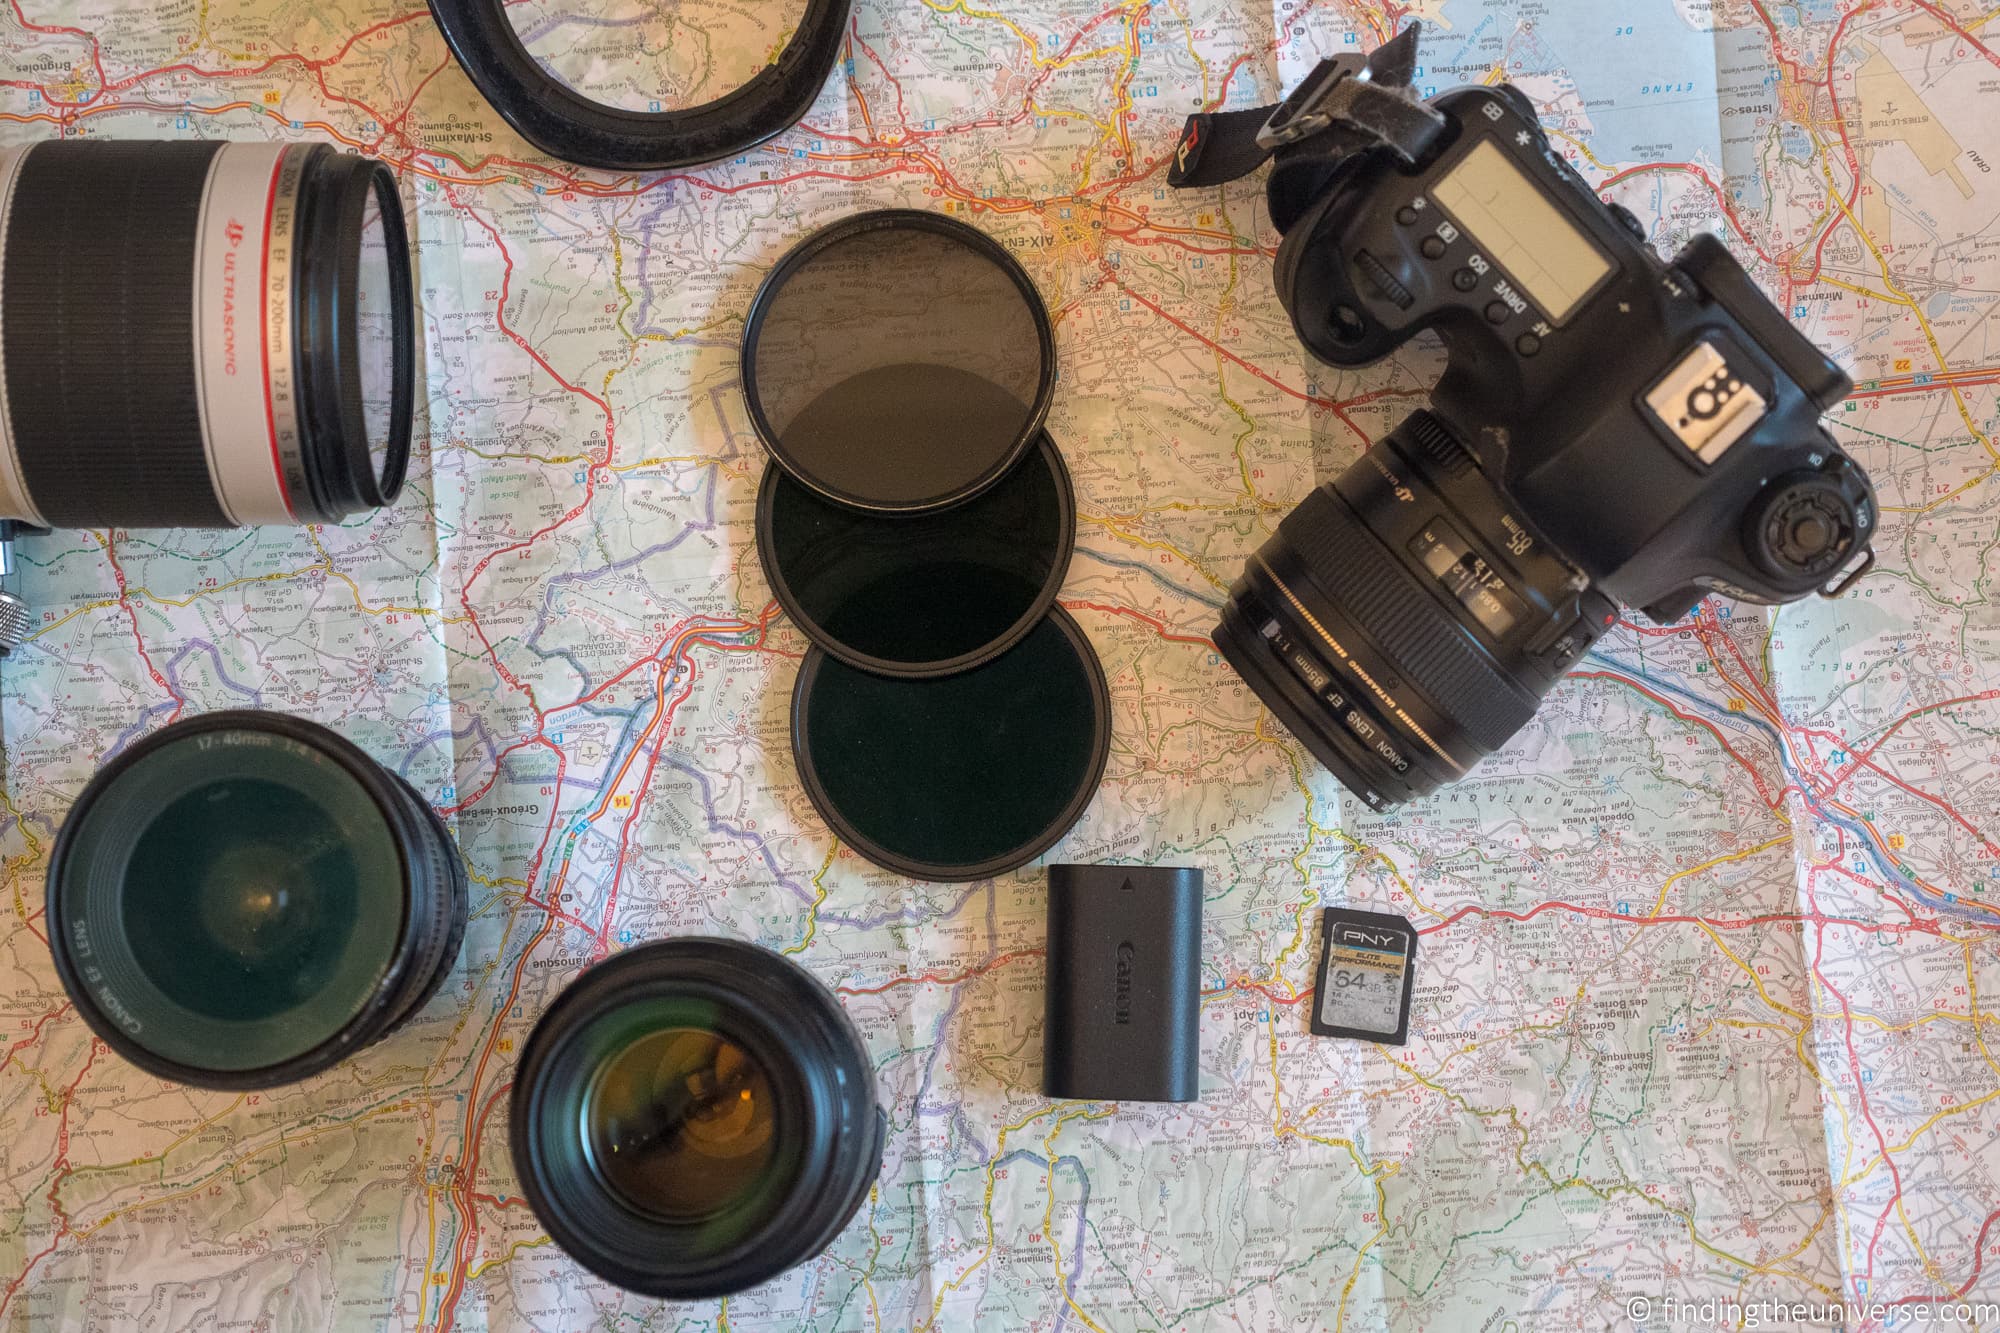
If you have a camera where you can change the lens, such as a mirrorless or DSLR camera, then you might already realise that the lens you choose to use makes a huge difference to the images you are able to take.
You might want to capture a whole landscape with a wide-angle lens, shoot great portraits with a wide-aperture prime lens, or shoot wildlife and distant objects with a telephoto lens. You might also just prefer more of a “walk-around” lens, which will let you do most things without having to carry a bag of lenses around with you.
Regardless, as you start to investigate lenses you will quickly come to the realization that lenses are expensive, and picking up a lens for every situation might not be feasible on your budget.
Instead, you’ll want to pick the best lens or lenses for your preferred photography style. To help you decide, a great option is to rent a few lenses at home, try them out, and decide which work for you. Then you can make the appropriate investment.
There are a variety of services you can use for lens rental. We recommend Lens Rentals who have a huge selection of lenses across a range of manufacturers.
Their shipping includes the cost of shipping the lens to you and the return shipping. Even better, they have a program where if you like the product you can buy it directly from them.
If you go with Lens Rentals, you can save 15% on any rental with the code “LAURENCE15”. Just enter it at checkout to redeem.
If you’re in the market for a new lens and wondering what to look for, check out our guide to the best camera lenses for travel which should give you some great options to get started!
Learn How to Use Your Camera’s Focus Tools
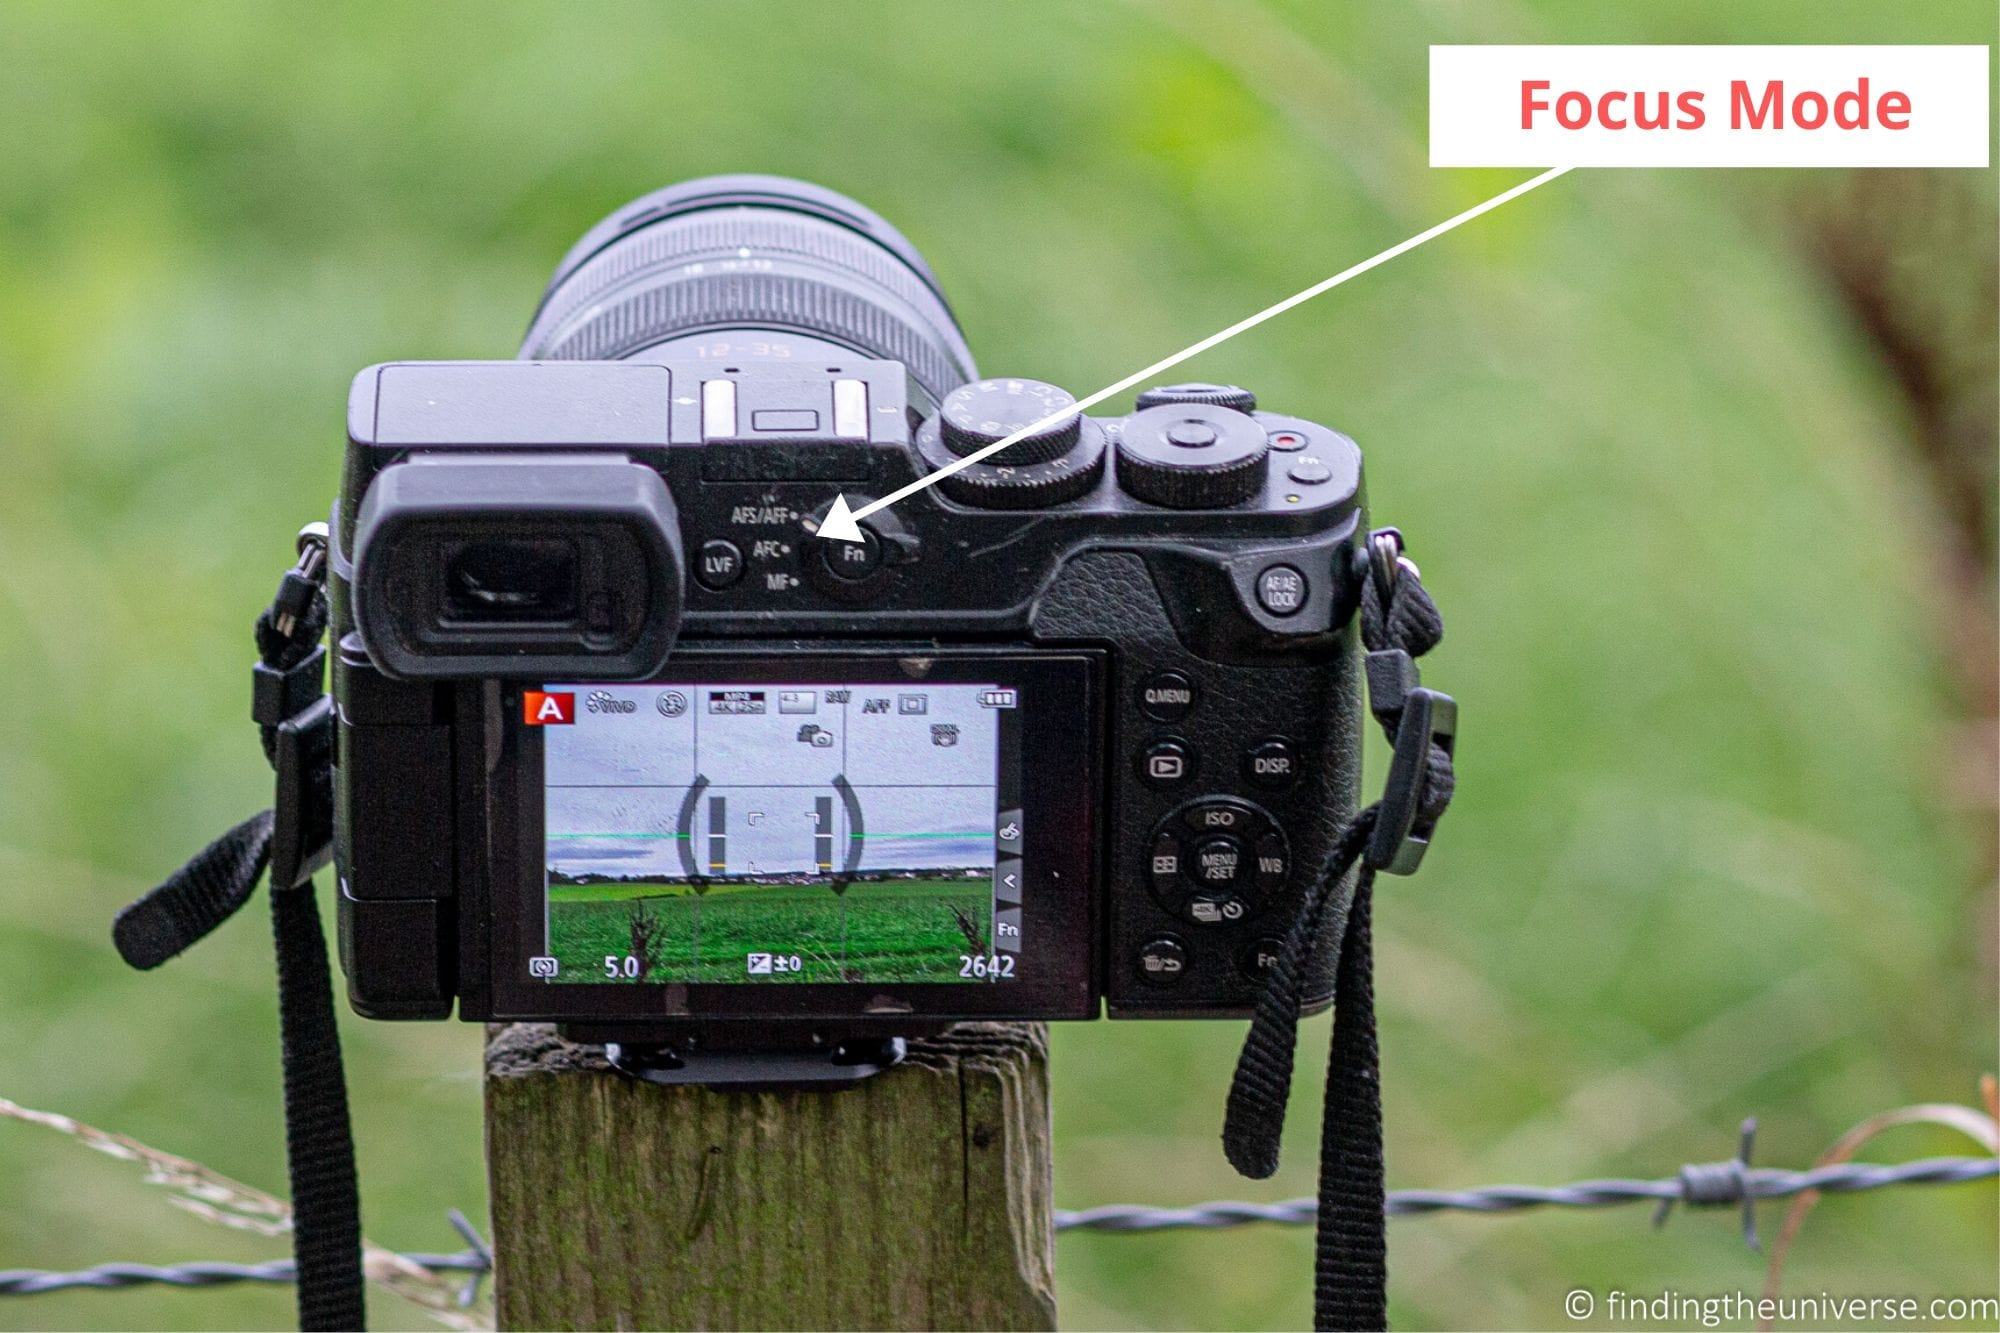
In the majority of photos you take, your goal will be to have your subject sharply in focus. Most cameras and smartphone cameras offer a variety of focus modes, depending on the situation.
These will vary from a standard focus which will just focus on a point, through to continuous and tracking focus systems. These latter options can be used to track a moving subject and allow you to capture sharp images even if your subject moves between shots.
There are also a number of even more advanced focus tracking systems which can automatically identify common focal points such as the eyes of people or animals in your shots. These can make getting sharply in focus shots even easier.
Whatever your camera system and the focus modes it offers, the main thing is to understand exactly what the options you have are. You don’t want to miss focus on an important shot because you had the camera in the wrong focus mode!
Get a Photo Guide to your Next Travel Destination
If you are planning a future trip to somewhere that you are particularly excited to photograph, you might consider getting a photo guide to that location. You can find photography guides to most of the world’s most popular photography locations, both as published books and as online articles and blogs.
For example you can pick up photo guidebooks to locations like Yosemite National Park, Zion National Park, and Iceland. You can find travel blog posts such as my own guides, which include photography locations in London, photography locations in Paris, and many more.
These can not only provide you with tips and locations for taking photos at these locations, but they can keep you excited about travel photography in between trips.
Set up a Photography Portfolio
An important skill to develop as a photographer is the art of self-curation. When you go on vacation, the chances are that you will take hundreds of photos. However, the reality is that even close friends and family might not want to see every image you’ve taken.
Learning how to filter your images and only share the best ones is a key skill. One way to hone this skill is to set up an online portfolio website of your work. This will force you to evaluate your photos and pick out those that really represent your work.
There are a variety of websites where you can setup an online photography portfolio. These range from fully featured paid options specifically designed for this purpose, through to setting up a nice looking dedicated profile on a social media site like Instagram. Depending on your requirements, there are quite a few options to choose from. You can use some of the more simple ones for free to house photos to show friends and family or if you can pay for a more professional website that comes with a range of theme or portfolio options.
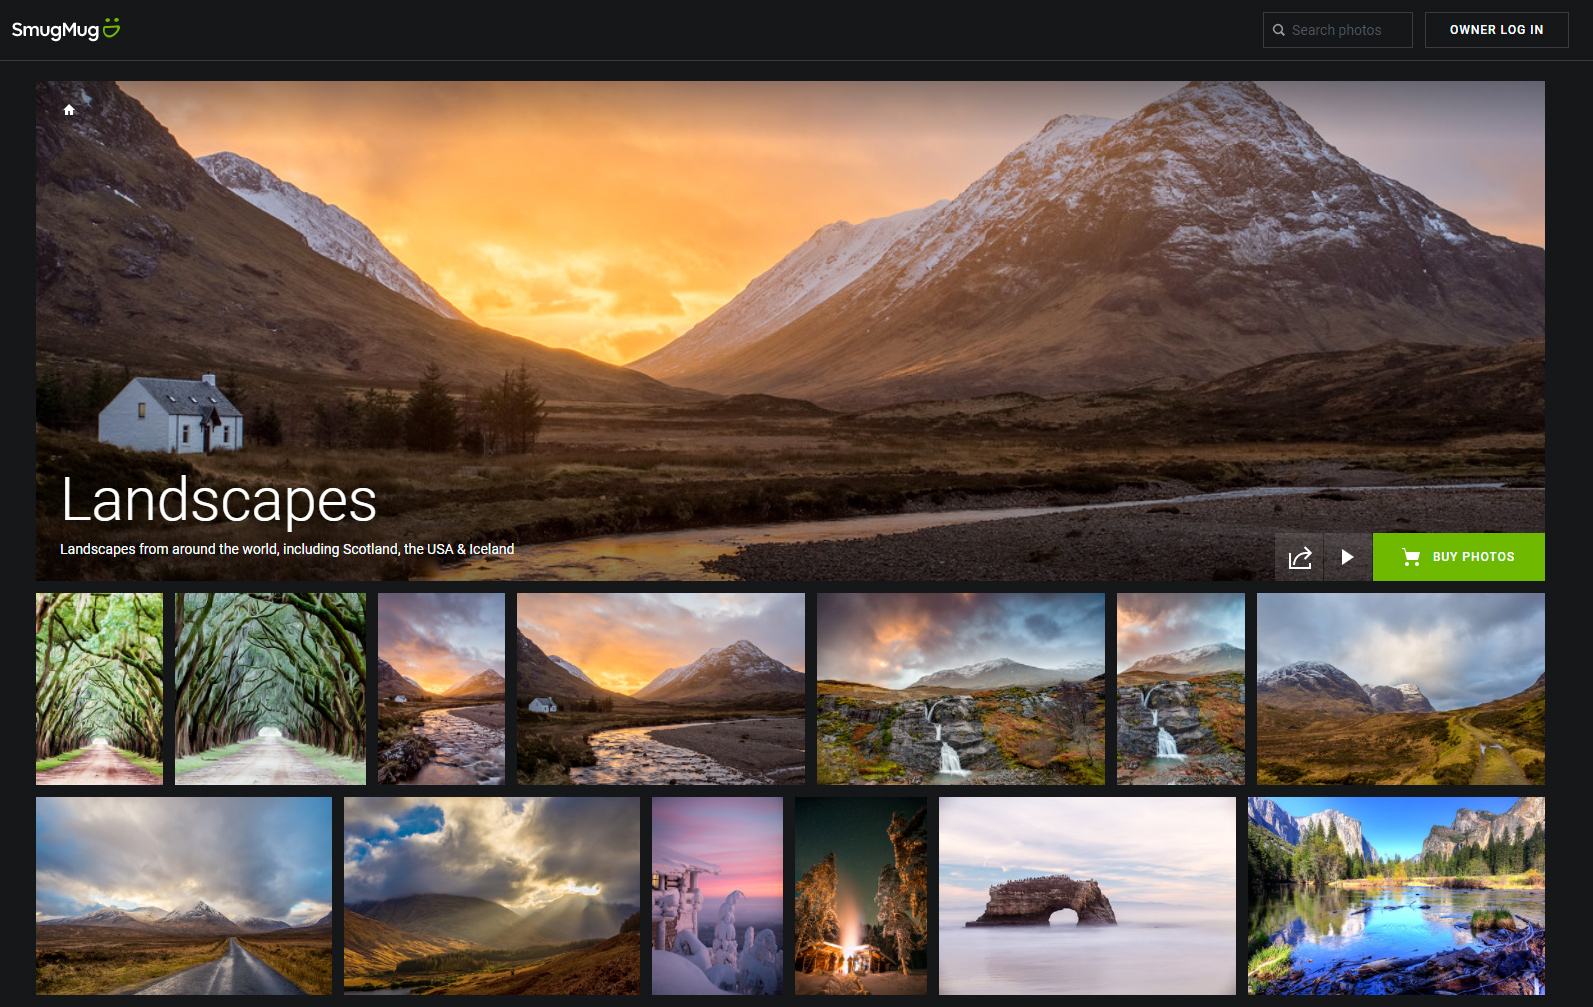
Some of the photography portfolio websites which will also let you sell your photos online as well. If that’s an option you’d like to explore, I recommend checking out SmugMug, where you can build a great looking portfolio website and also sell your images.
I have a full review of SmugMug here, and you can also save 15% if you sign up with this link. I also have a round up other photography portfolio websites here.
Learn Astrophotography
There are many photography techniques that you can learn at home, which will improve your photography skills and increase the types of photography you’ll be able to do when you travel.
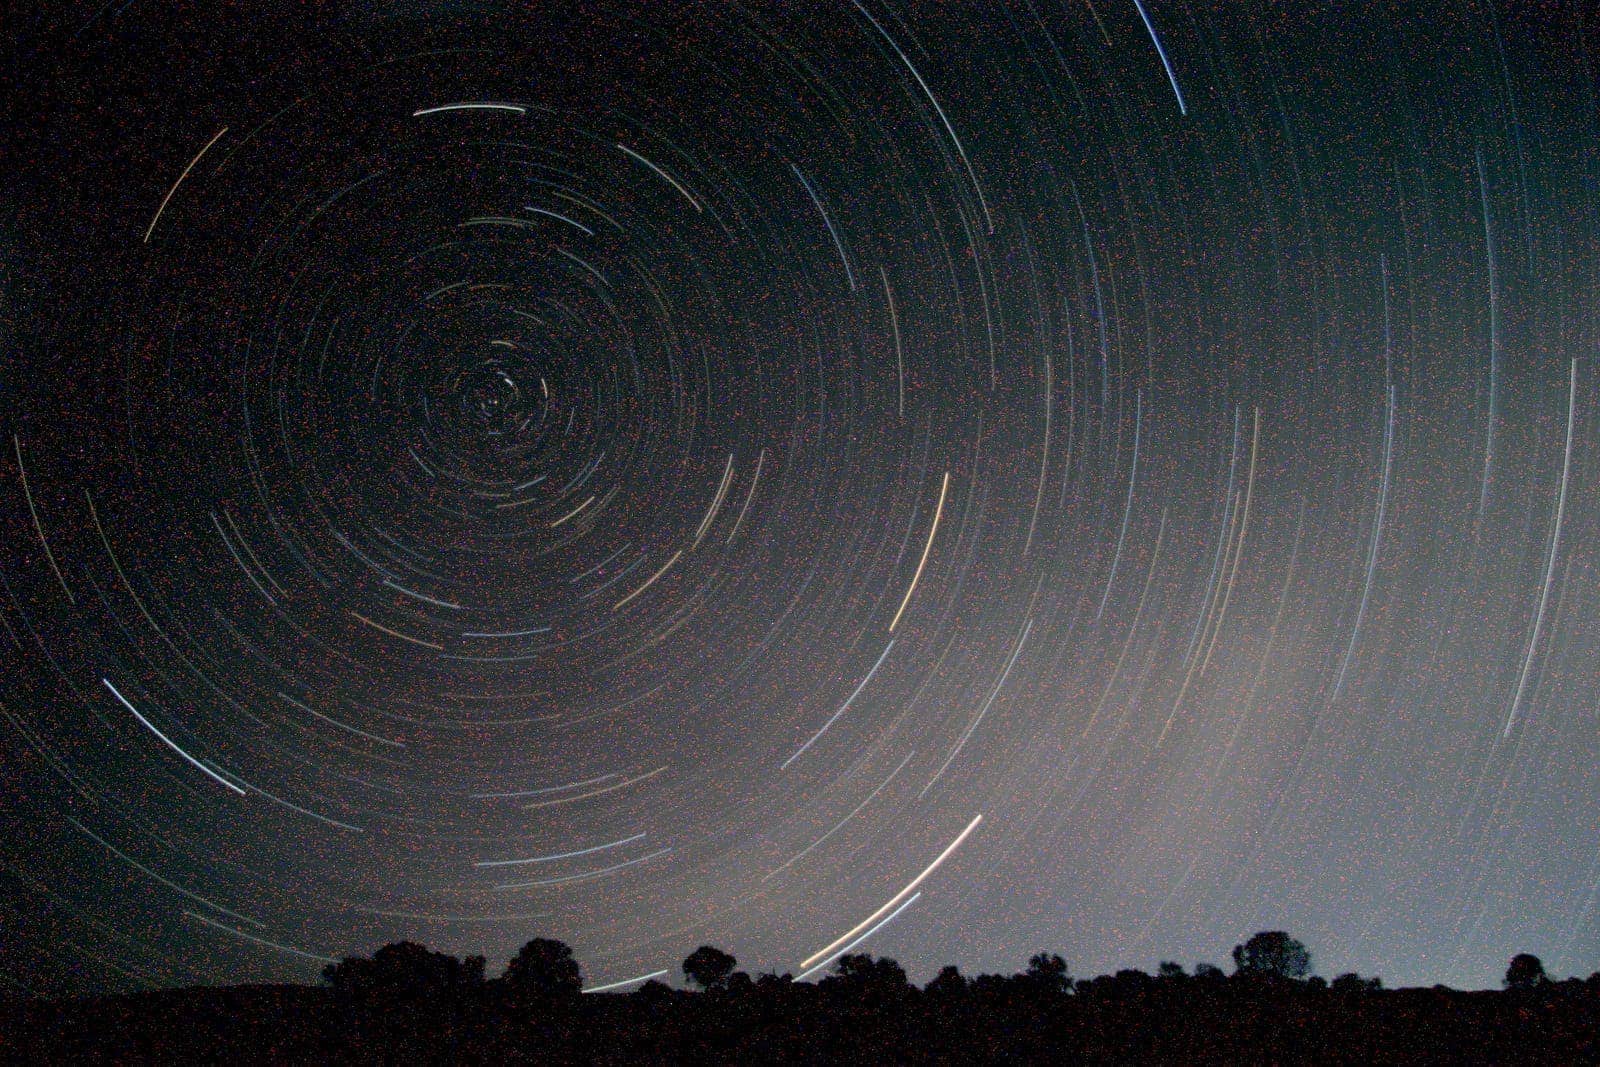
One fun photography subject you might want to learn to take pictures of is the night sky. Learning how to photograph things like the moon and the stars will require you to master a number of different photography techniques. It will also require you to understand more of the features of your camera.
Plus, you might get some lovely images of the night sky as a bonus! All you need to learn astrophotography are clear skies and minimal light pollution. If you live in a city, you may need to go outside of it to be able to do star photography. Full moons, however, are generally visible even in the middle of a big city at night.
I have a guide to taking pictures of stars, as well as how to take pictures of the northern lights, which are a great starting point.
Further Reading
I hope this guide has given you lots of idea for improving your photography from home. I also wanted to share some more photography content we’ve written which will hopefully also help you take better photos
- We have a guide to how to use a compact camera, how to use a DSLR camera, and how to use a mirrorless camera. We also have a guide to how a DSLR works
- Knowing how to compose a great photo is a key photography skill. See our guide to composition in photography for lots of tips on this subject
- We have a guide to what depth of field is and when you would want to use it.
- We are big fans of getting the most out of your digital photo files, and do to that you will need to shoot in RAW. See our guide to RAW in photography to understand what RAW is, and why you should switch to RAW as soon as you can if your camera supports it.
- We have a guide to the best photo editing applications which includes both paid and free options
- You’re going to need something to run your photo editing software on. See our guide to the best laptops for photo editing for some tips on what to look for.
- Color accuracy is important for photography – see our guide to monitor calibration to ensure your screen is set up correctly.
- If you’re looking for a great gift for a photography loving friend or family member (or yourself!), take a look at our photography gift guide,
- If you’re in the market for a new camera, we have a detailed guide to the best travel cameras, as well as specific guides for the best cameras for hiking and backpacking, the best compact camera, best bridge camera, best mirrorless camera and best DSLR camera. We also have a guide to the best camera lenses.
- If you want a camera or lens, but the prices are a bit high, see our guide to where to buy used cameras and camera gear for some budget savings options.
- We have a guide to why you need a tripod, a guide to choosing a travel tripod, and a round-up of our favourite travel tripods
- If you’re looking for more advice on specific tips for different scenarios, we also have you covered. See our guides to Northern Lights photography, long exposure photography, fireworks photography, tips for taking photos of stars, taking photos in snow, and cold weather photography.
- Finally, if you want to take your photography to the next level, check out my online photography course!
And that’s it! As always we’re always open to hearing your feedback and answering your questions. Just pop them in the comments below and we’ll get back to you as soon as we can!
Brad M. says
Thanks Laurence for sharing this – I greatly appreciate you’re advice. Many great tips and tricks for practicing travel photography skills at home!! I have been lacking in my photography lately due to the pandemic and not traveling or attending any parties or events where my wife and I would normally take pictures. This helps a lot in giving me some new ideas!
Laurence Norah says
My pleasure Brad – I’m pleased to have been able to provide some inspiration. I freely admit it’s been a real challenge during the last year to do the kind of photography I’d normally do, so I wanted to share some things that worked for me 😀